Rear Sumo Springs
Although the Unity drove nicely from the factory, there was clearly room for improvement, this based on other class C motorhomes that we have owned. After doing some research on what improvements could be made, we decided to first add rear Sumo Springs to the suspension system.
Why Sumo Springs?
Sumo Springs are a popular aftermarket suspension enhancement, providing additional support to the vehicle’s suspension system. They help stabilize the ride, reduce sway, and improve overall handling. Adding Sumo Springs is a relatively straightforward DIY project, and it can significantly enhance the driving experience of your RV. You can read more about them at the manufactures site
Materials Needed
Before jumping into the installation process, gather the necessary materials:
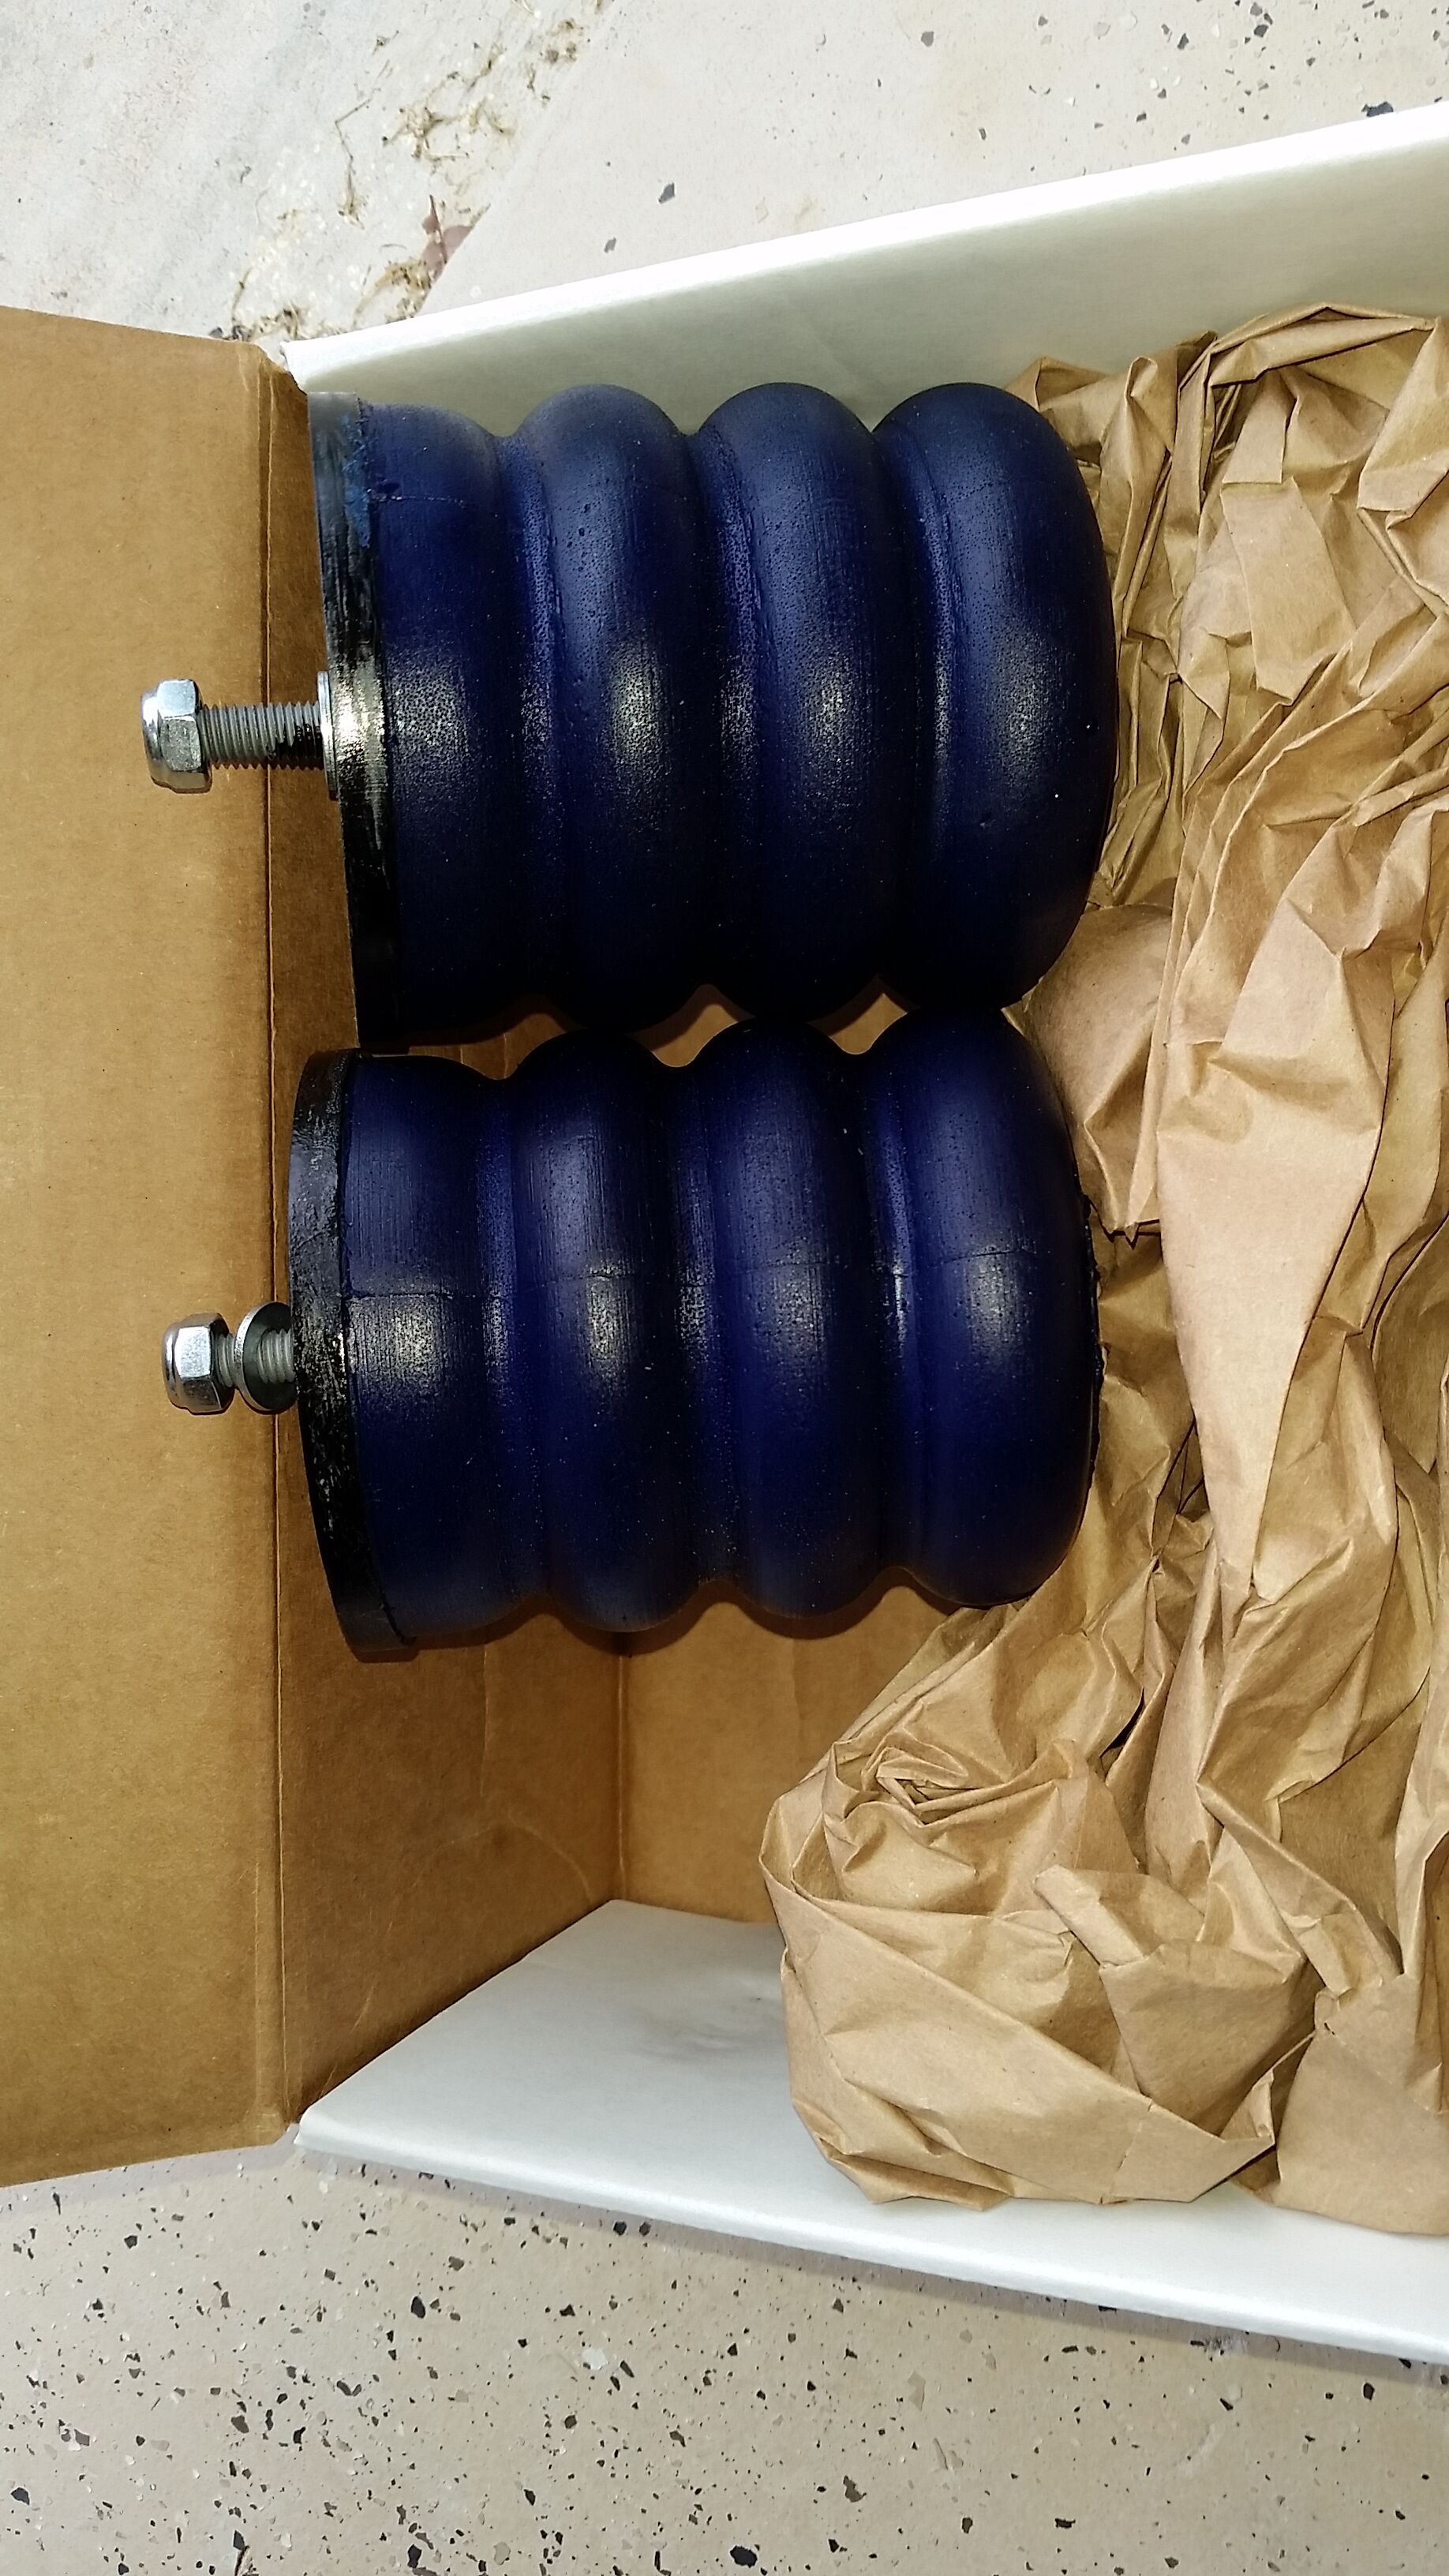
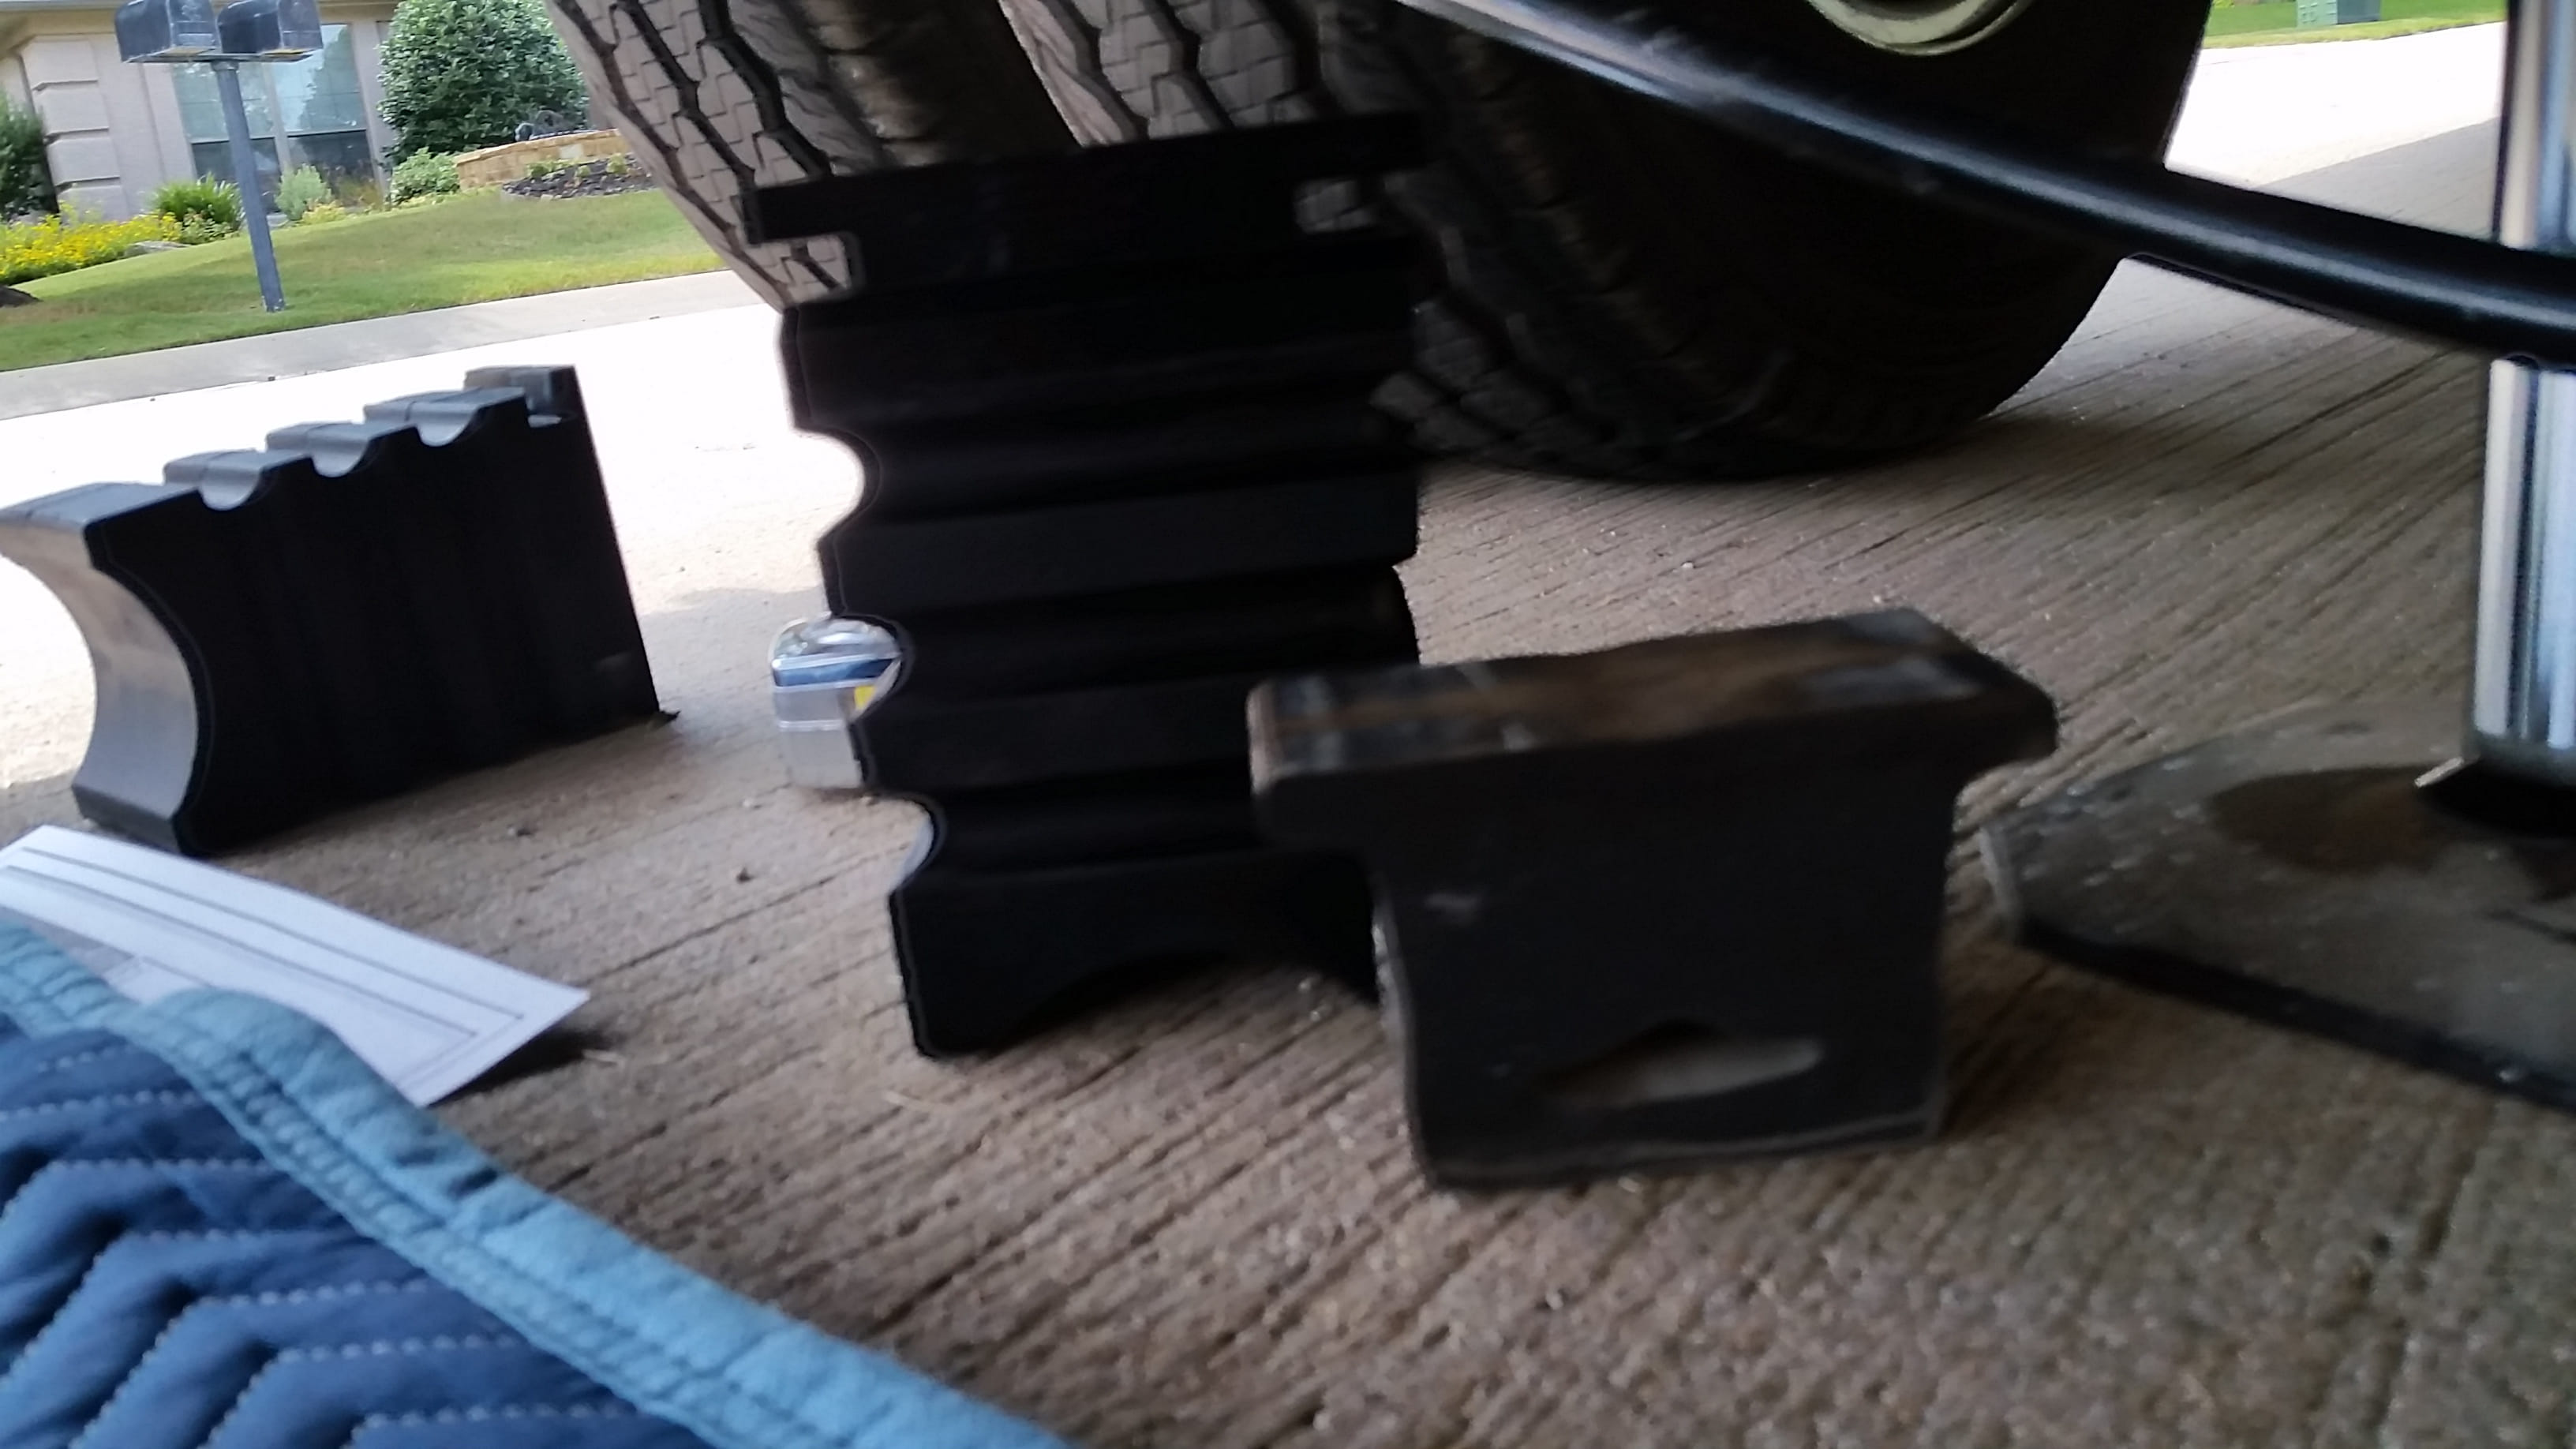
- Rear Sumo Springs for your specific Leisure Travel Van Unity model. Our Unity is built on a sprinter 3500. We chose to use the SSR-338-47 springs. These are the lightest version, but if you have a lot of rear weight in your floor plan you can consider the yellow springs SSR-338-54 which are stiffer.
- Jack stands
- Floor Jack / A way to raise the rear of the coach.
- Pry bar / Screw driver
Installation Steps
1: Safety First
Begin by ensuring your coach is parked on a level surface and engage the parking brake. Place chocks in front and behind wheels to prevent rolling. Safety is paramount, so wear safety glasses throughout the installation process so that any dirt you knock loose does not go into your eyes.
2. Raise the Rear of the Vehicle
We used our hydraulic leveling system to raise our coach and then placed jack stands under the to frame rail support the frame. You want to raise it up to allow the axle to hang freely so there is enough room to install the new Sumo springs between the chassis rail and the axle. You are not jacking it up to change a tire, you want to raise the coach away from the axles.
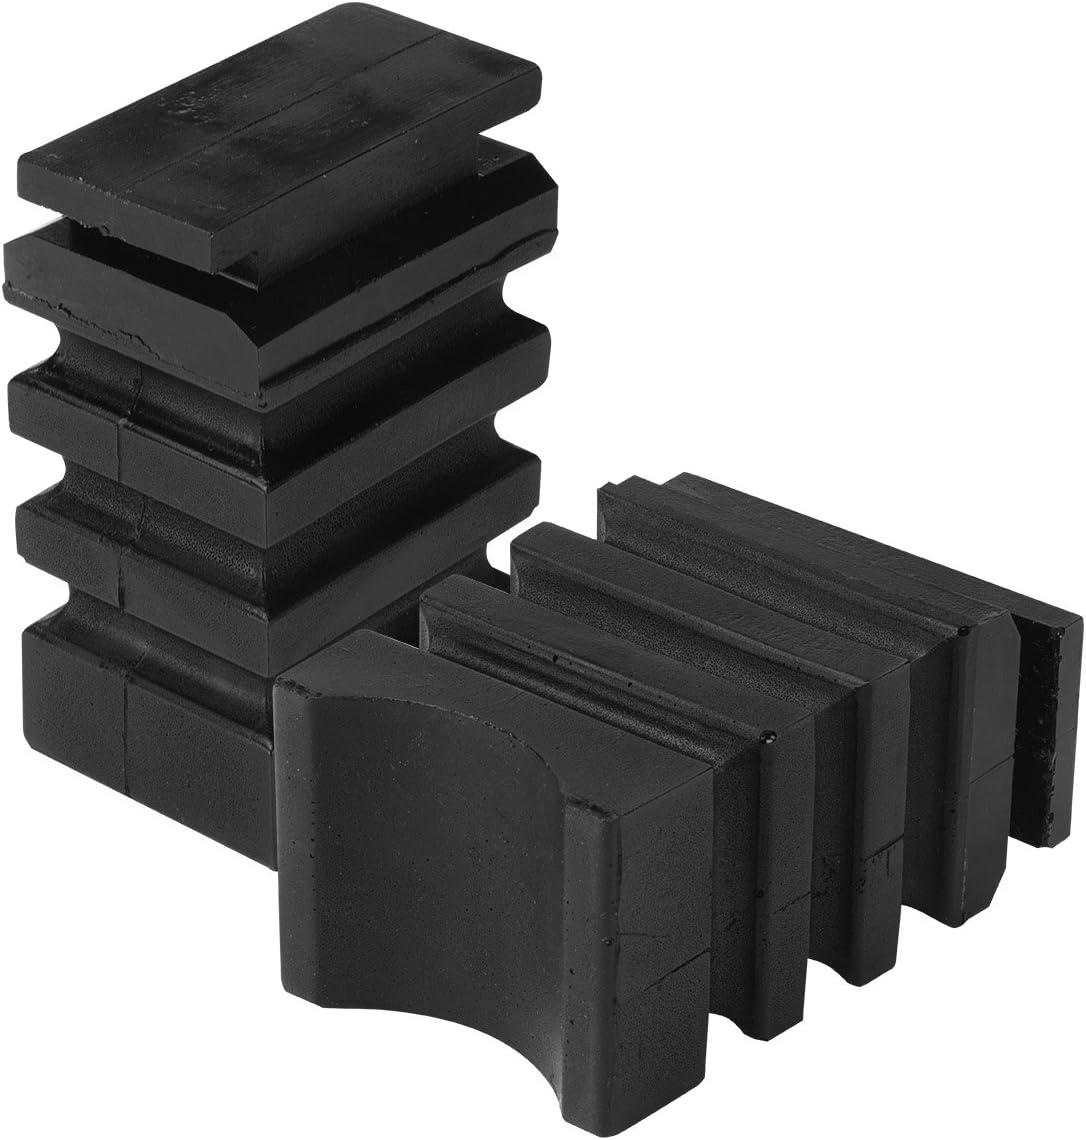
3. Locate and Remove the Bump Stops
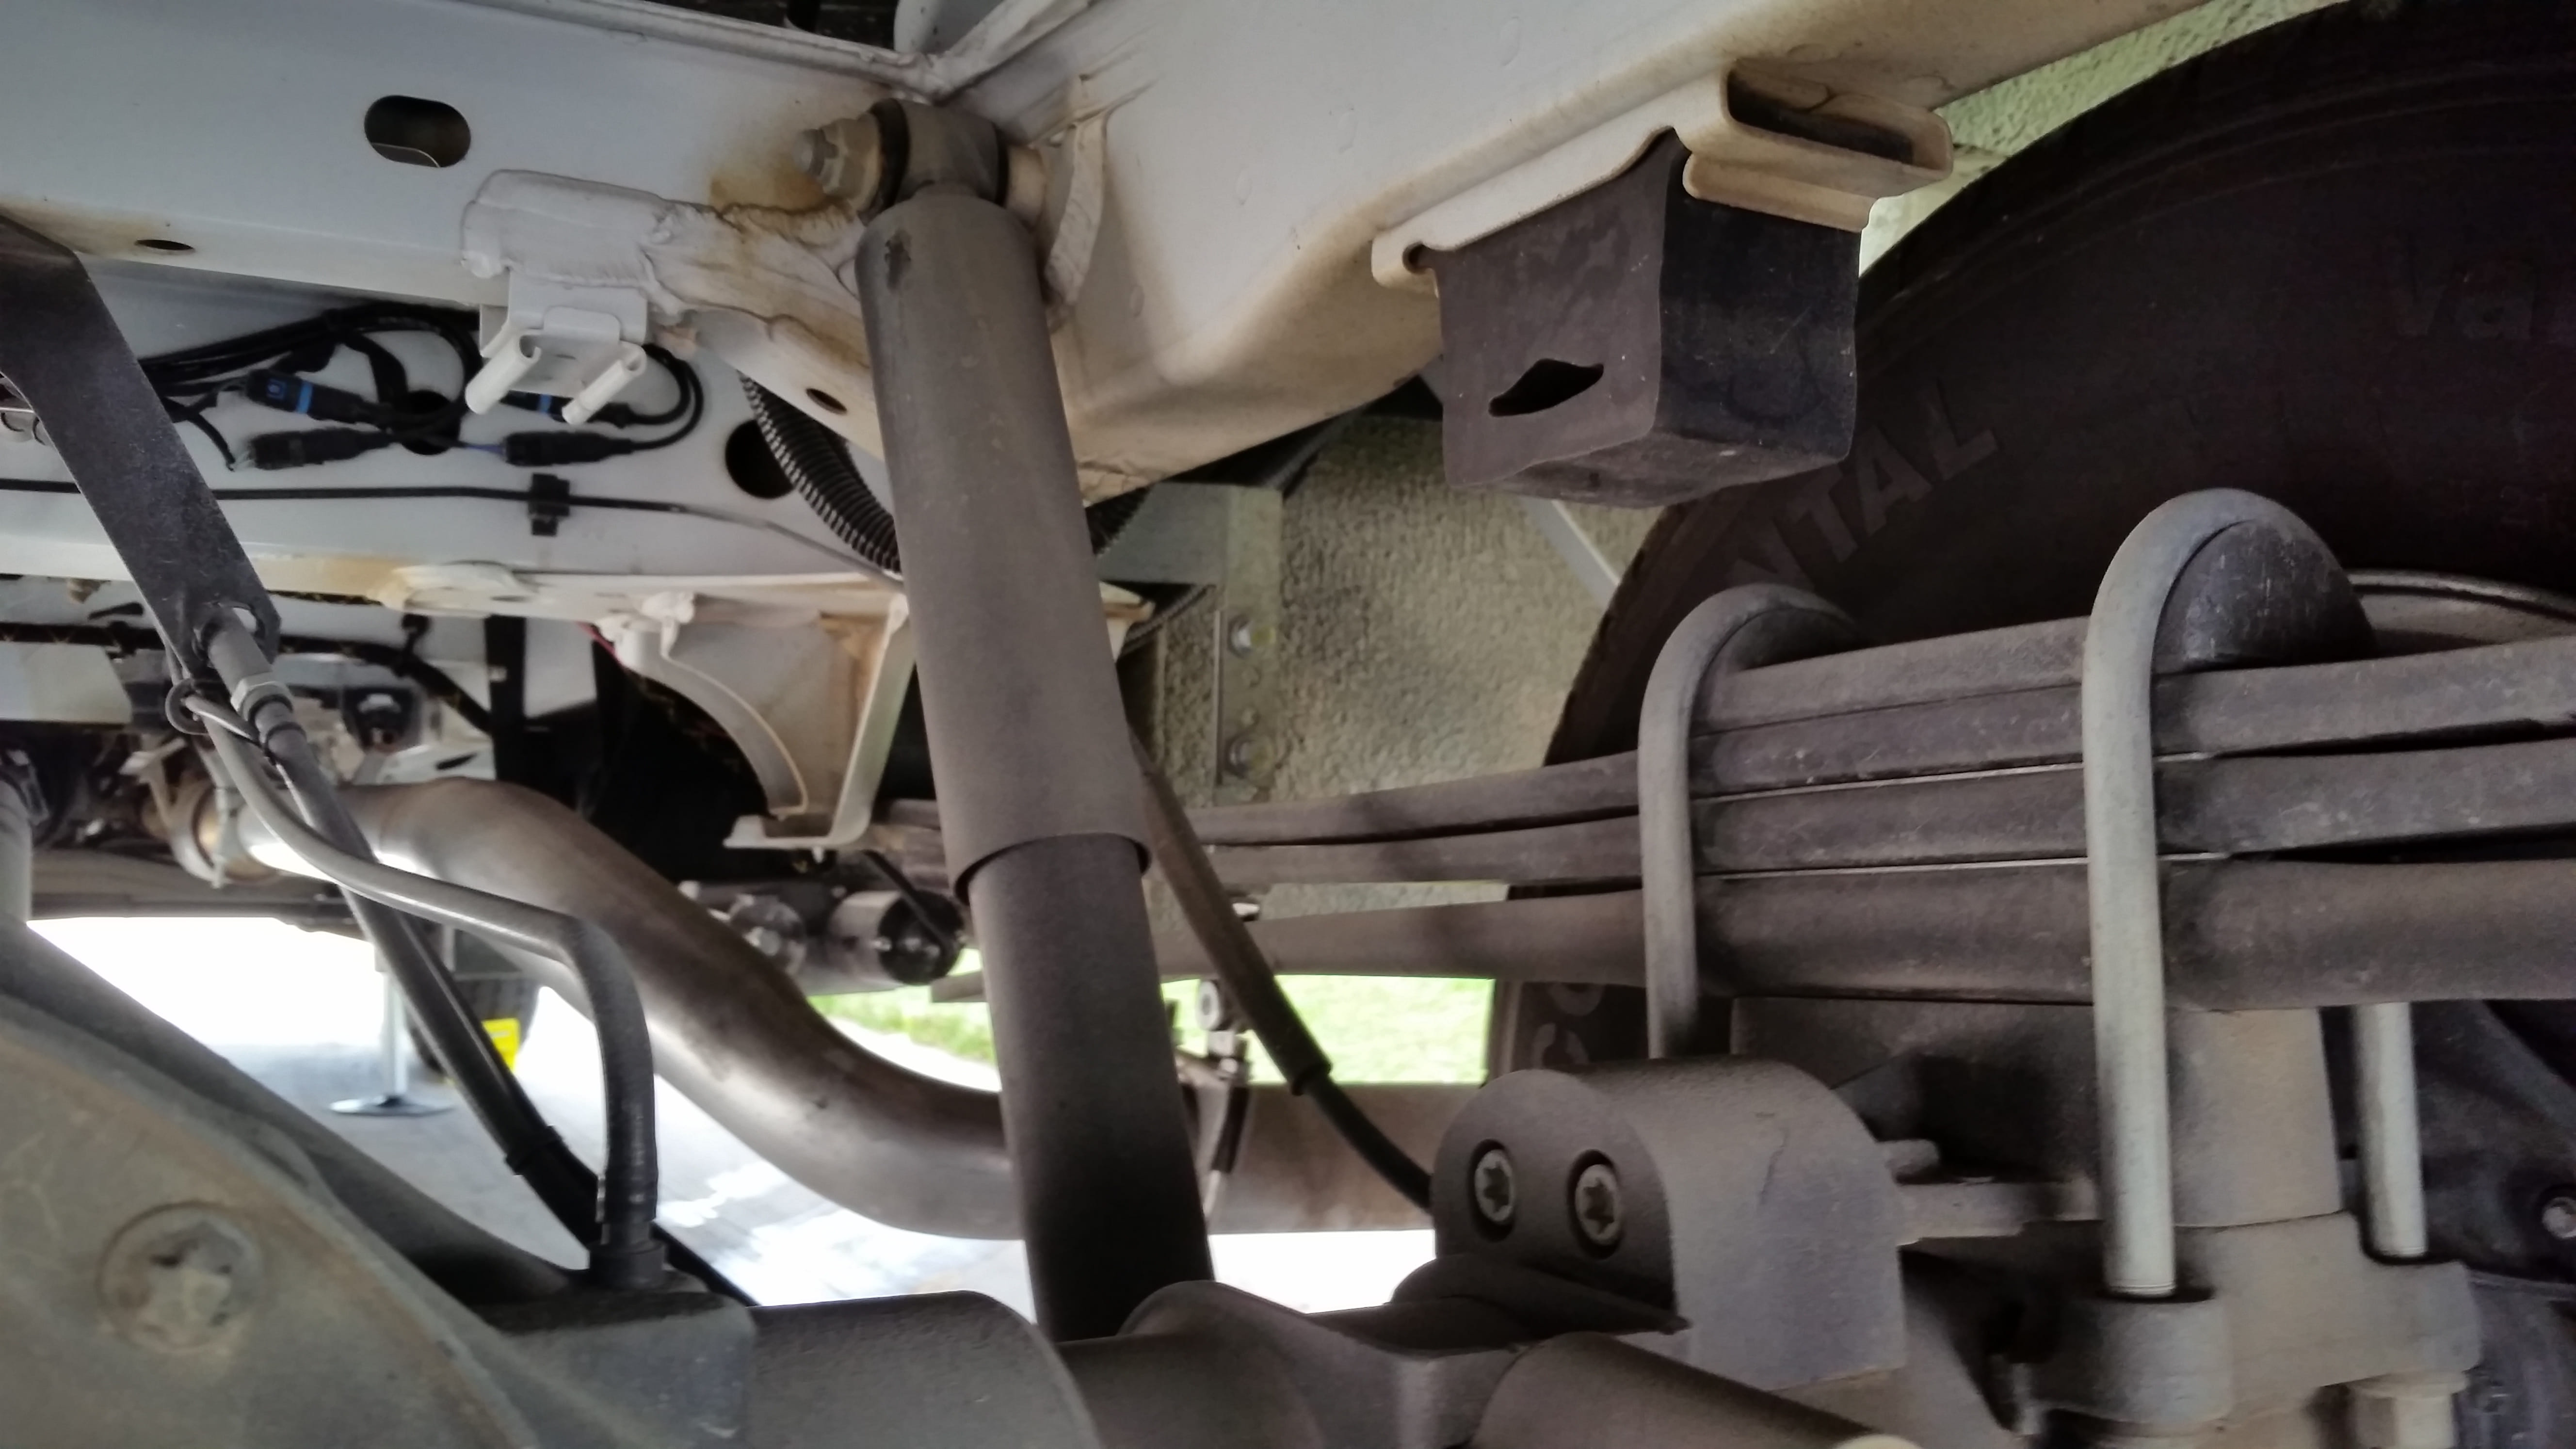
Position yourself under the chassis and identify the rear suspension components. Locate the factory bump-stops, then using a pry bar or beefy flat head screwdriver, remove the OEM bump stops from their position. They really do come our easily, just pull and twist the rubber tabs out of the frame brackets. Set them aside just in case you want to use them again.
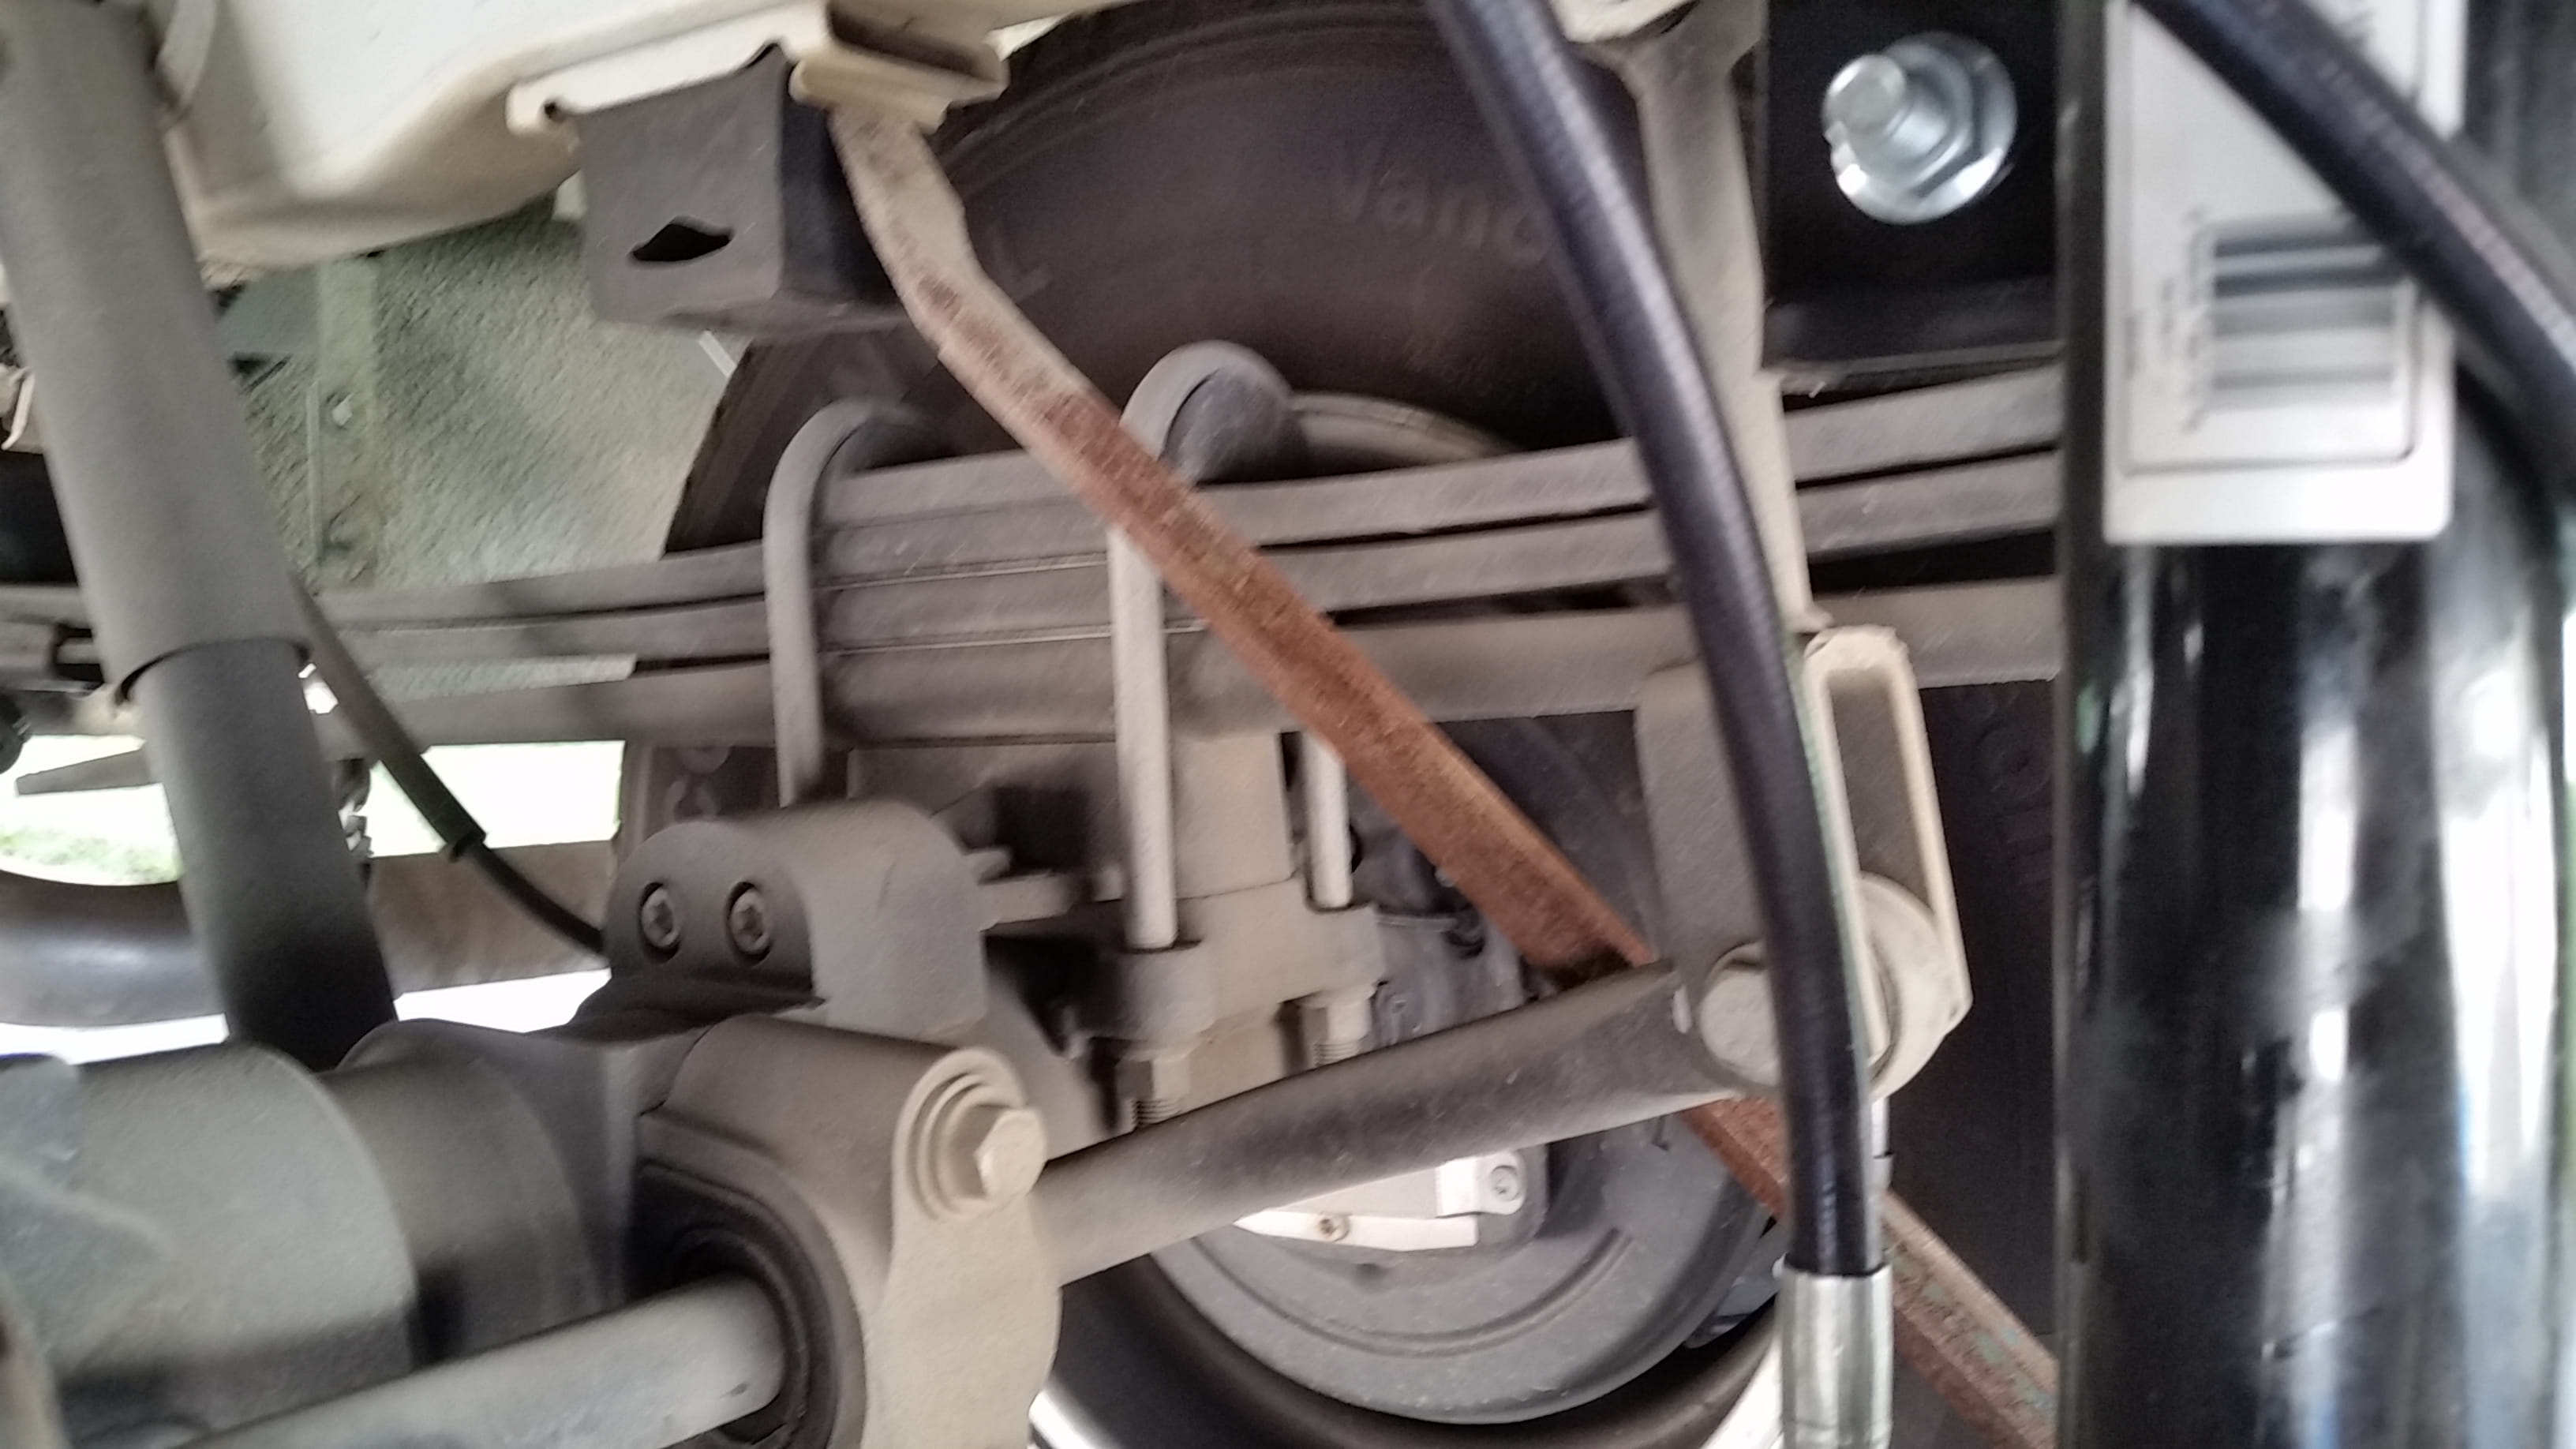
4. Install Sumo Springs
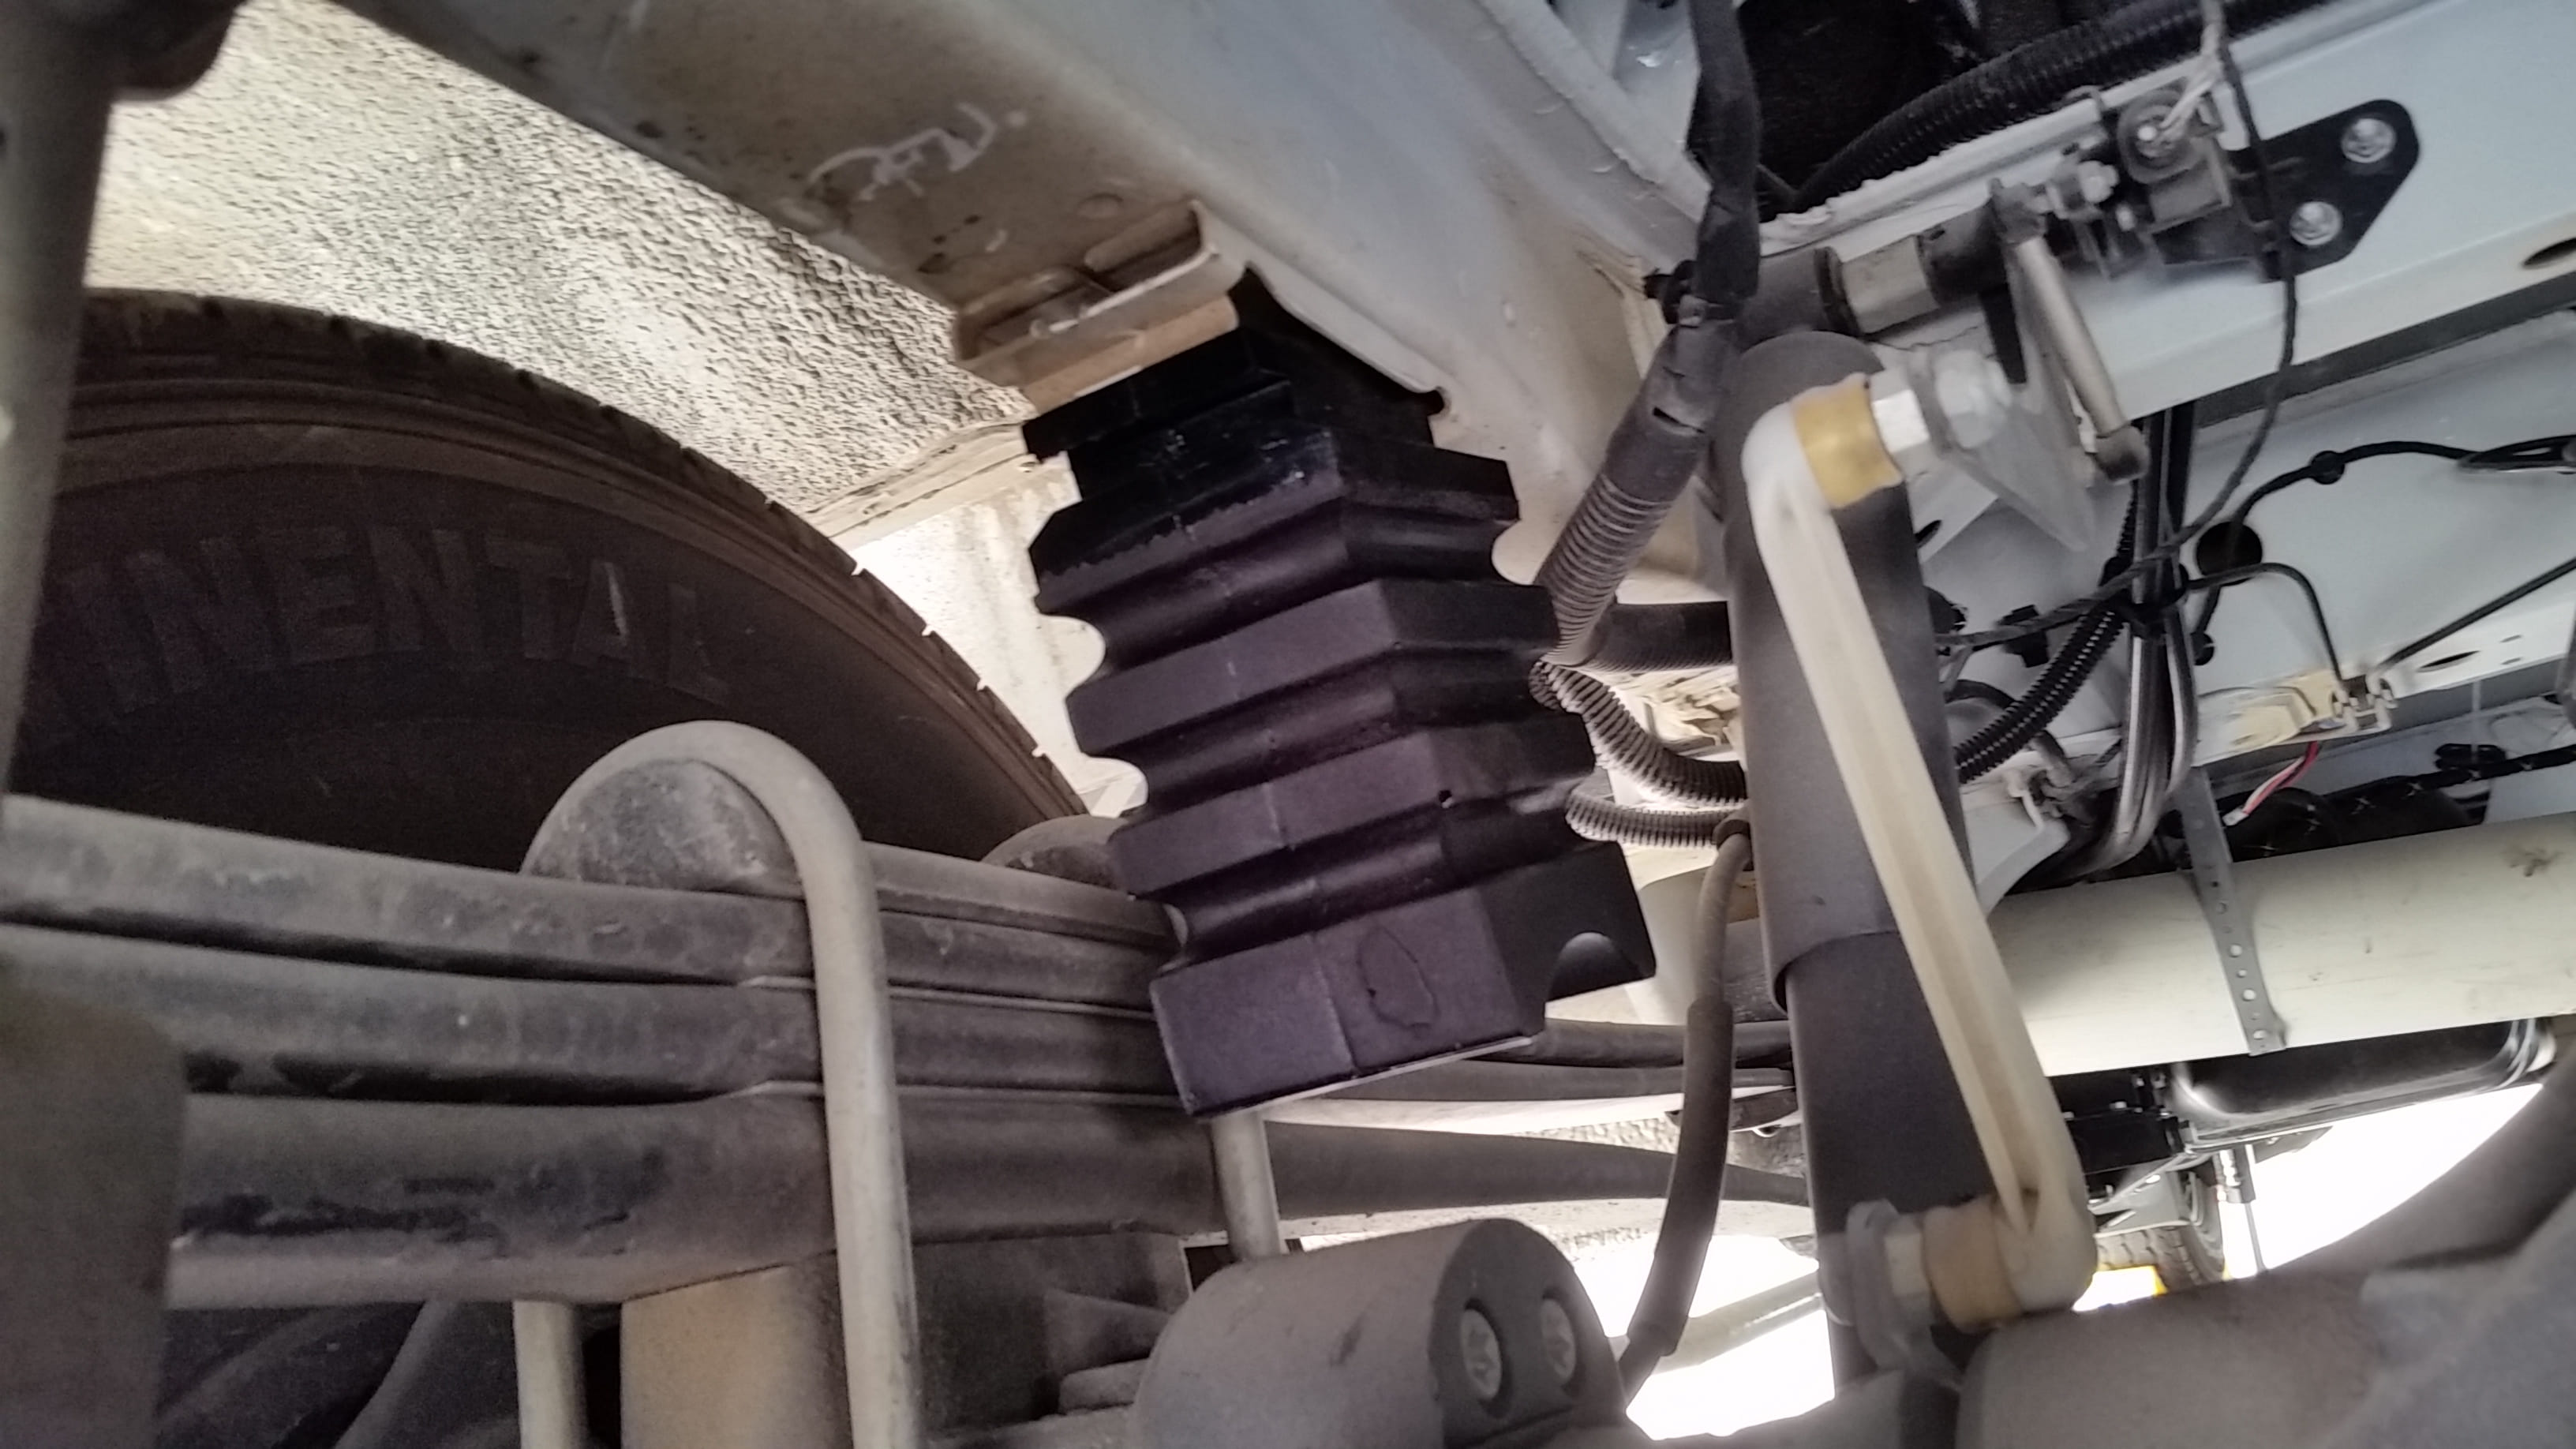

Insert the Sumo Springs into the space previously occupied by the factory bump stops. Insert the tab at an angle into the frame bracket. Push the Sumo so the rear tab is seated as far back into the frame bracket as possible. Then using a pry bar, continue to push the Sumo until the front tab moves into the front frame bracket.
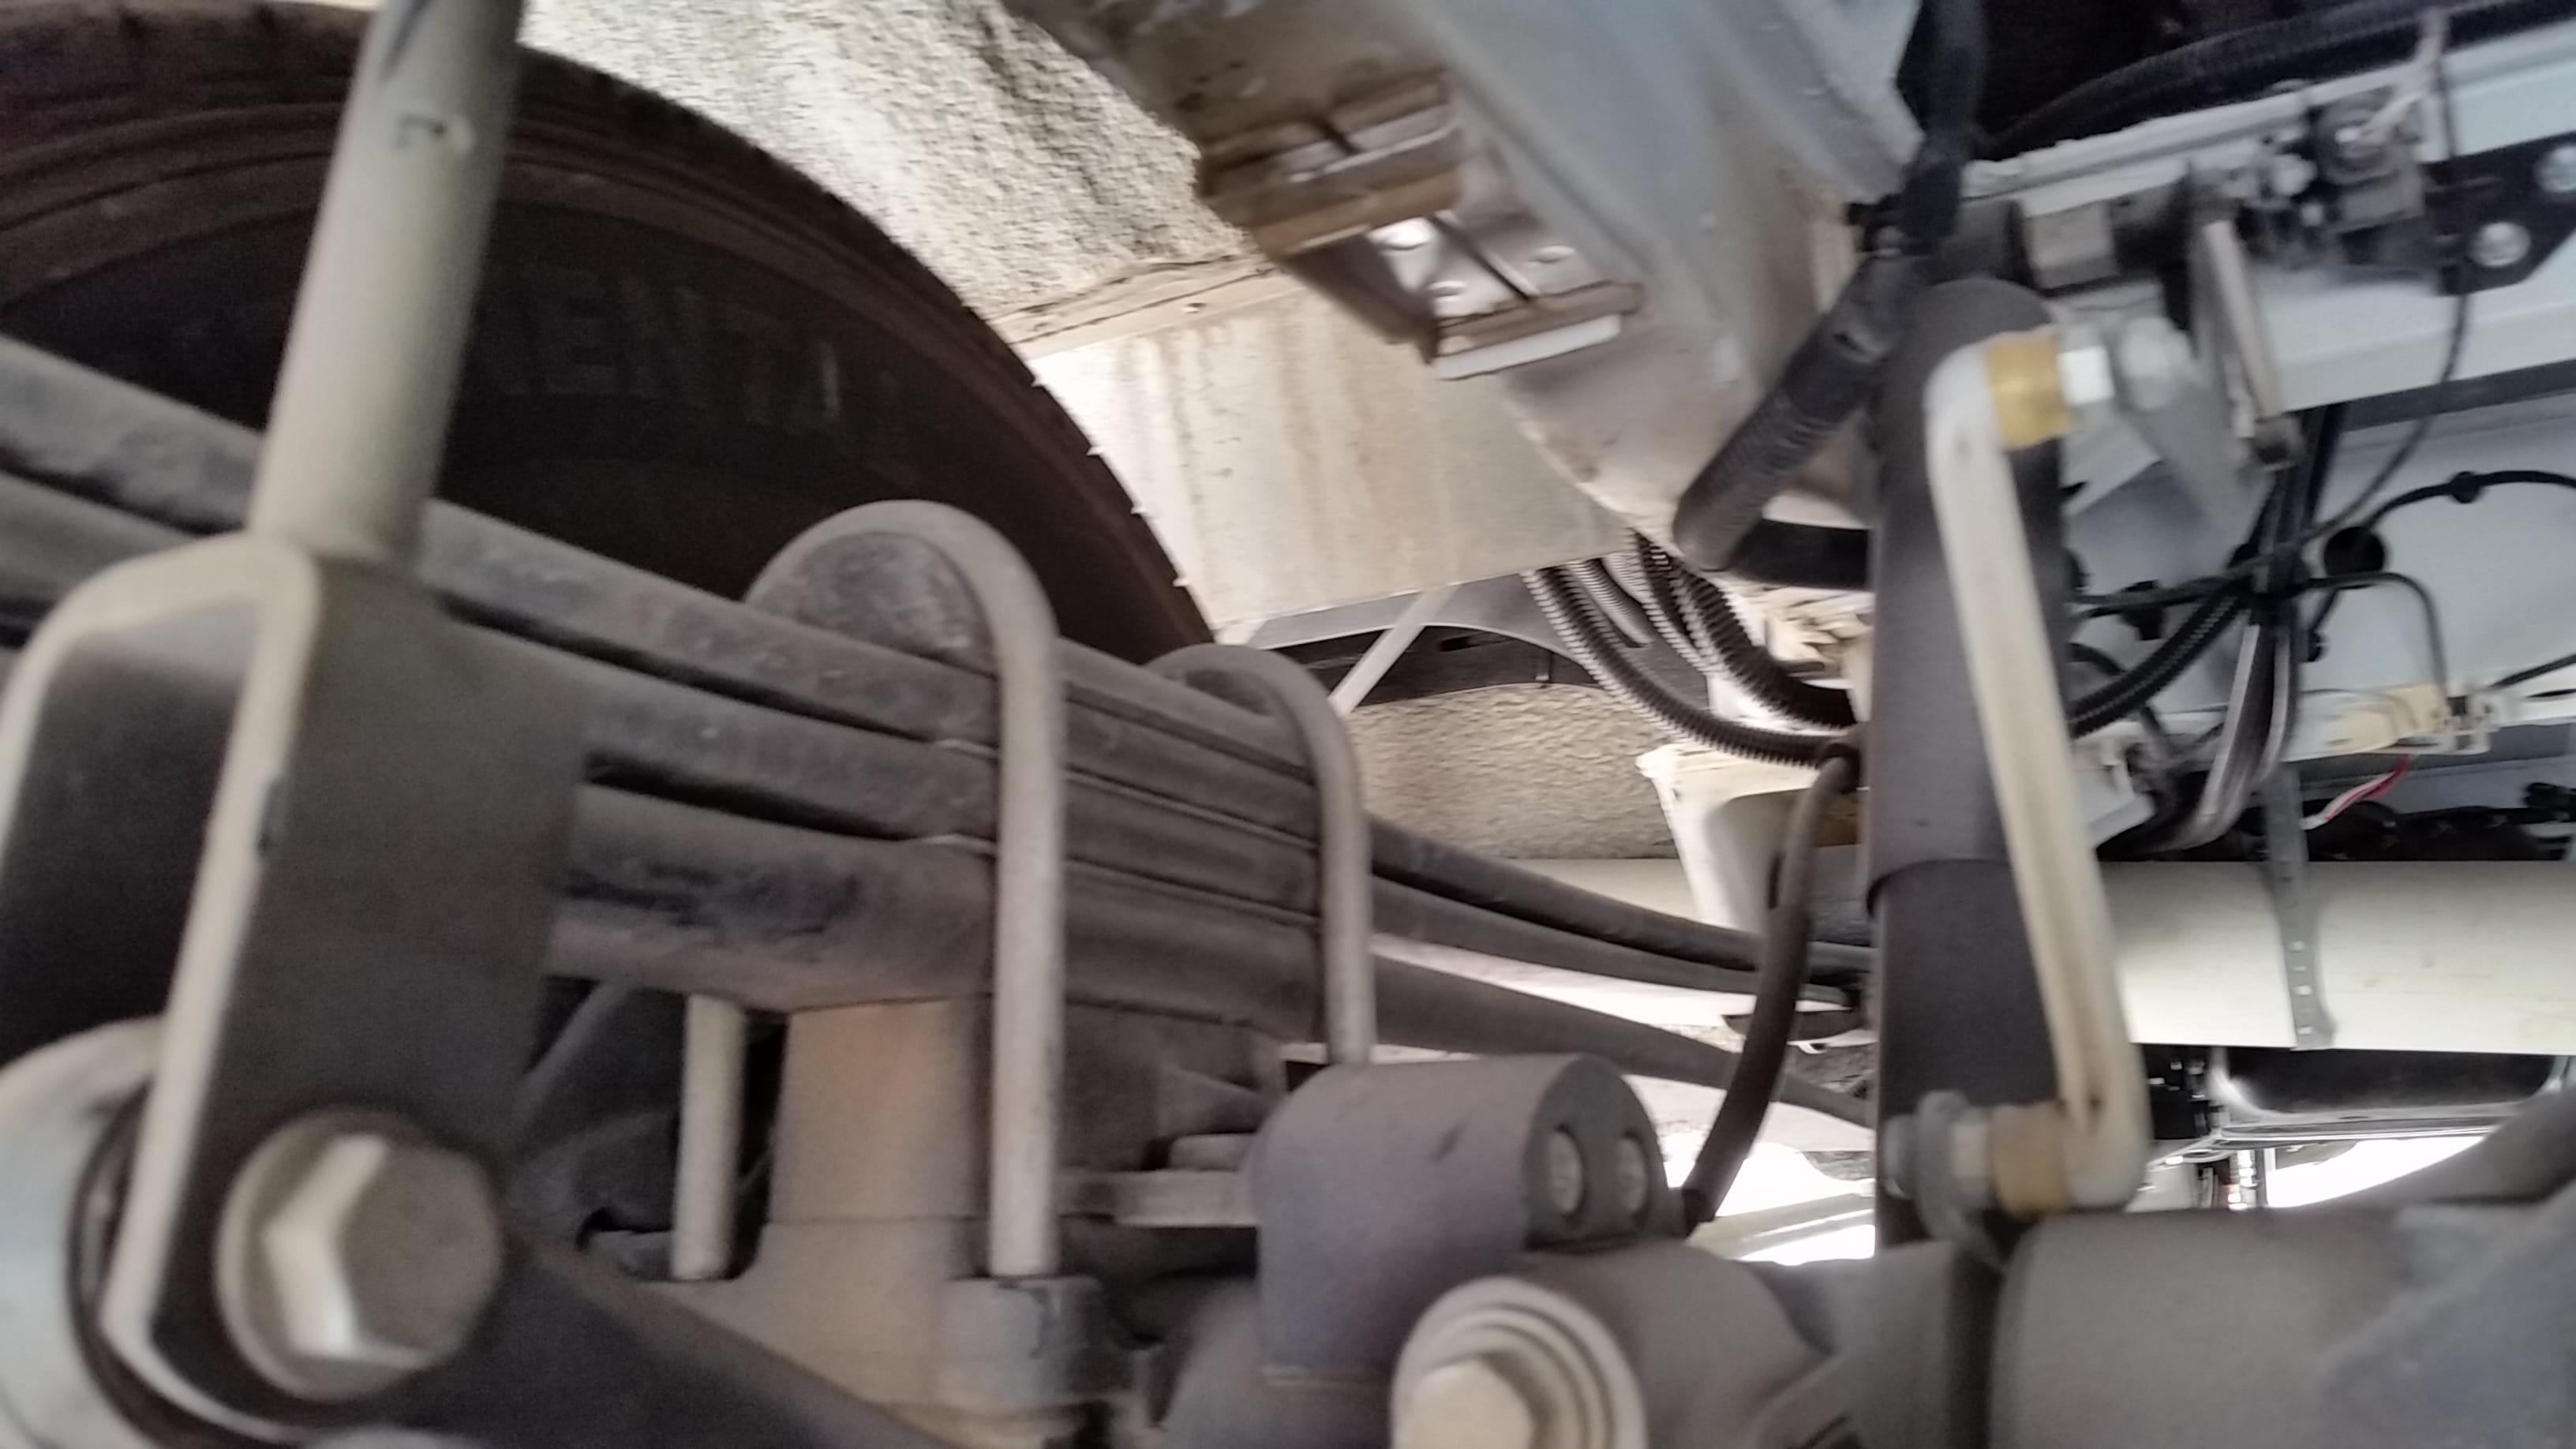
6. Lower the Vehicle
Once both Sumo Springs are securely in place, remove the jack stands and lower the vehicle. On our Unity the Sumo’s come into contact with the axle receiver, this is the way the work.
7. Test Drive
Take your Sprinter for a test drive to evaluate the impact of the newly installed Sumo Springs Pay attention to ride comfort, stability, and any changes in handling.
Conclusion
We really enjoy the improved ride quality and stability that the Sumos brought to our Unity. It helped reduce rear body sway/roll while making turns. It also helped stabilize the coach when 18 wheelers pass you on the interstate, much less of the air push feeling. We did not perceive any degradation to the ride quality and are very happy with this upgrade.