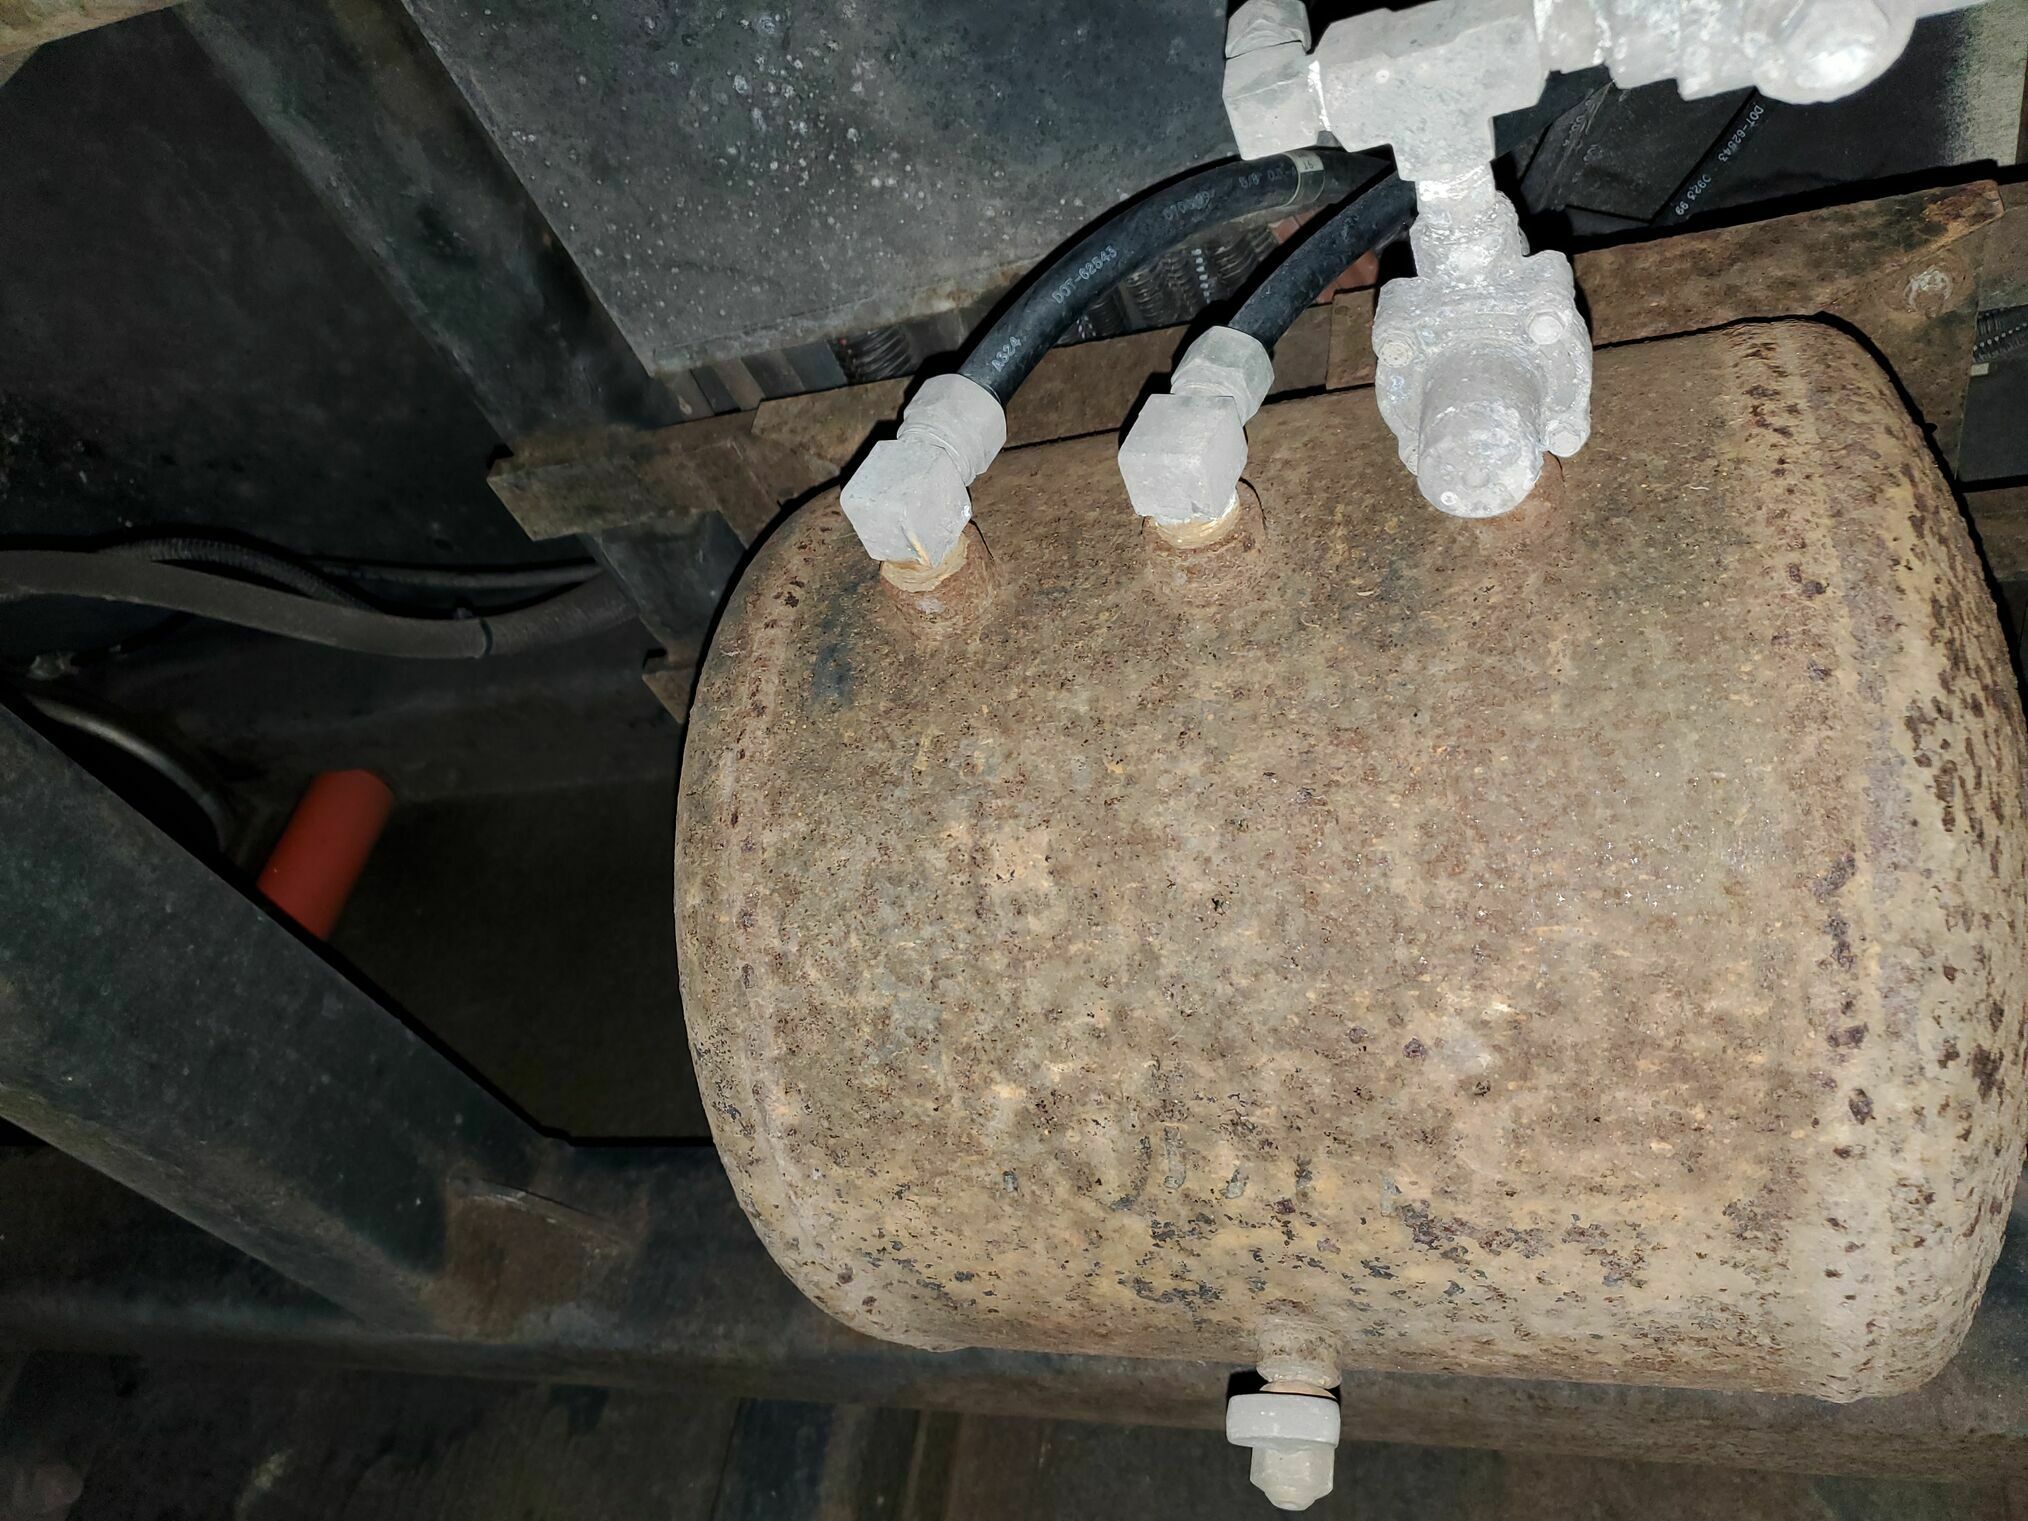
Protecting the macerator hose
Adding a protective sleeve over your RV macerator hose is a smart idea to prevent damage and extend its life. The macerator hose is not very robust and can get pinhole leaks due to being pulled out of the storage compartment and from abrasion while on the ground during pumping.
1. Measure the Existing Hose
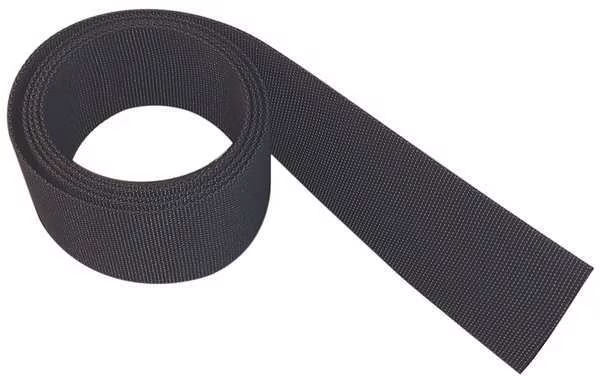
Measure the (extended) length and diameter of your hose to determine the size of protective sleeve you’ll need. We needed a 25’ sleeve and decided on a ~1.5” inside diameter. We wanted something that the would fit over the existing hose but not be overly bulky. At first we had a 2.25” I.D. sleeve but felt that was to big. The Hose Warehouse sells by the foot, so that is a one way to test out various sizes.
For our case, we ended up with an Eaton / Aeroquip FC425-24X25 Nylon Abrasive Protective Sleeve, which has a 1.59” inside diameter. You can find this at many places, Grainger for example. Be sure to shop around as the price can vary greatly.
2. Install the Sleeve
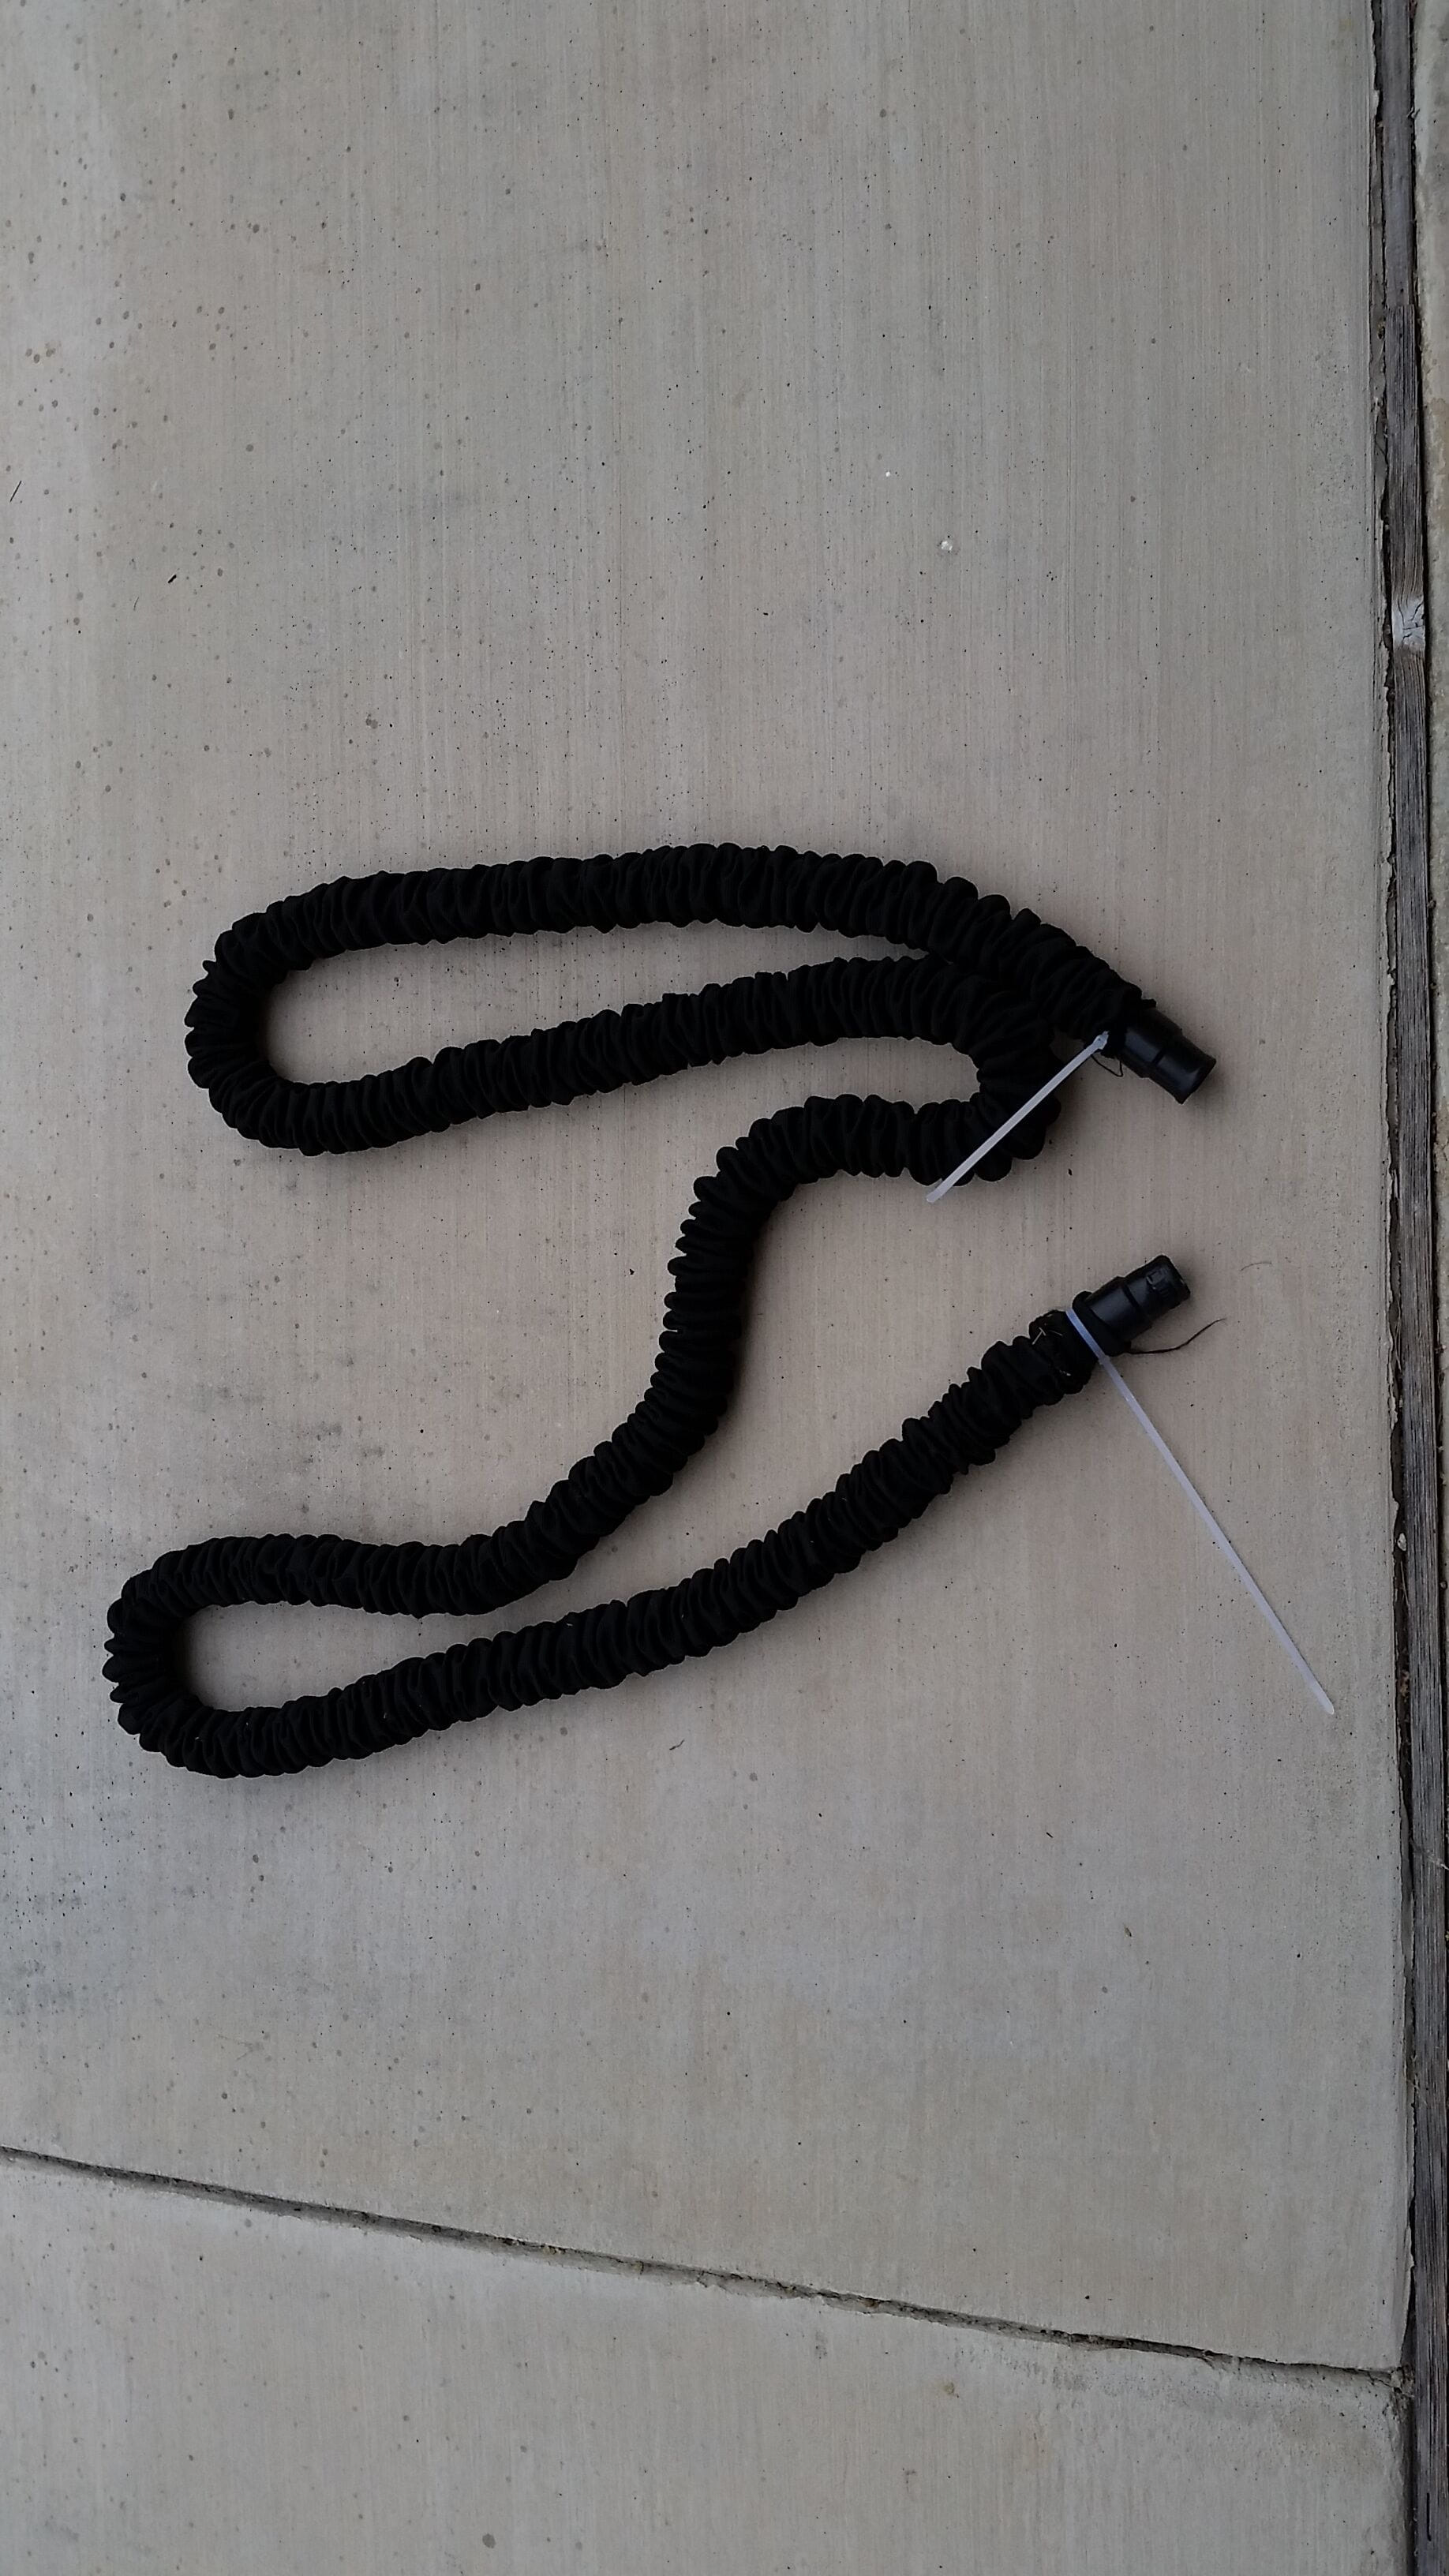
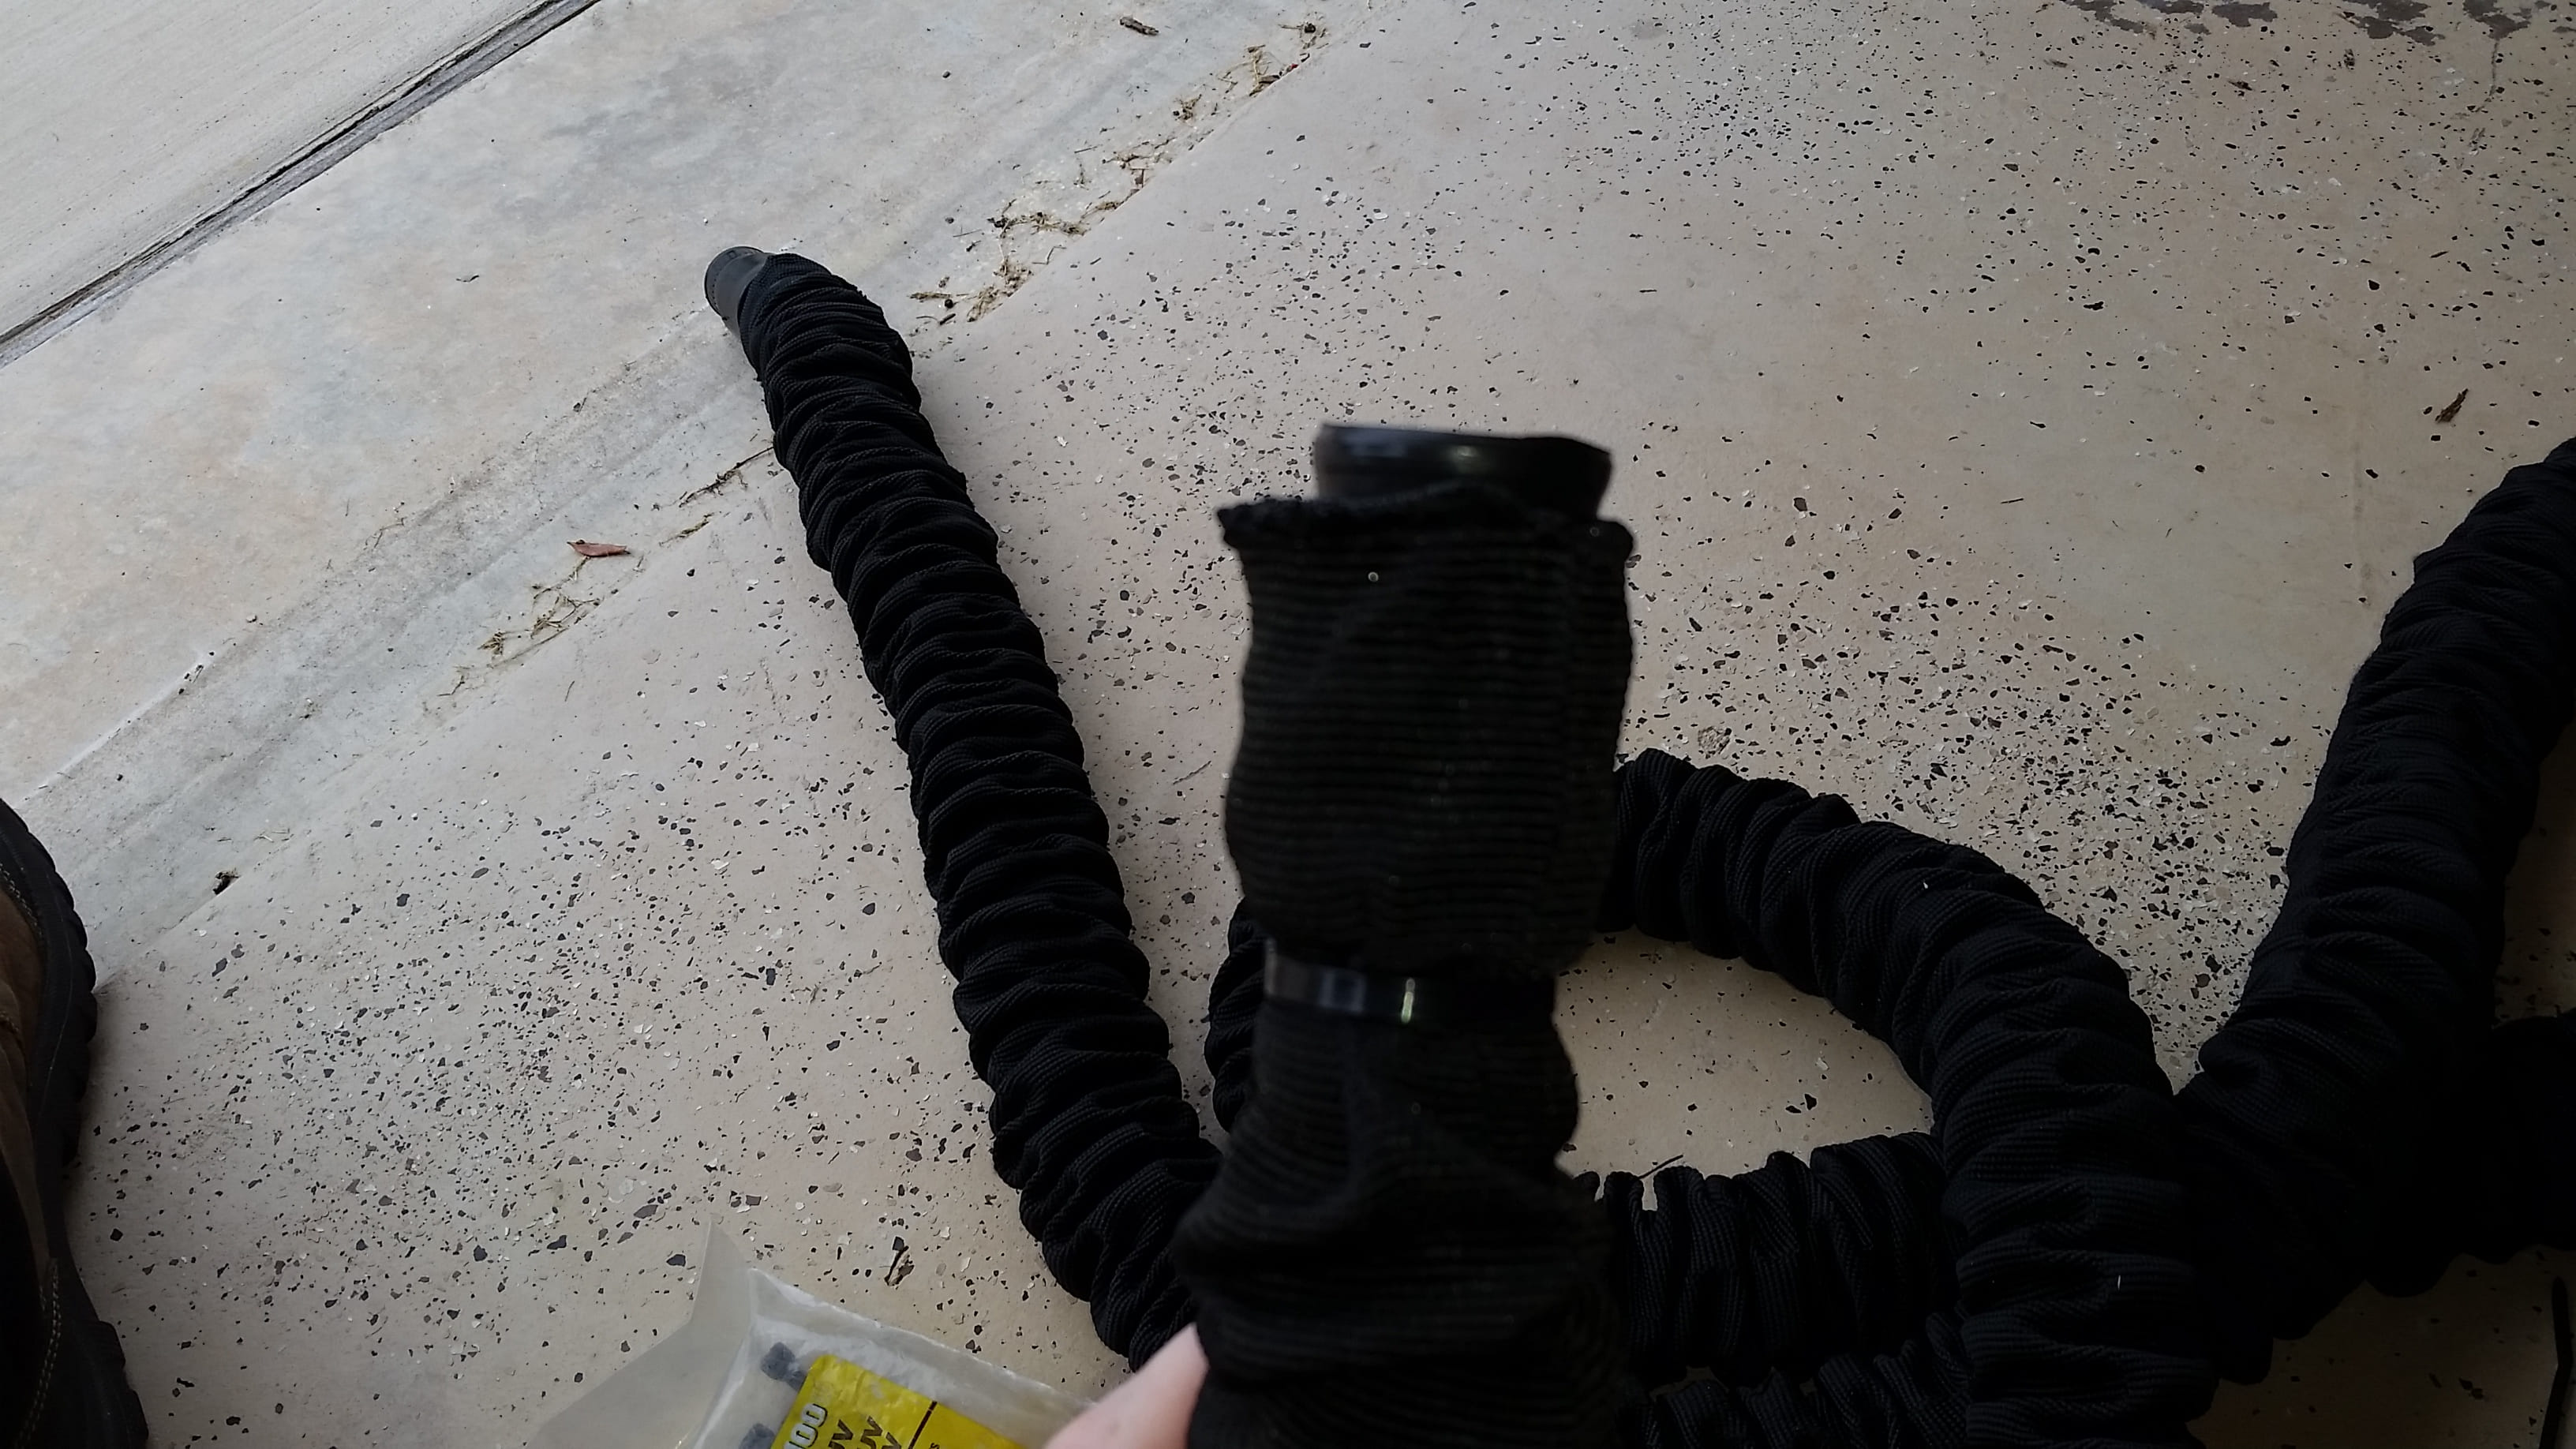
Slide the protective sleeve over the macerator hose, starting from one end and working your way to the other. Ensure that the entire hose is covered. Sounds easy right? The issue is that the extended hose is 25’, but its normal length is much less, so that nylon sleeve needs to be bunched up to “fit” on.
Our solution was to securely attach an extension pole (like a broom handle) to one end of the hose. Then we started with sliding the sleeve over the hose and temporally securing one end of the hose to the sleeve with a tie-wrap, about 6 inches from the end. Then get a hold of the end of that extension pole, and pull/extend/stretch out the macerator hose until it appears from the sleeve. Once again temporarily tie wrap that in place.
3. Cut to Size
If the protective sleeve is longer than your extended macerator hose, you may want cut it to the appropriate length using scissors or a utility knife. We found the 25’ was fine for our setup.
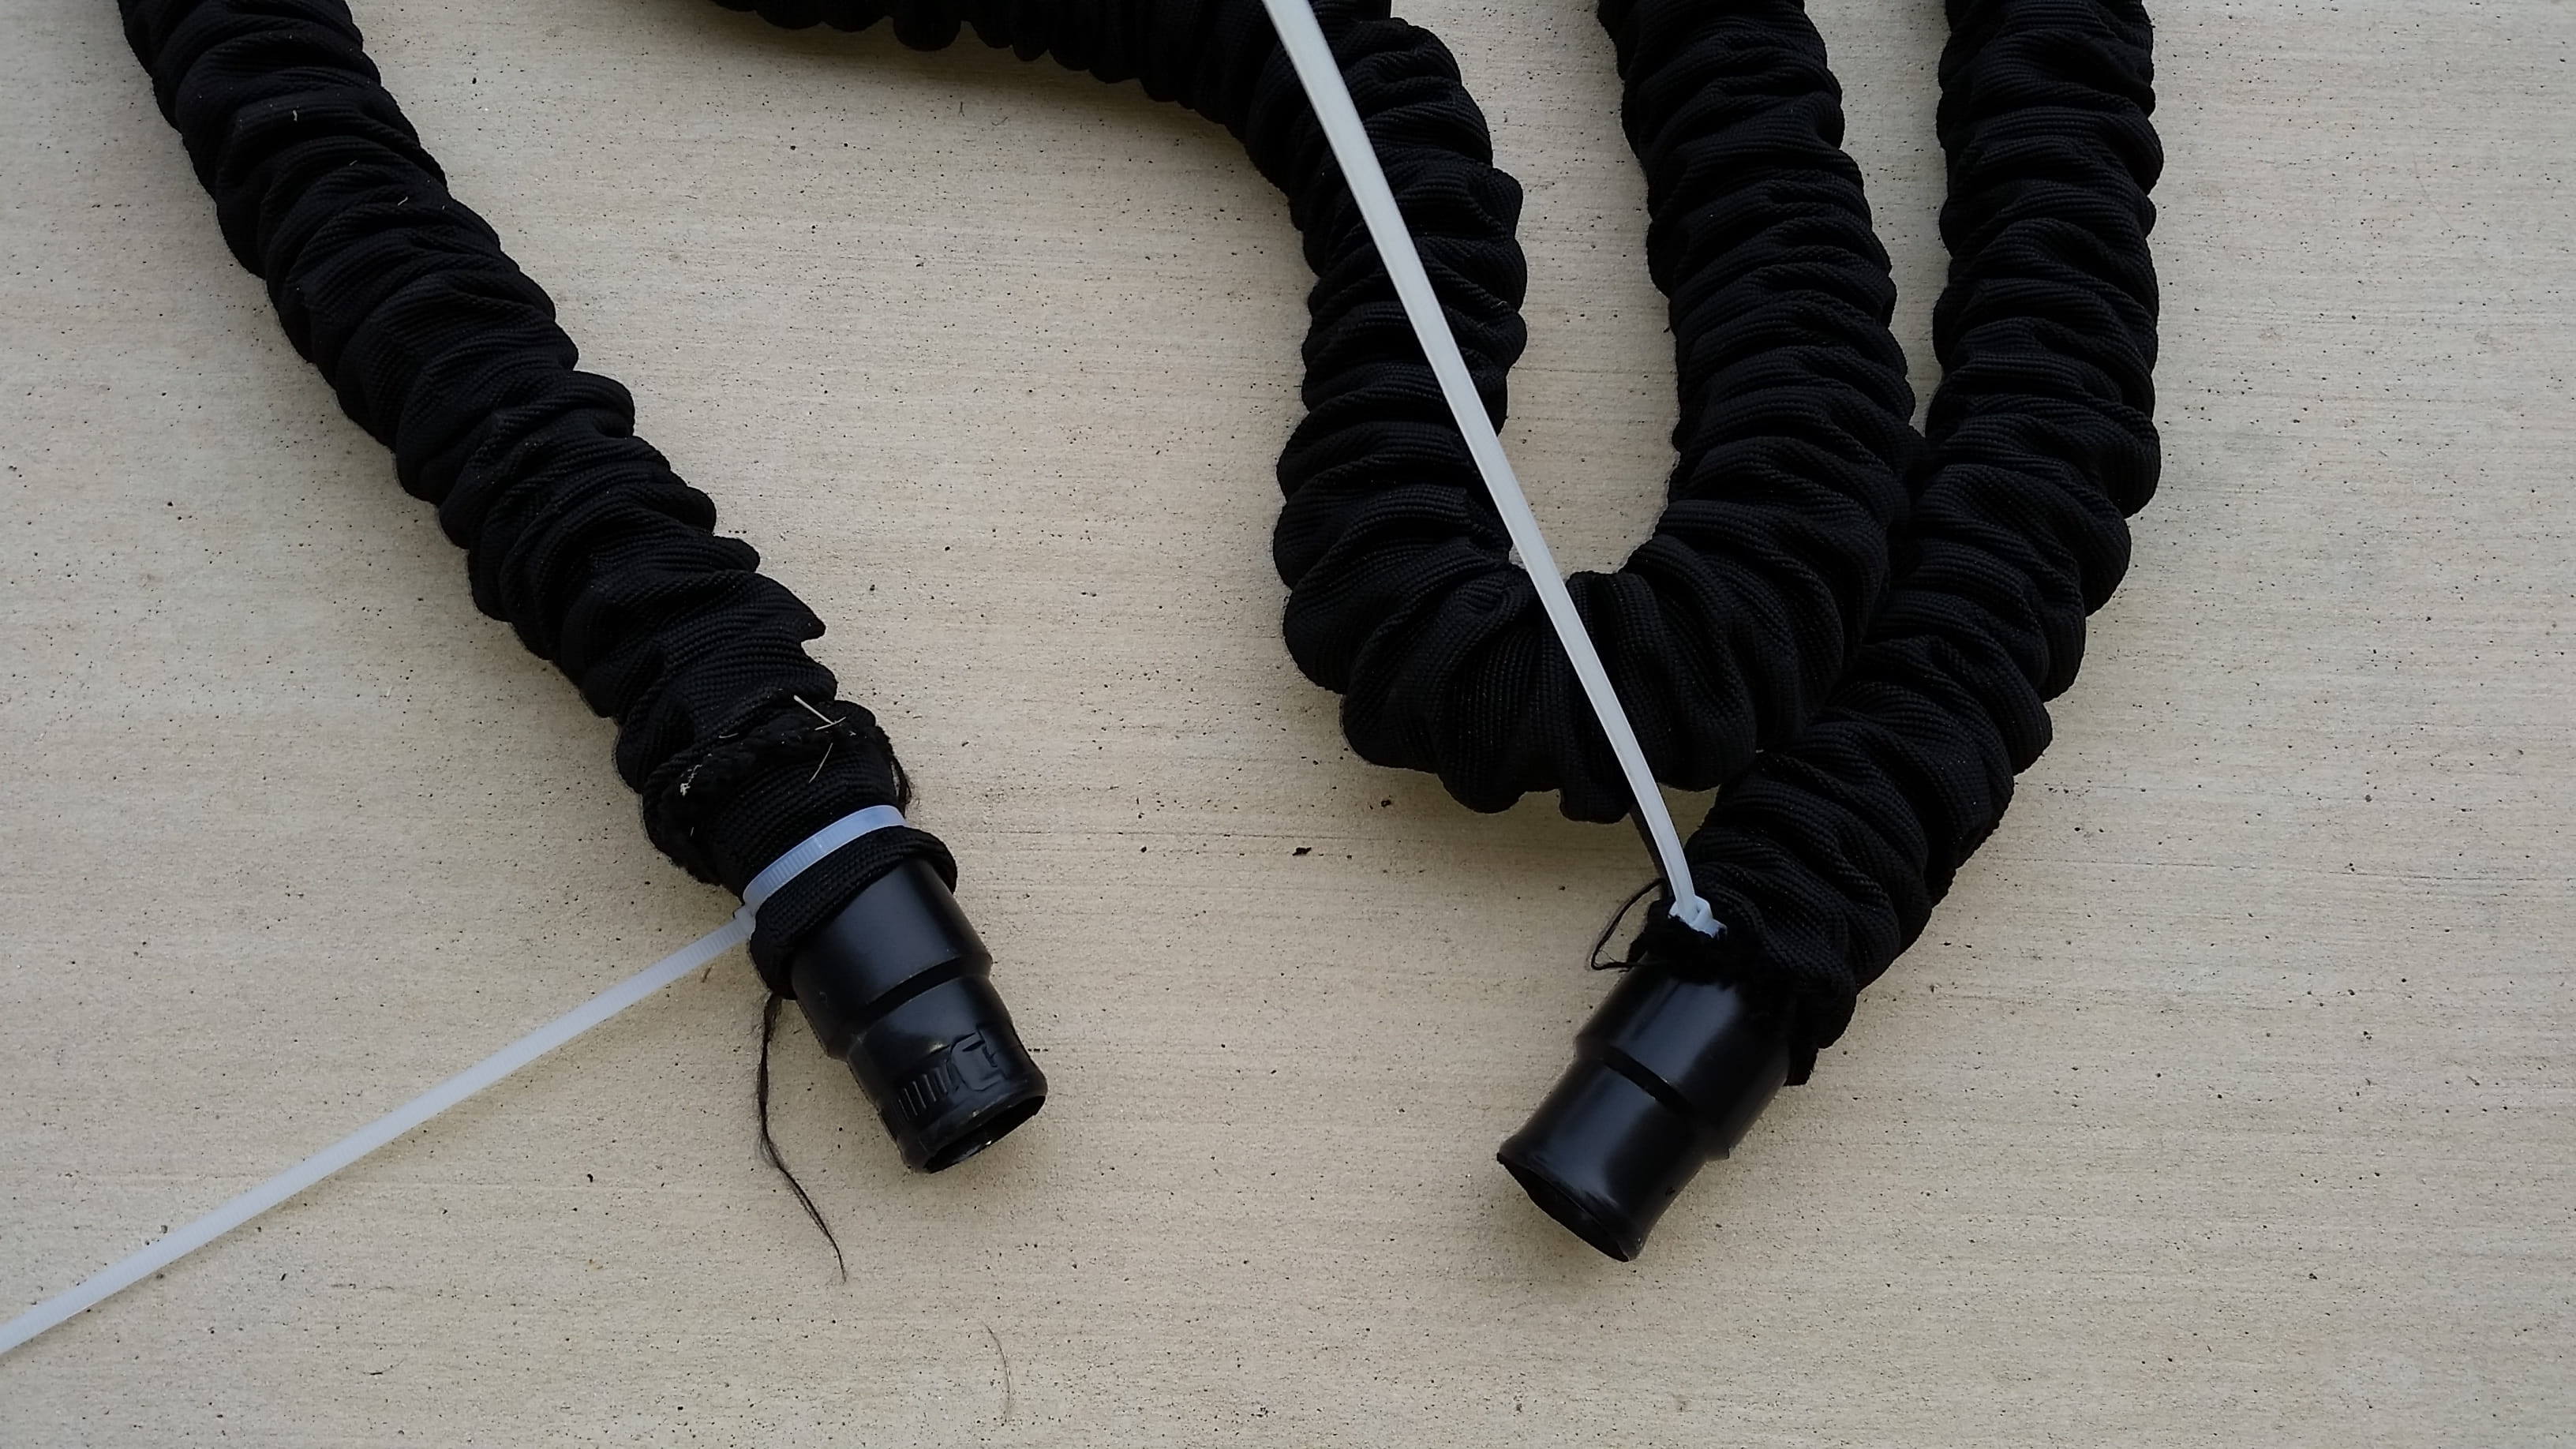
4. Secure the Ends
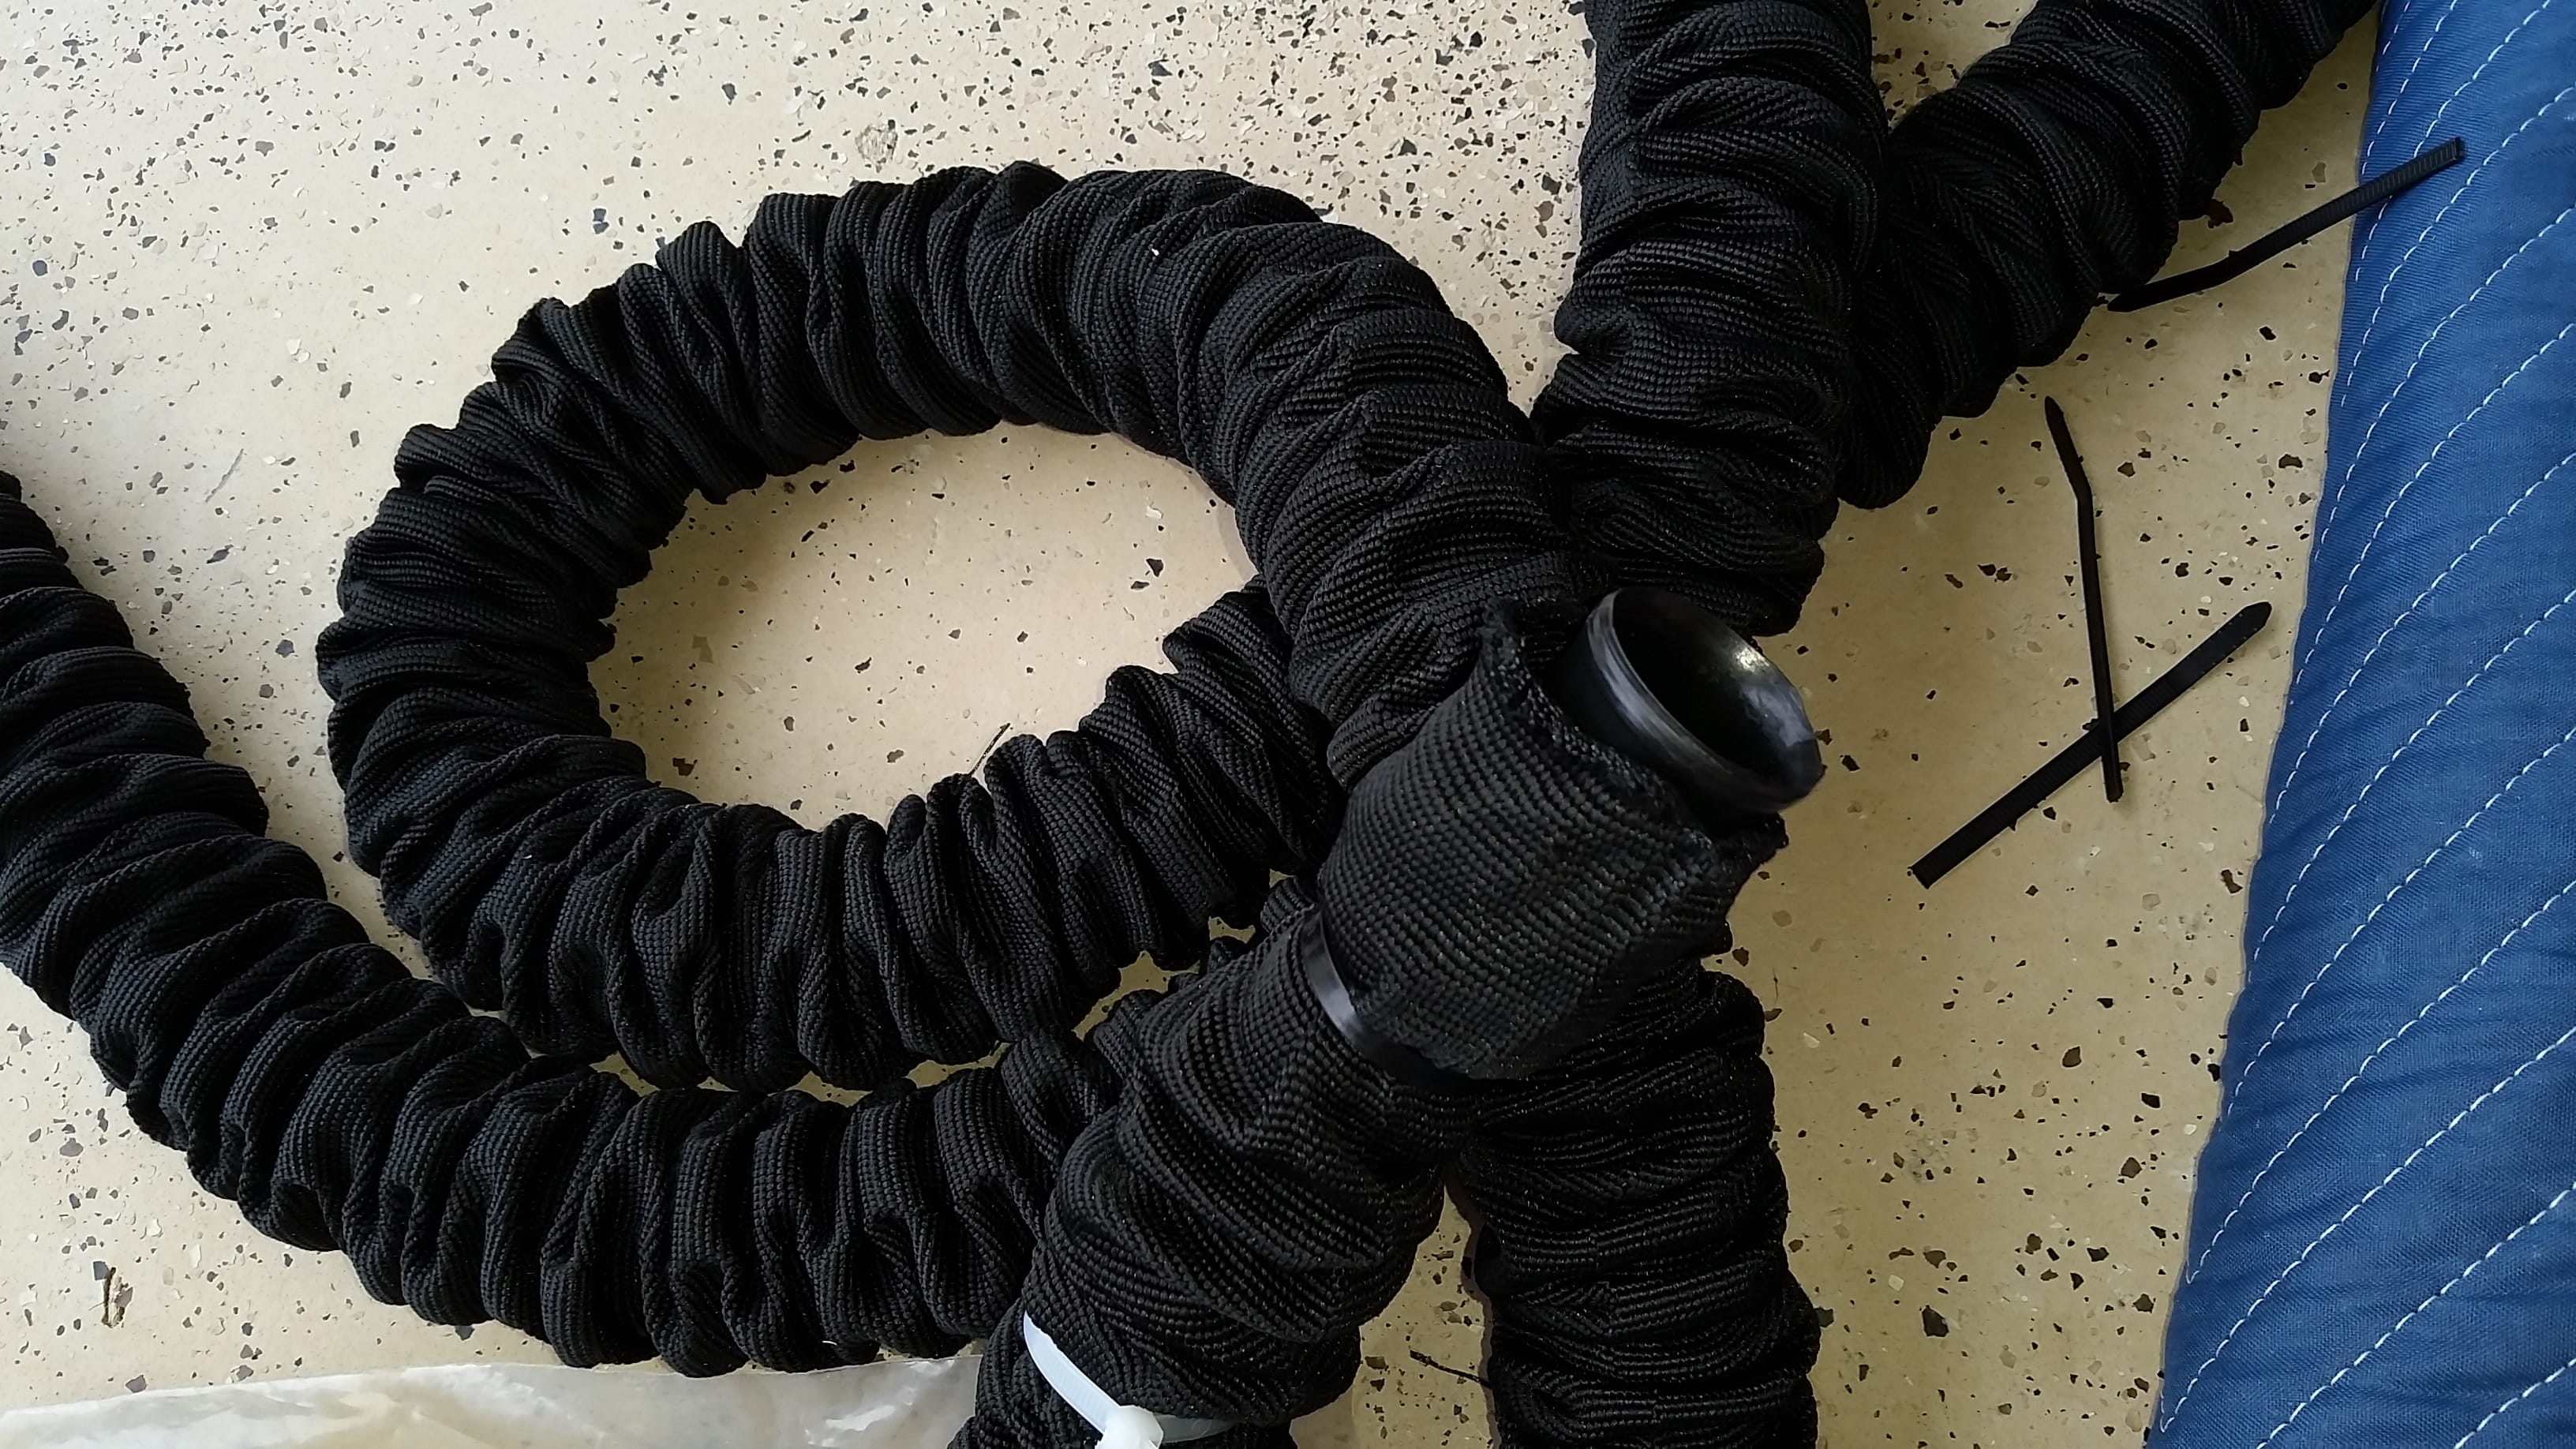
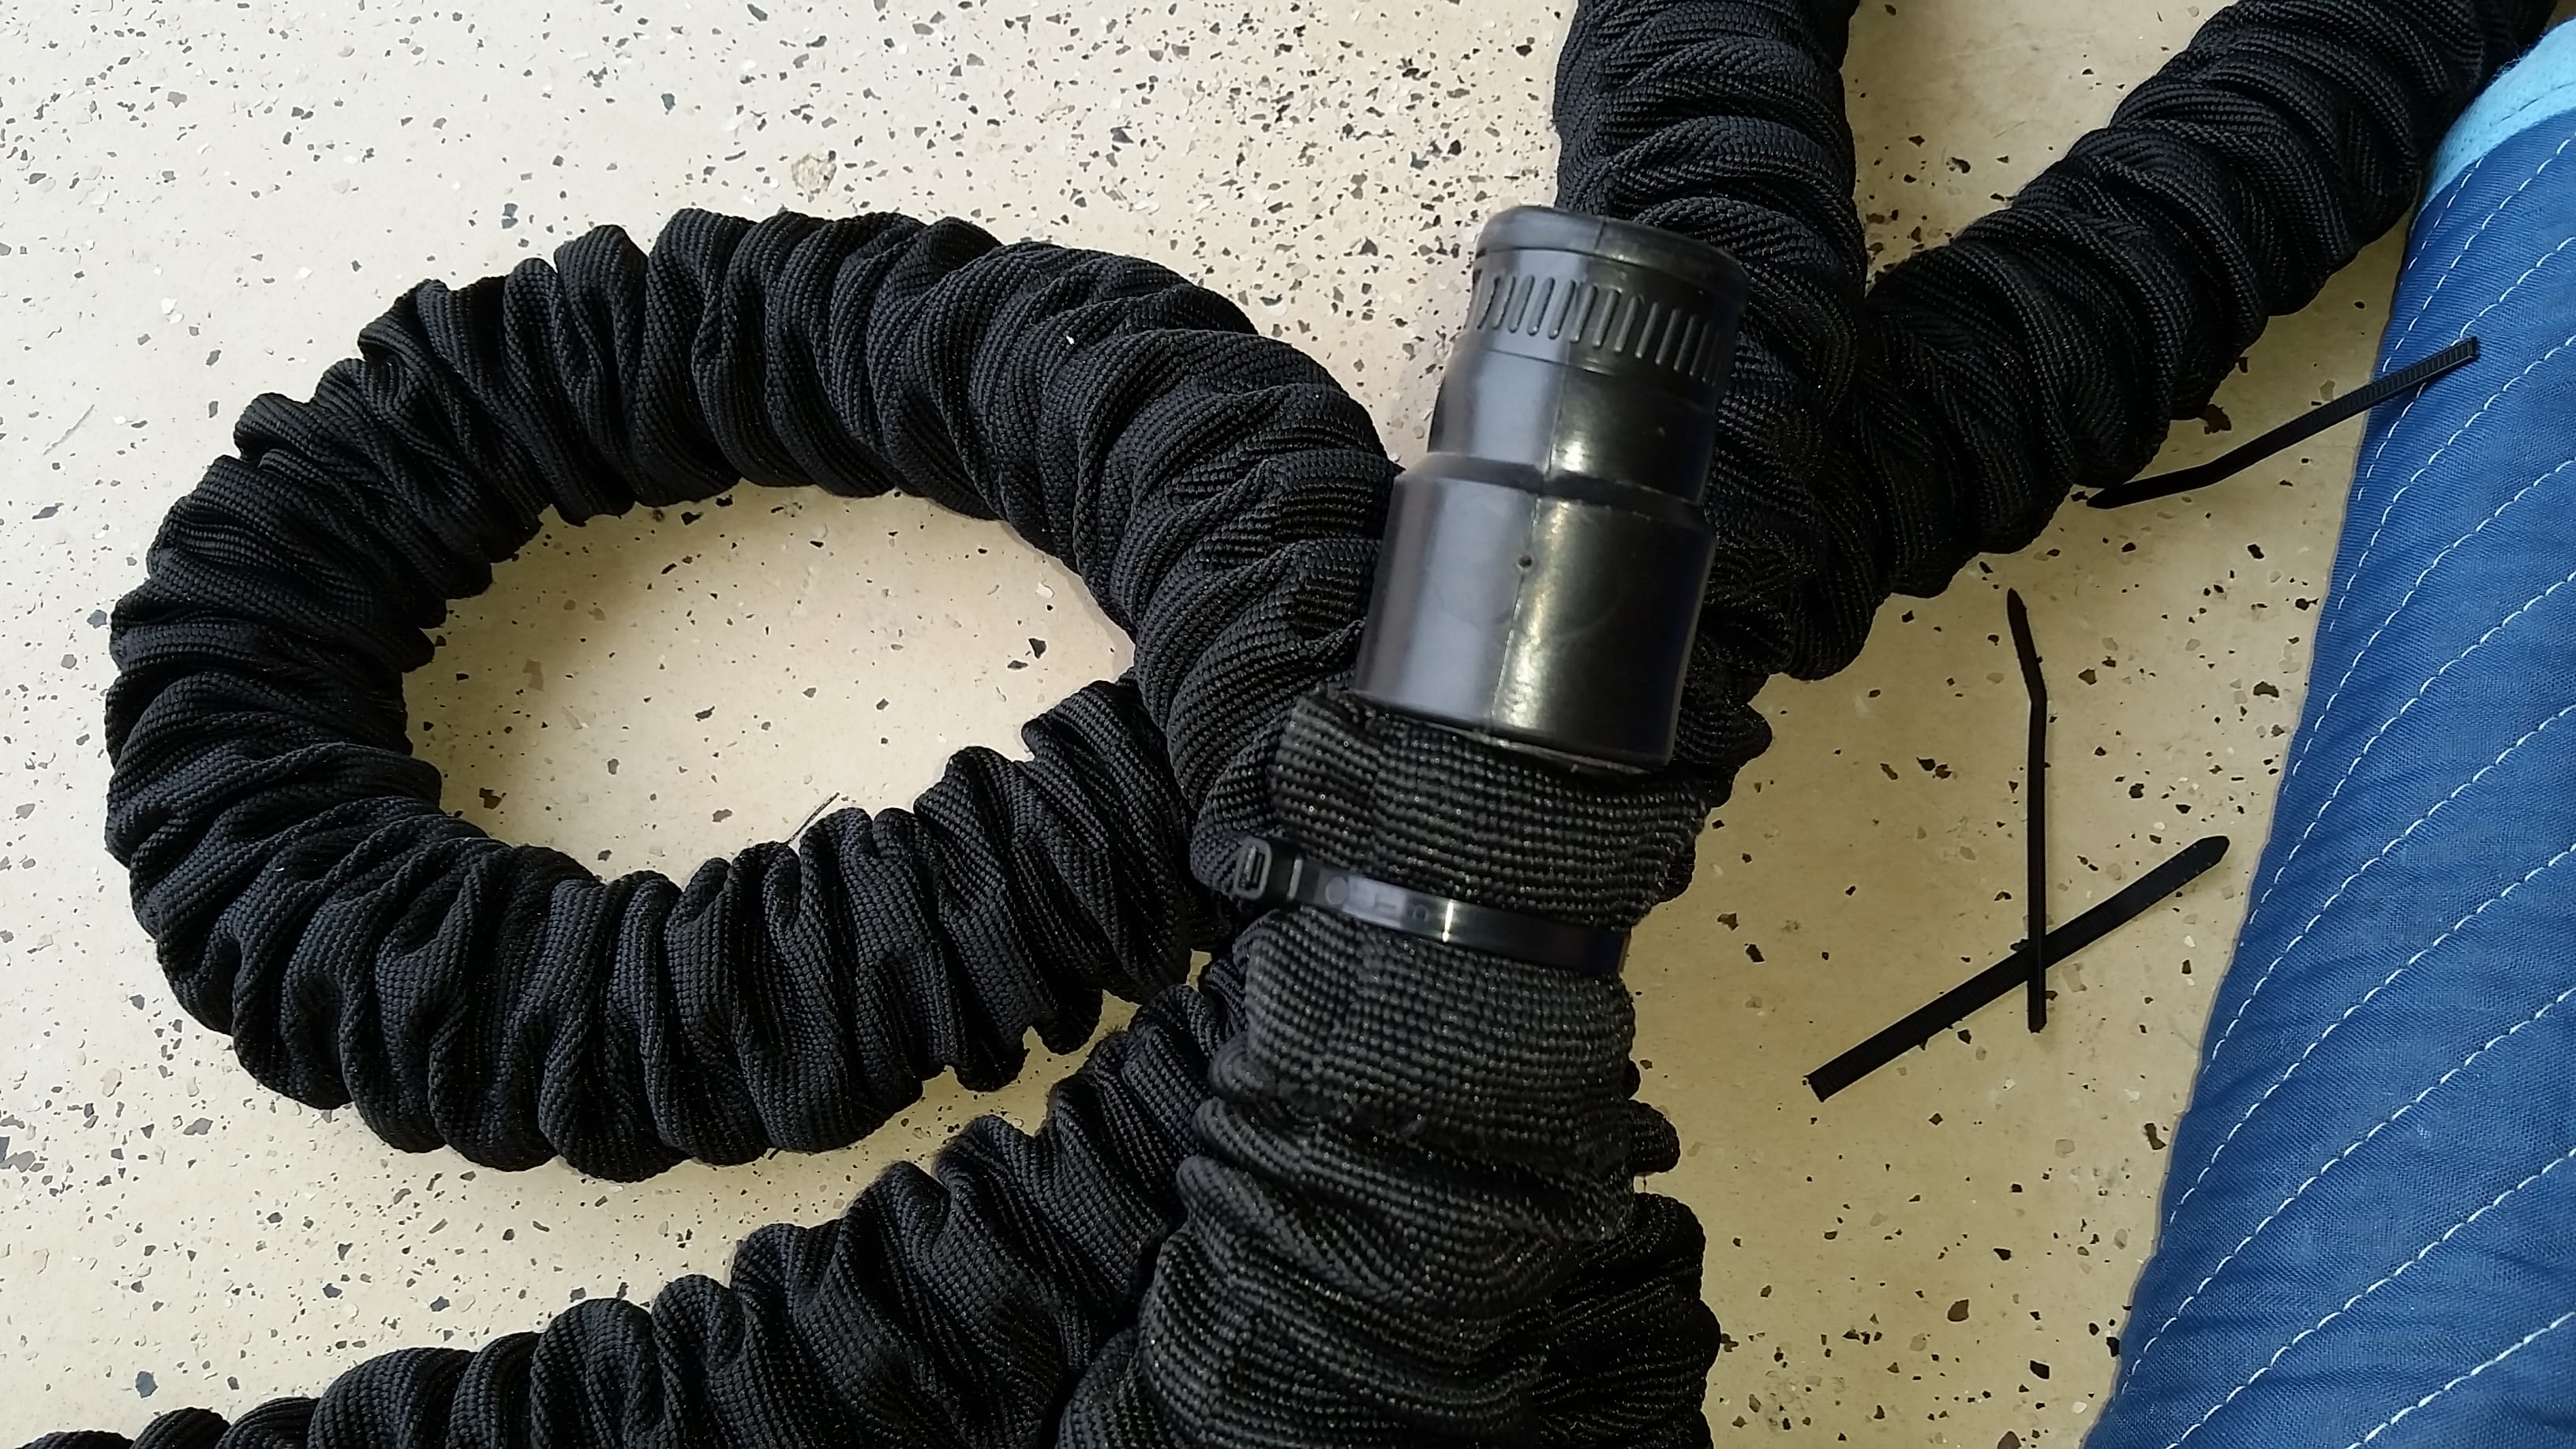
To permanently secure the ends we extended about 4” of sleeve past the hose end and secured it with a tie wrap, then folded the extra over, like a shirt cuff, and again secured that with a tie wrap. Once done those temporary tie wraps can be removed.
6. Check for Accessibility
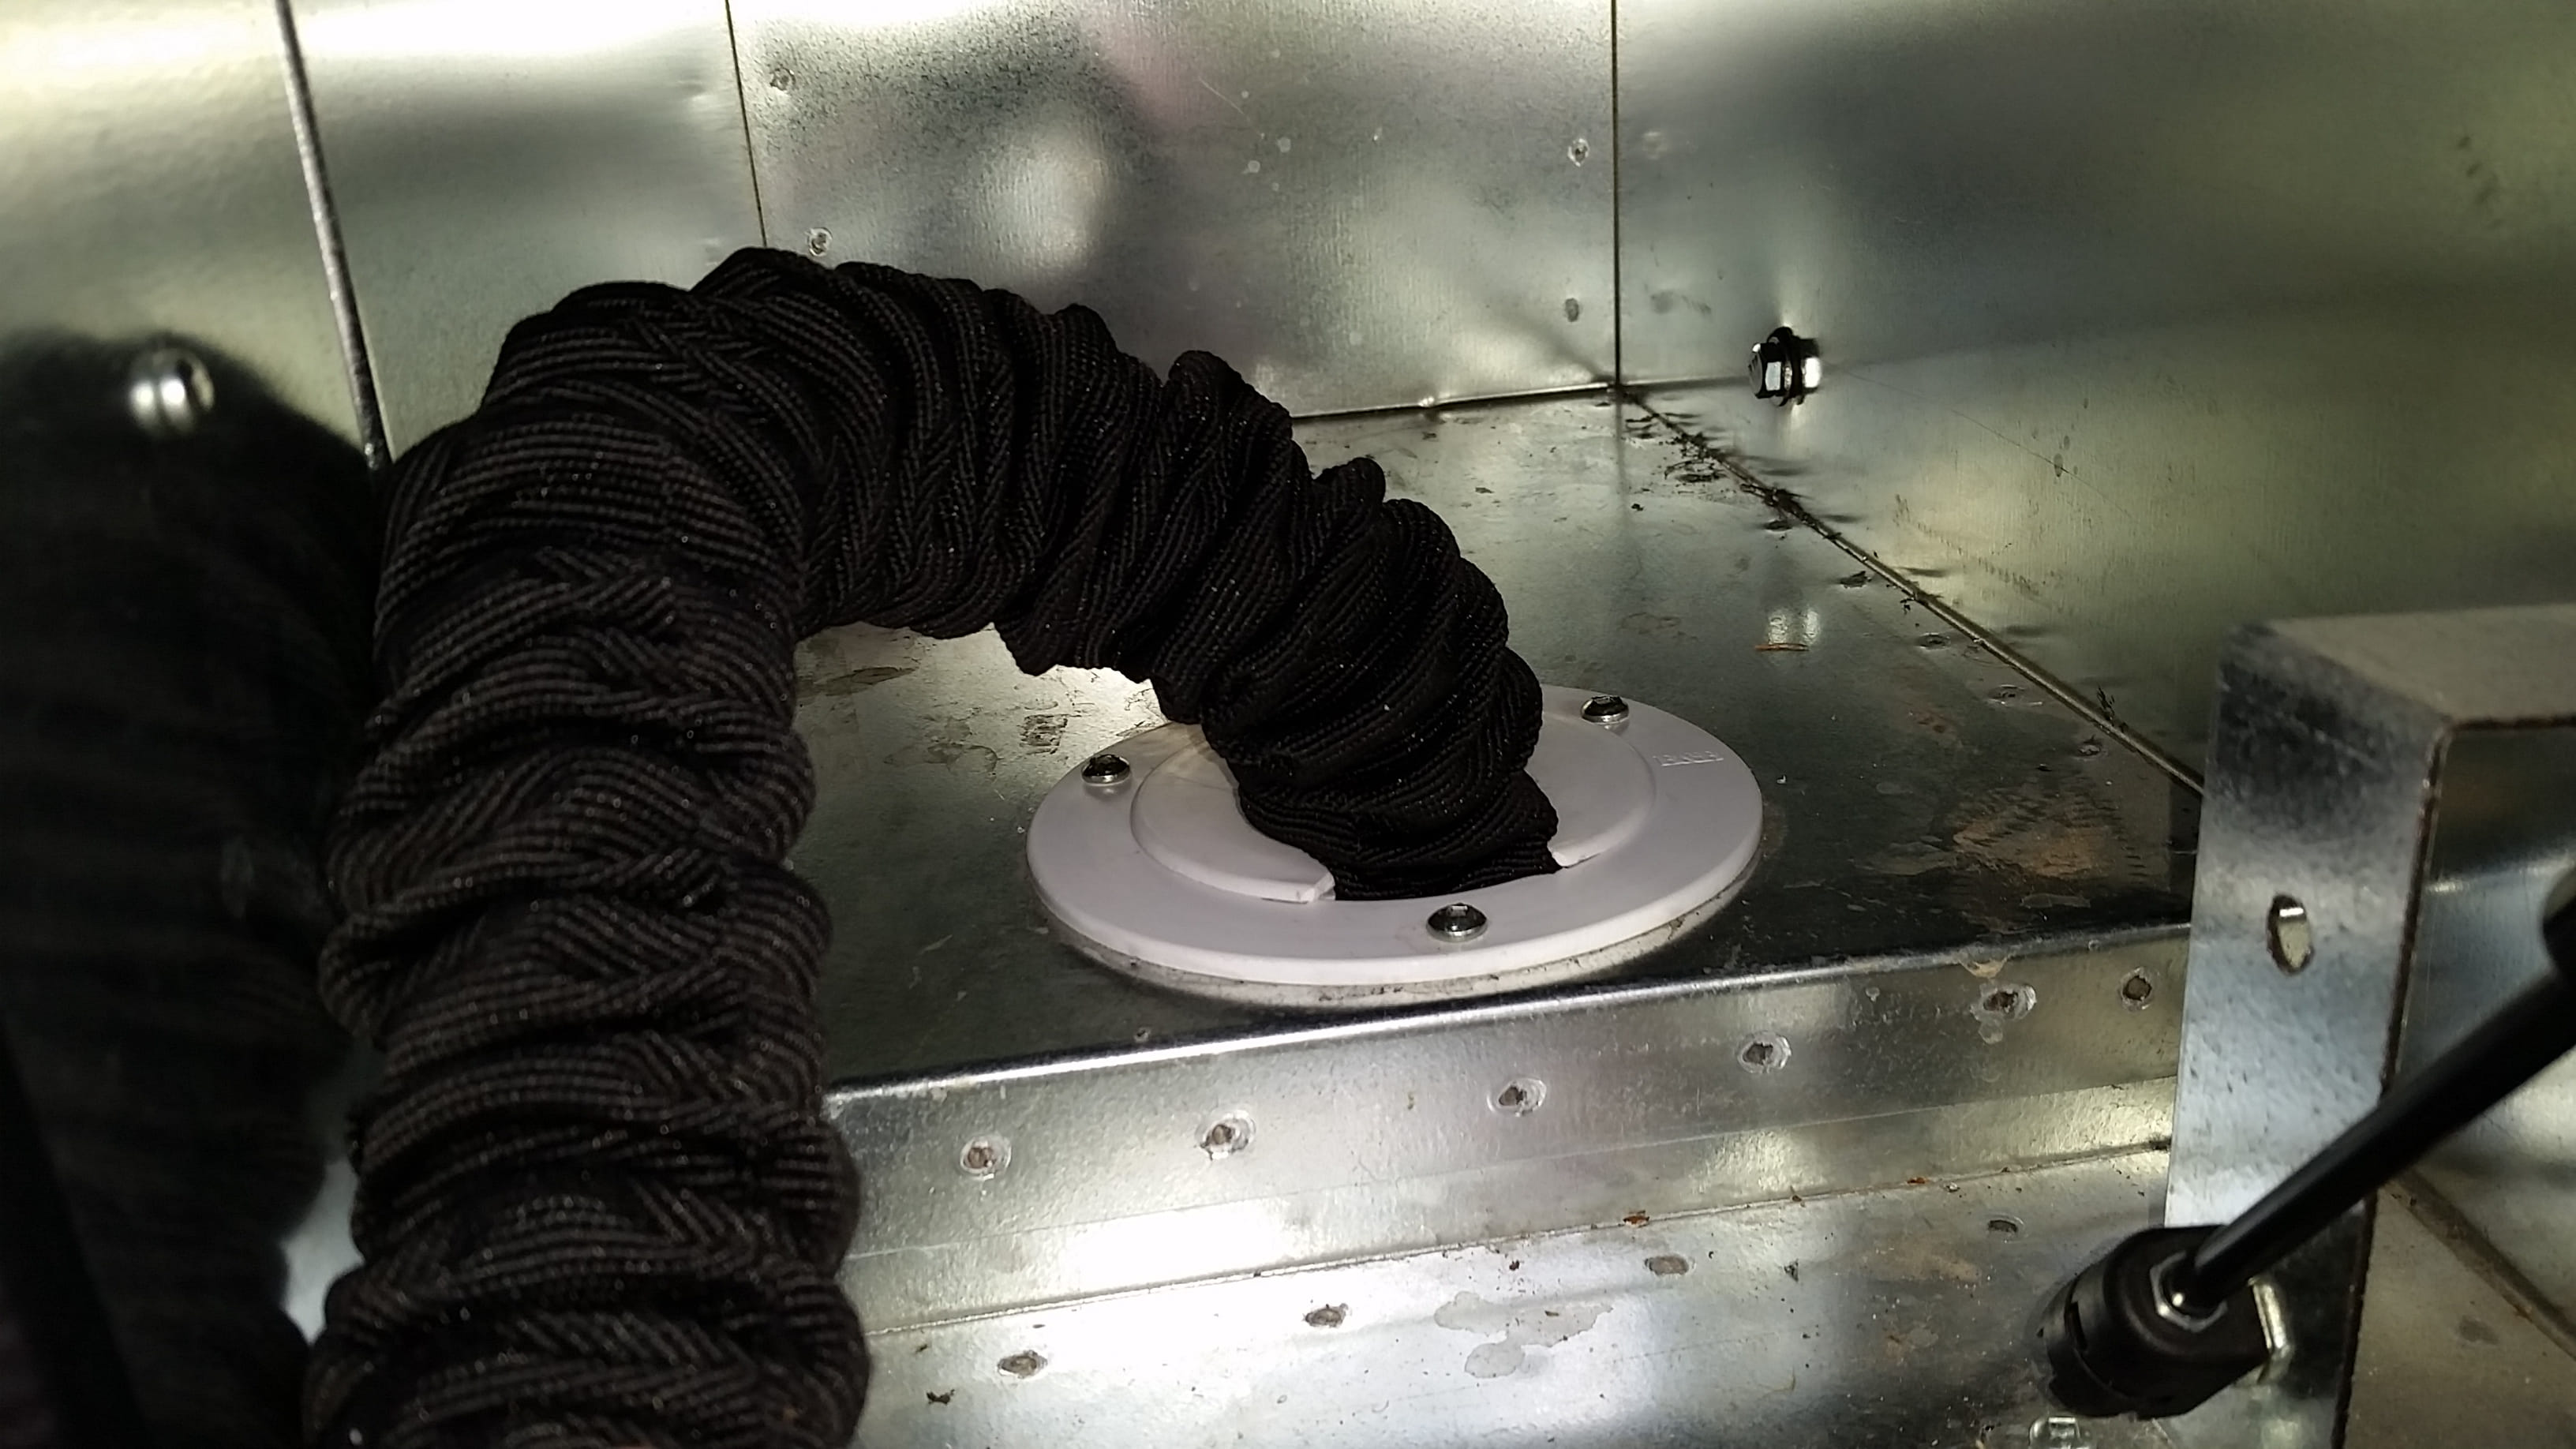
Ensure that you can still easily stow / access and operate the macerator hose even with the protective sleeve in place.
7. Inspect Regularly
Periodically check the condition of the protective sleeve for any signs of wear or damage. Replace the sleeve if needed to maintain its effectiveness.