Fantastic Vent Covers
If you’re looking to enhance the ventilation system of your Leisure Travel Van Unity and keep pesky bugs at bay, adding Fantastic Vent Covers with a Bug Screen is a great way to improved your van. We will walk you through the process we used to add Vent Covers to our Unity.
Adding them allows us to keep the vents open, and fans running, even when it is raining. It also allows us to do the same while we are traveling down the road without damaging the vents. This is a great way to help pull the dash A/C (or head) back into the coach.
Materials Required
Before you start the installation process, make sure you have the following:
- Fantastic Ultra Breeze Vent Covers are the ones we used. Fantastic was acquired by Dometic, you may have to look for the comparable Dometic product.
- Fantastic Bug Screen these work with the above cover.
- Dicor sealant is a high quality sealant designed for RV roofs.
- Cleaning supplies
- Plastic Razor Blades, are amazing as they can remove stickers, decals, caulk, etc without surface damage like a metal blade. They do dull fast but are overall worth the price and you will find lots of uses for them.
Step 1: Prepare the Work Area
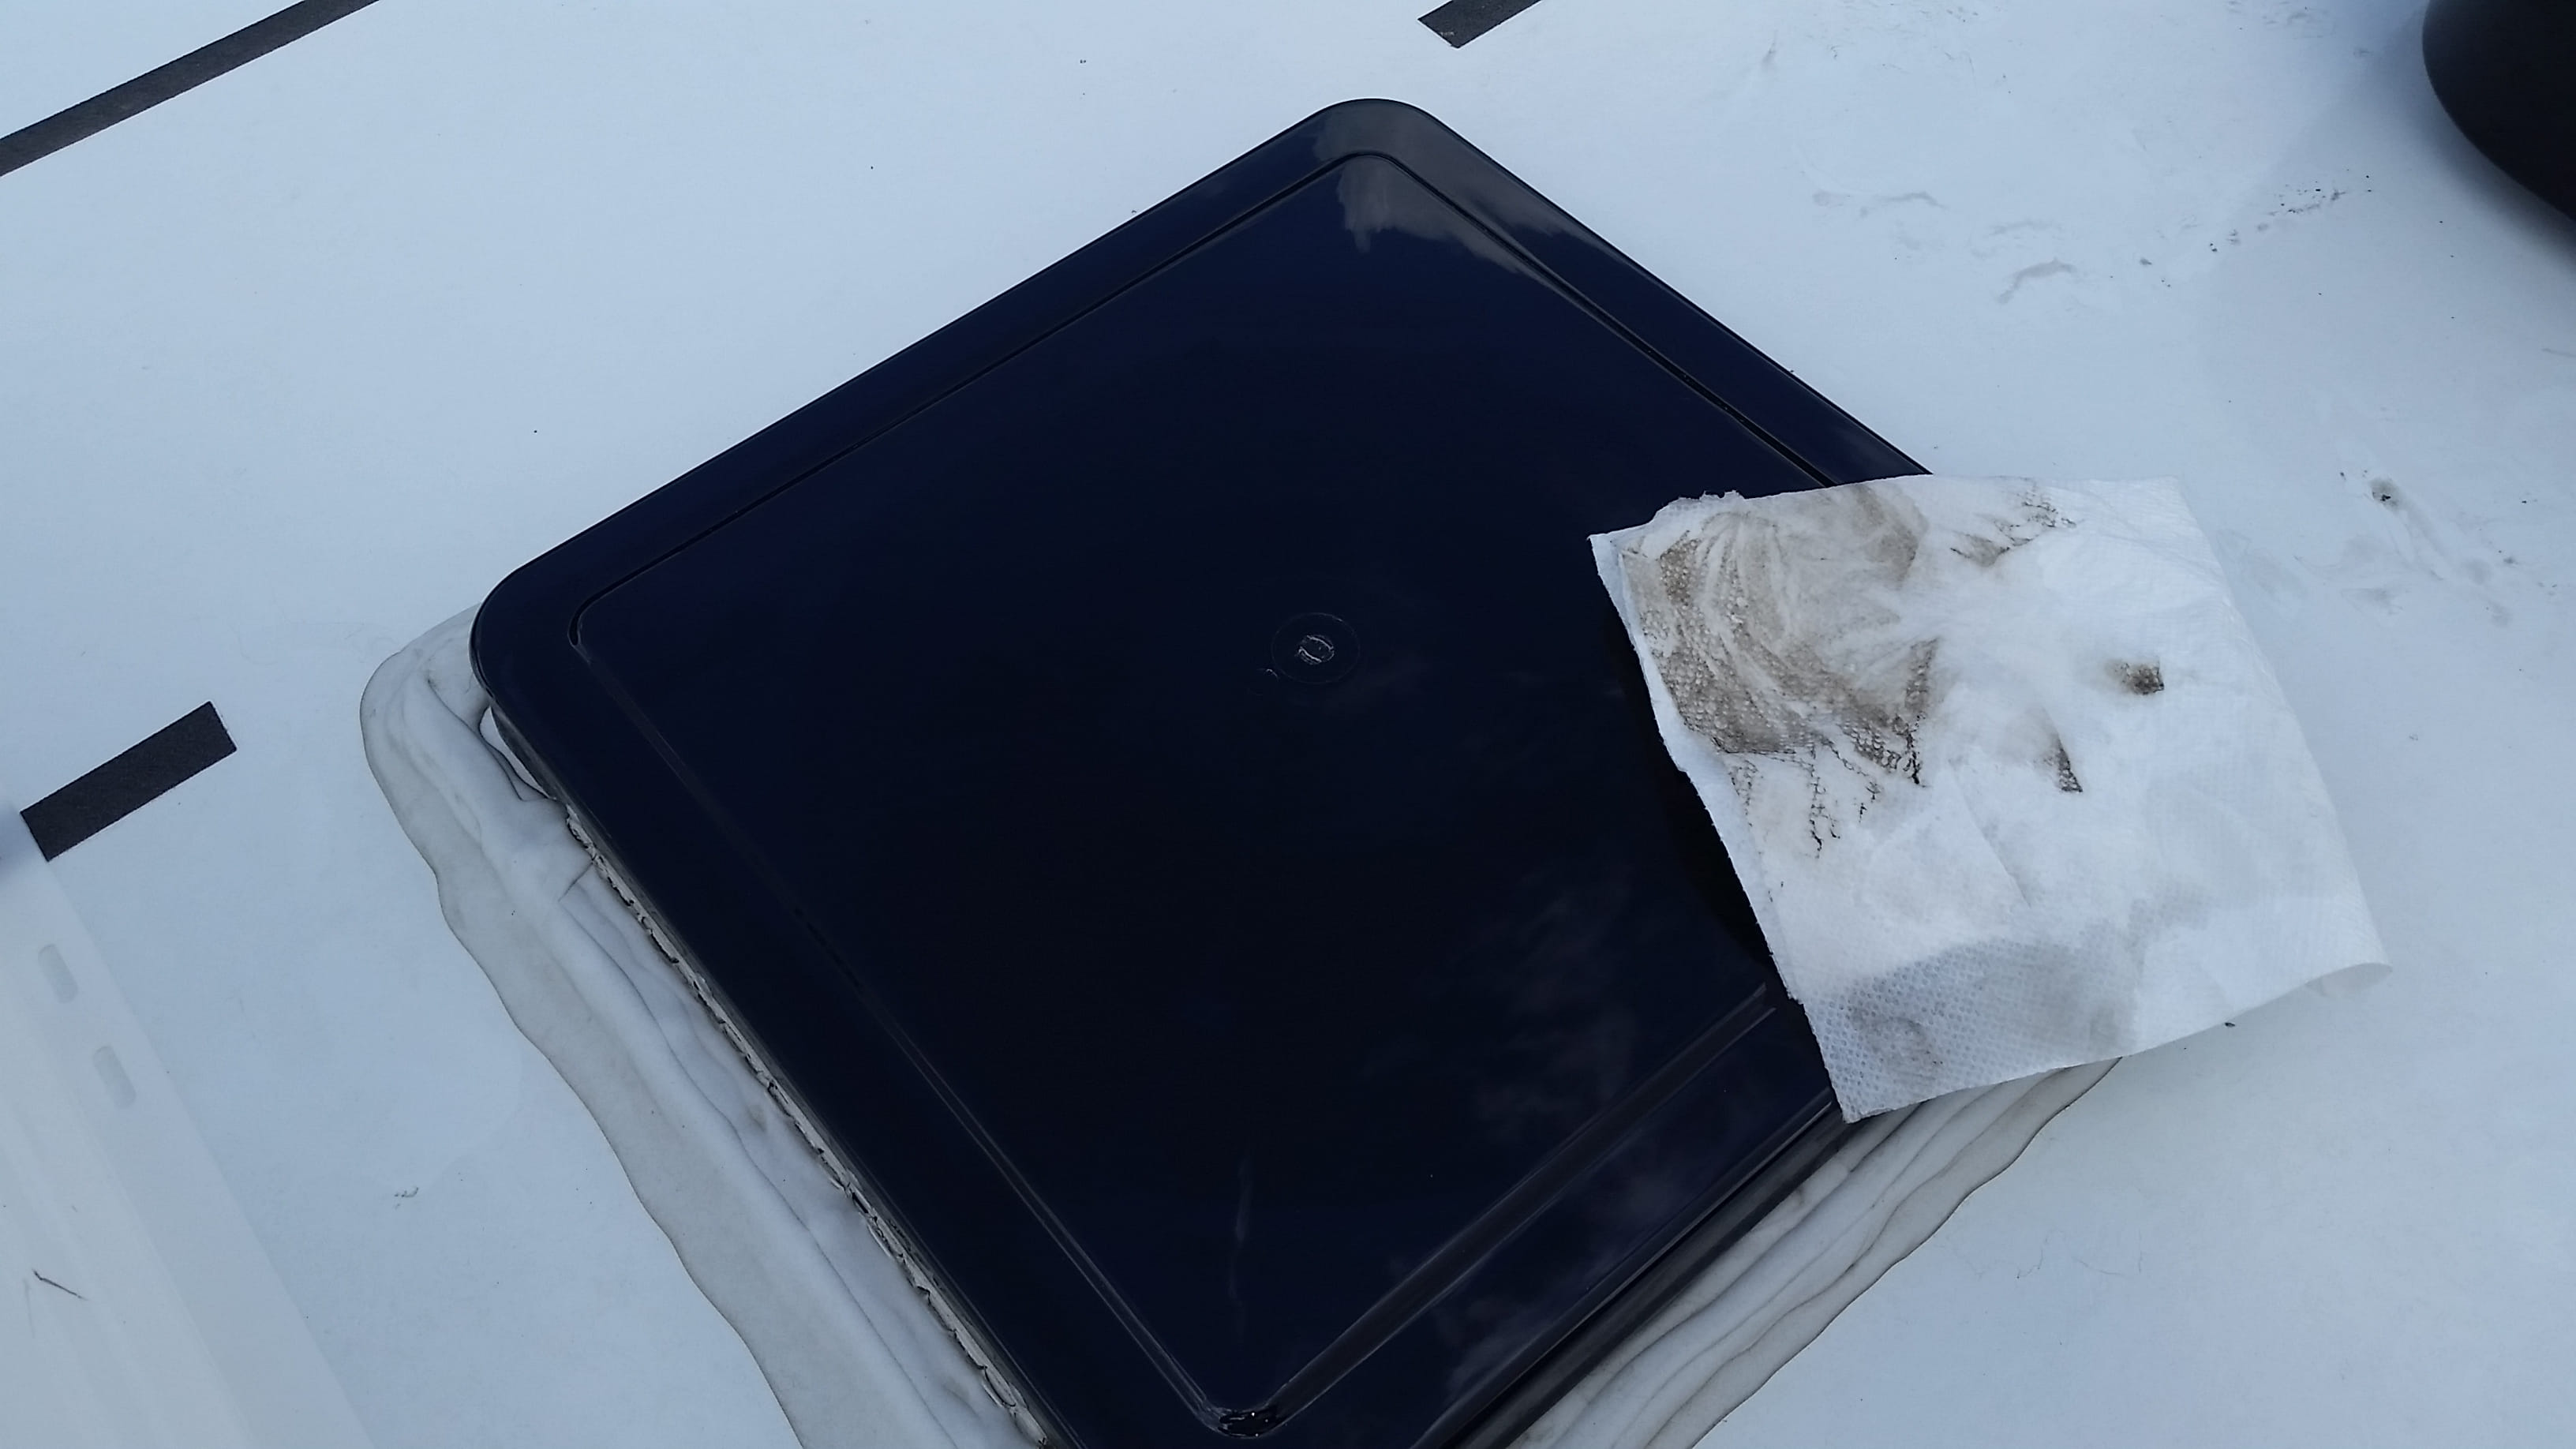
Clean the area around your existing vents as well as the vent lids. Remove any dirt, debris, or loose sealant using a mild detergent and water. Allow the surface to dry completely before moving on to the next step.
Step 2: Remove Existing Screws
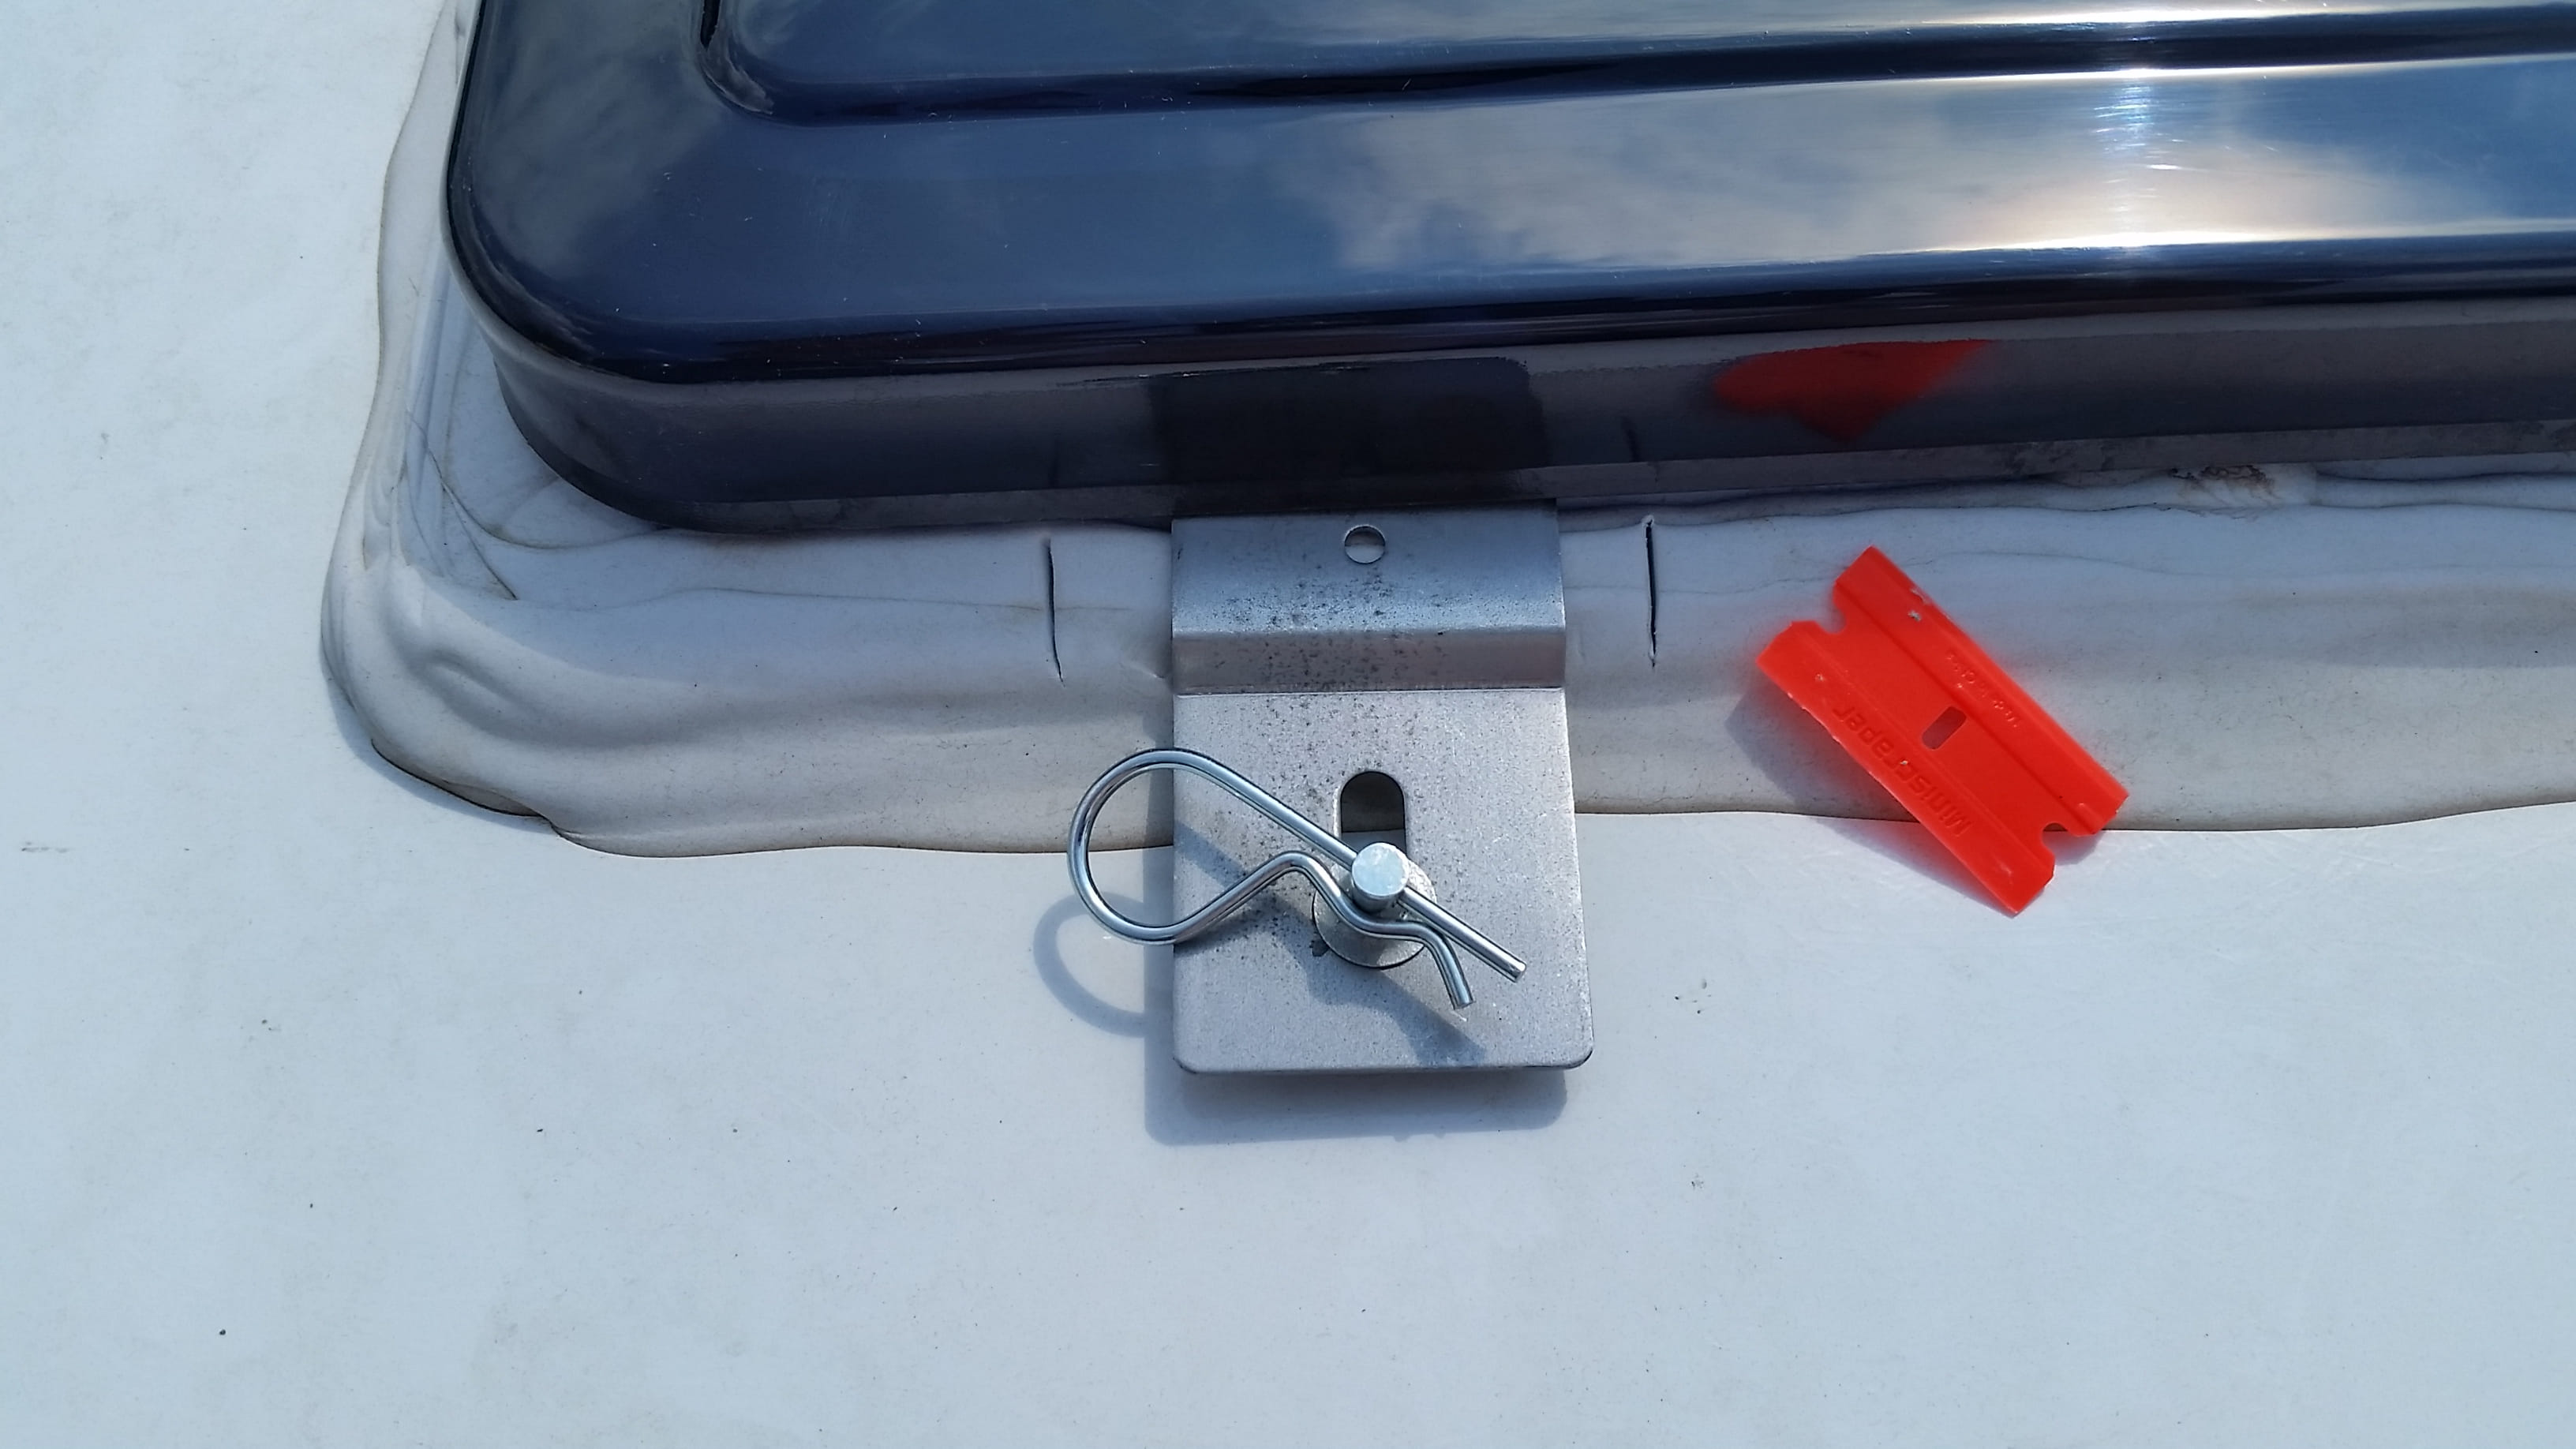
Carefully use the plastic razor blades to expose the existing screw heads, we used the new bracket as a guage for how much to remove. Then use a screwdriver to remove the (4) screws that are holding the current vent cover in place, ours required a #2 square drive screwdriver. Set the screws aside, you will need them later in the installation process.
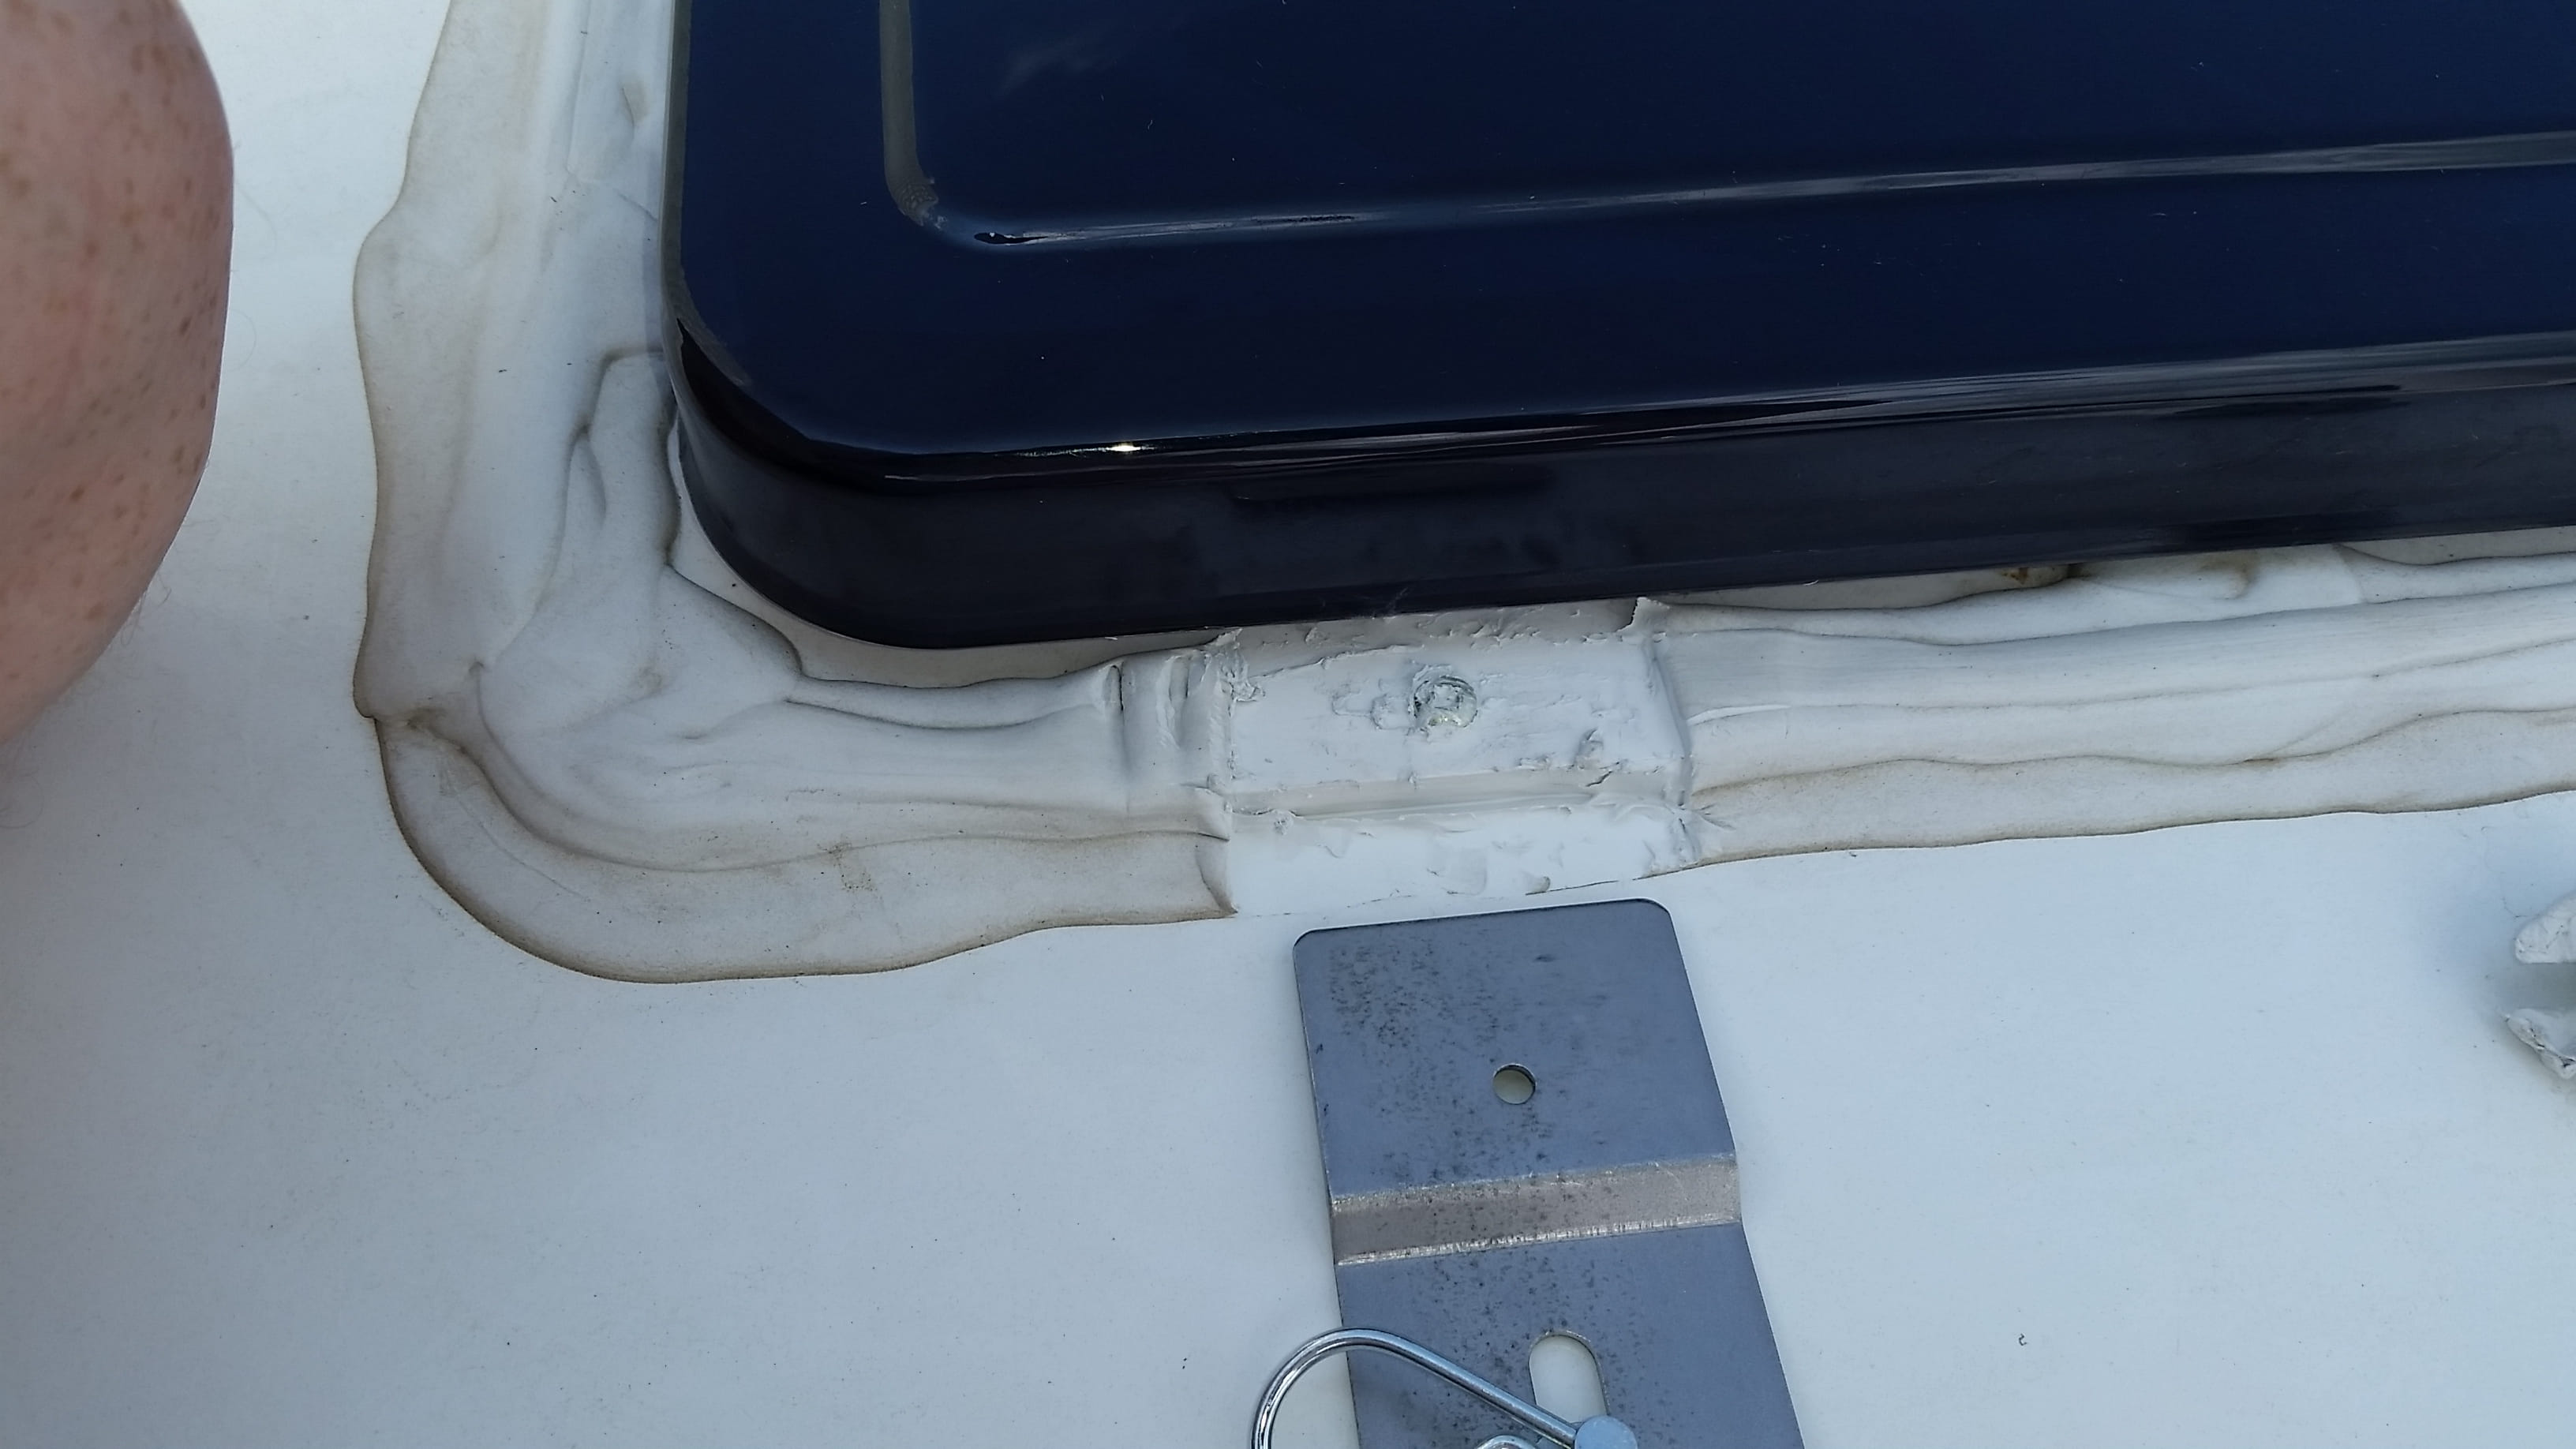
Step 3: Align and Attach the Fantastic Vent Cover Brackets
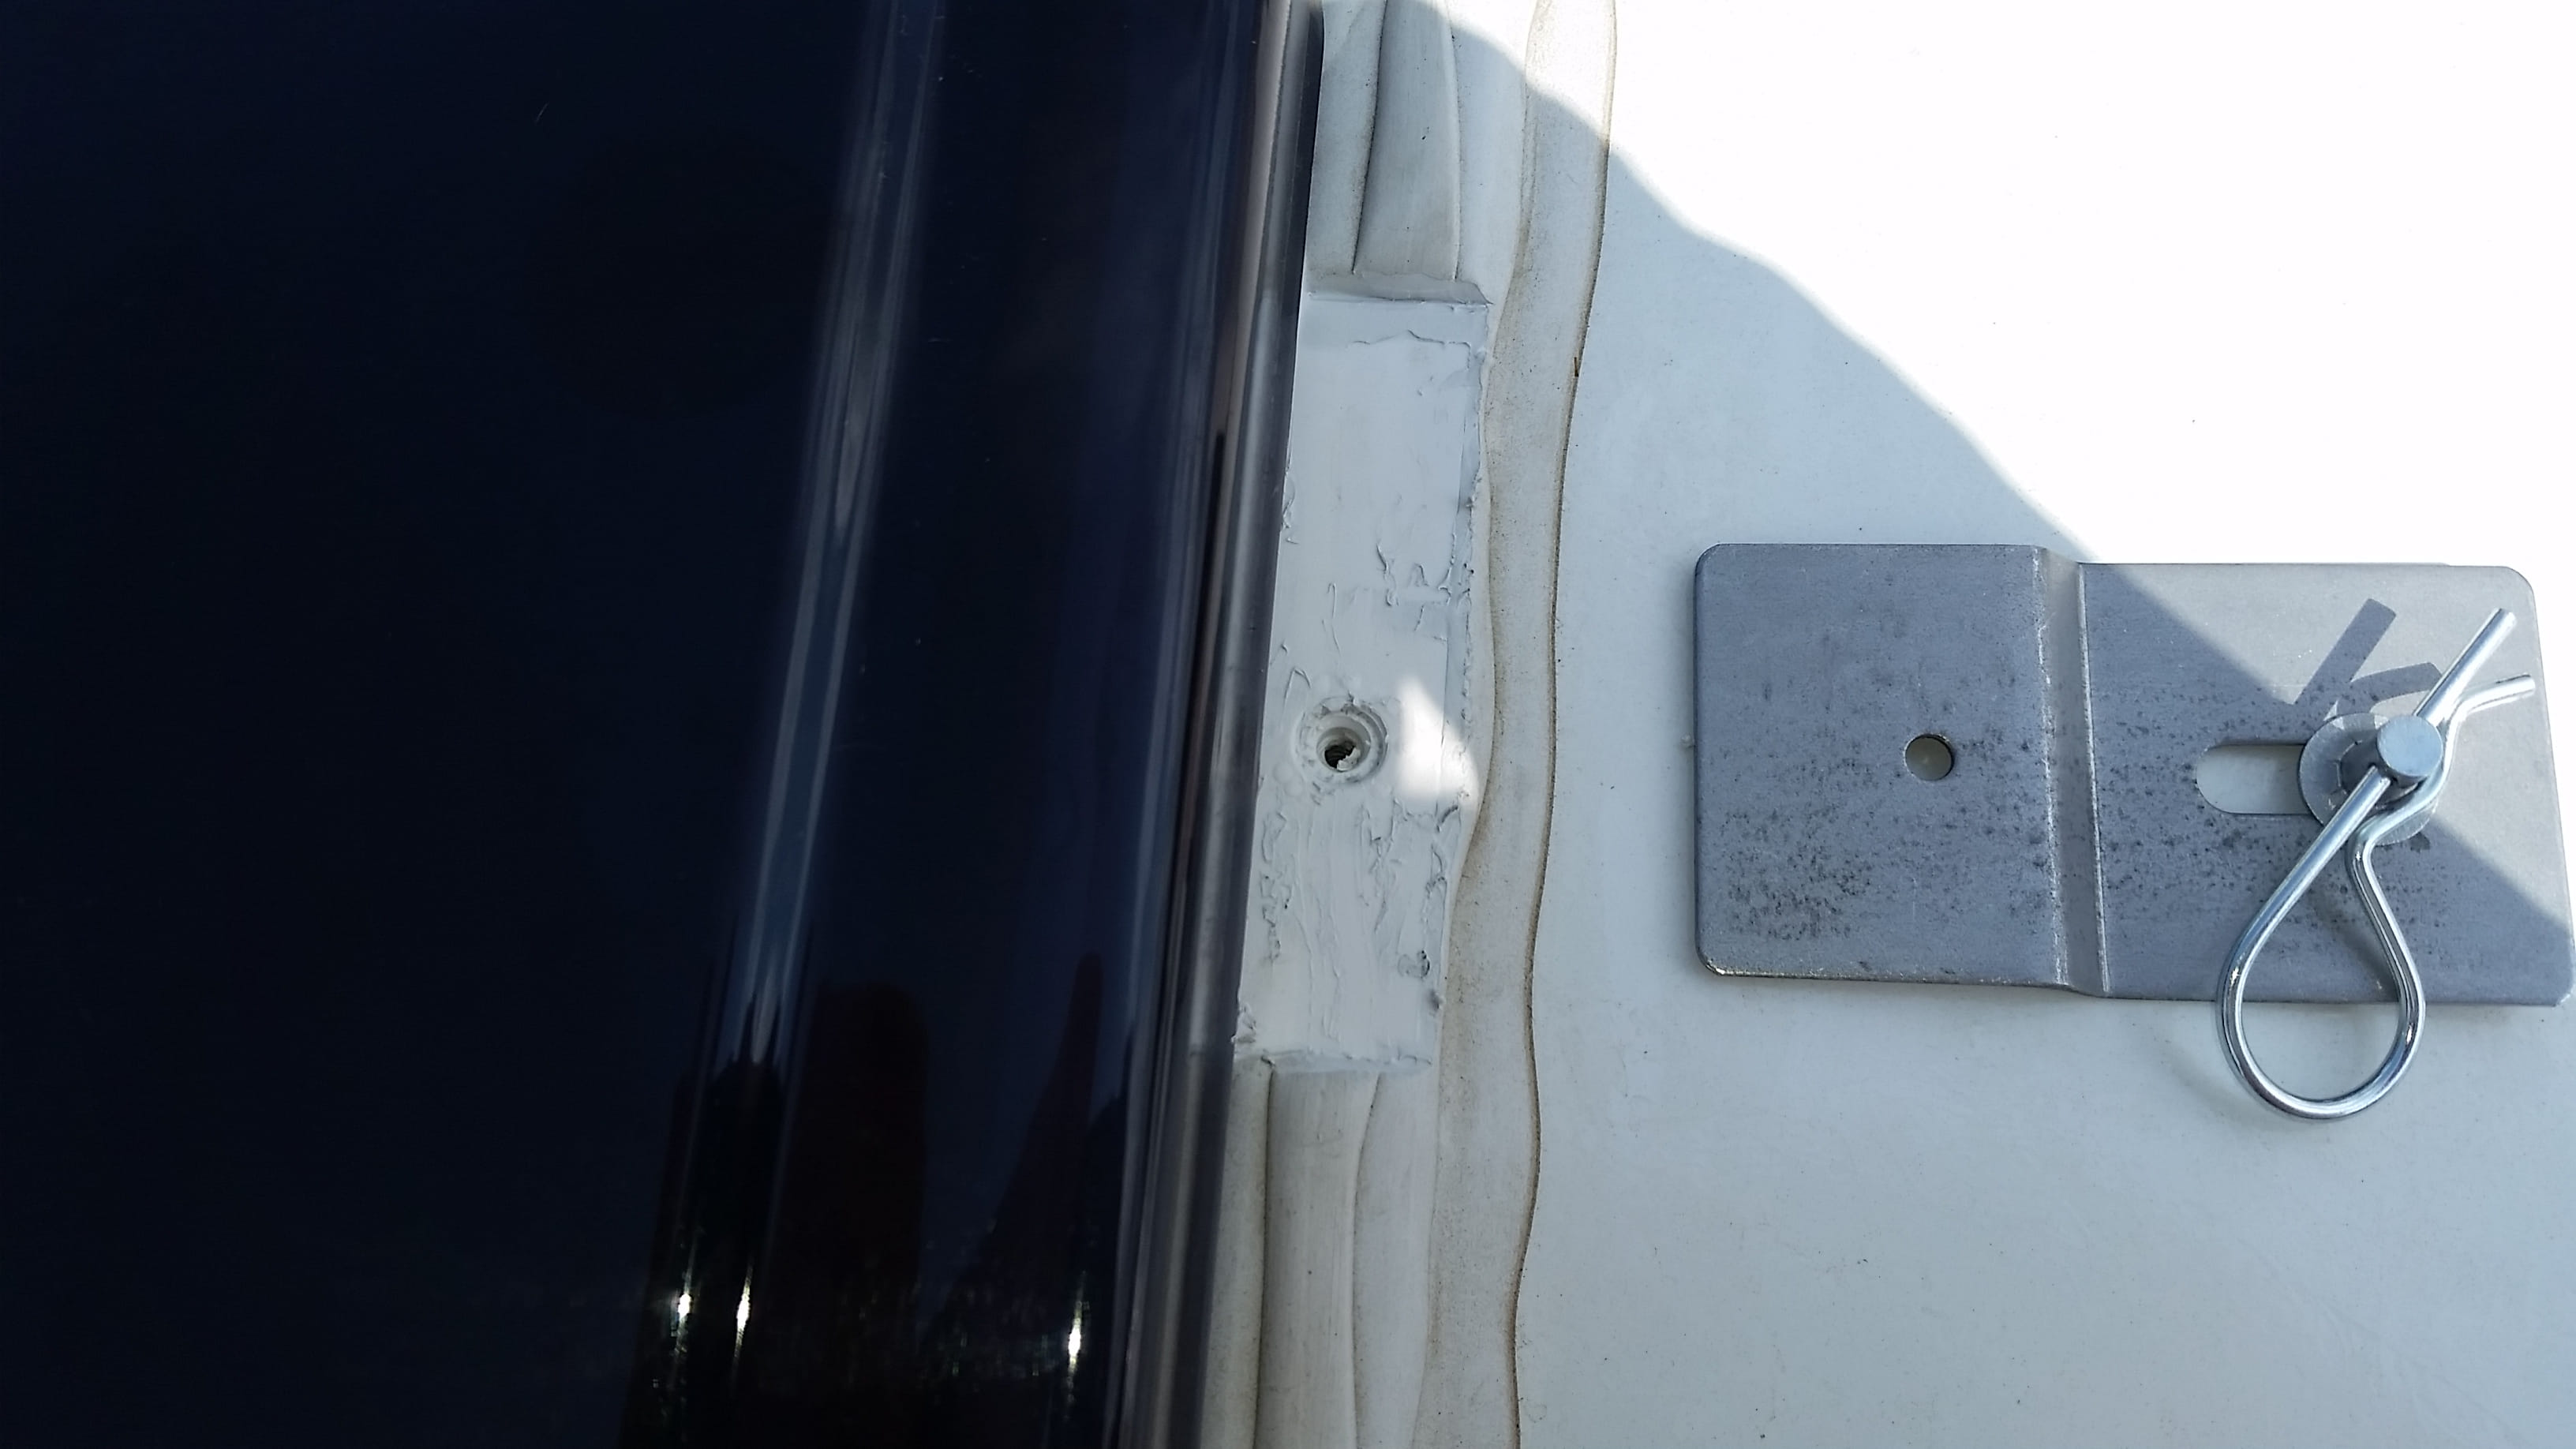
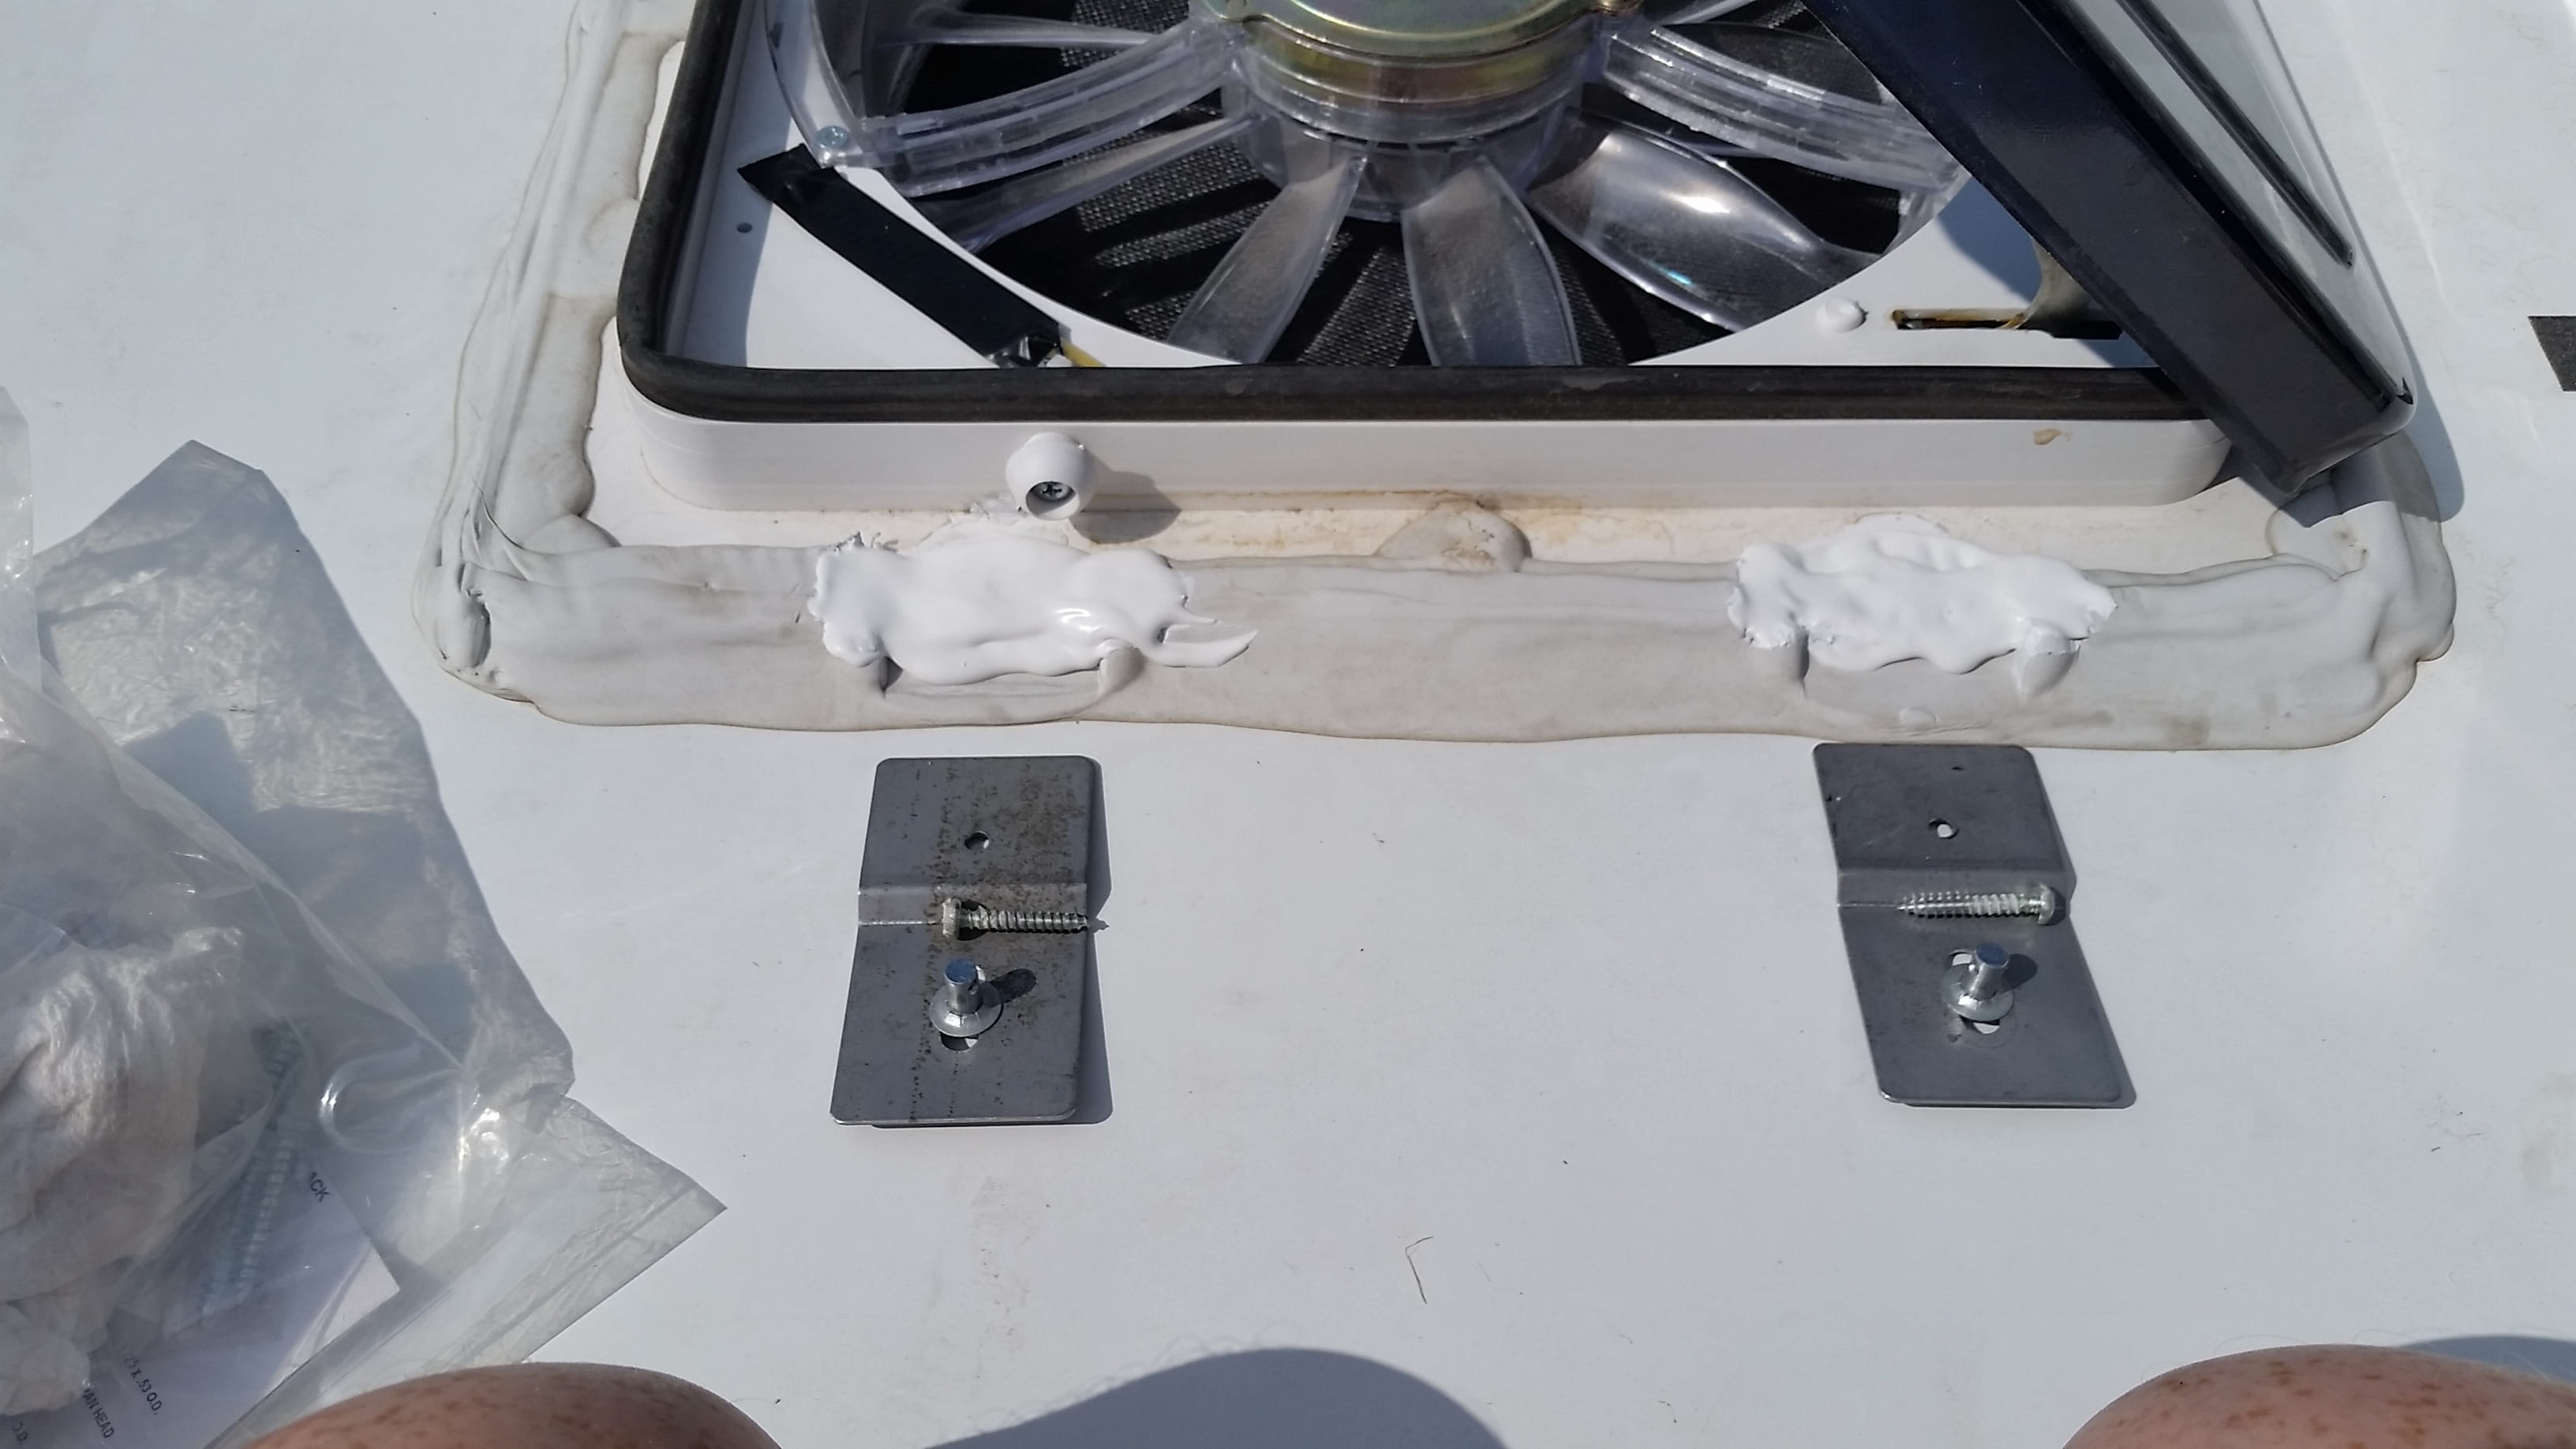
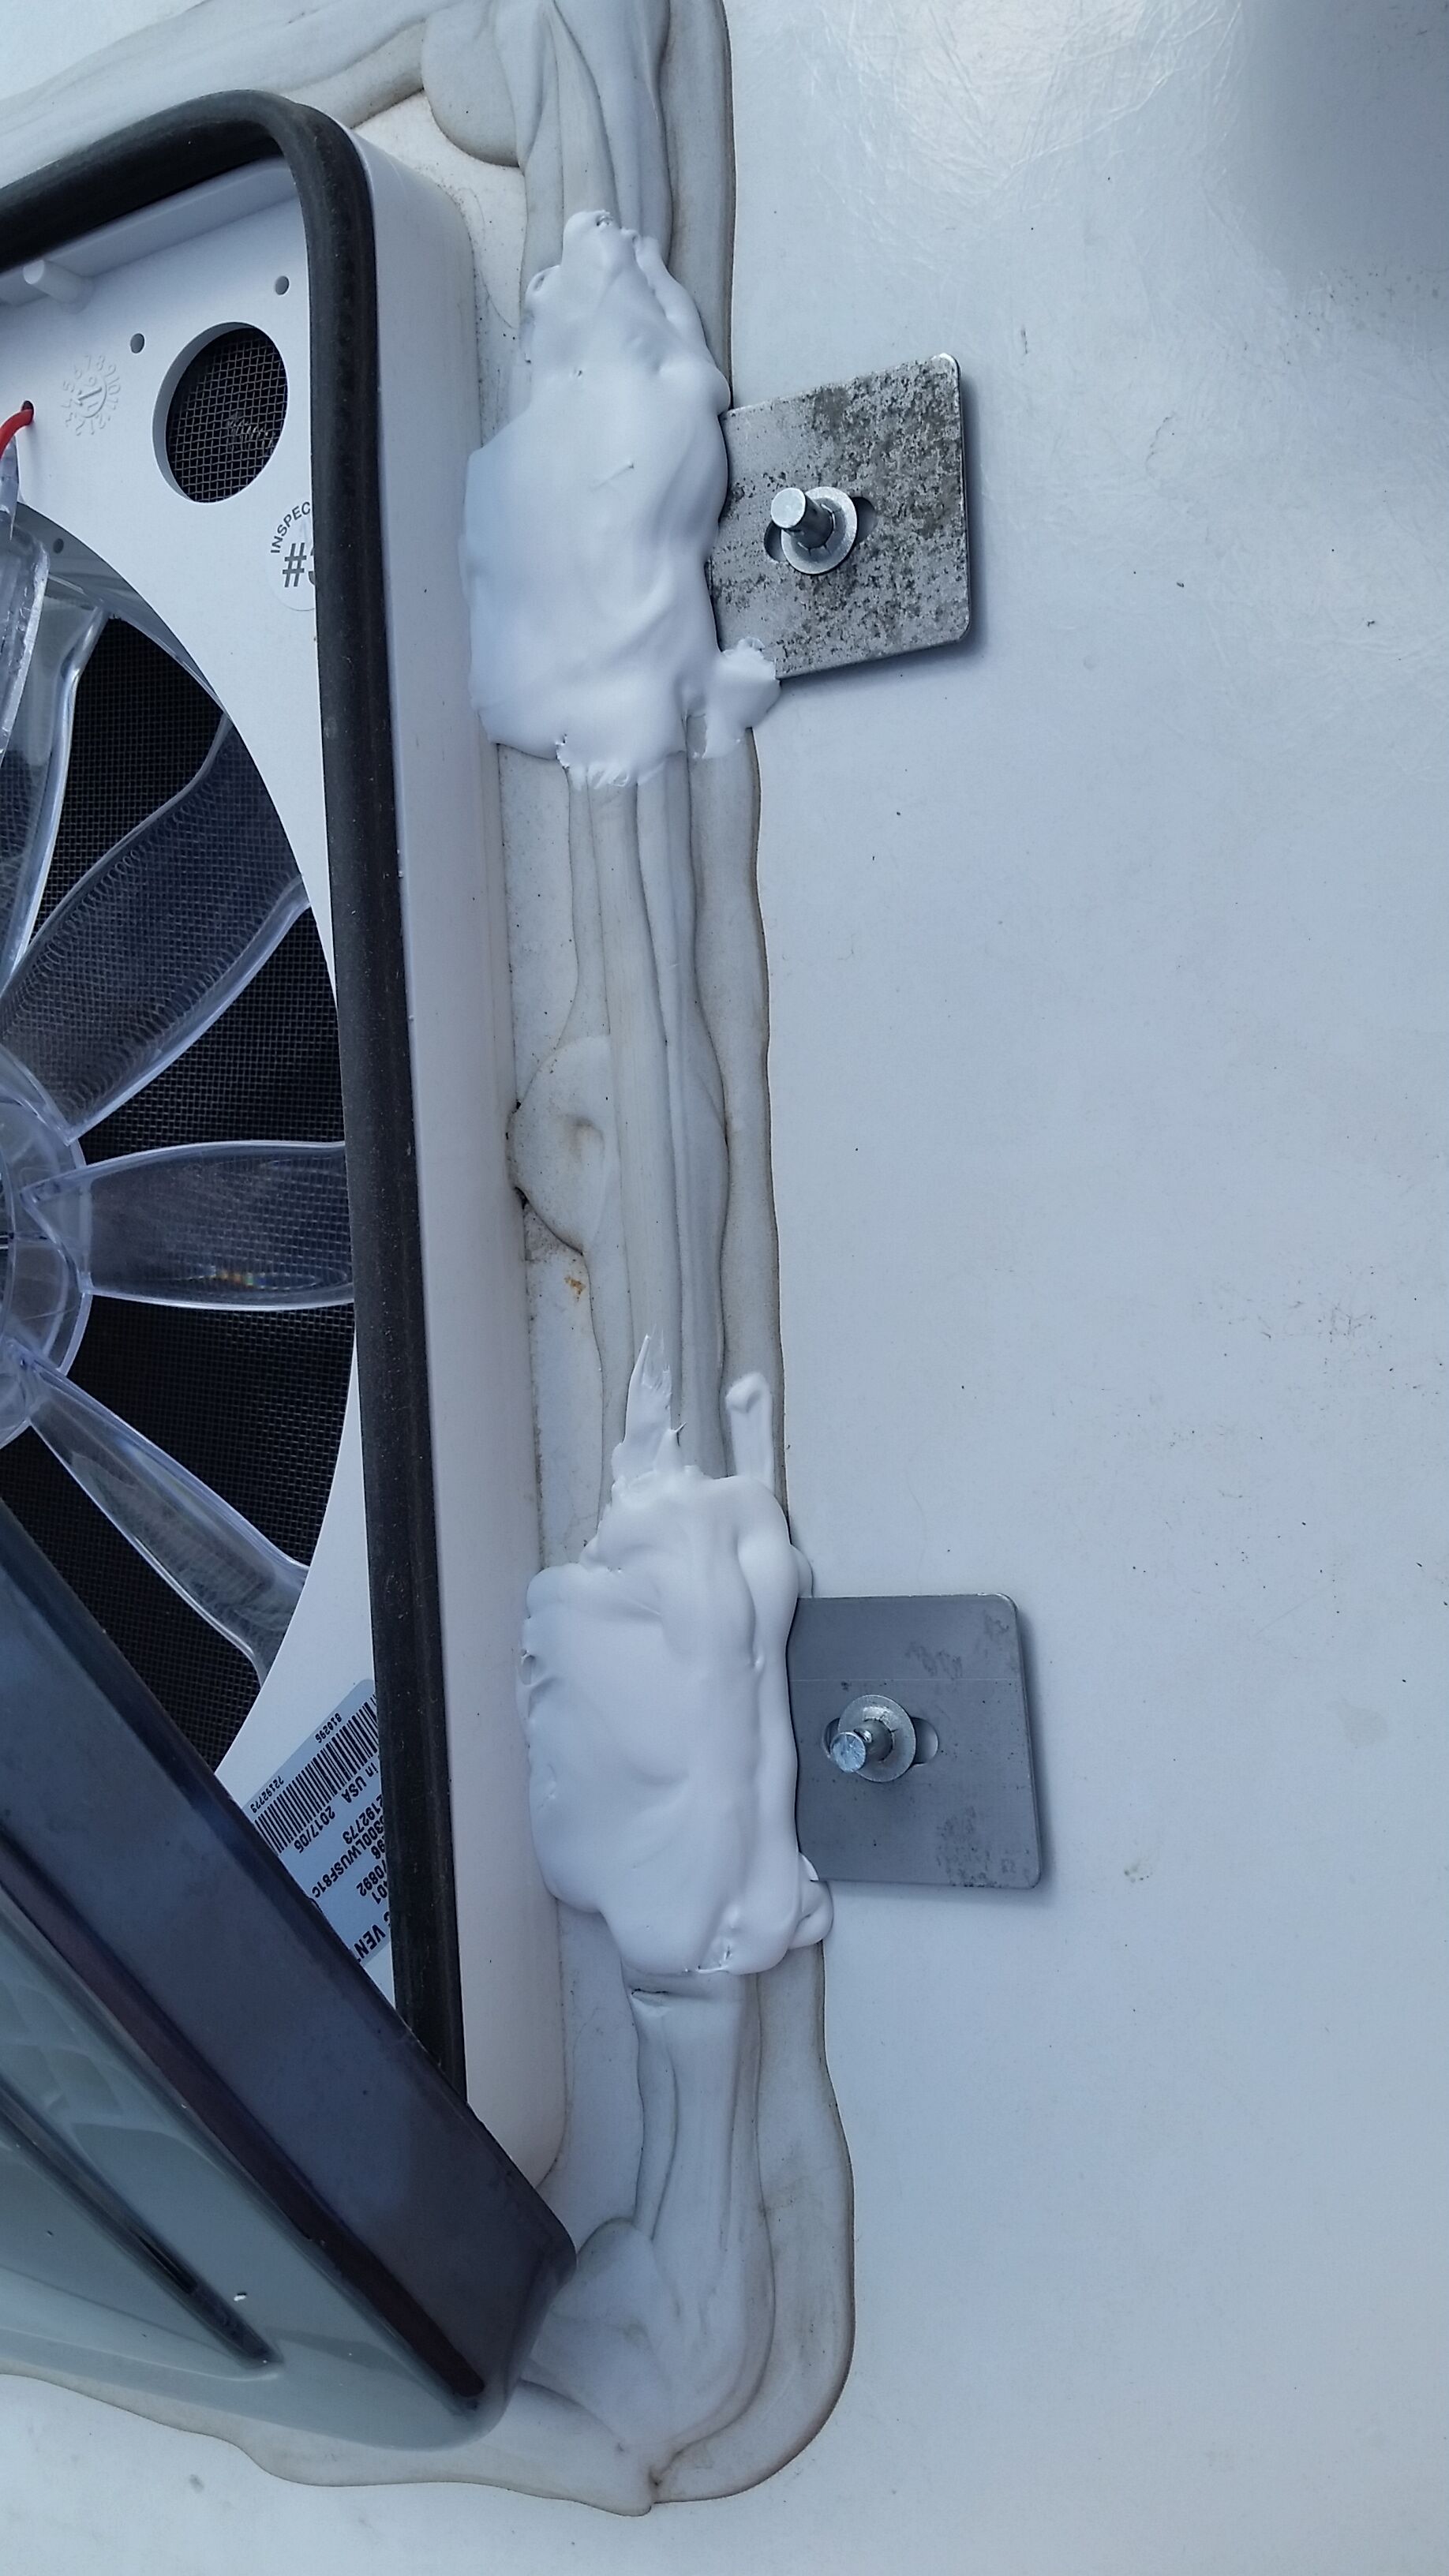
With the screws removed, ensure you have removed enough of the existing caulk to let the new mounting brackets sit flush. When the fit is right, add new caulk below the new bracket and add some to the screw threads. Install the new bracket using the screw you removed earlier. Once tightended add additional caulk on top. You do not want this to leak but you also don’t want so much caulk that it becomes an unmanageable mess or interferes with the new cover.
Step 4: Attach Fantastic Bug Screen
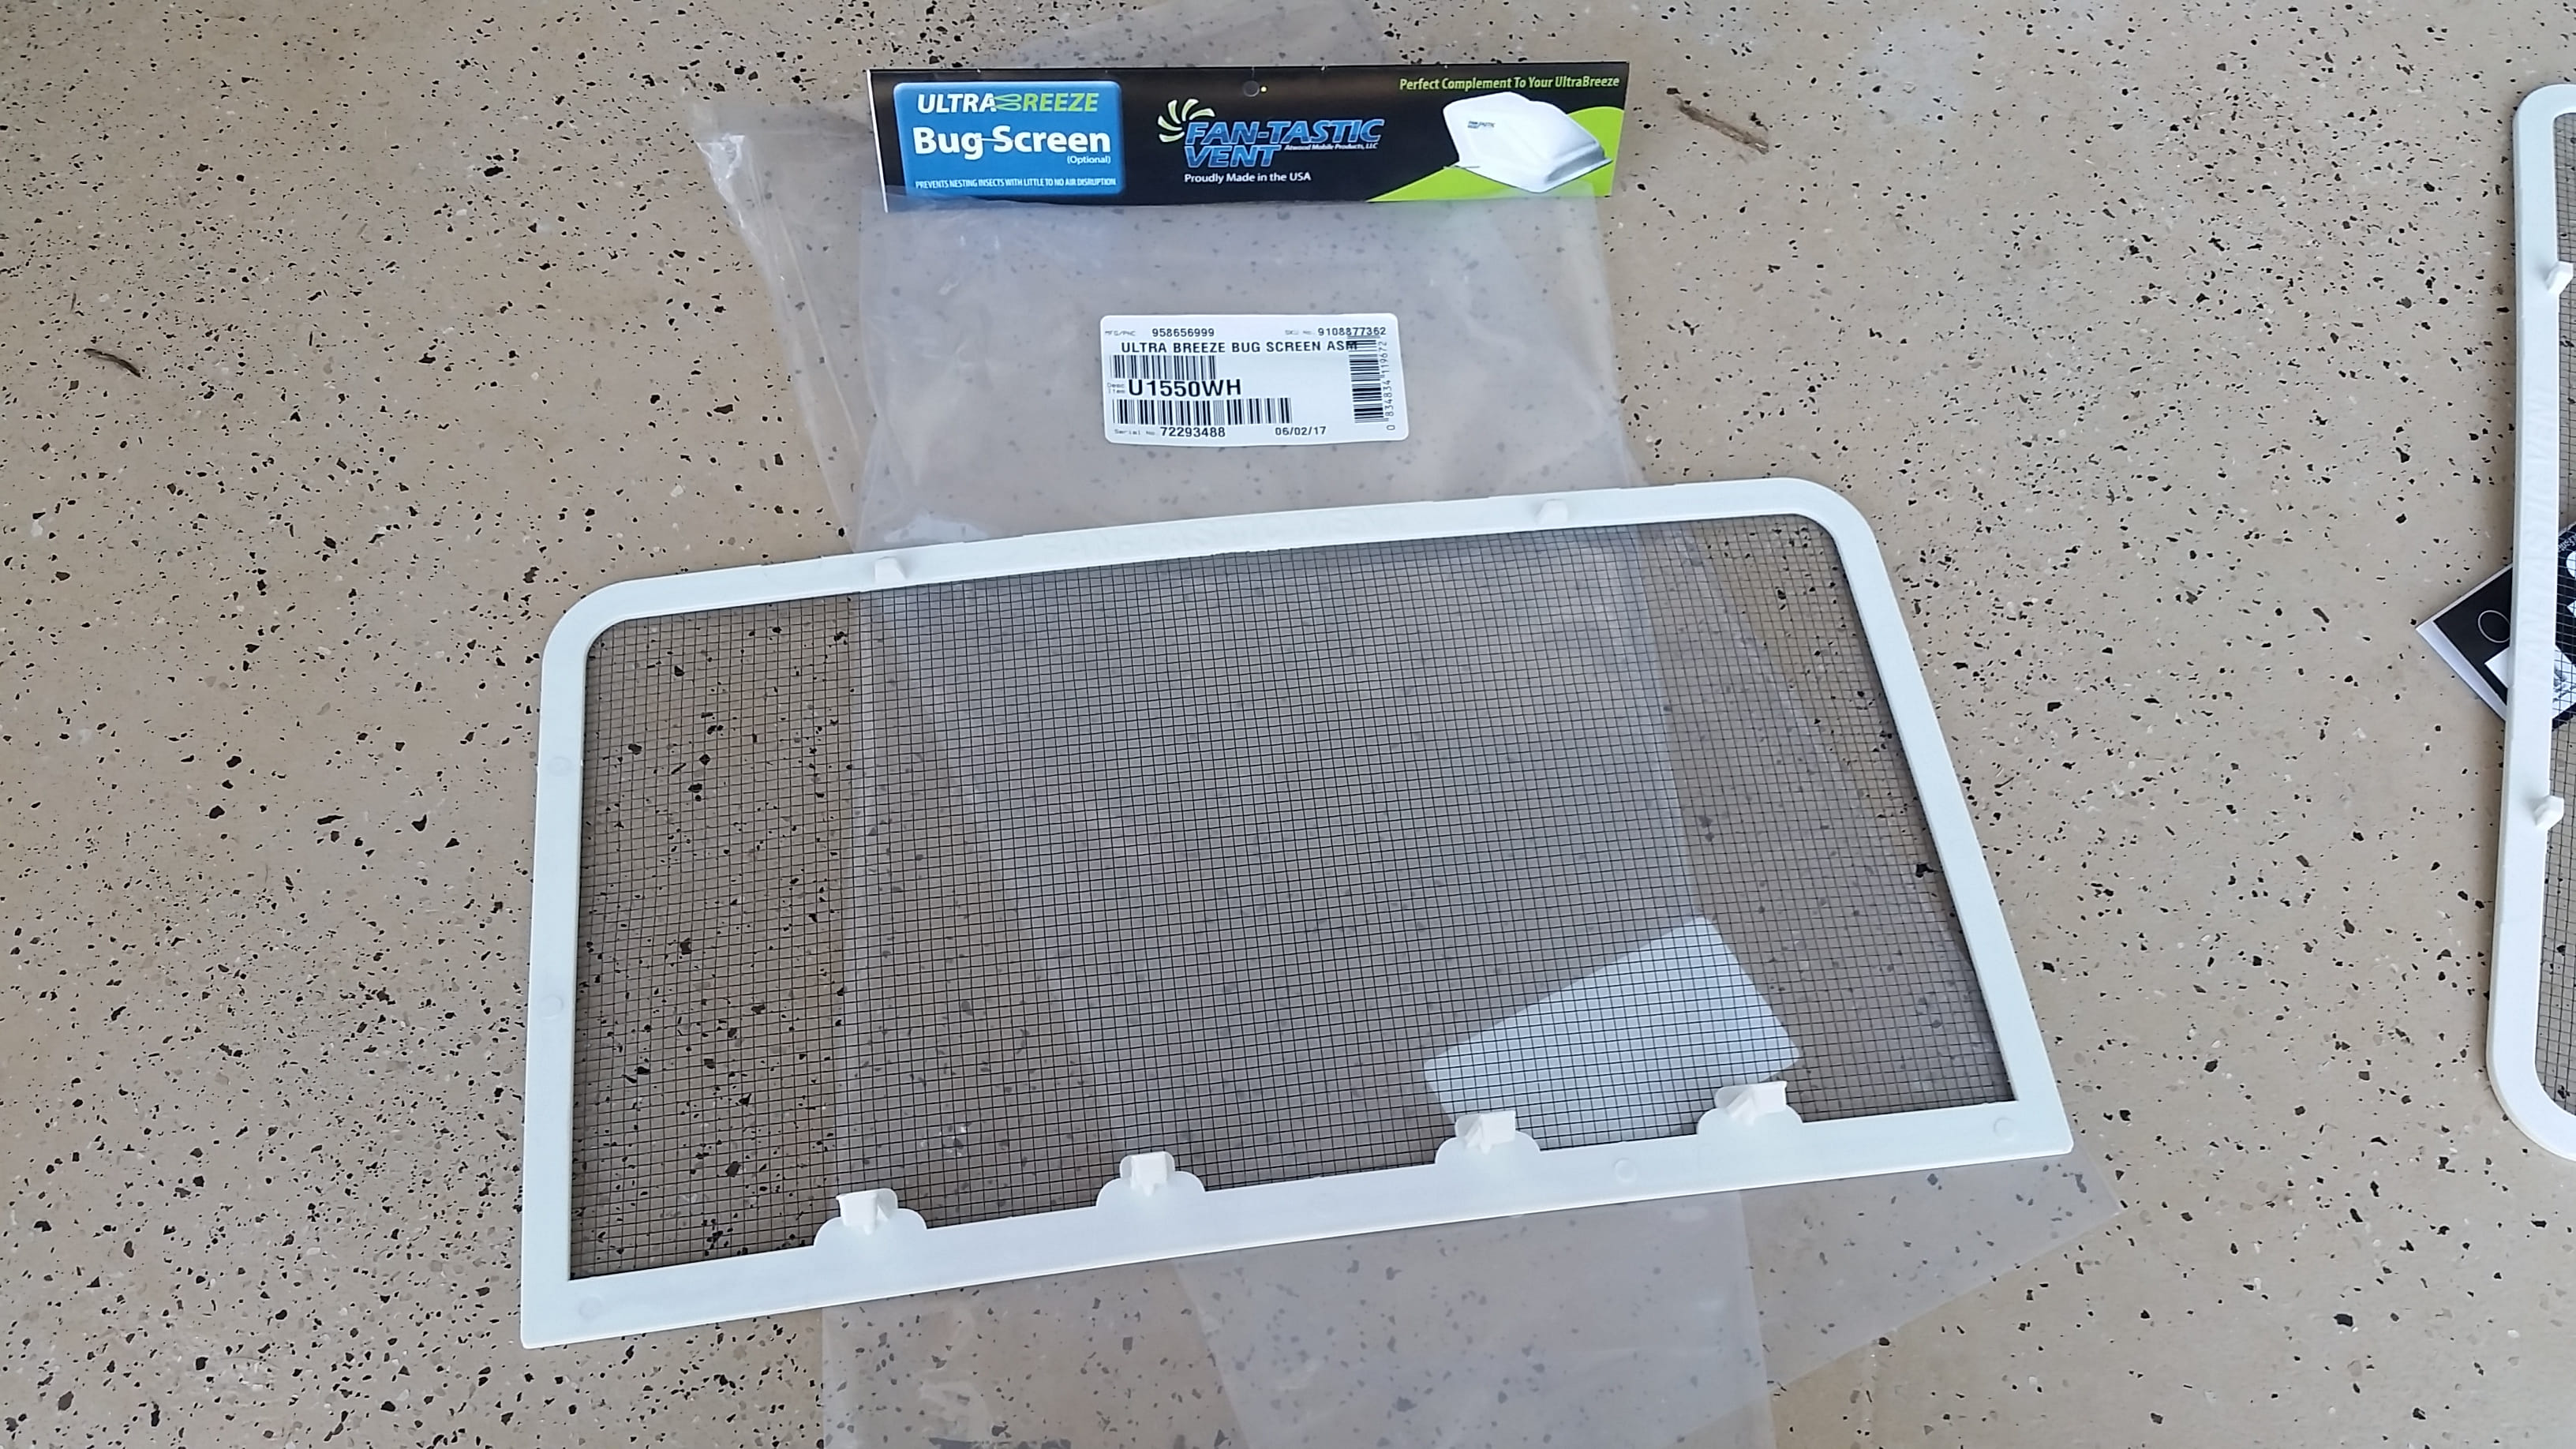
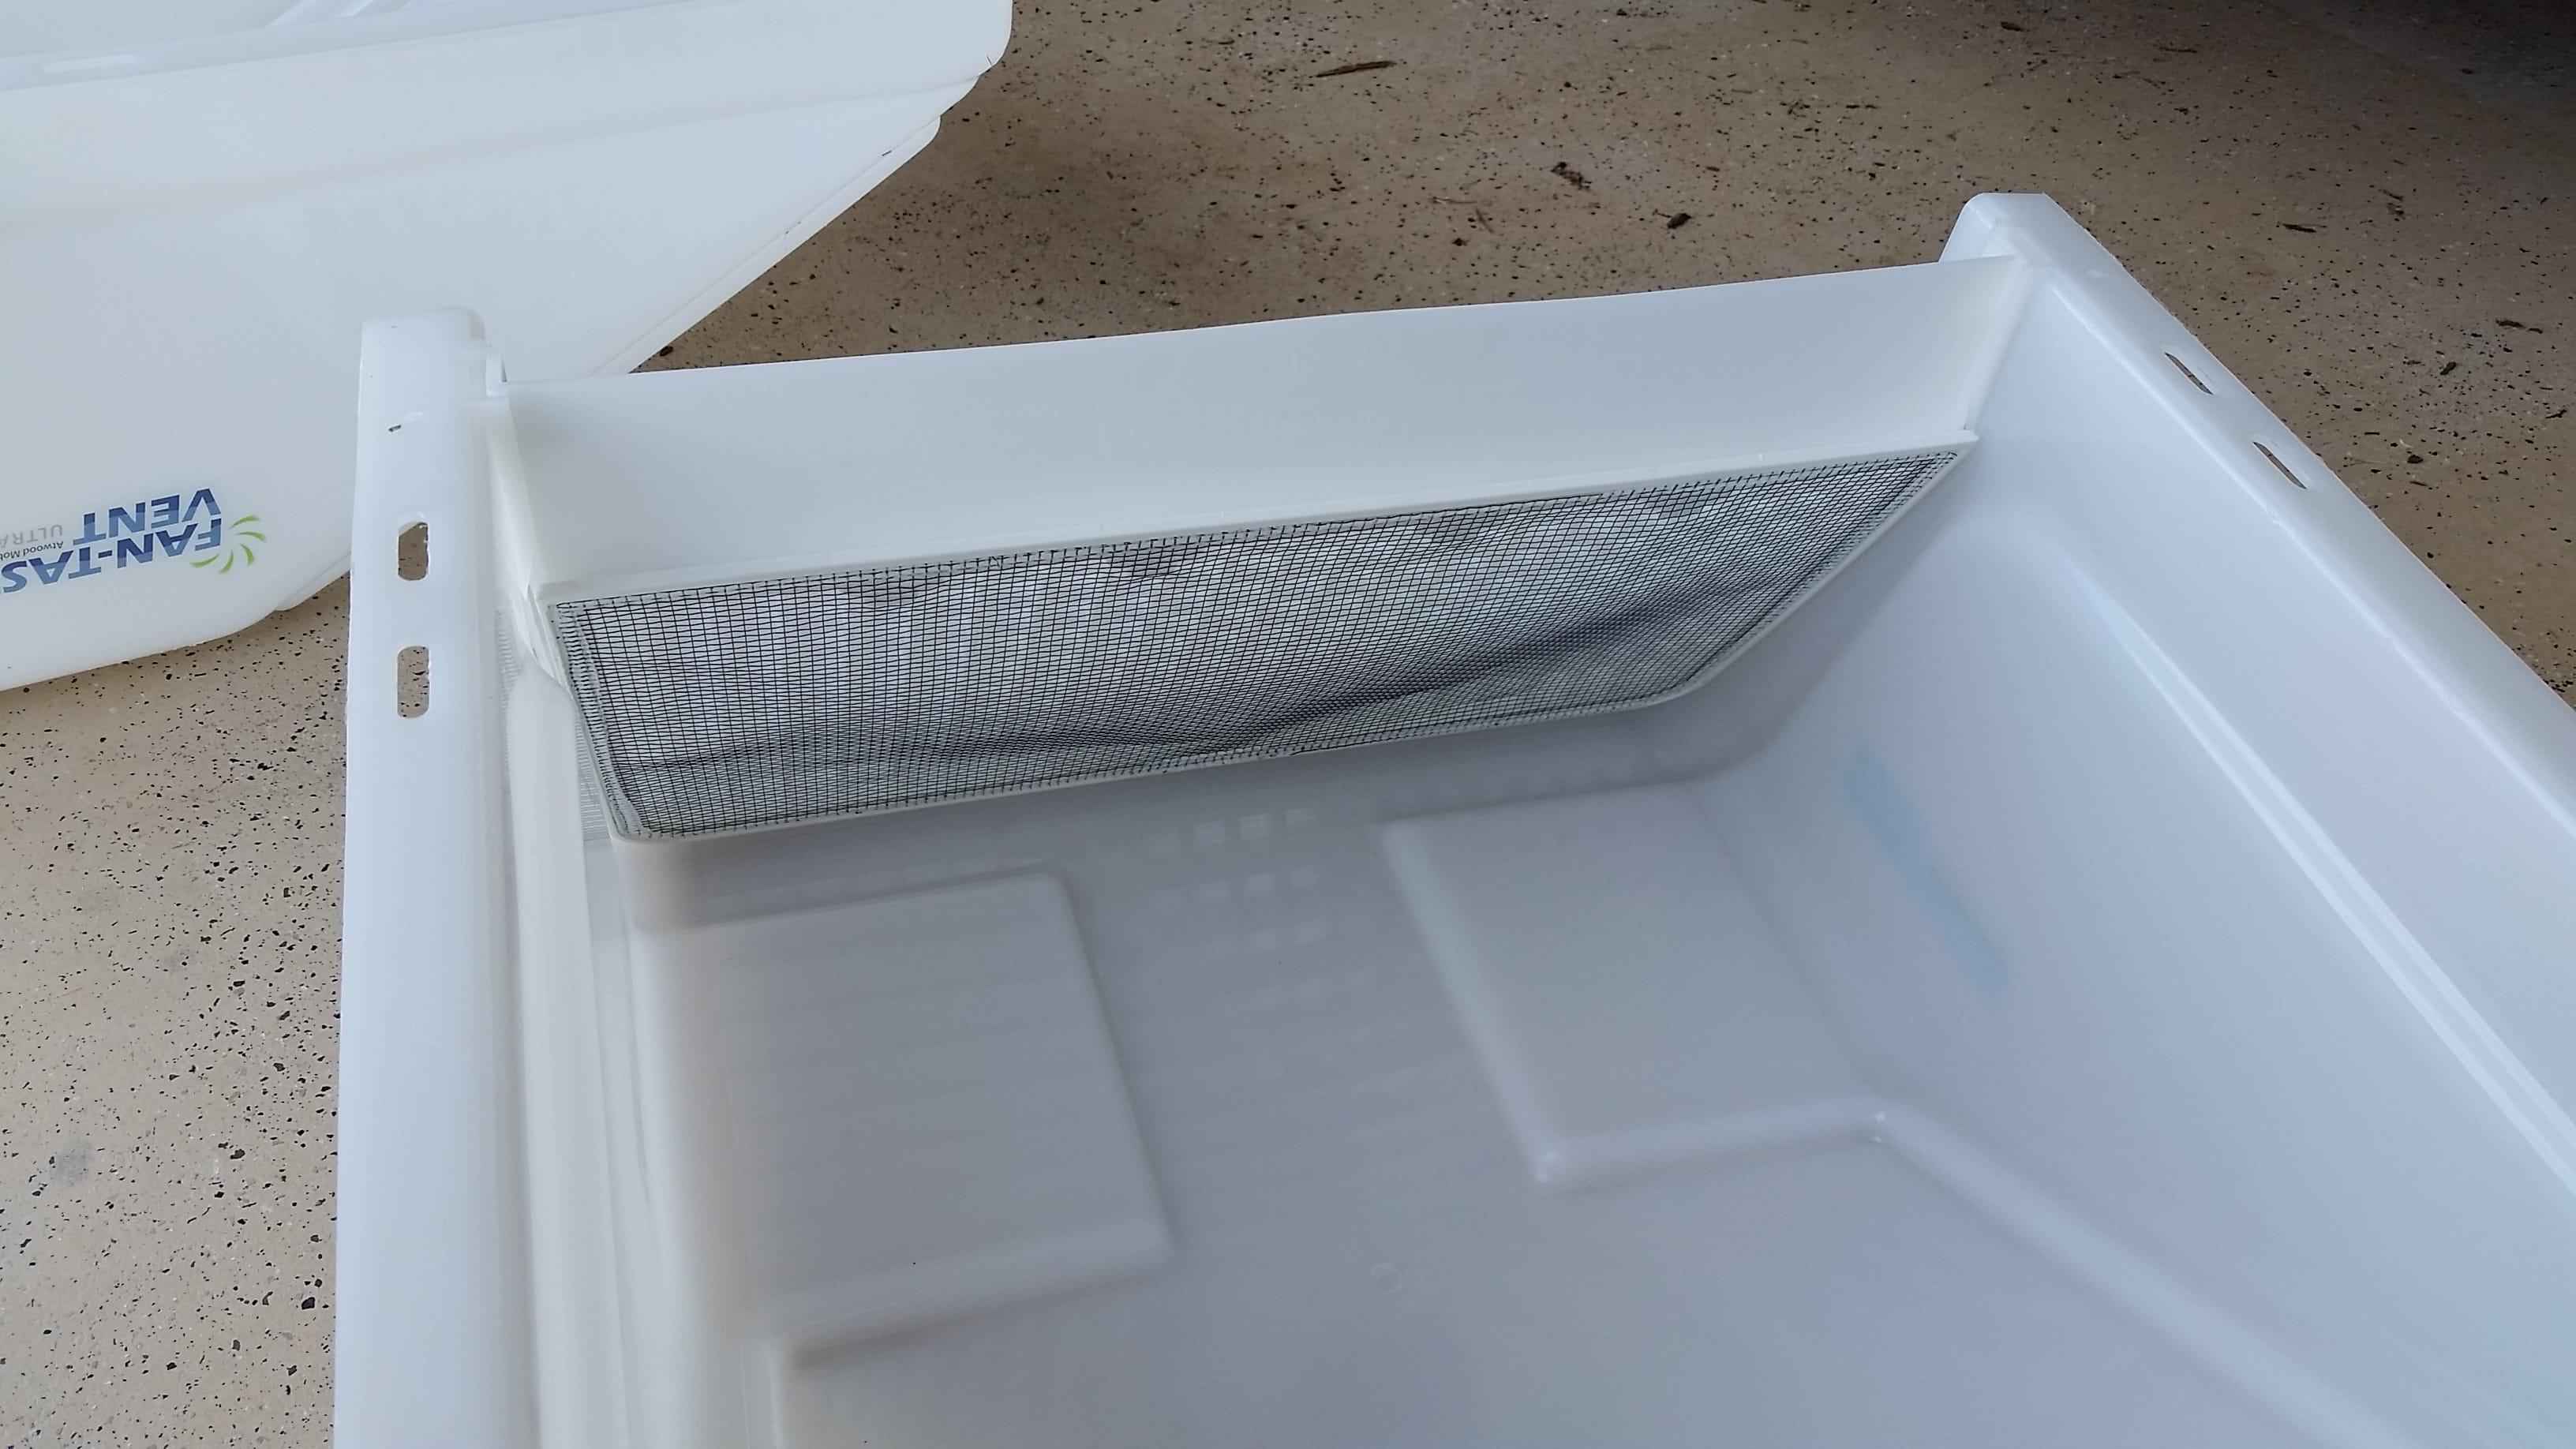
While the caulk is curring you can attach the Bug Screens to the covers. Ensure that the bug screen is securely snapped in place to keep insects out. The screen is good enough for mosquito’s and flies but if you have small bugs like no-see ums or gnats keep those vents closed (or the fans running)
When the caulk as fully curred you can install the covers on the brackets, they install over the posts and are secured with the clip pins and washers. Here is a short video showing the adding and removing of the covers.