Entry Stepwell Foam Replacement
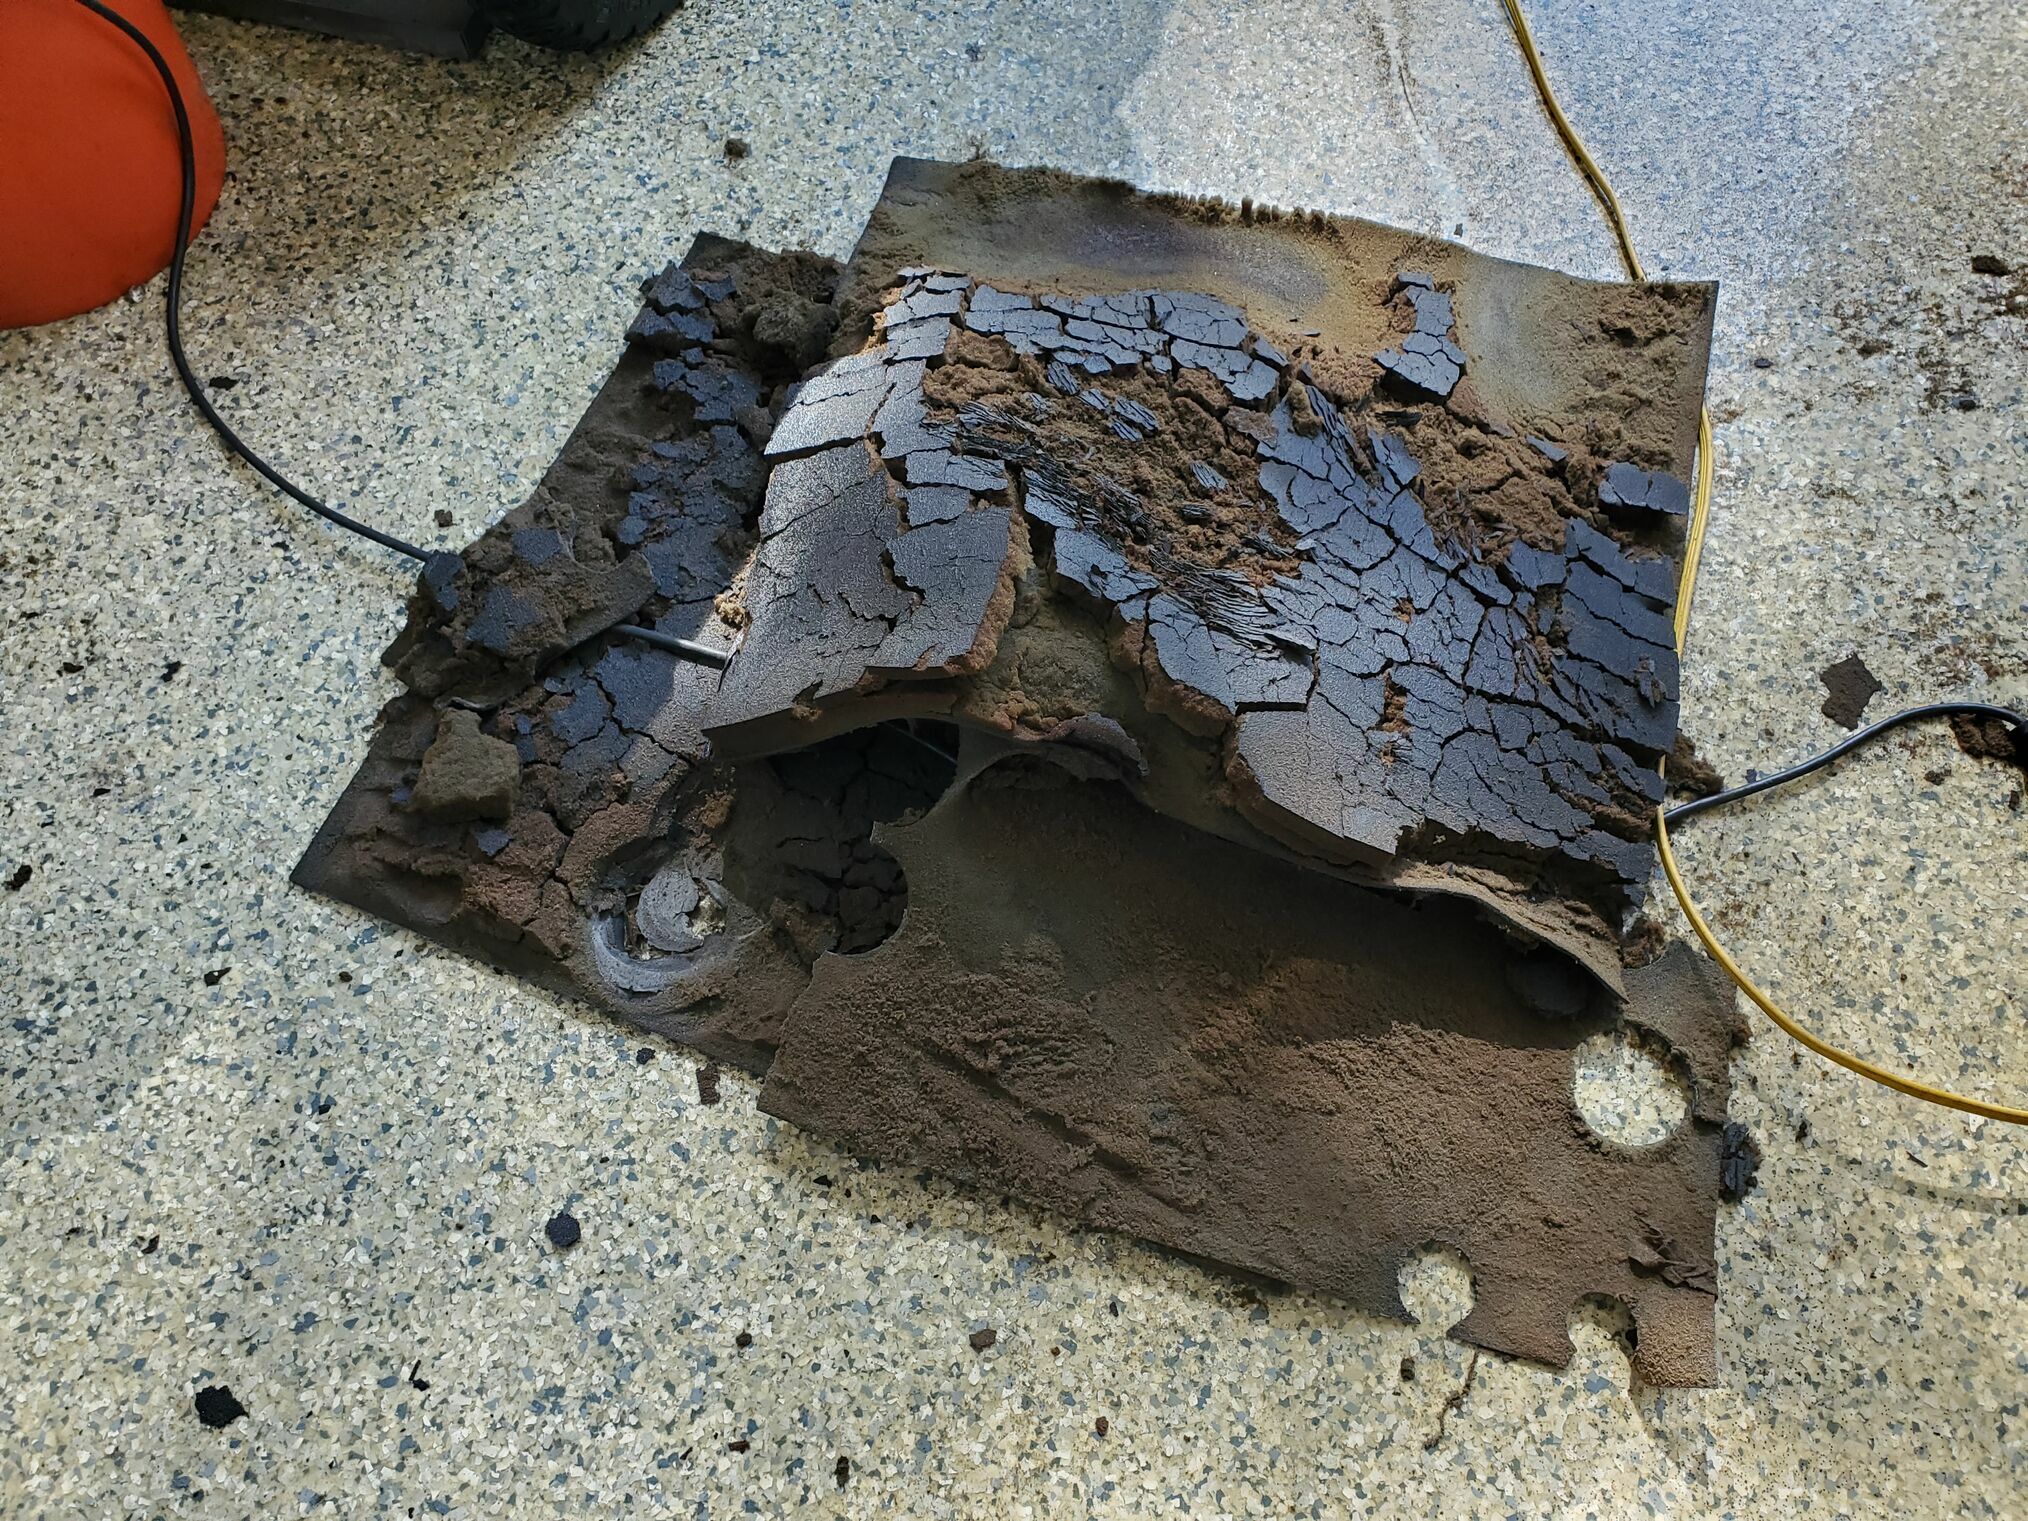
The acoustic foam lining the outside of our entry step well had reached the end of its life. Just touching it caused it to disintegrate. Time to replace it.
Choosing a Replacement
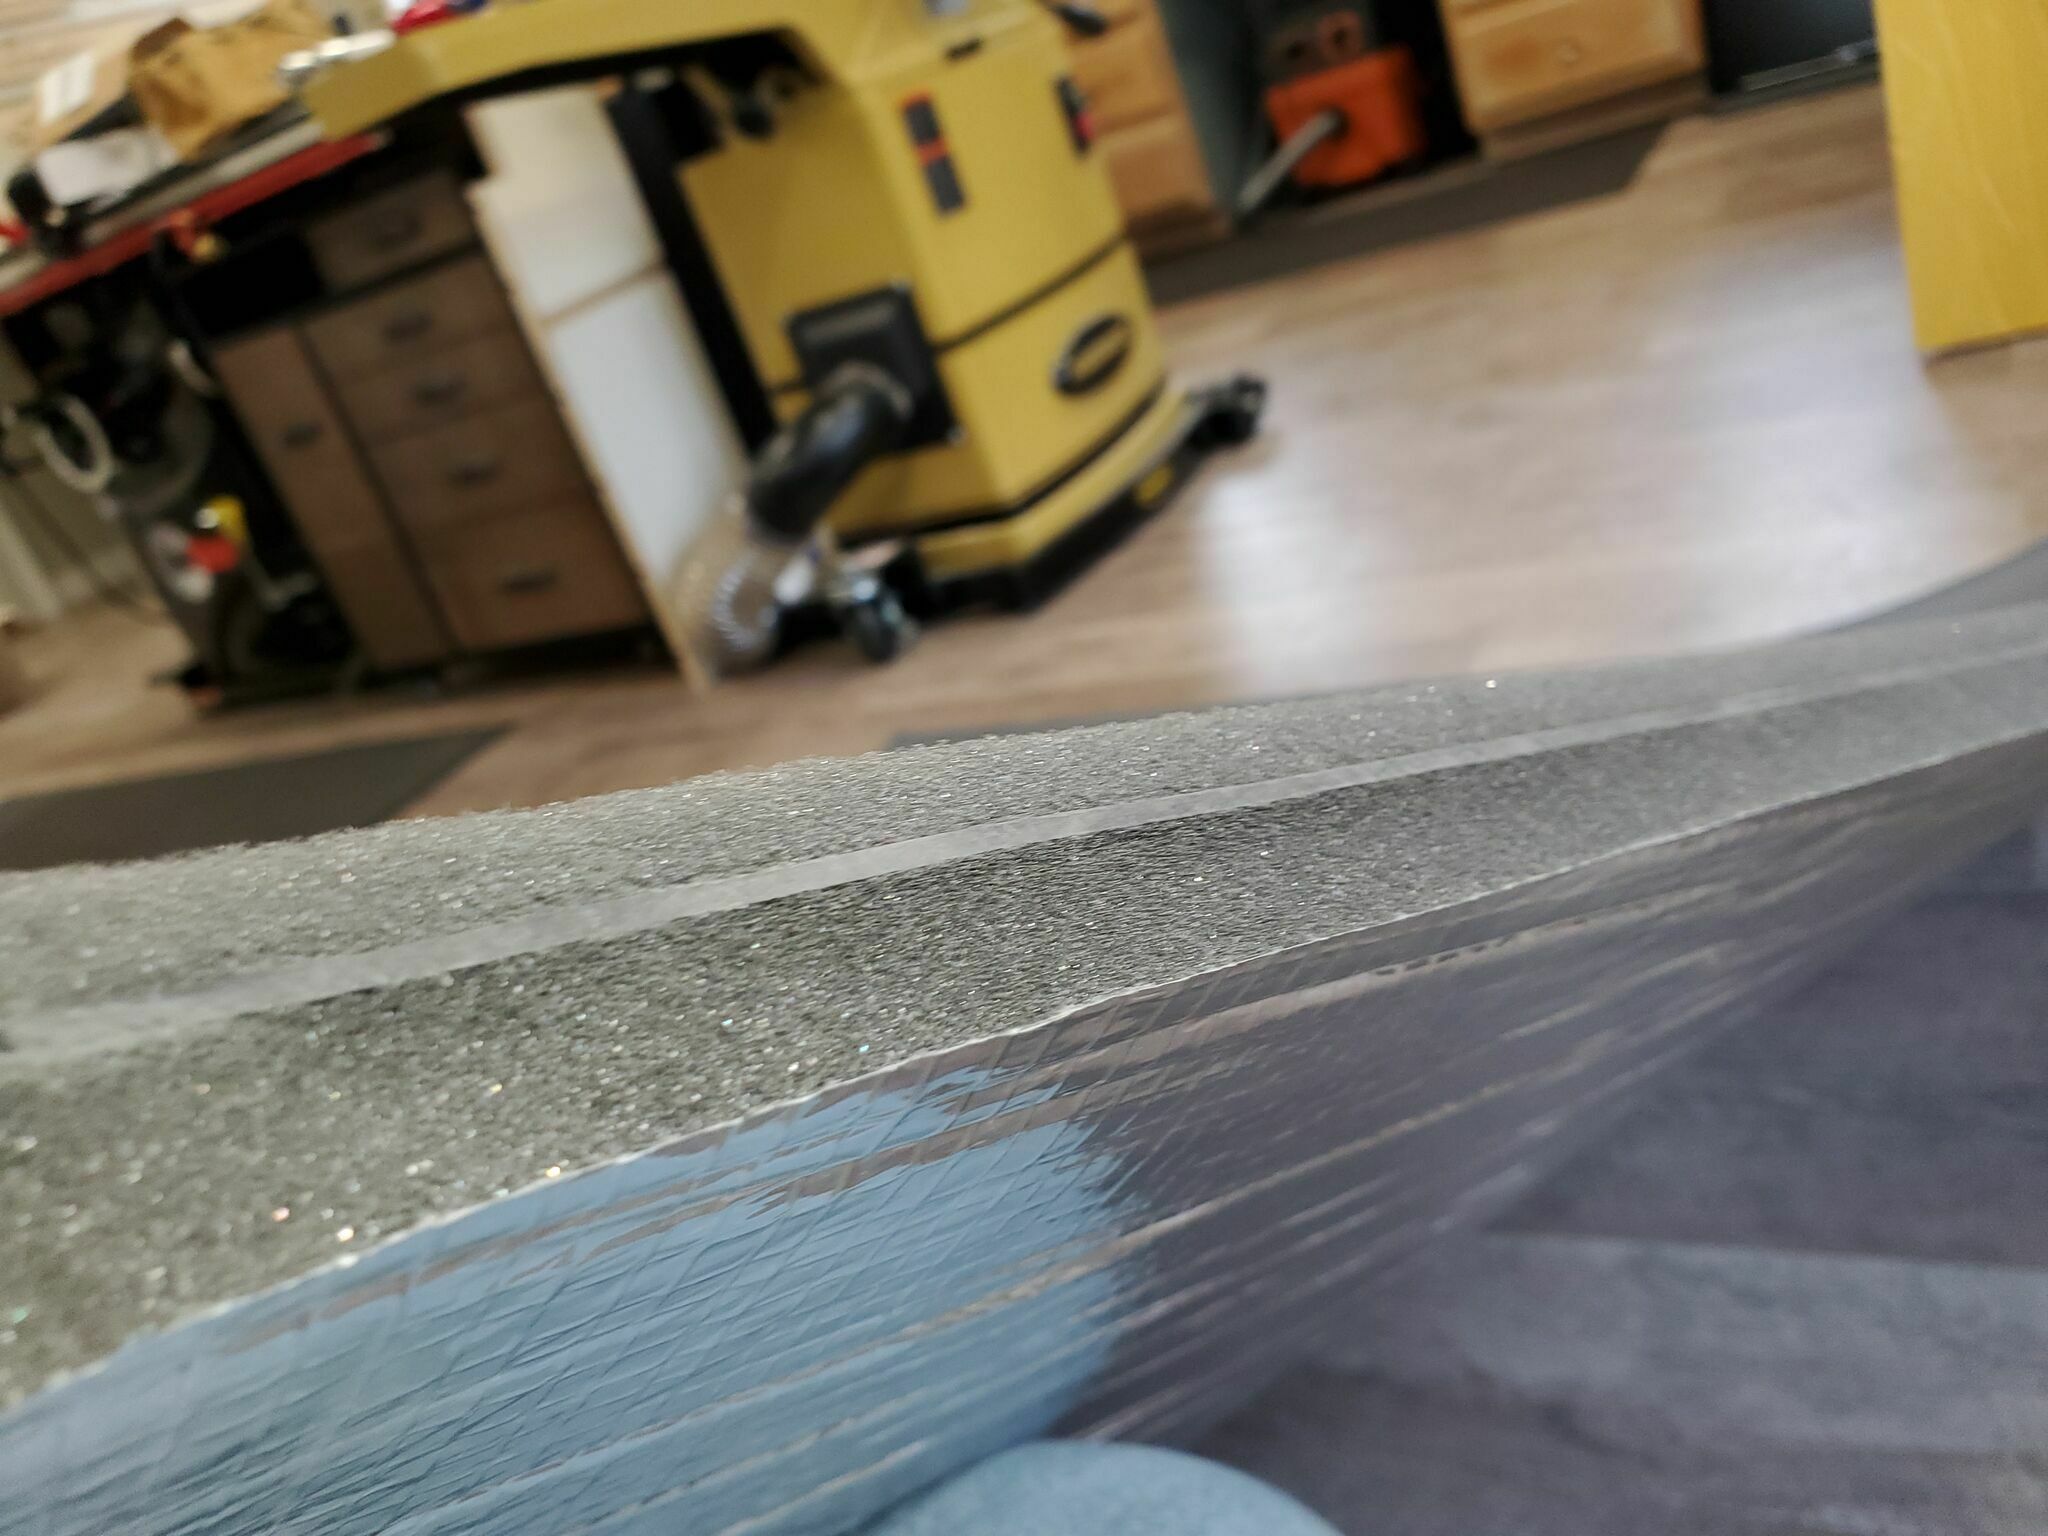
I replaced it with a composite foam barrier from Soundproof Cow. The product has two foam layers separated by an MLV (mass loaded vinyl) core, with a polyester skin on the outside for protection. HVAC duct board would probably work as a substitute, but I wanted to maximize the sound barrier rather than just fill the space.
Note that the original foam was likely a 2lb MLV core; the replacement I used has a 1lb core, which is the most readily available option.
Removing the Old Foam
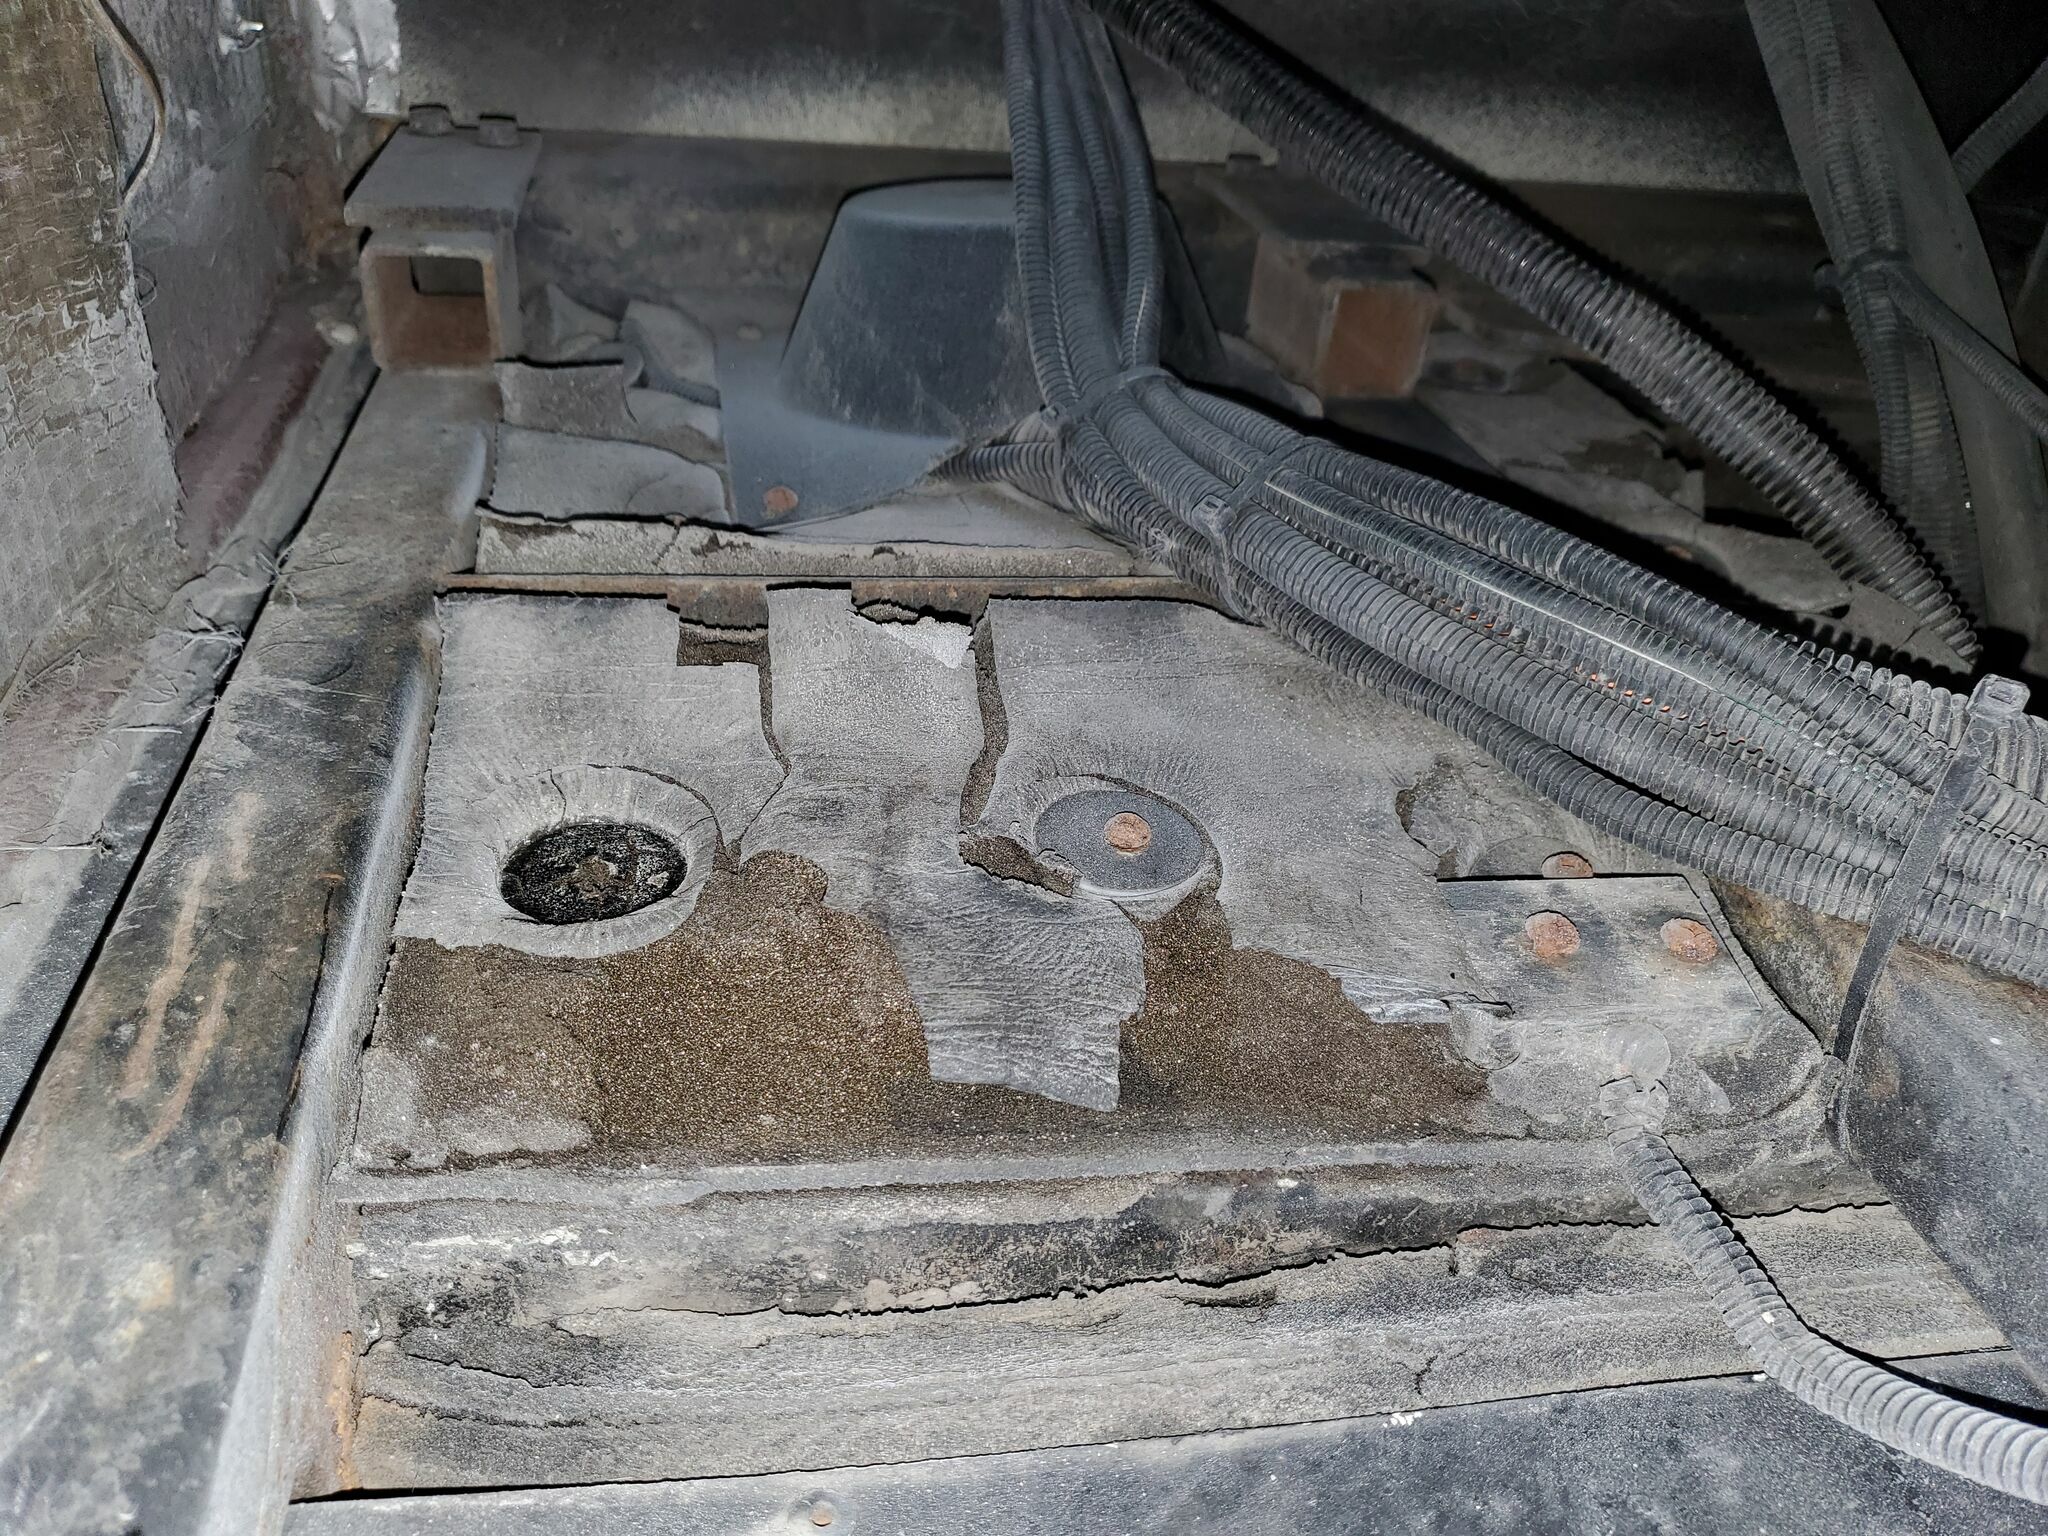
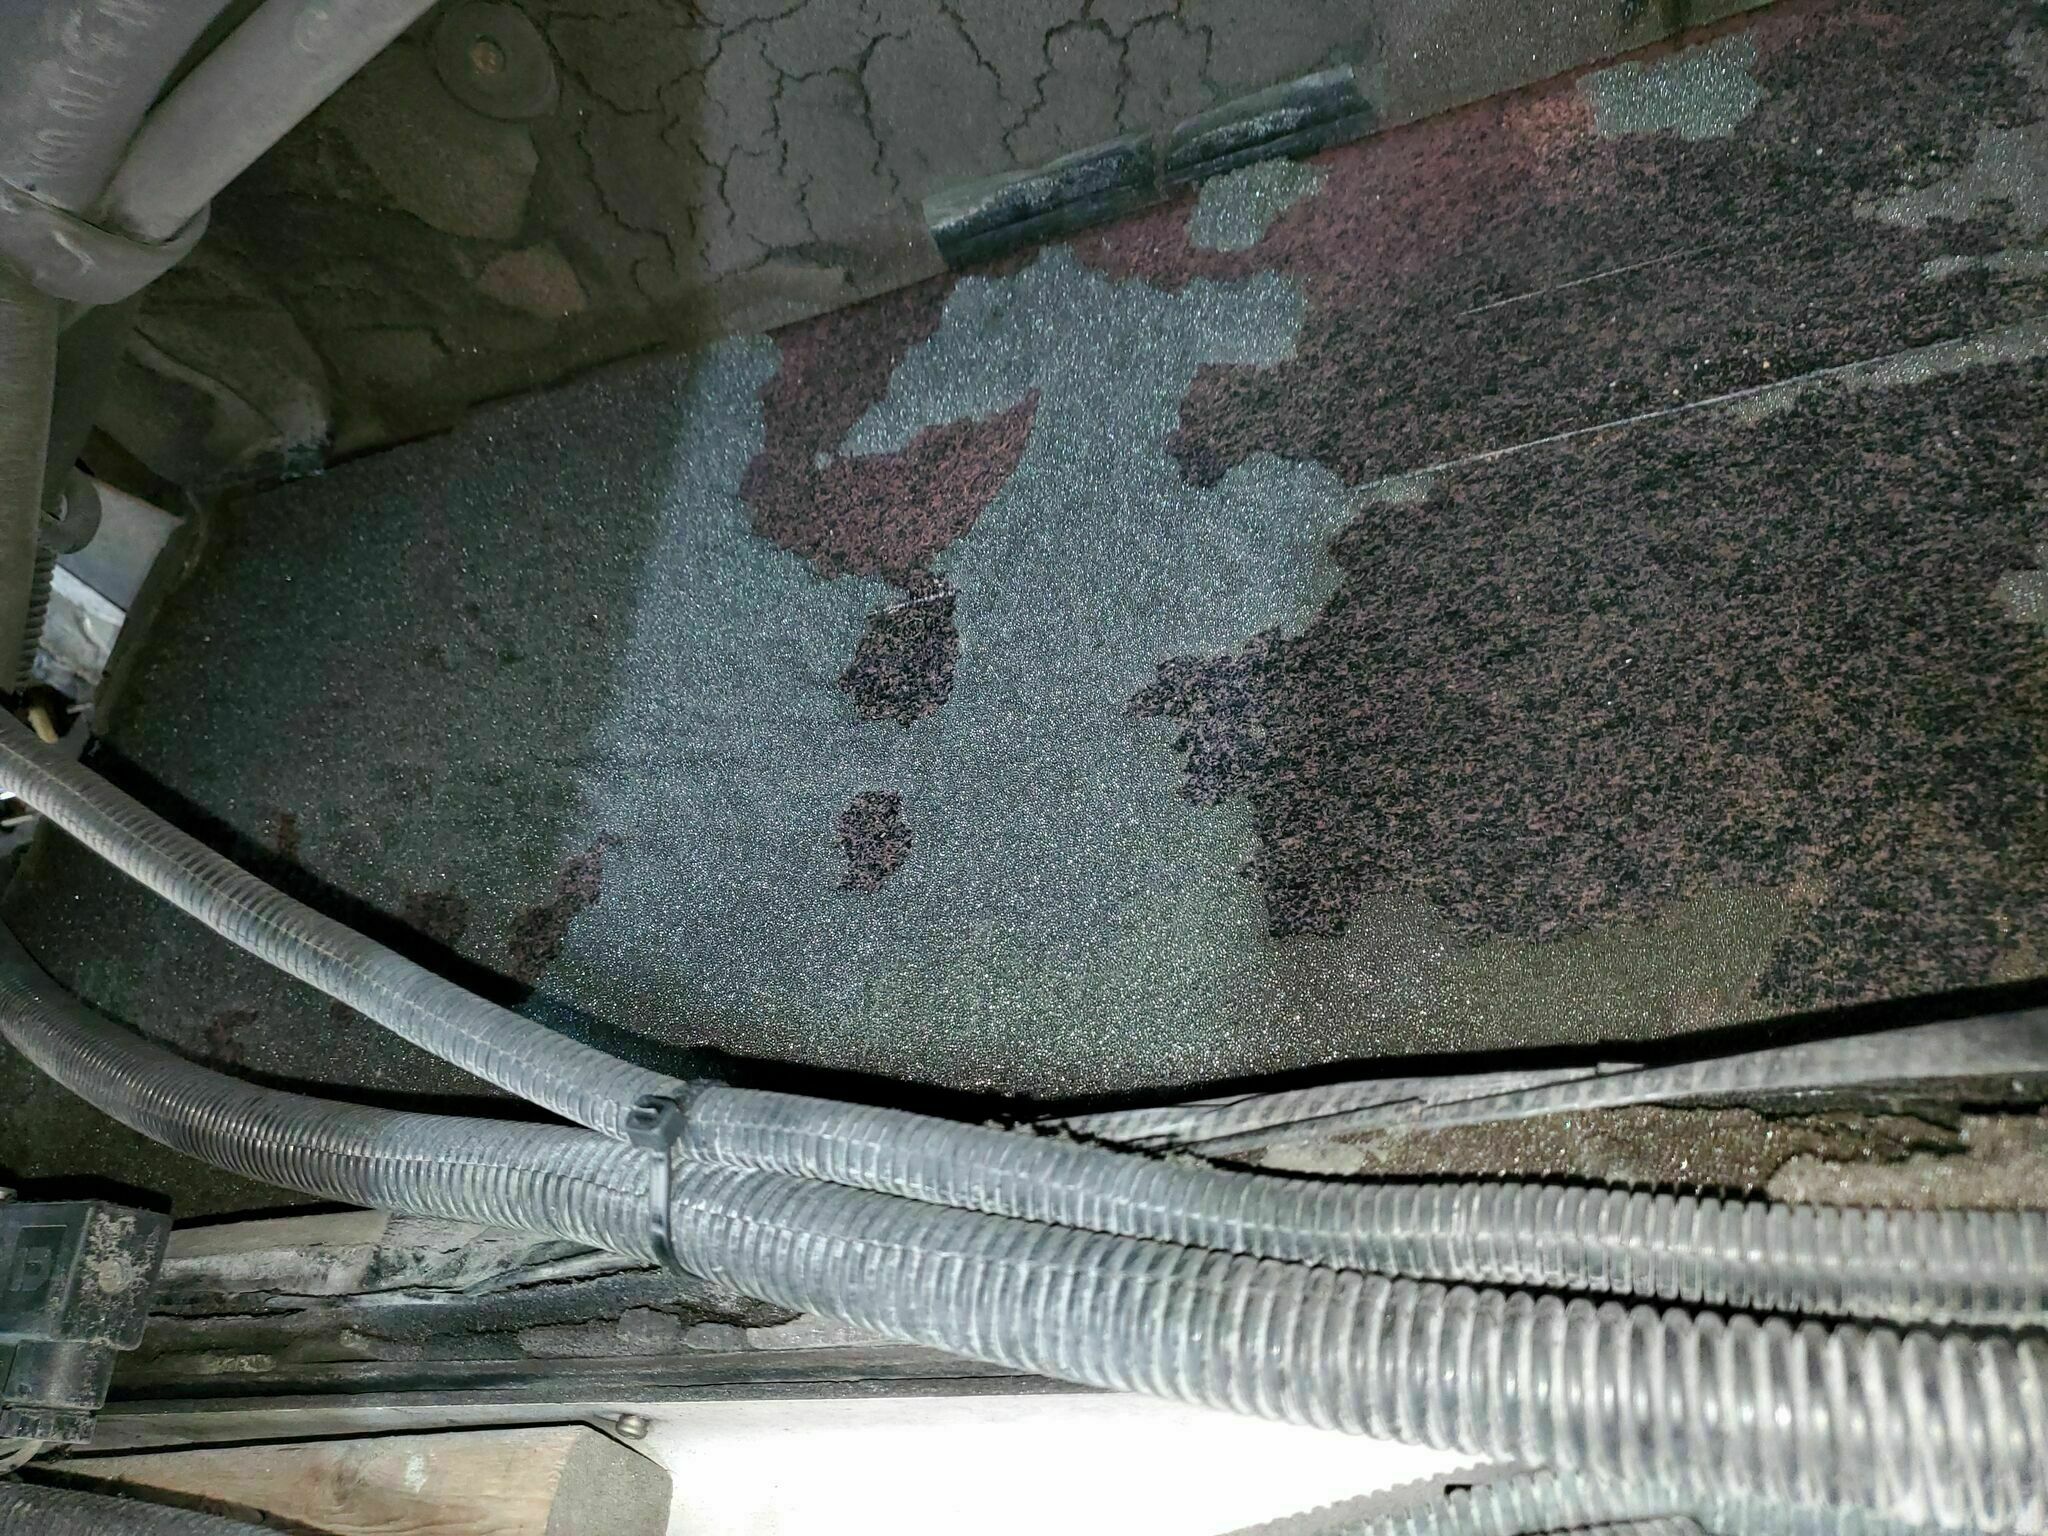
The old foam was held in place with screws and nylon fender washers, similar to engine insulation retention. I couldn’t tell if it also had a PSA (pressure-sensitive adhesive) backing, but once the screws were out it came off without much of a fight. Any remaining foam released easily with a plastic scraper. My guess is that spray adhesive was used initially, with the screws and washers added for real retention.
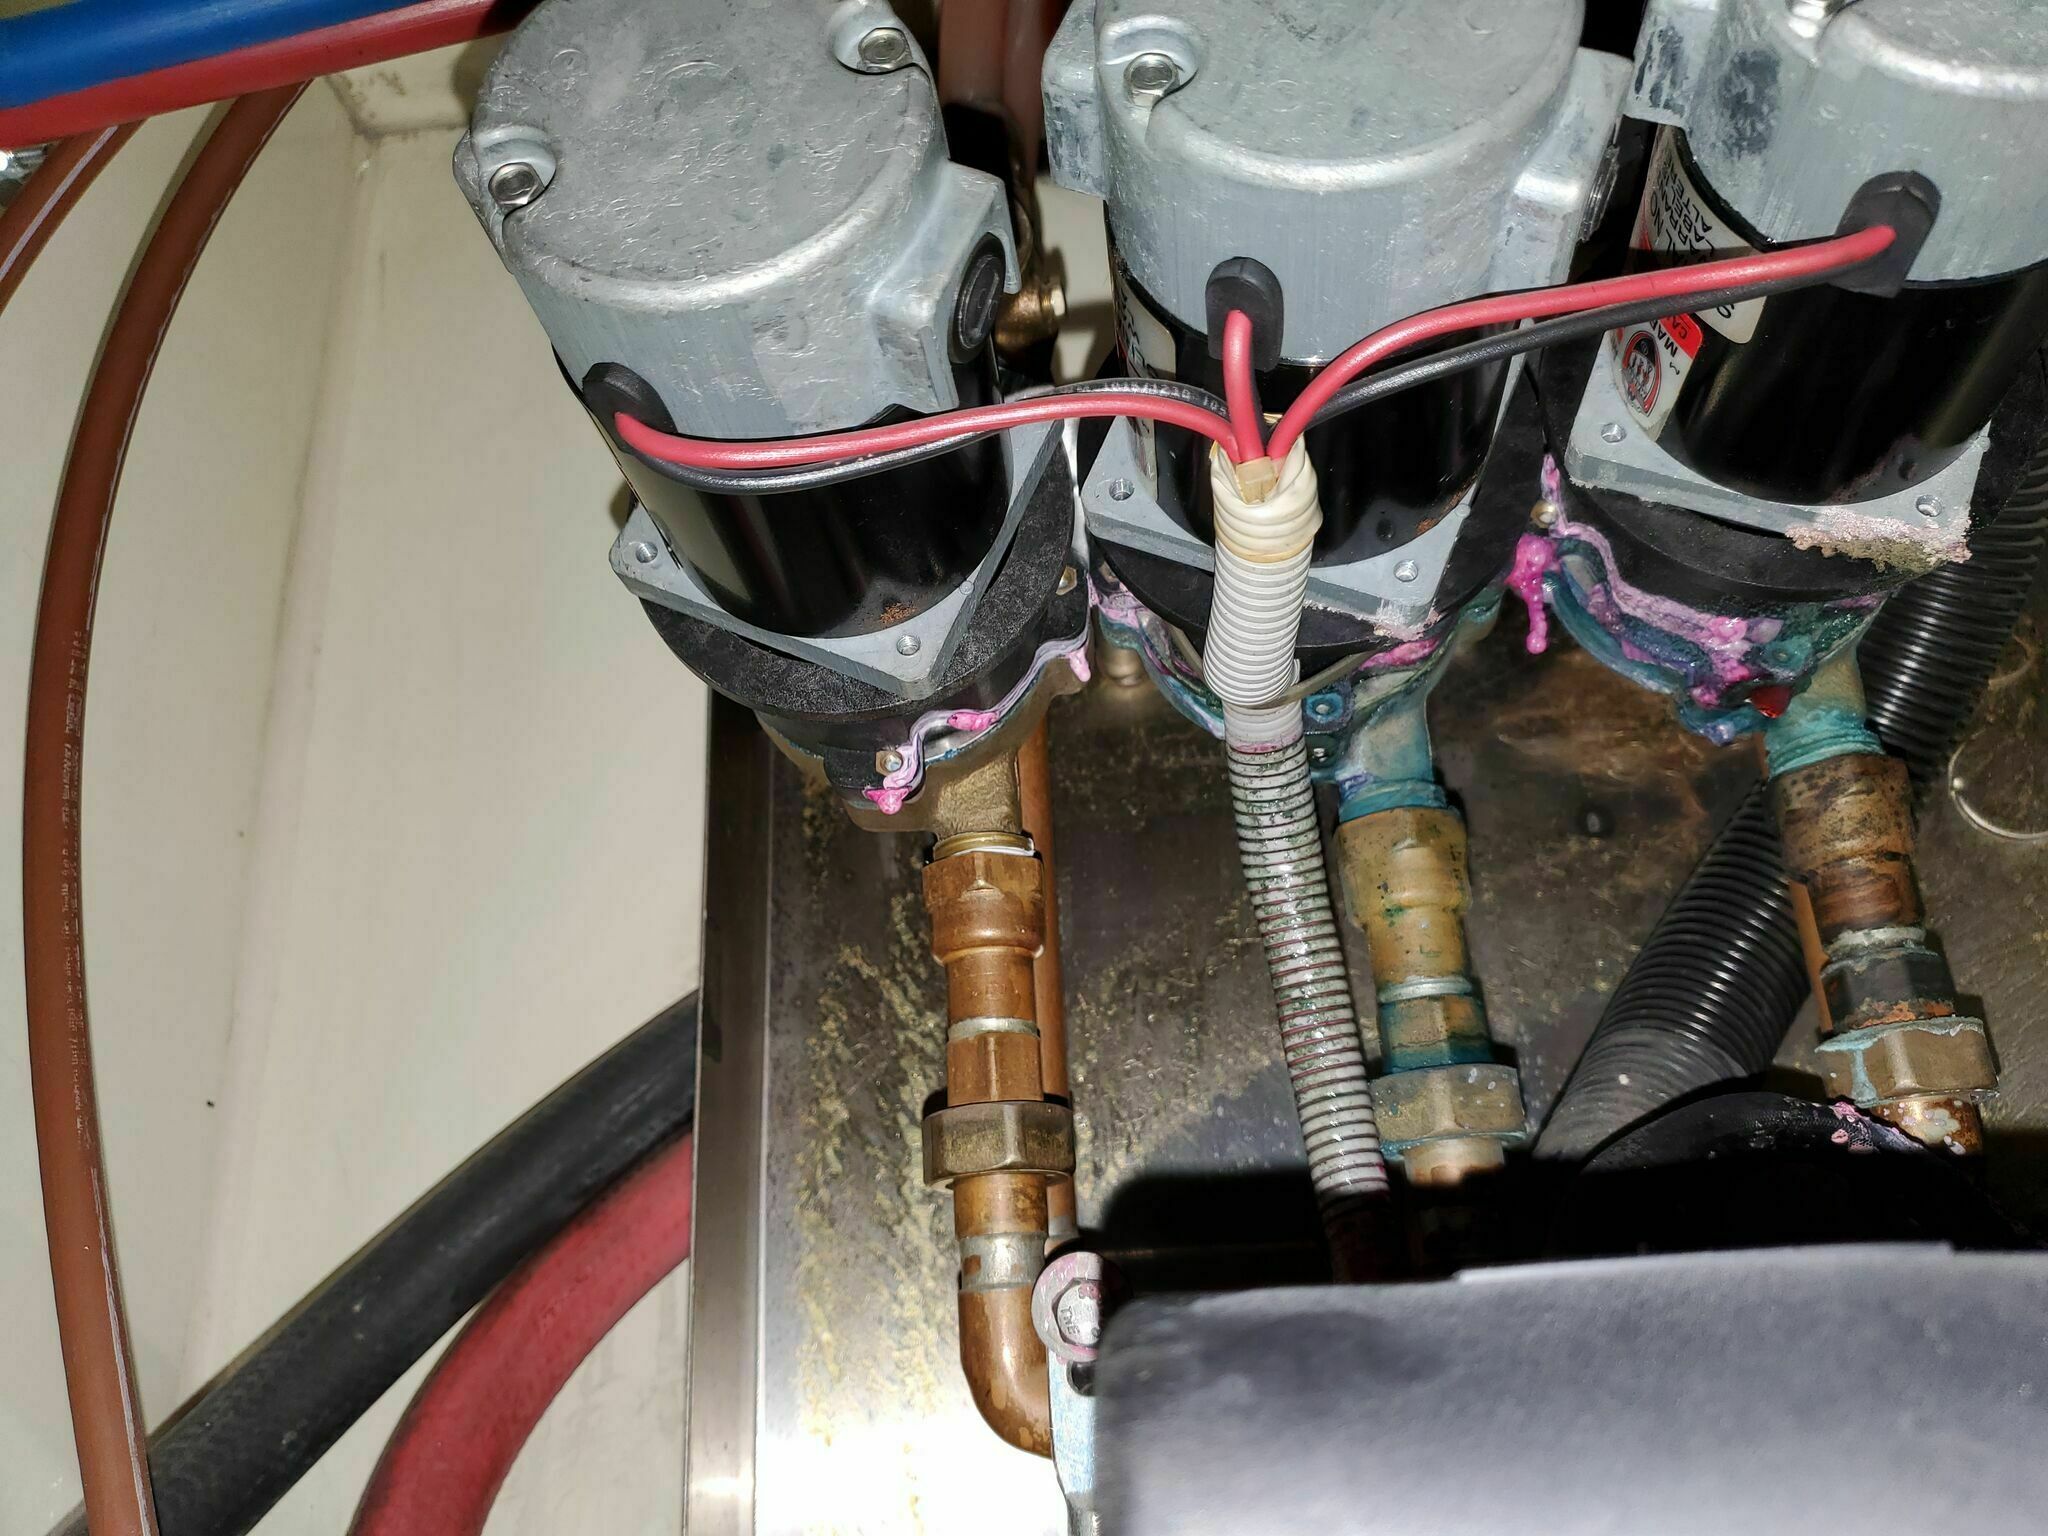
Almost all the screws were easily accessible. The exceptions were a few around and behind the airbag/shock tower, two of them are driven in at roughly a 45-degree angle directly behind the airbag, but you can get a screwdriver on them without too much trouble.
Fair warning: this is a filthy job. Plan accordingly.
The Horizontal Section
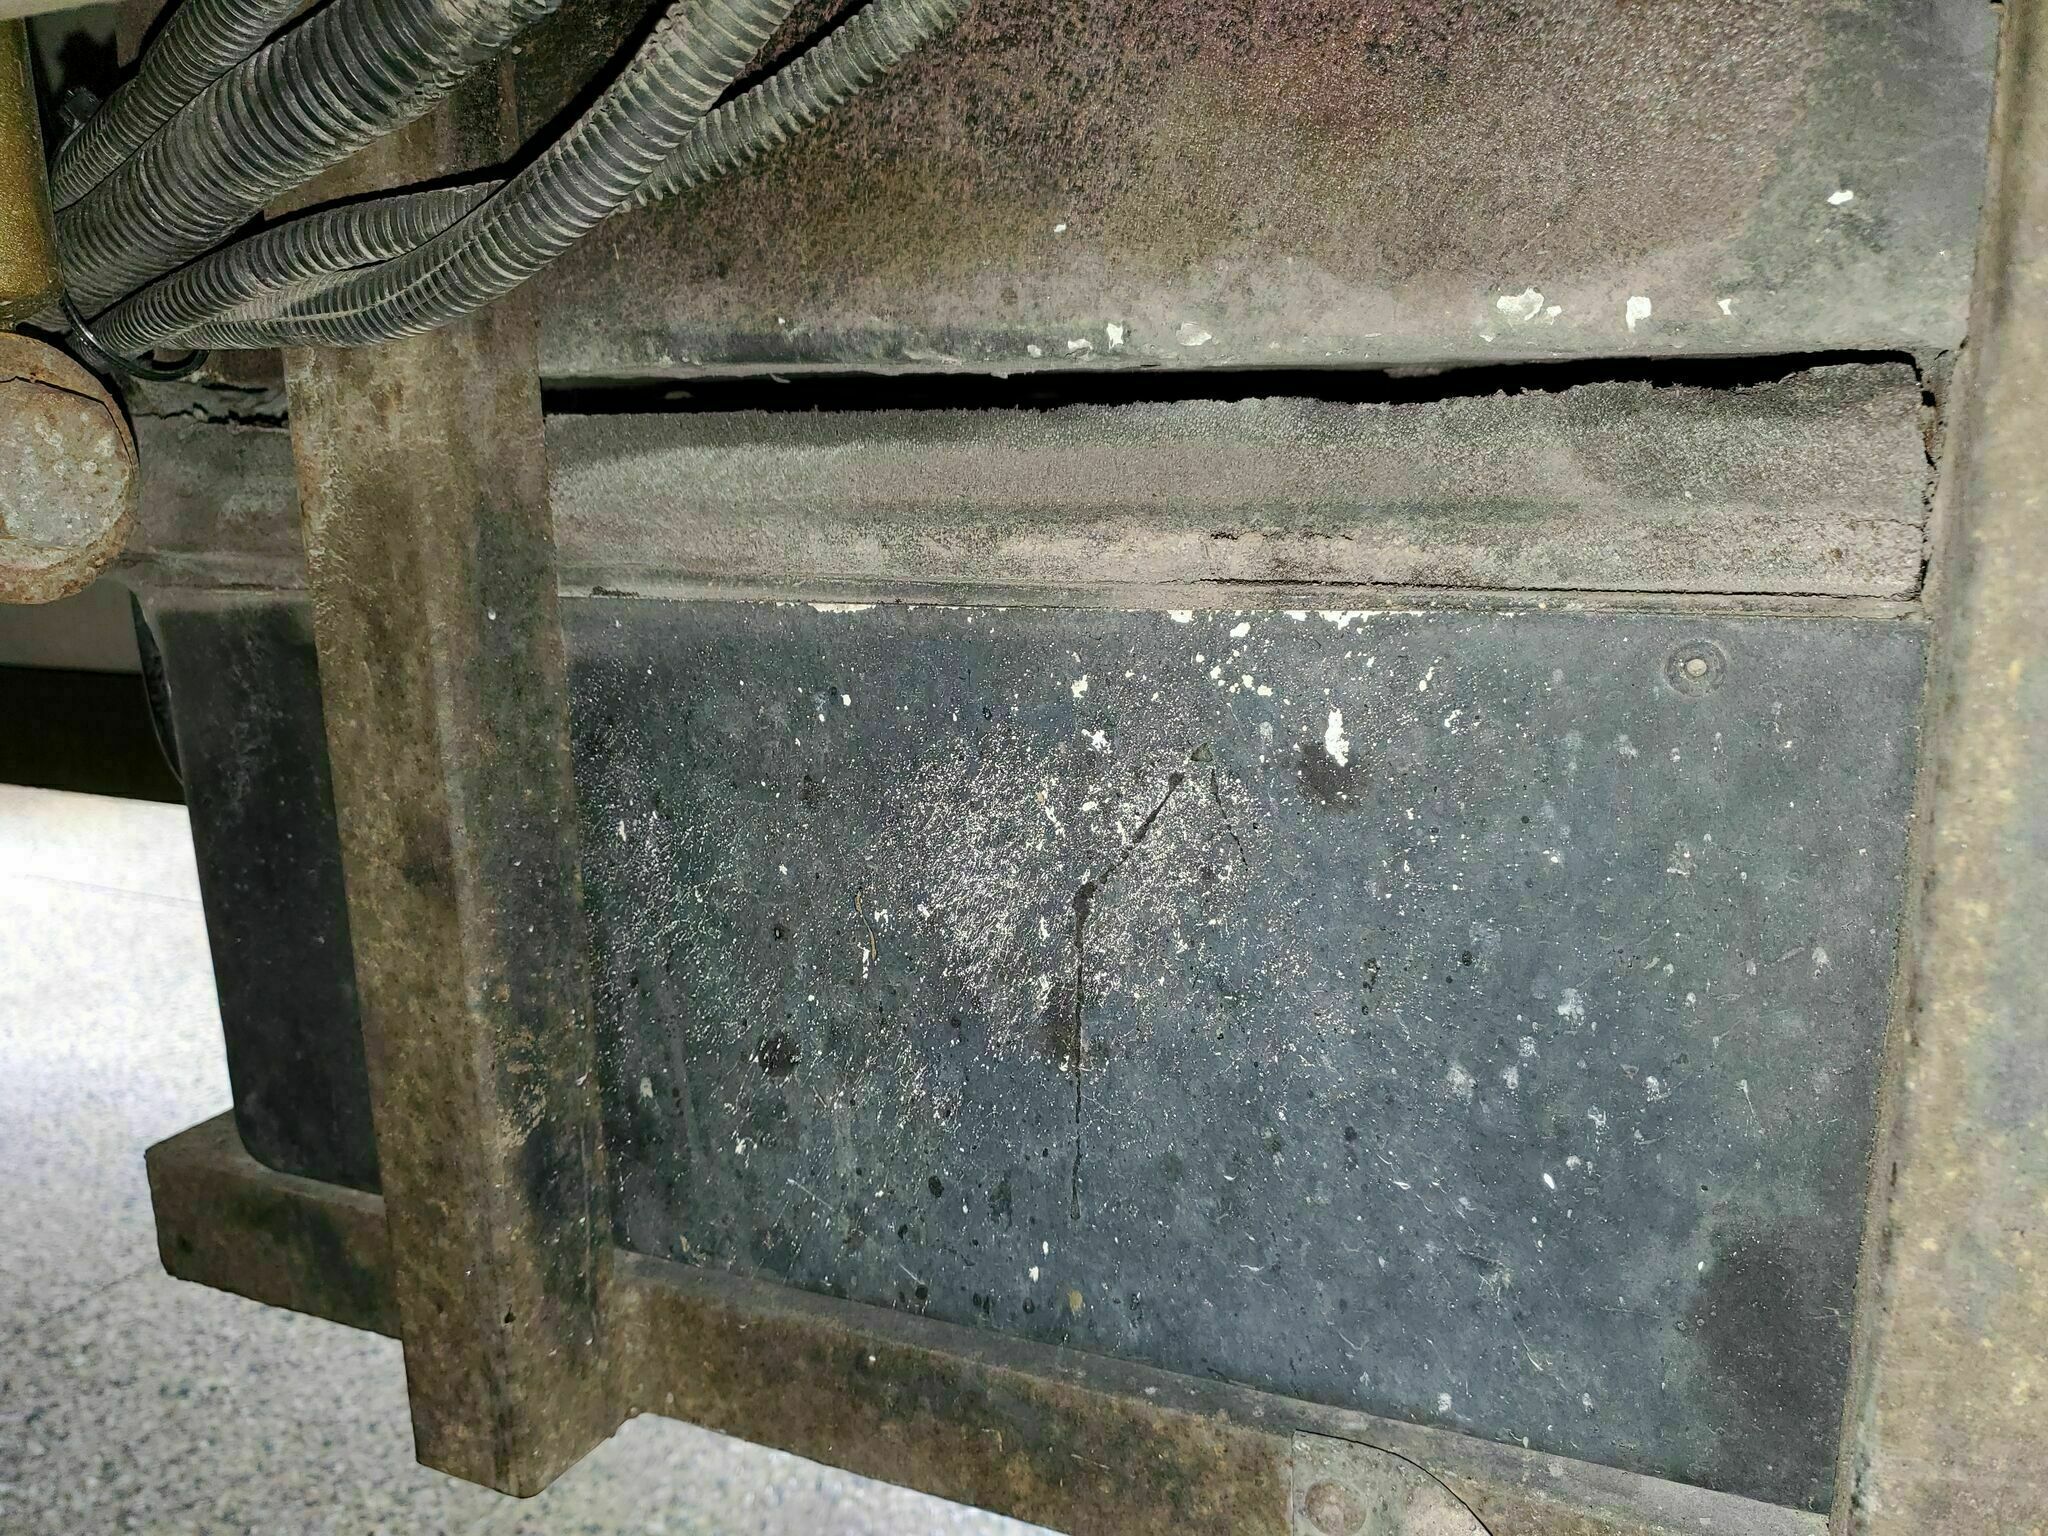
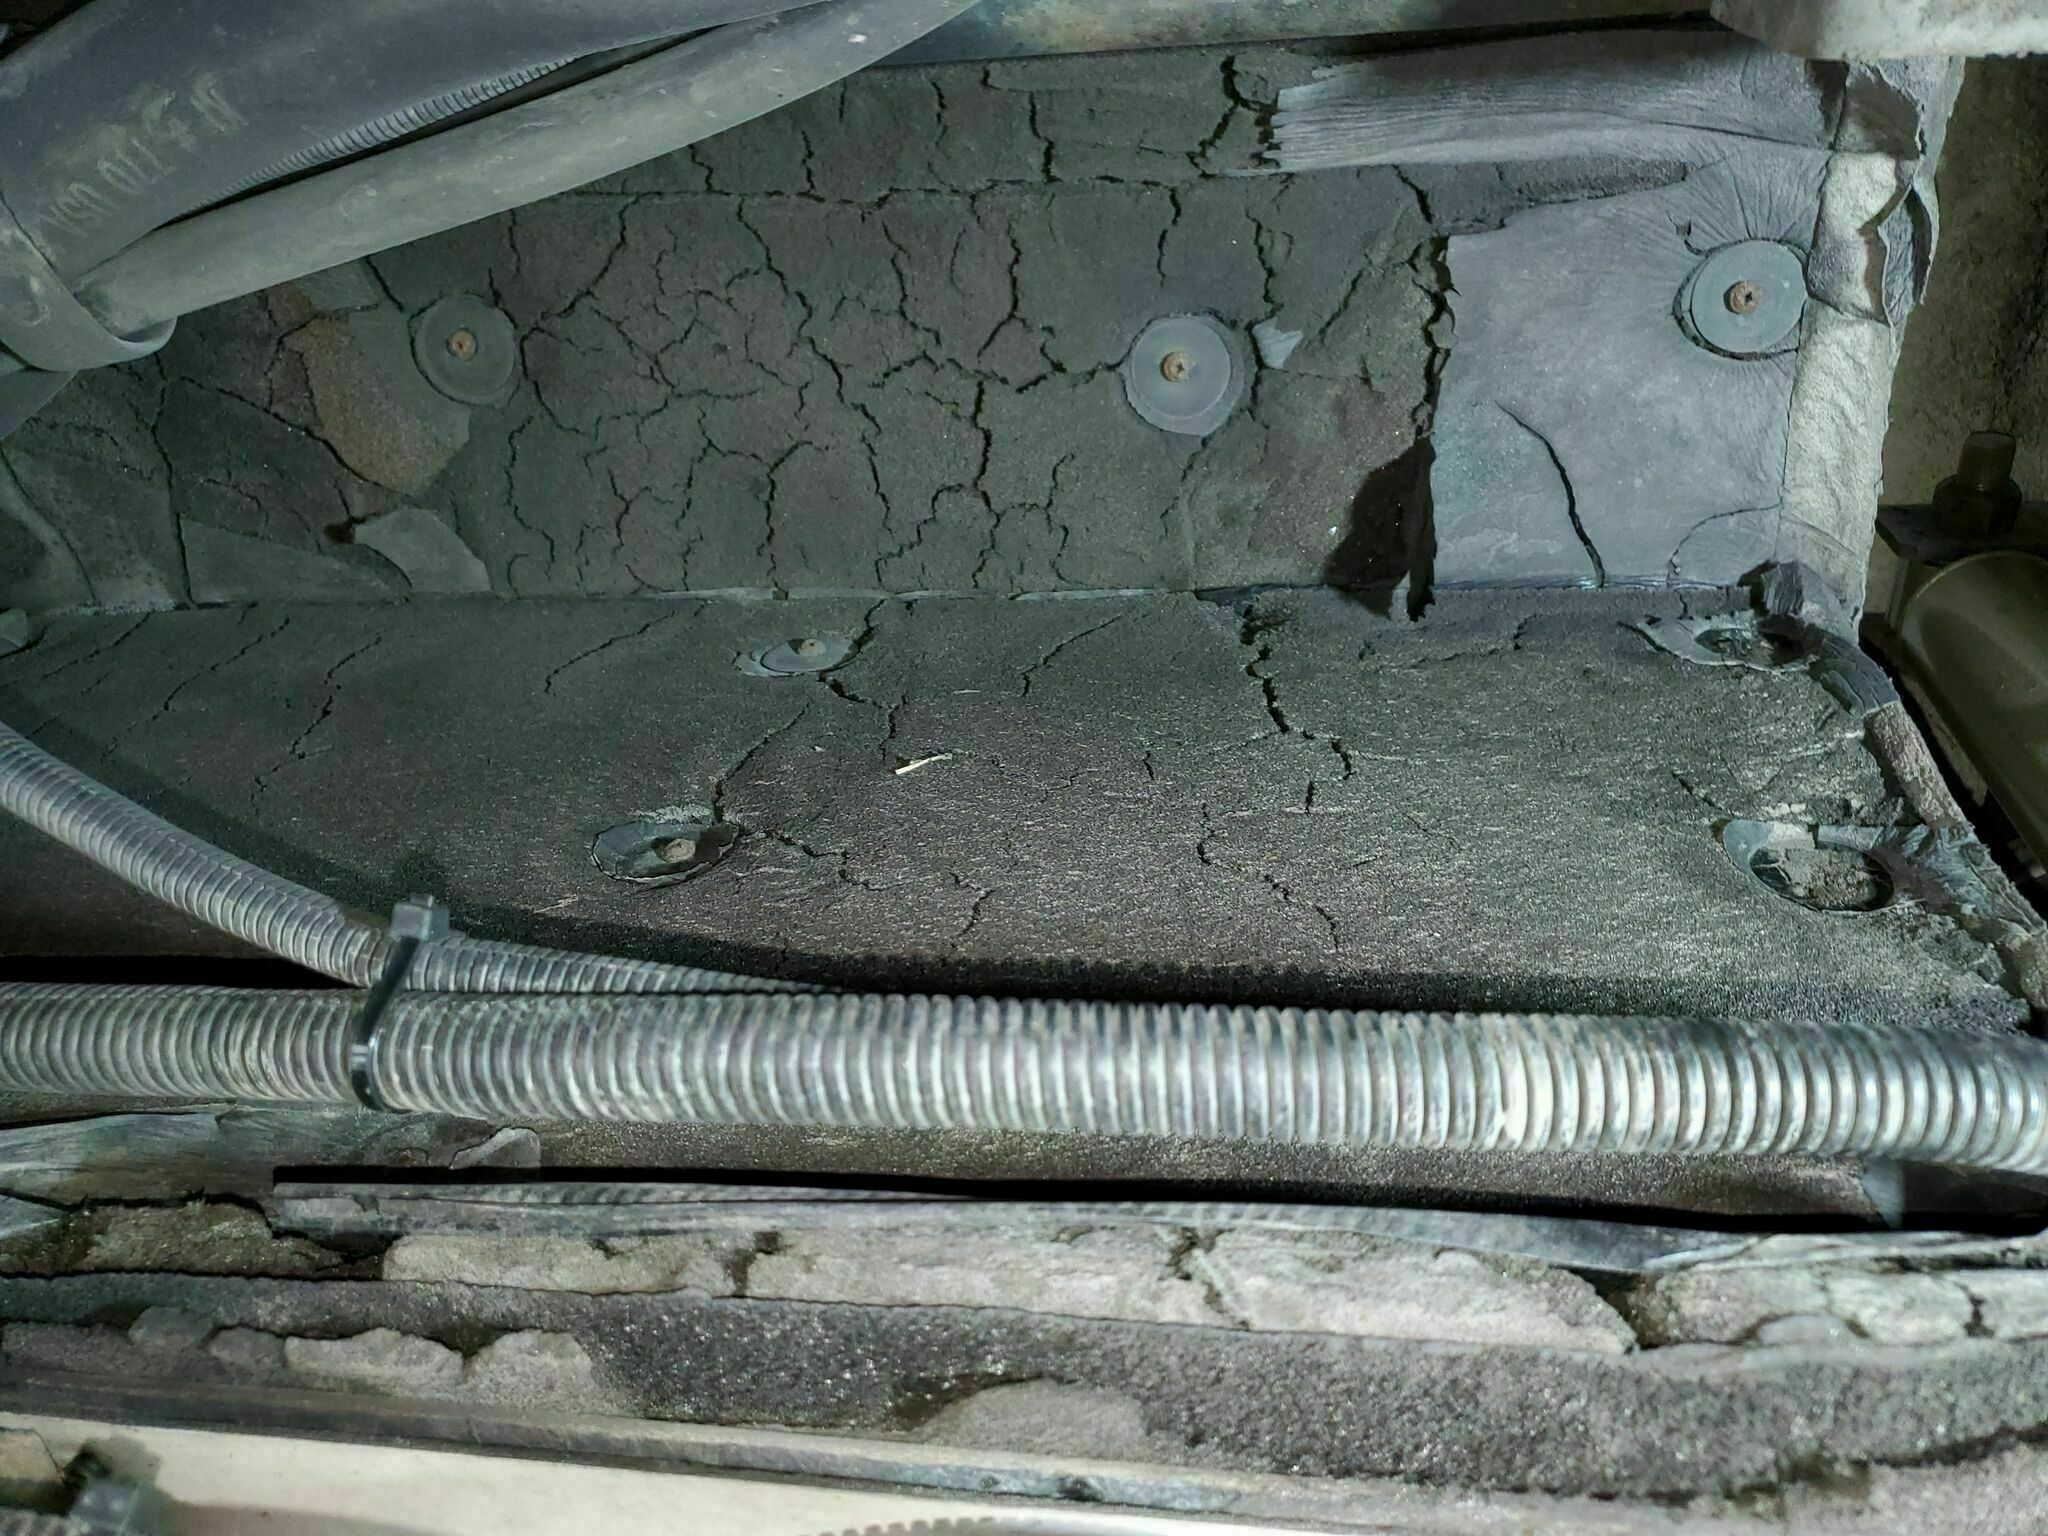
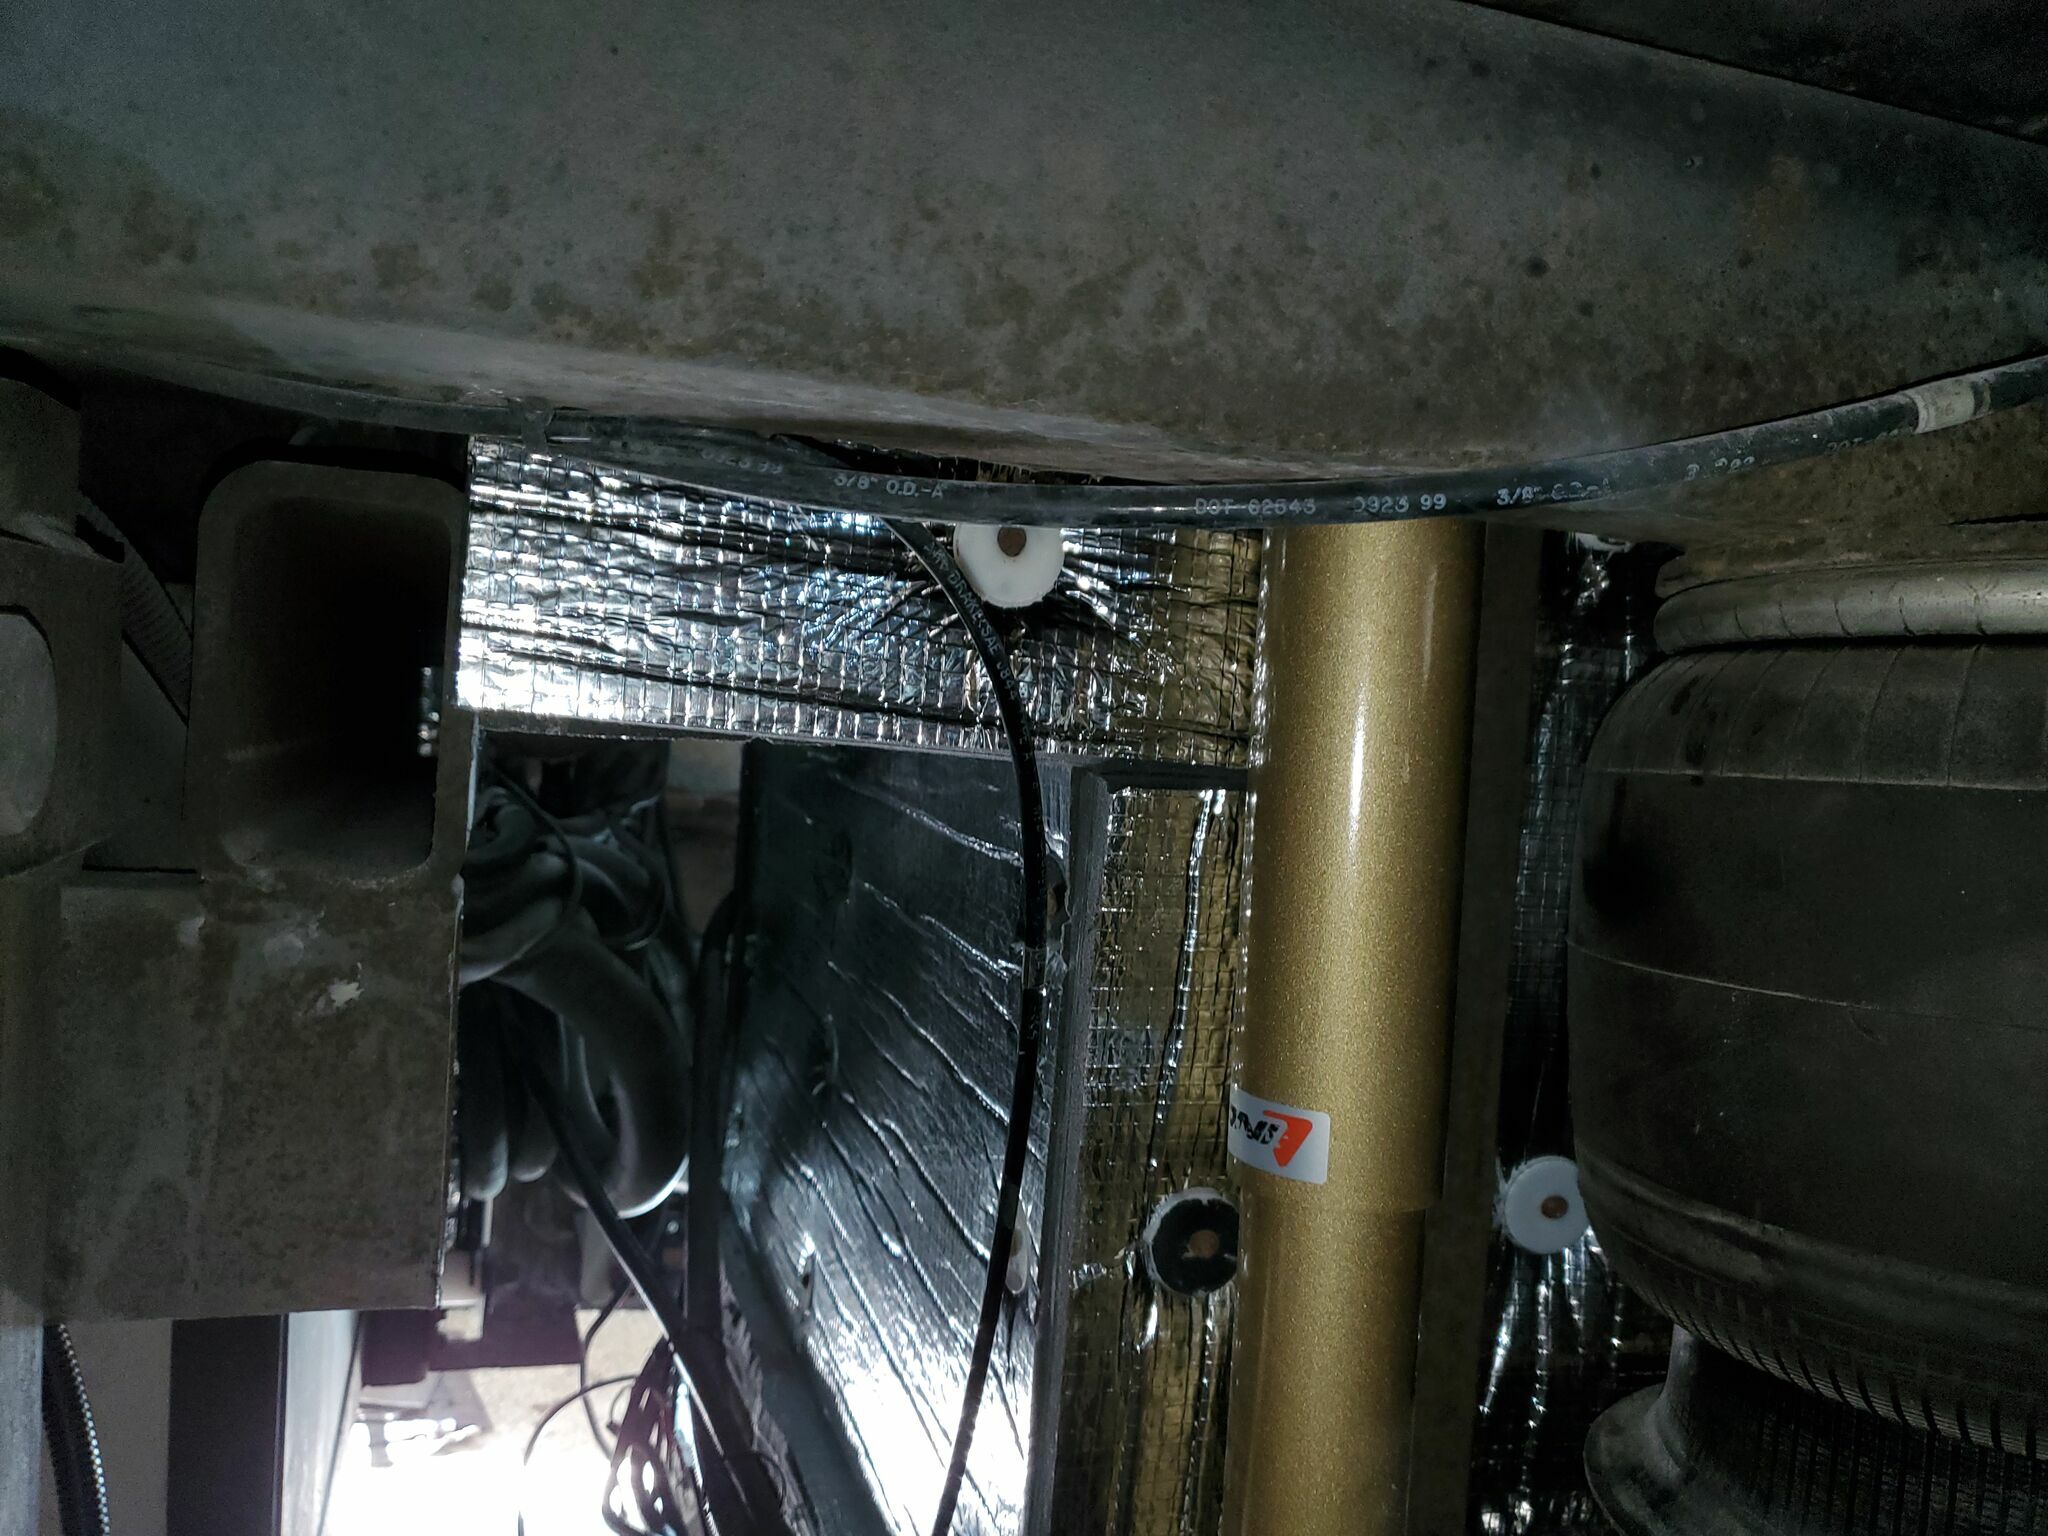
There is a horizontal section of foam that sits between the bottom of the stairwell and the top of the flip-out step compartment. I was tempted to leave it alone, it’s in a more protected area and might still be in decent shape. Laziness is a powerful force.
I stopped rationalizing and pulled it out anyway. It was just as broken down as everything else. No screws were used on this section, just some mild contact adhesive. A thin strip of aluminum bar stock slid underneath to release it, and it came right out. The new section slid right back in; it’s constrained on the front and sides so it isn’t going anywhere.
Installation
With the surface cleaned up, I used 3M 77 spray adhesive, tested on a scrap of the new foam first to confirm compatibility, on both the foam and the mounting surfaces. It stayed put on contact. From there I added the screws back with Hardy plastic washers, which was straightforward since I didn’t have to hold the foam in place with my feet and knees while driving them in.
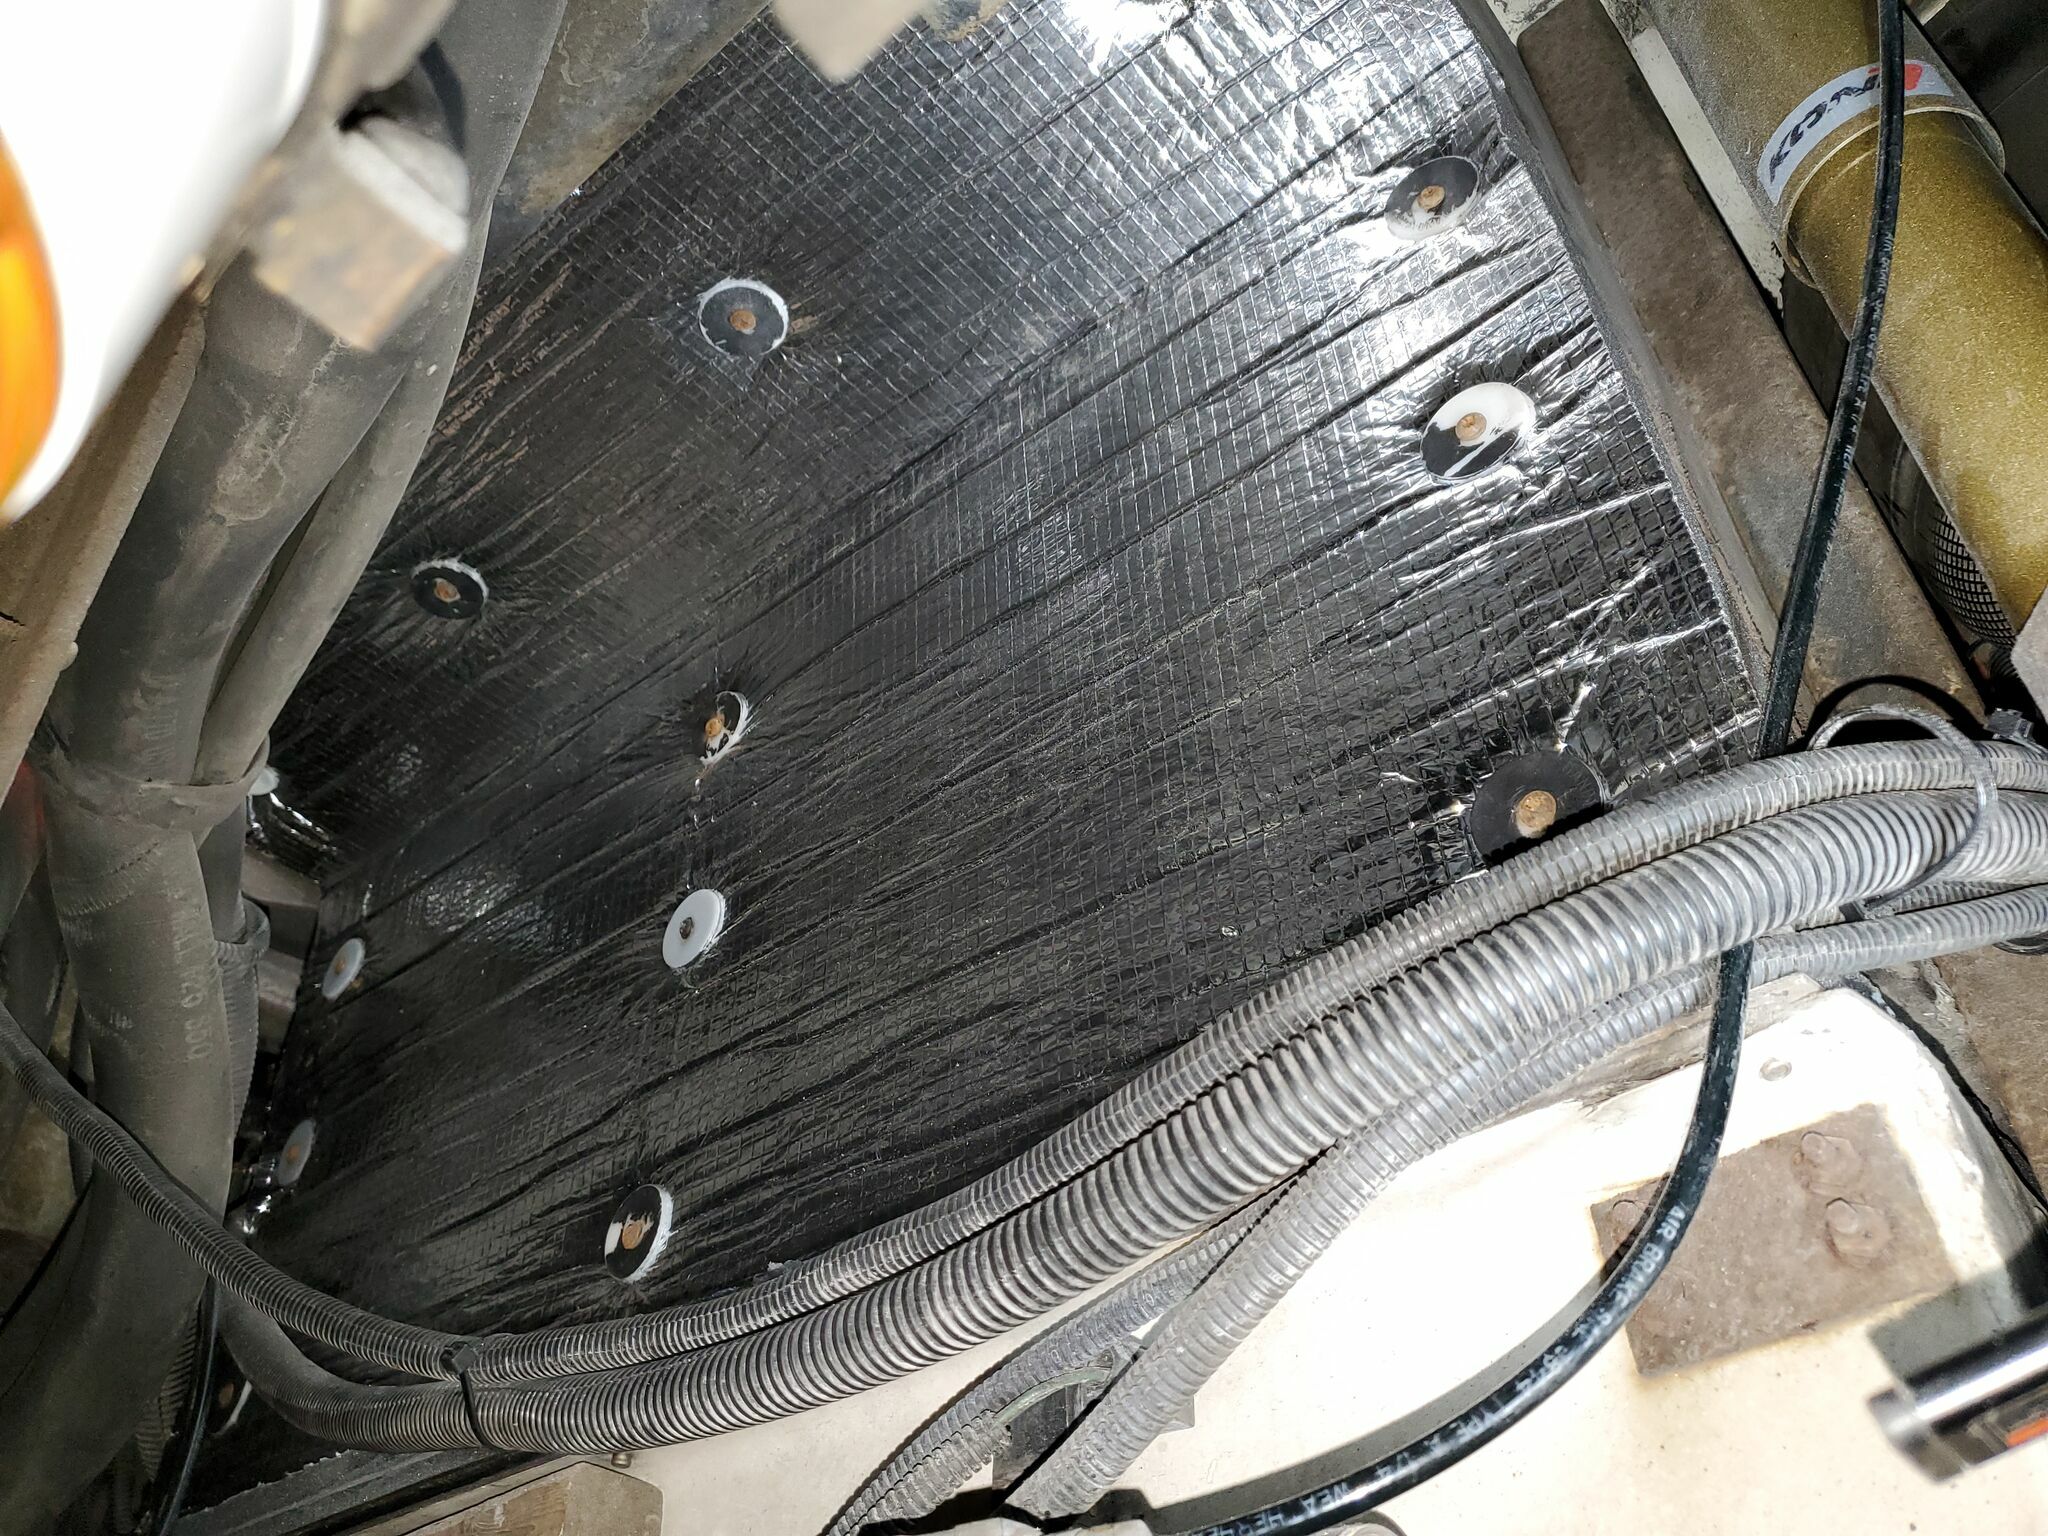

The new foam is in place, and the stepwell is looking much cleaner. The new material is much more resistant to damage. The soundproofing performance is noticeably improved. The old foam was so degraded that it probably wasn’t doing much of anything at this point.