Generator Compartment Foam Replacement
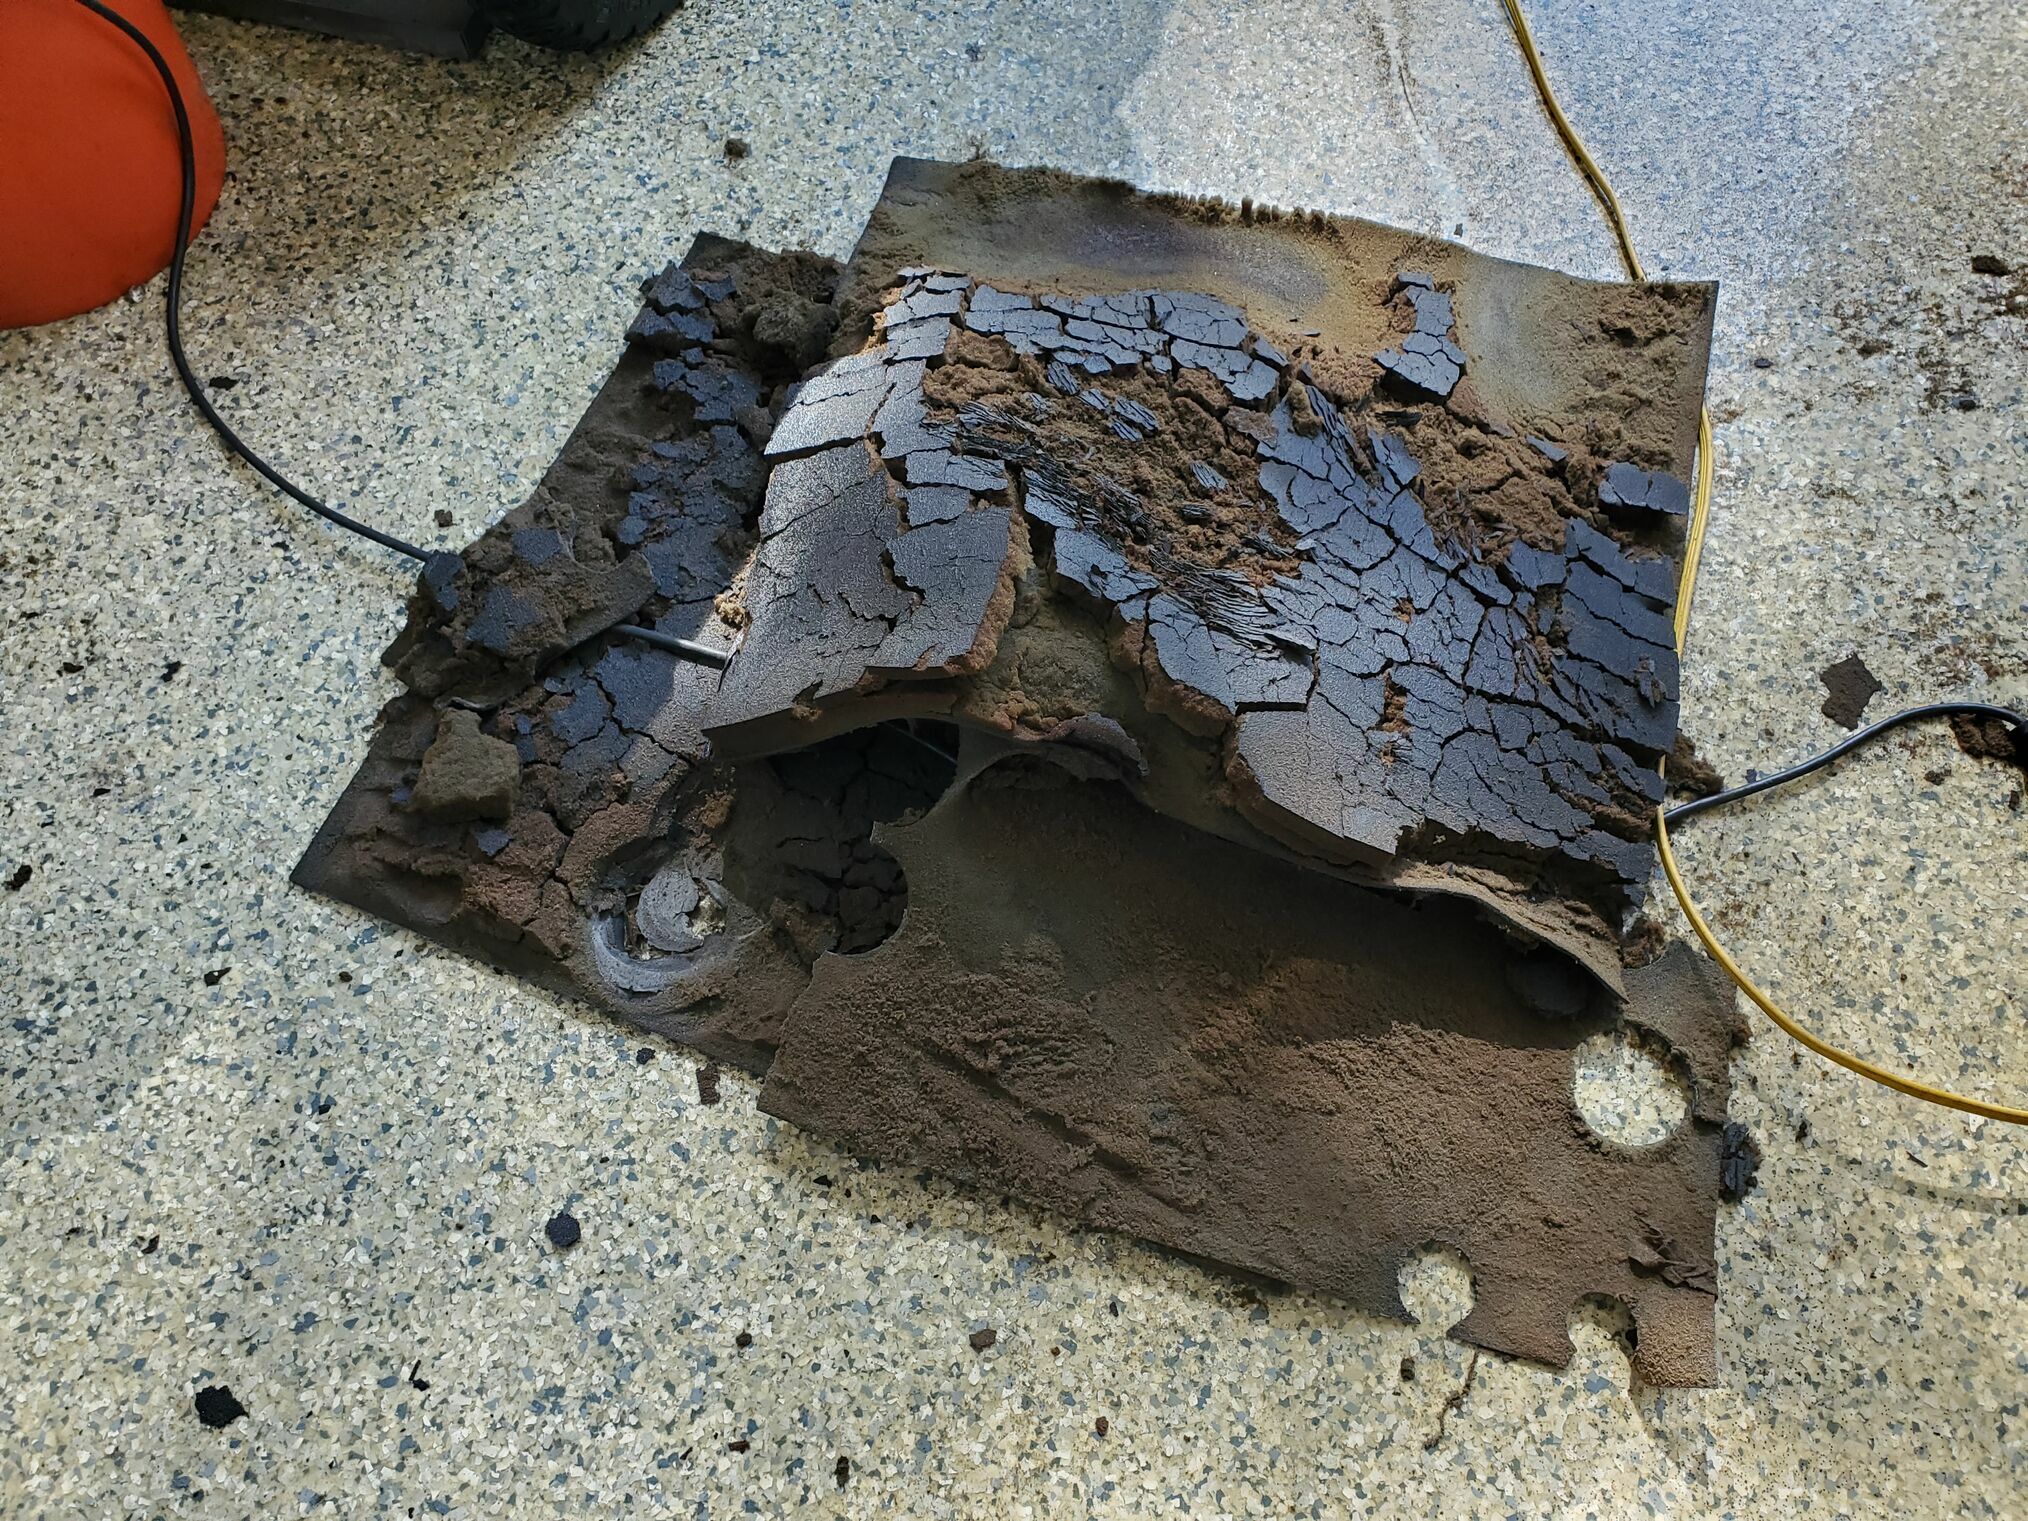
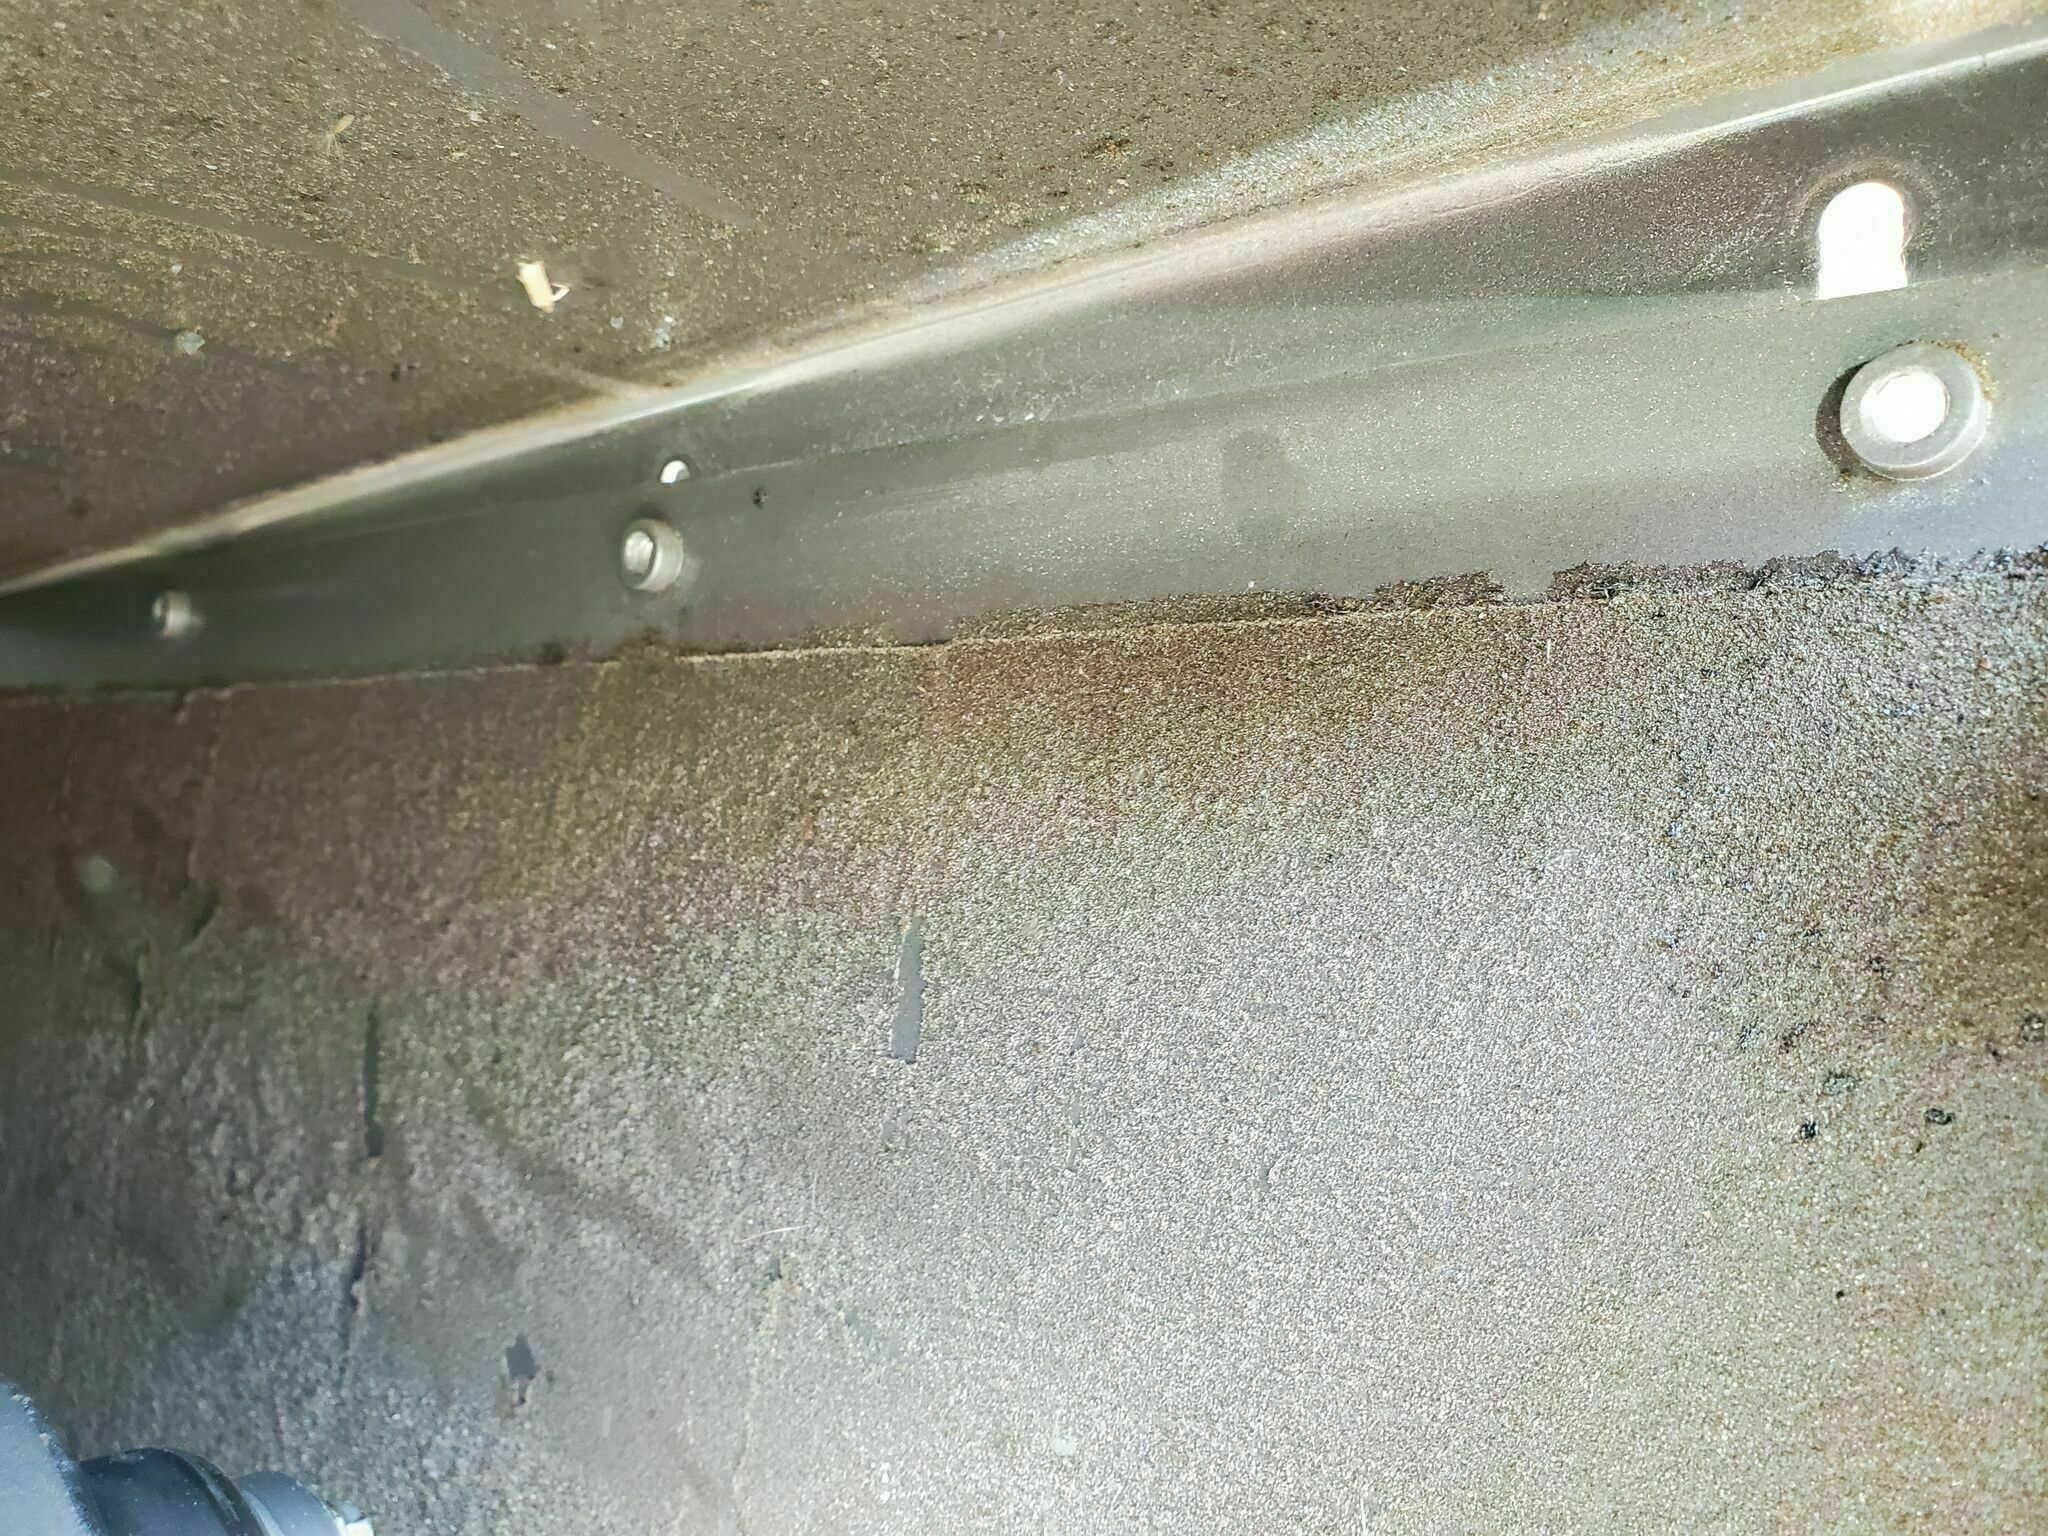
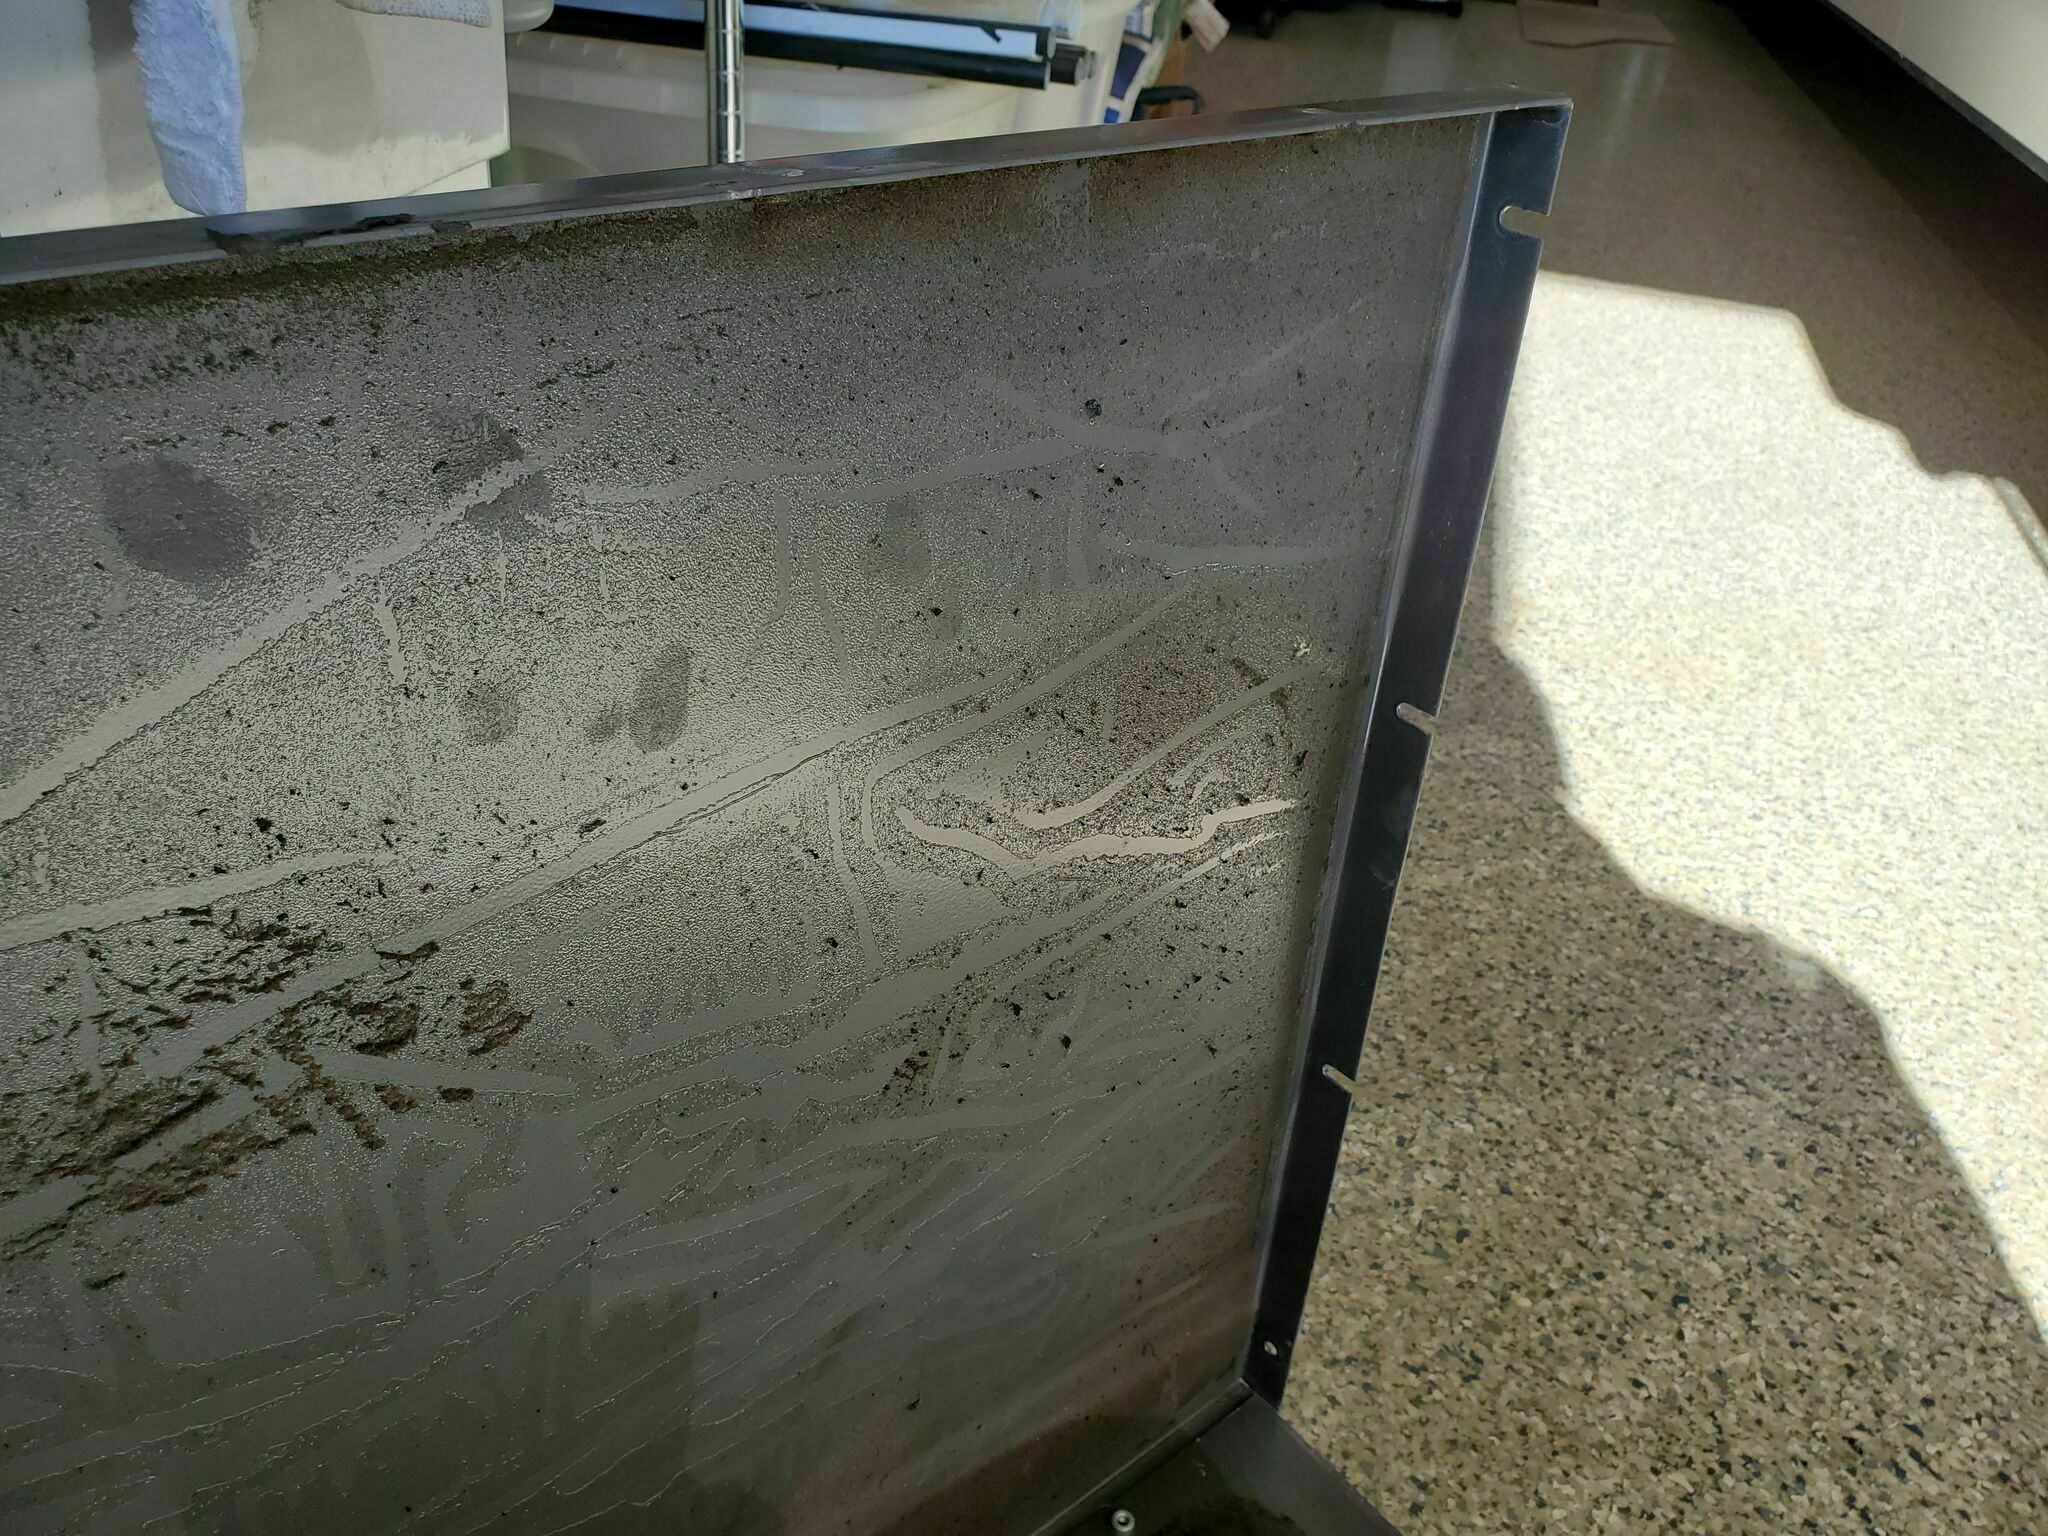
A while back I posted a photo showing the sound deadening foam inside the generator compartment had completely failed and fallen onto the engine. At the time I pulled most of it out, leaving a few hard-to-reach pieces behind. The old foam was seriously deteriorated, what a mess.
With the old foam gone, the generator noise honestly wasn’t that bad, and part of me was tempted to just leave it alone. In the end I decided to replace it properly. Based on what remained of the original, it appeared to be a three-layer composite: approximately ¾” of foam, ⅛” of MLV (mass loaded vinyl), then another ⅜” of foam.
Choosing a Replacement Material
There are several reasonable options, choose what works for you:
- Original composite, closest to factory spec, but harder to source and less flexible
- Rigid HVAC fiberglass duct board, a solid choice, holds its shape well, but less flexible and more difficult to work into tight spaces
- Single layer foam, simpler, flexible, easier to work into tight spaces
- Powertech foam sheets, the current factory style, but they wanted $400 in shipping, so that was a quick no
I went with a single layer of mylar-faced foam with a PSA (pressure-sensitive adhesive) backing, the kind typically used for under-hood and engine compartment applications. It carries a FAR 25.856(a) flammability resistance rating, meaning it won’t act as fuel in a fire, which feels like a reasonable thing to prioritize inside a generator compartment.
When evaluating materials for this job, the two main practical considerations are: how to adhere it if it doesn’t have a PSA backing, and whether you and the material are flexible enough to reach the tight spots.
Removing the Covers
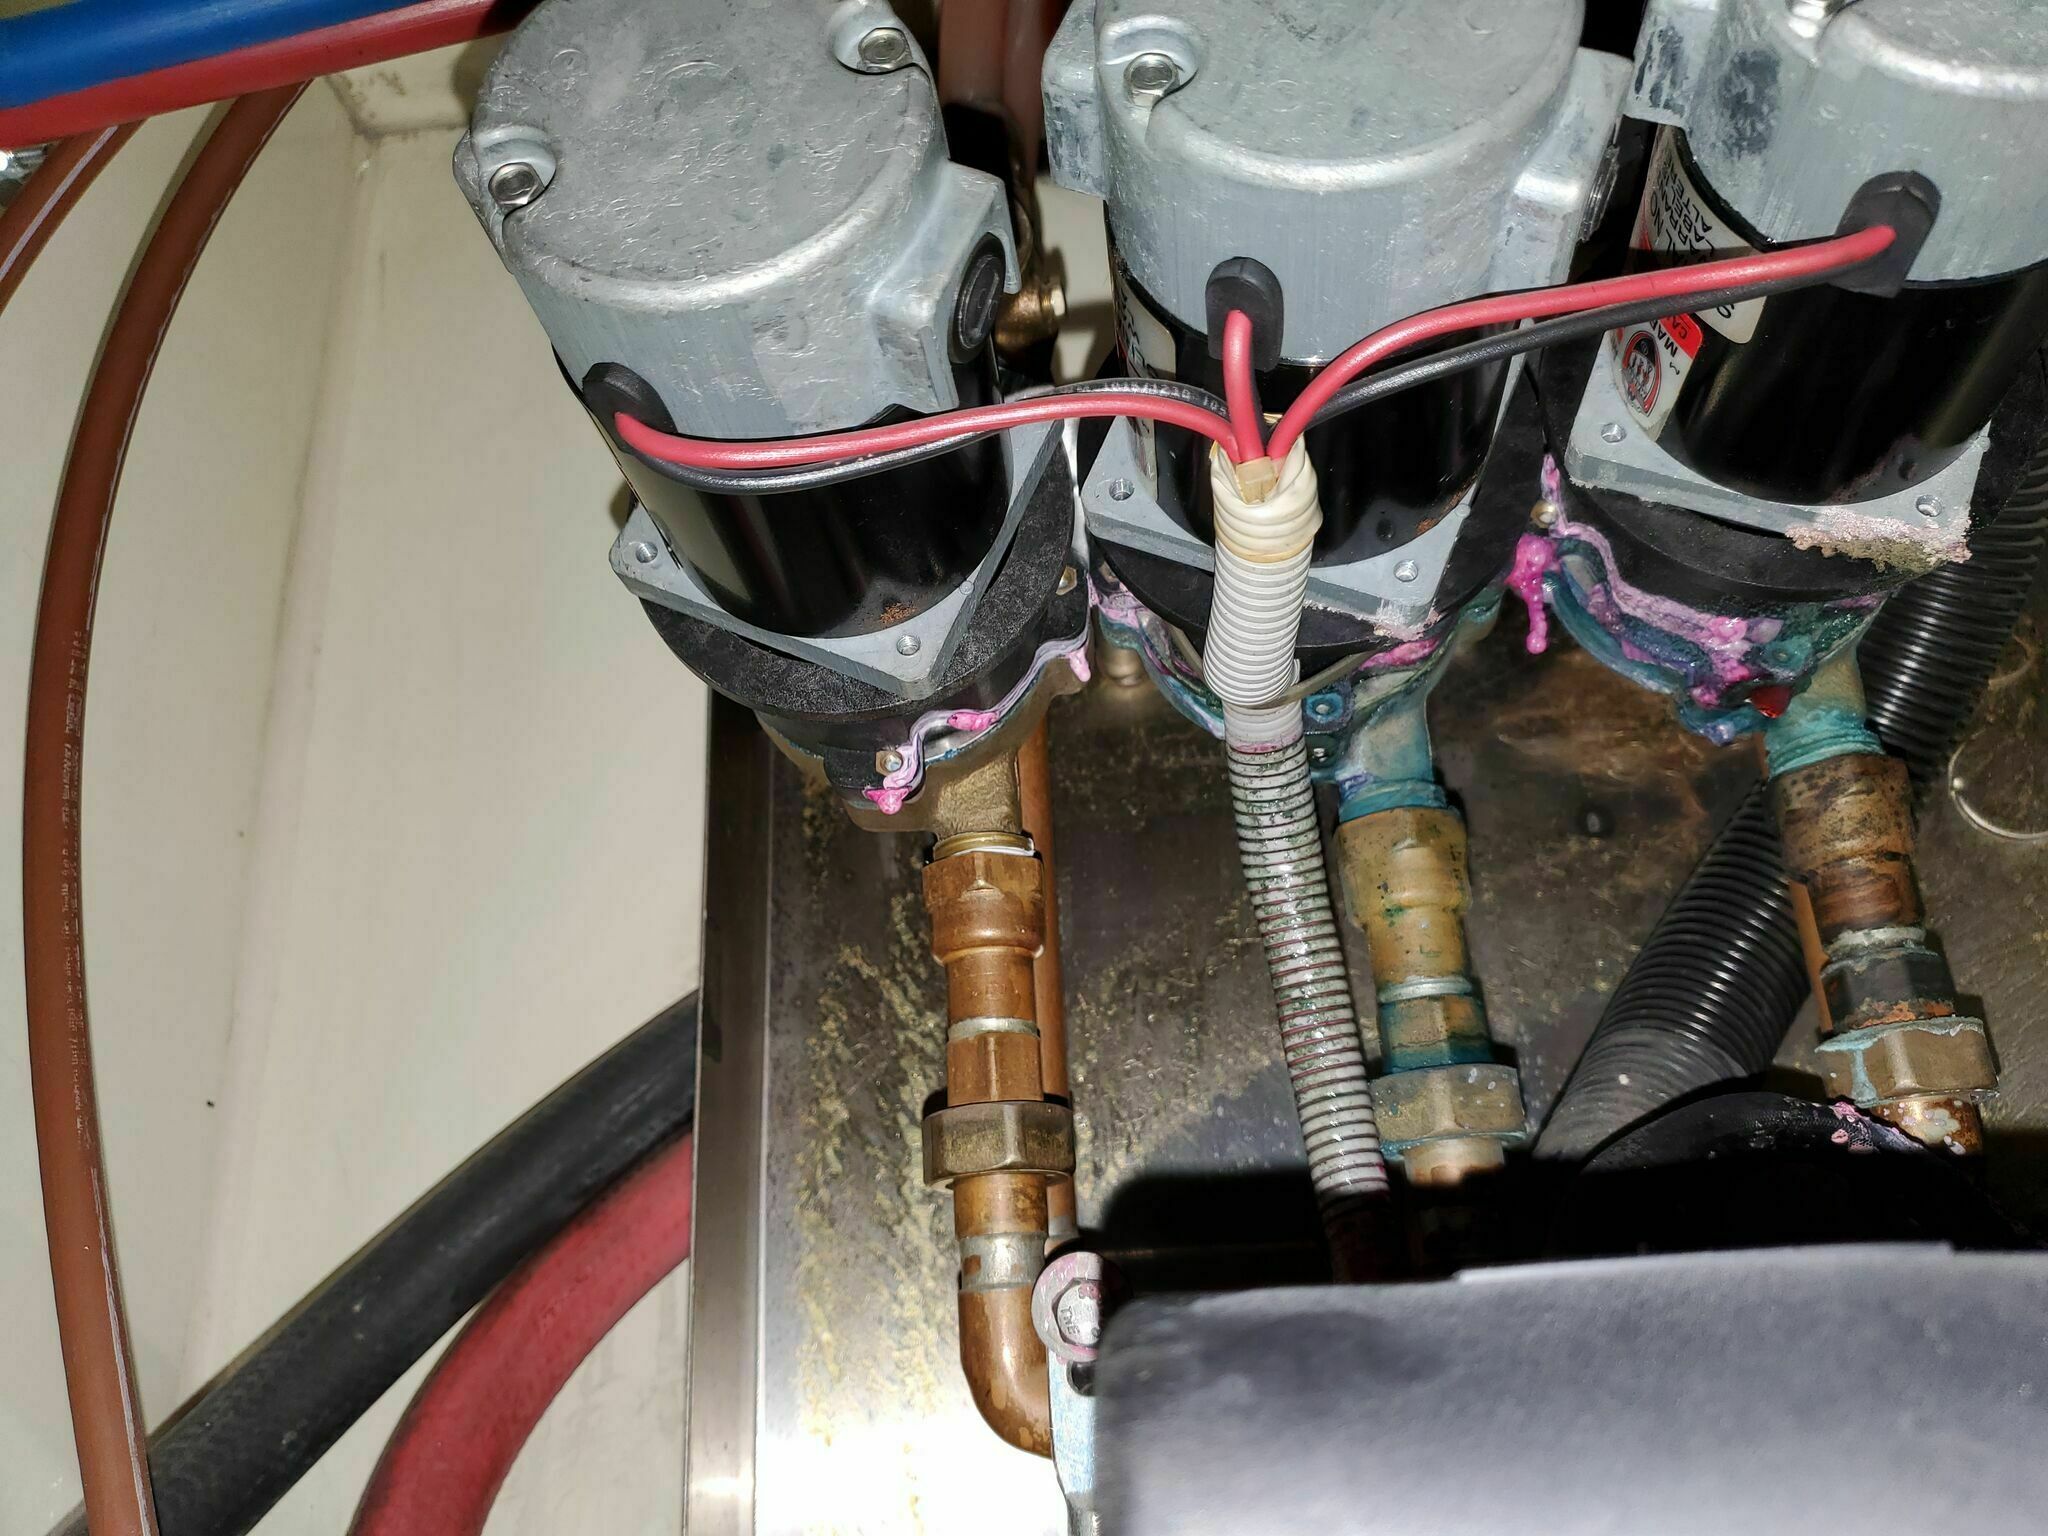
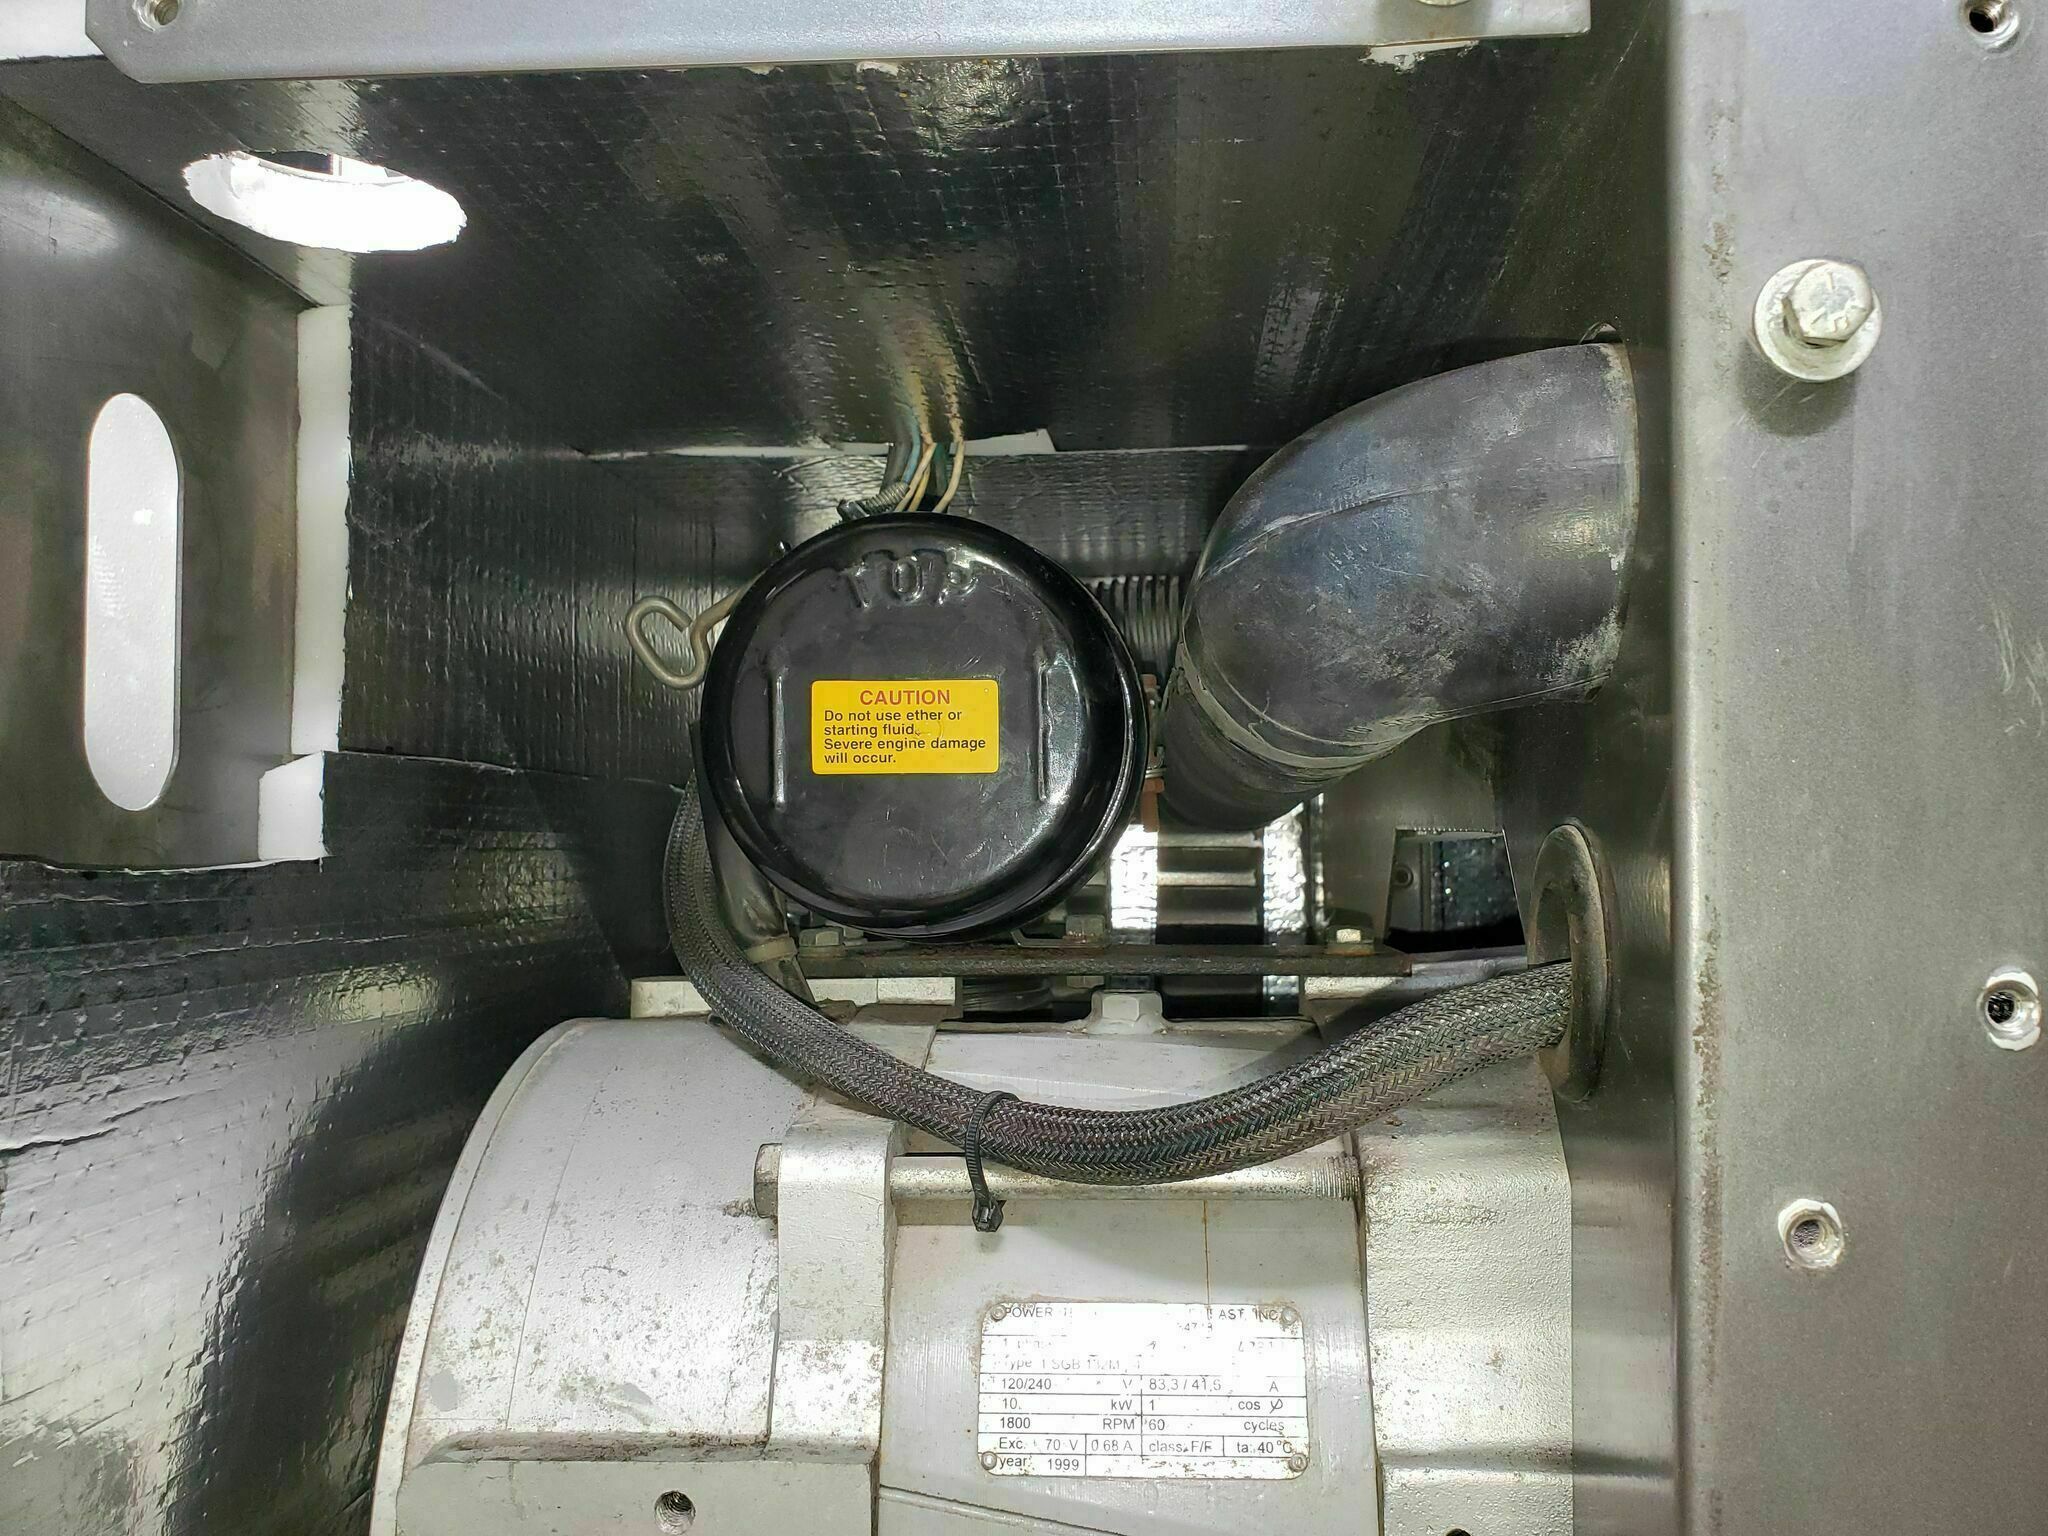
I removed most of the covers to make application easier and to clean off the significant foam debris still stuck to them. Accessing all the screws requires sliding the generator forward, and even then some are in tight spots. One helpful detail: the top cover has four screws on each side, but the front three are open slots, you only need to loosen those, which is a significant help since the screws between it and the control box are very difficult to reach and the screws holding the control box itself had no interest in moving.
When removing the rear covers, kill the battery power first, the +/- lugs on the back of the generator are exposed, and leaving them hot while you’re working around there could make things exciting in a bad way.
The passenger-side section of covers isn’t easily removable, so those stayed in place and the foam had to be folded and fed into position. The PSA backing and flexibility of the foam material made this manageable, without both of those, it would have been considerably more difficult.
Application & Cleanup
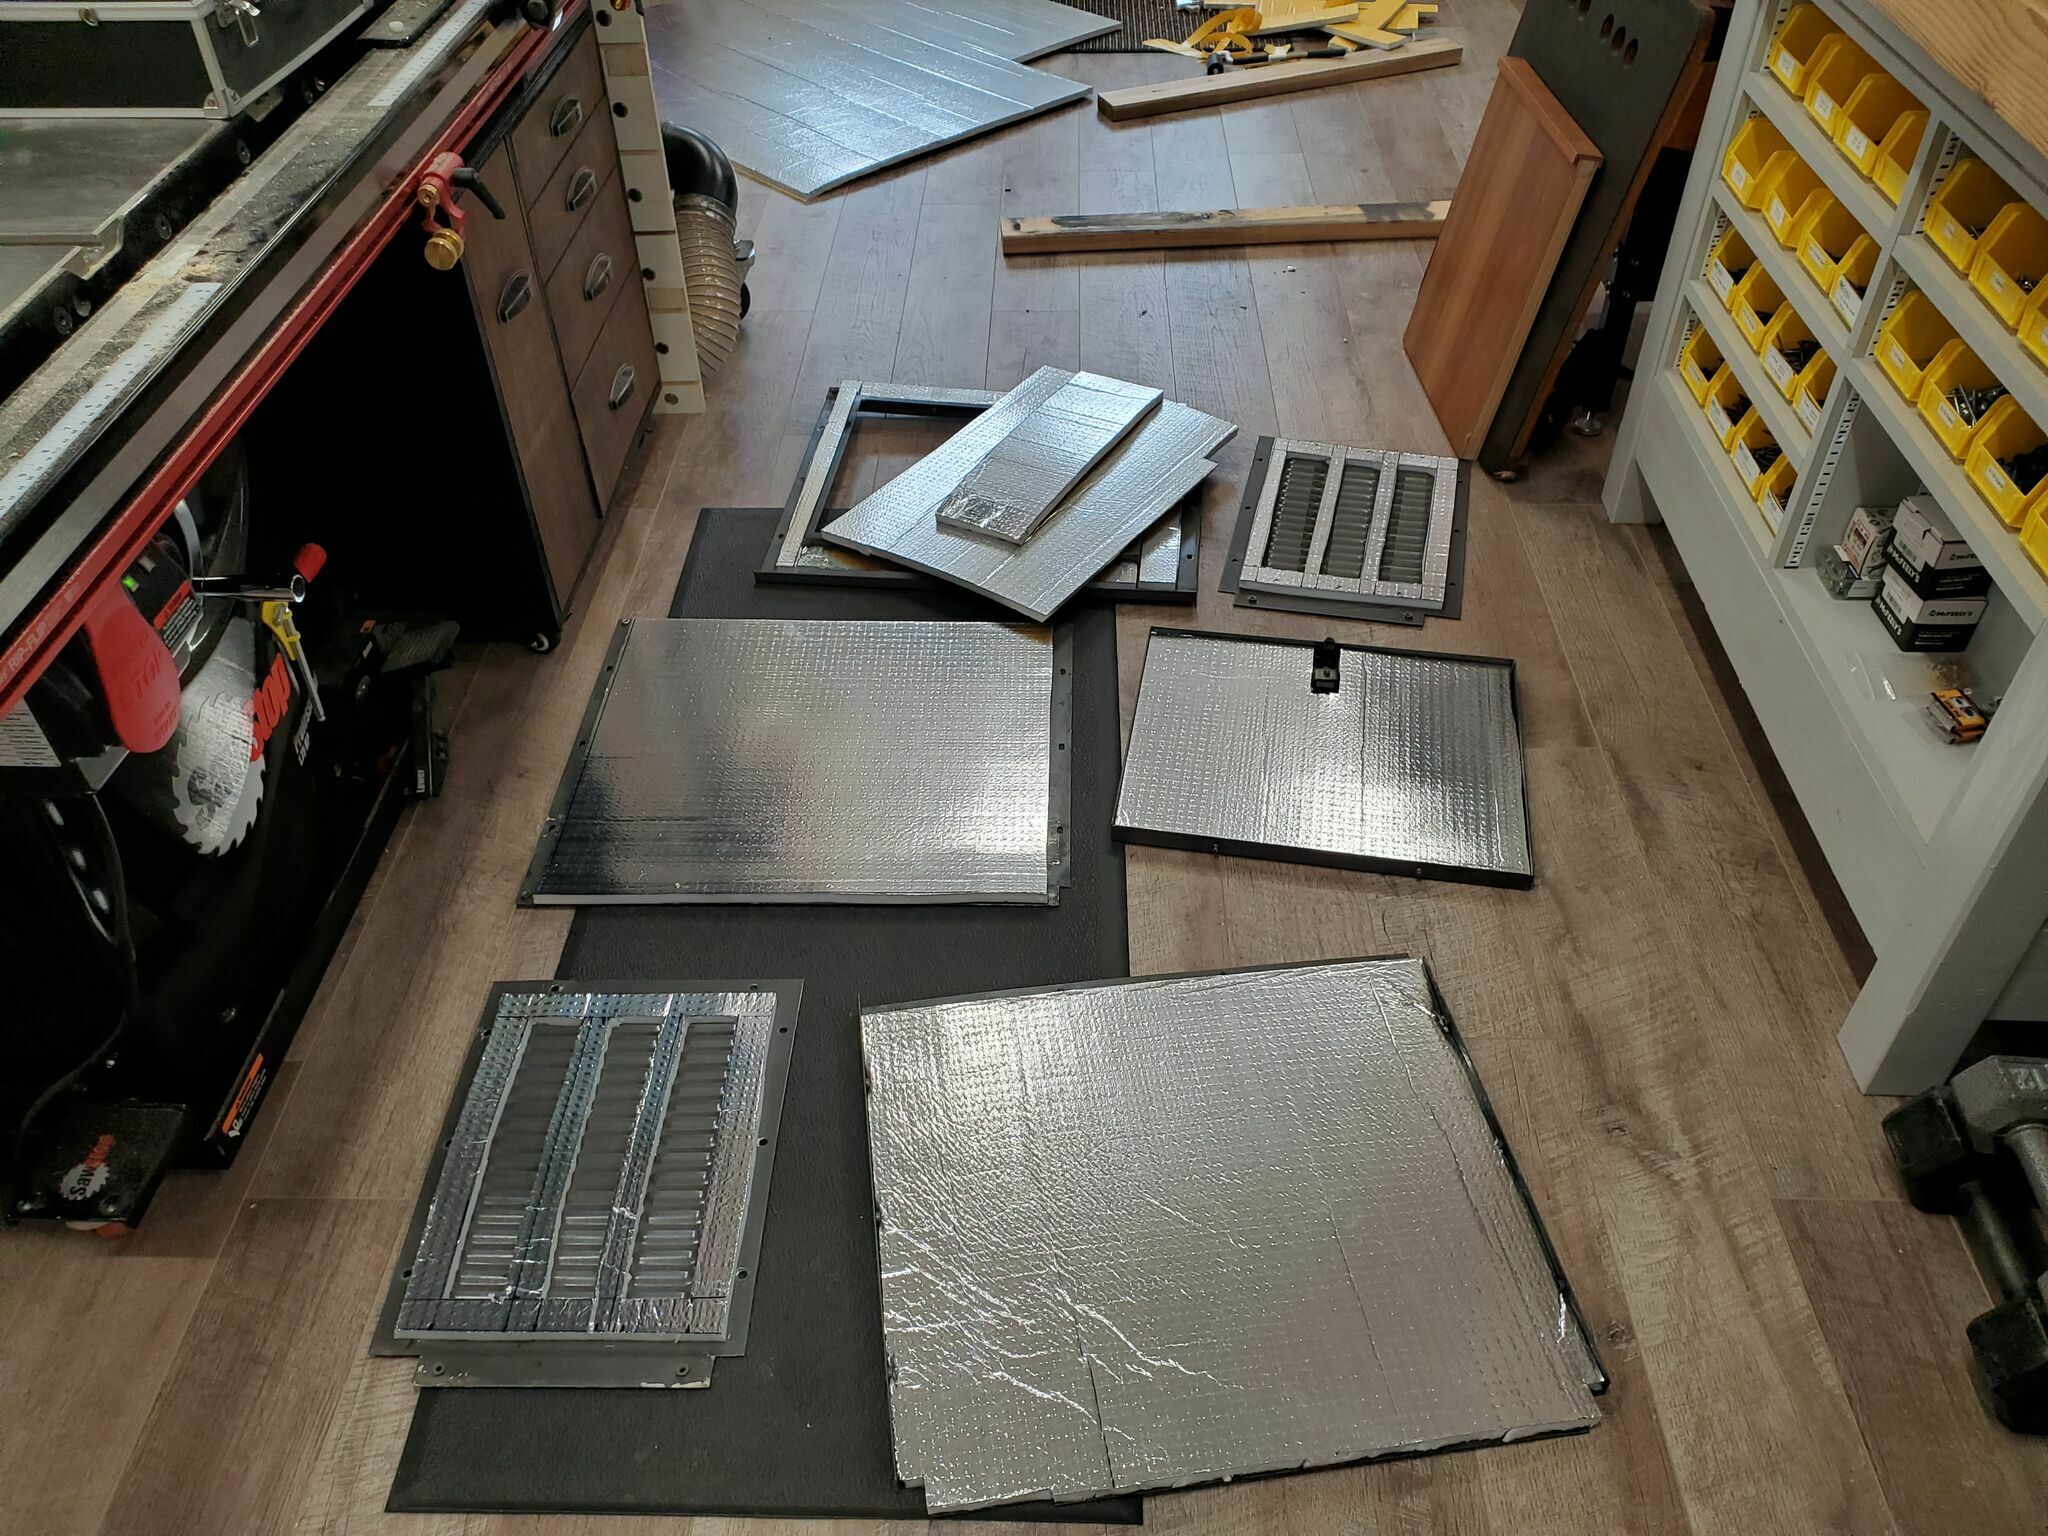
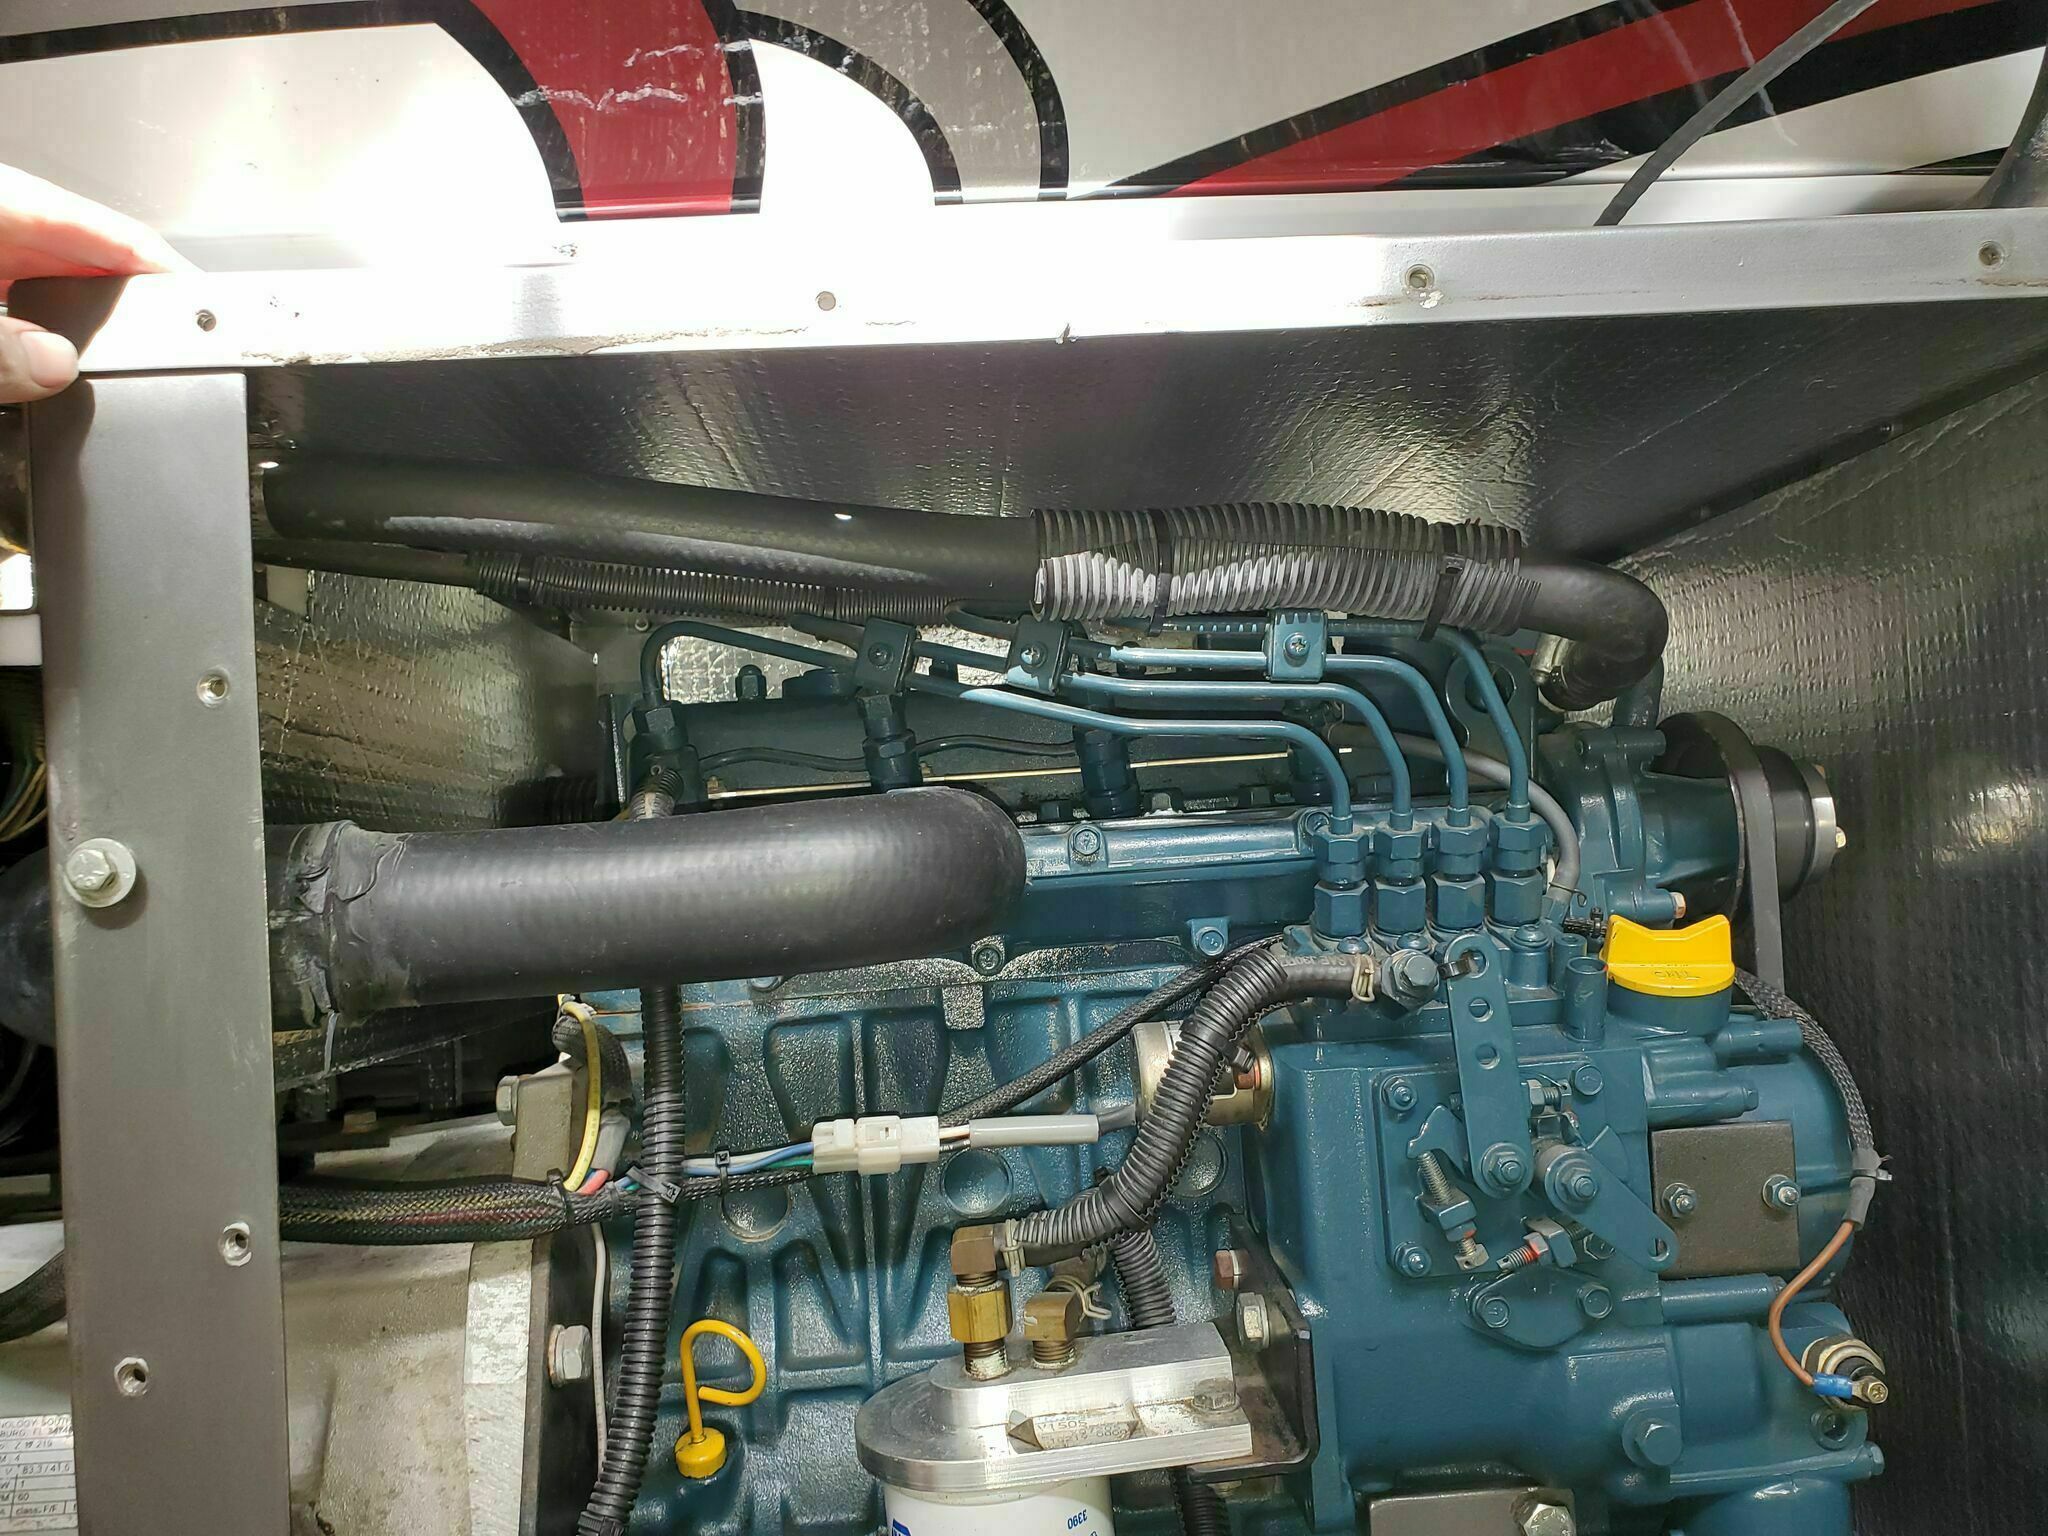
The removable covers were cleaned up, old adhesive stripped off, and the new foam applied and rolled into place. With the covers off I took the time to thoroughly clean the generator and engine areas of any remaining foam dust. I also found a large burn/melt mark on the wrapped exhaust pipe where the old foam had been resting directly against it, that mostly cleaned up.
Completed
Here is what the finished product looks like. The new foam is a little thinner than the original, but it fills the space and should do a good job of deadening the noise. The covers went back on without issue, and everything is looking much cleaner now that the foam debris is gone.
Bonus Repairs
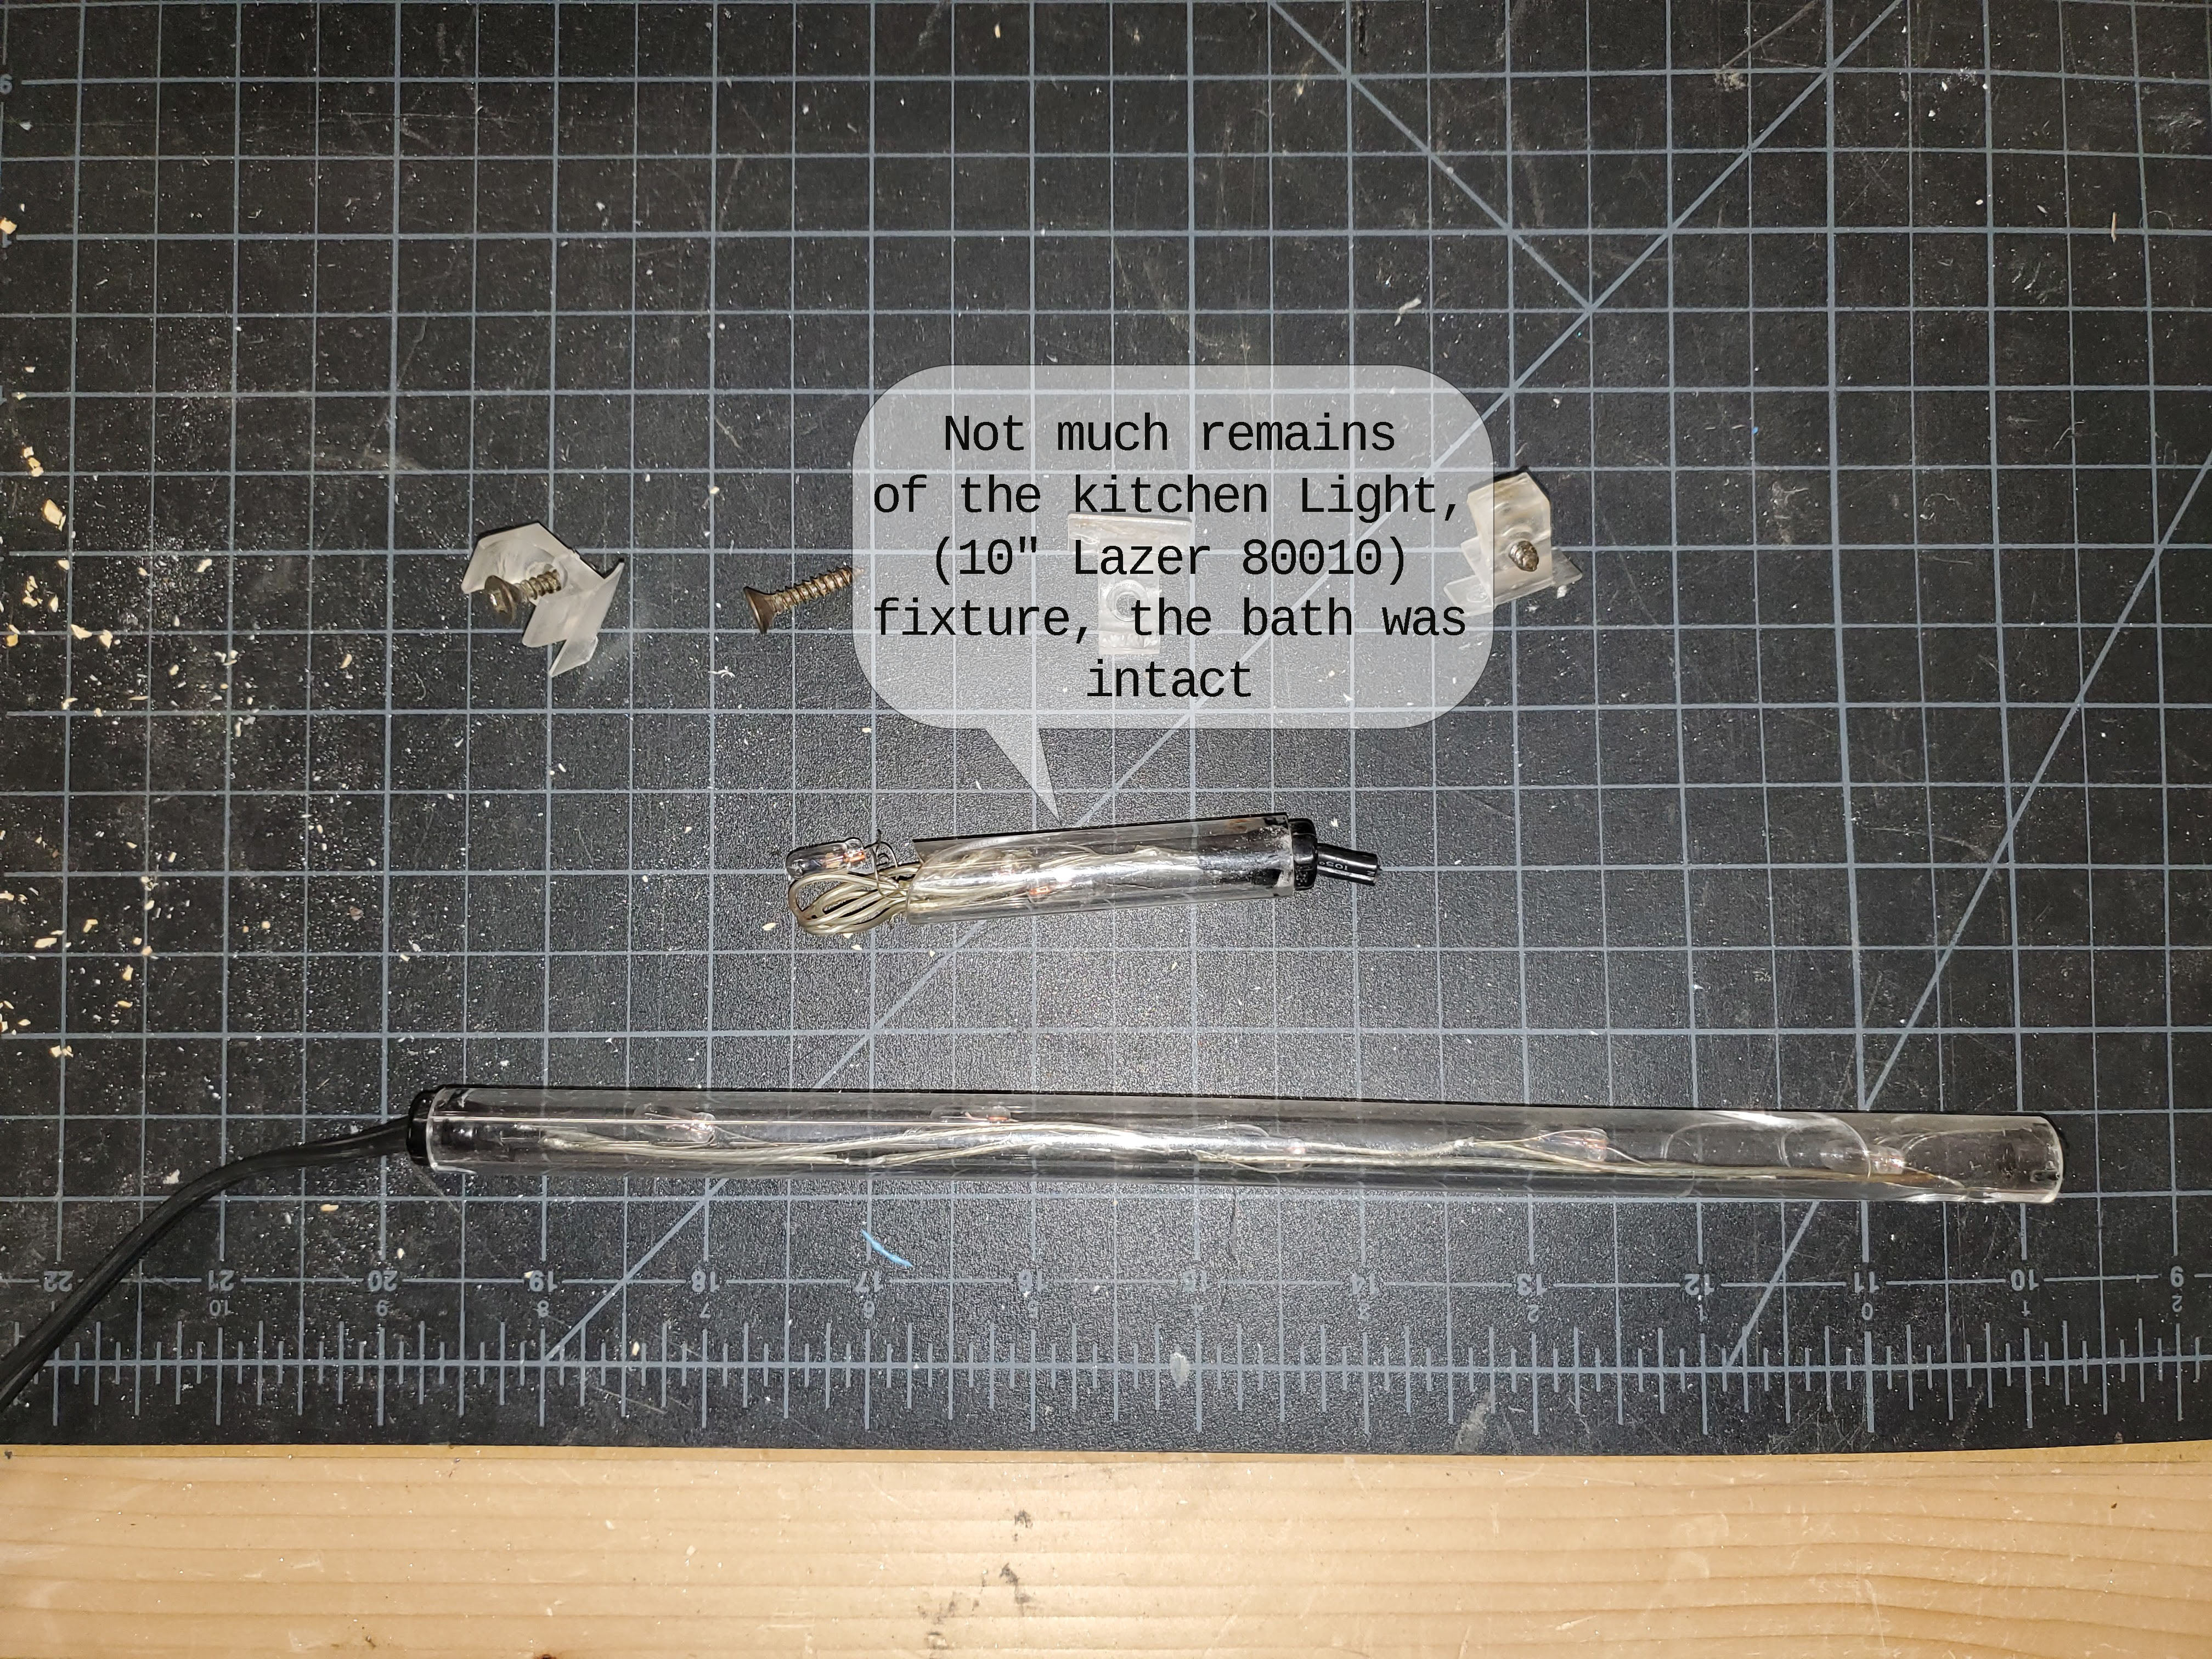
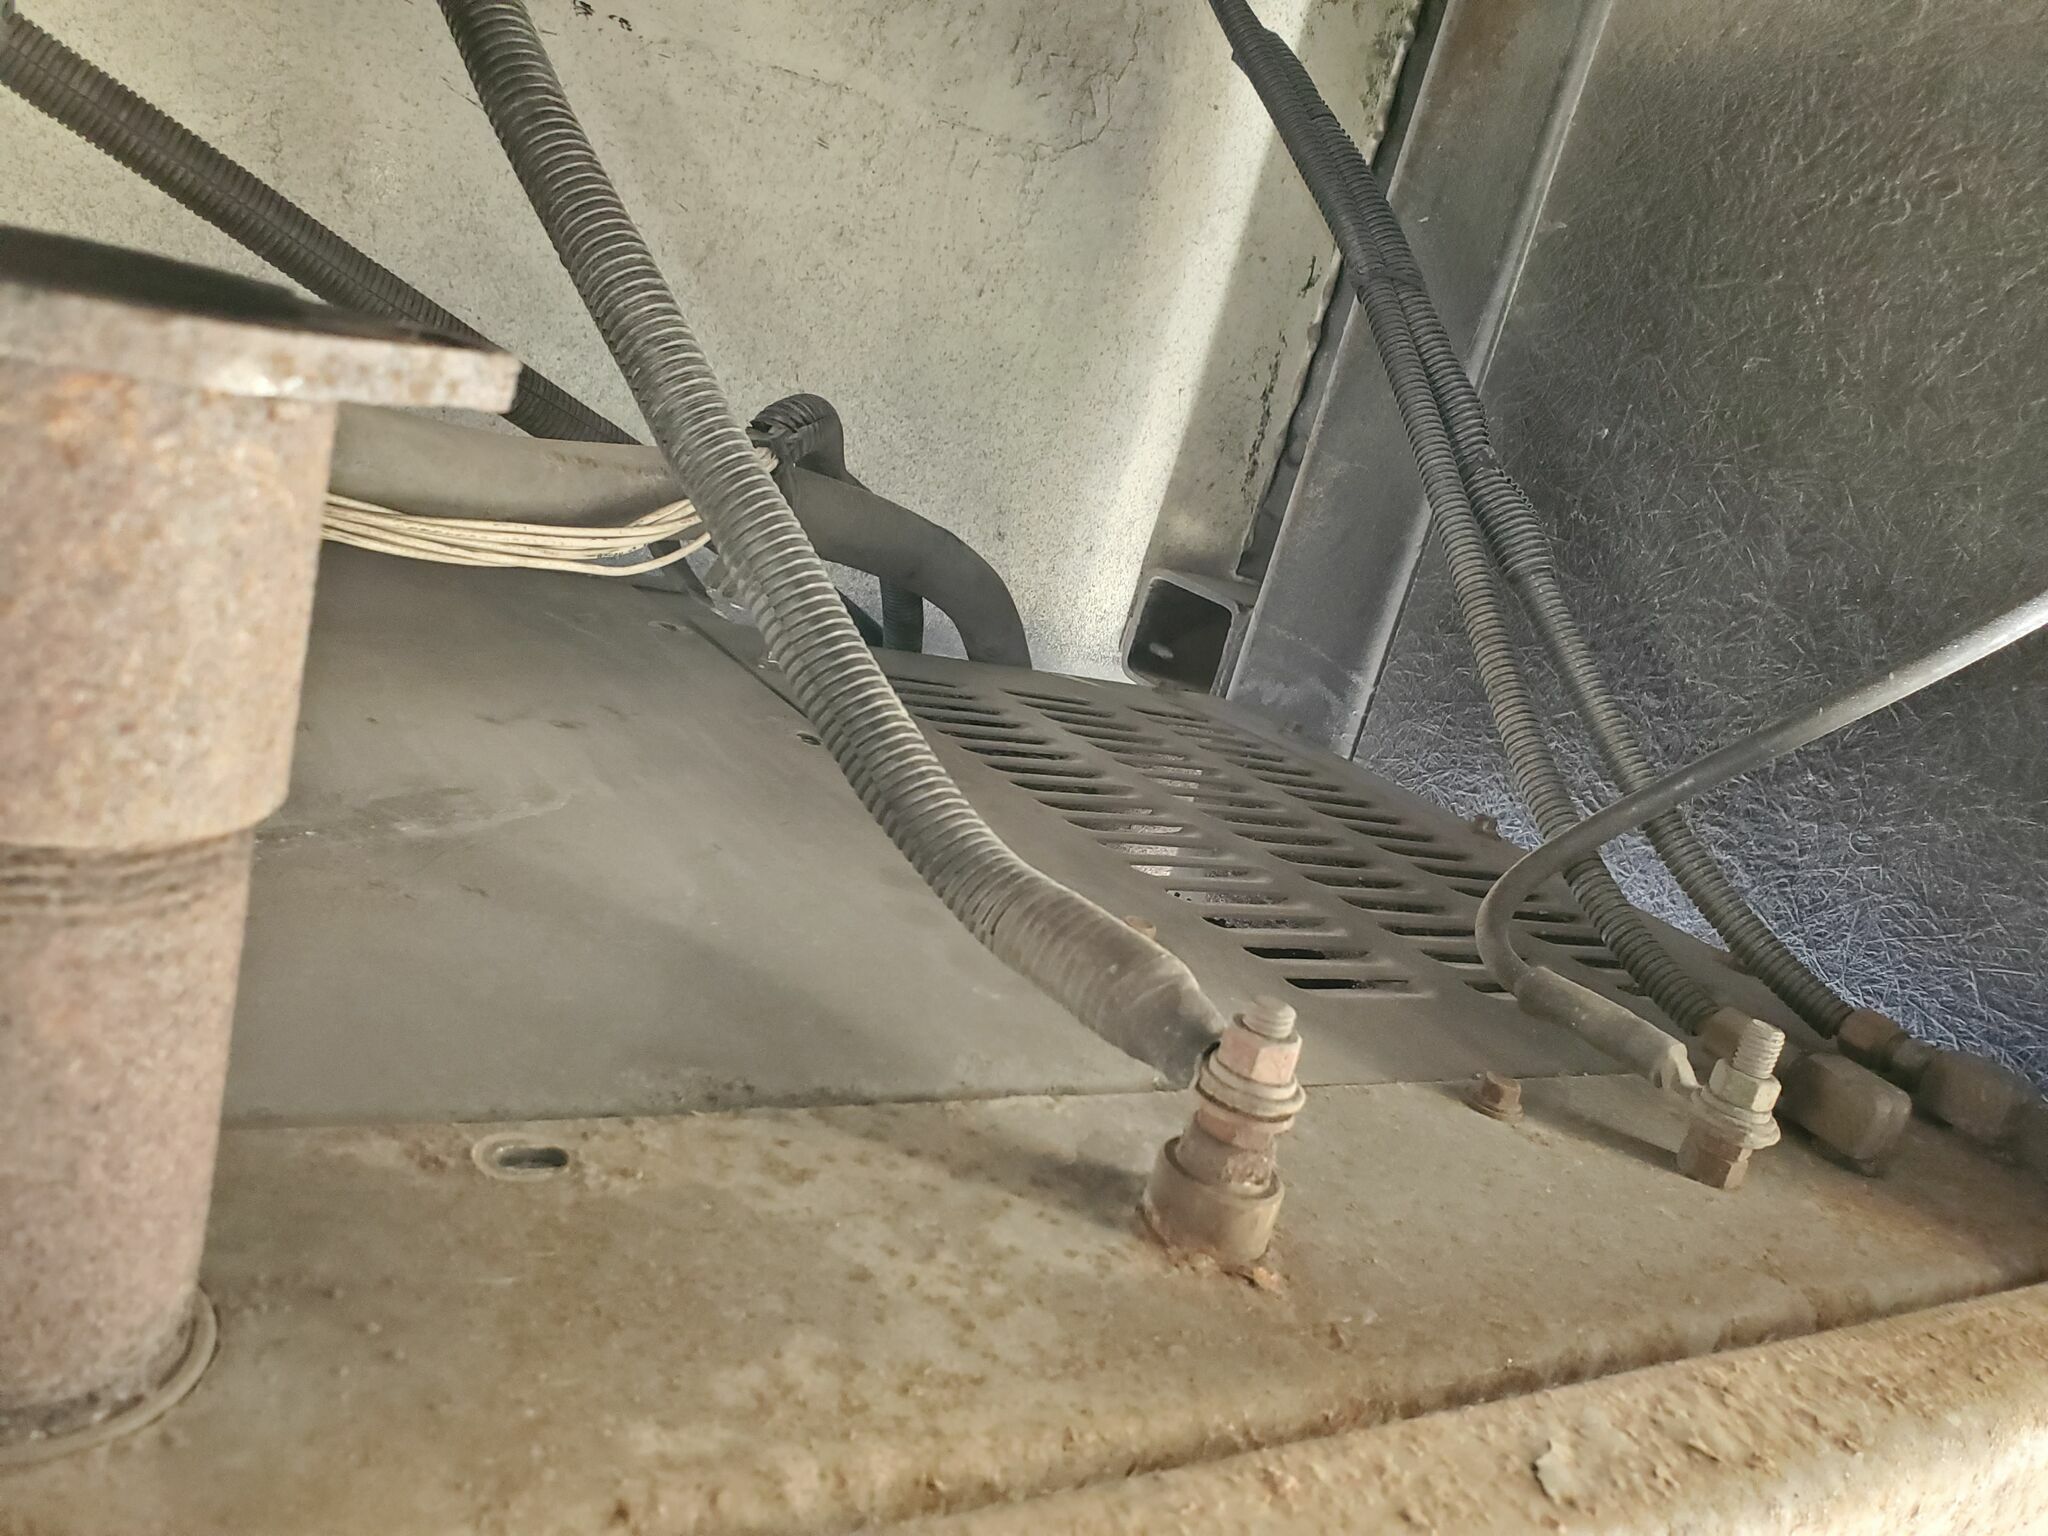
While everything was accessible, I replaced the split loom on the back of the generator, it had badly degraded and crumbled apart when touched. I also found some rust in the passenger-side front corner of the enclosure. A standard rust neutralizer treatment followed by a POR-15 coating addressed that, and I drilled a small drain hole in the corner to give any future water intrusion a way out rather than a place to pool.