MCD Blinds
We had known about MCD for a few years, and had visited the factory in early 2008. From seeing the product in person, we decided “some day” we would install their blinds. That “some day” for us was this past March, once we realized we would be at least half-timers this year.
We’re parked at MCD in McKinney TX with complementary full hookups at MCD. MCD will do the needed measurements for our blinds and then fabricate them the next day. We did our own installation to save a few dollars but MCD has their own very experienced installers. They allow you to stay there while you install that way should you run into an issue help is not far away.
About
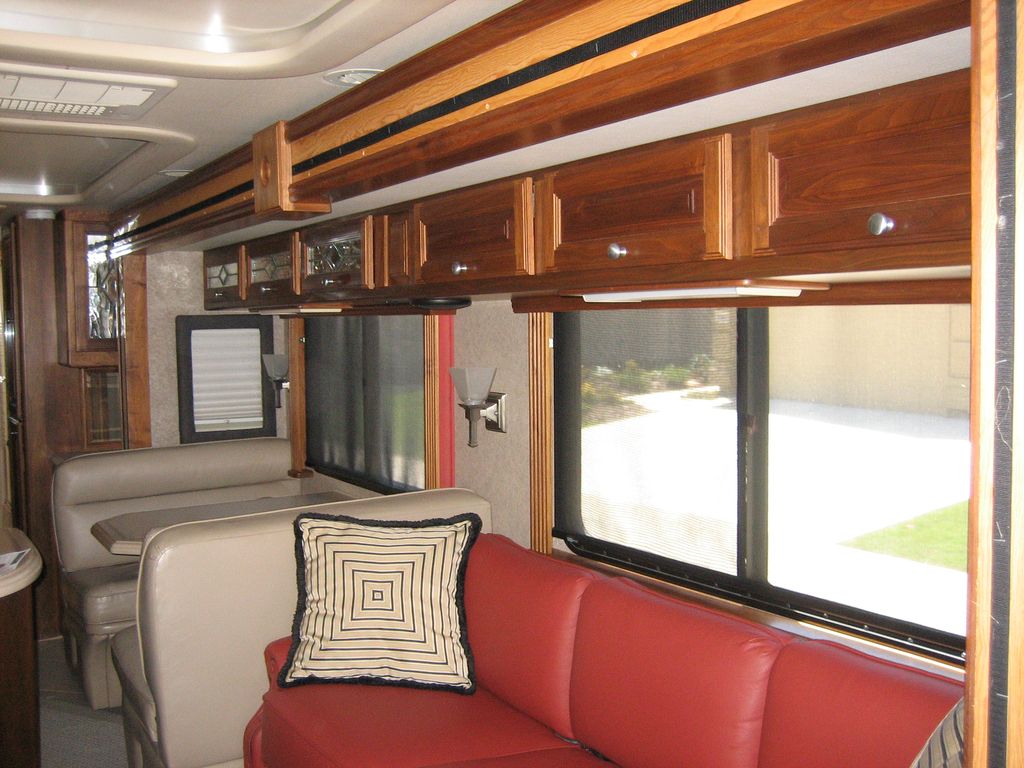
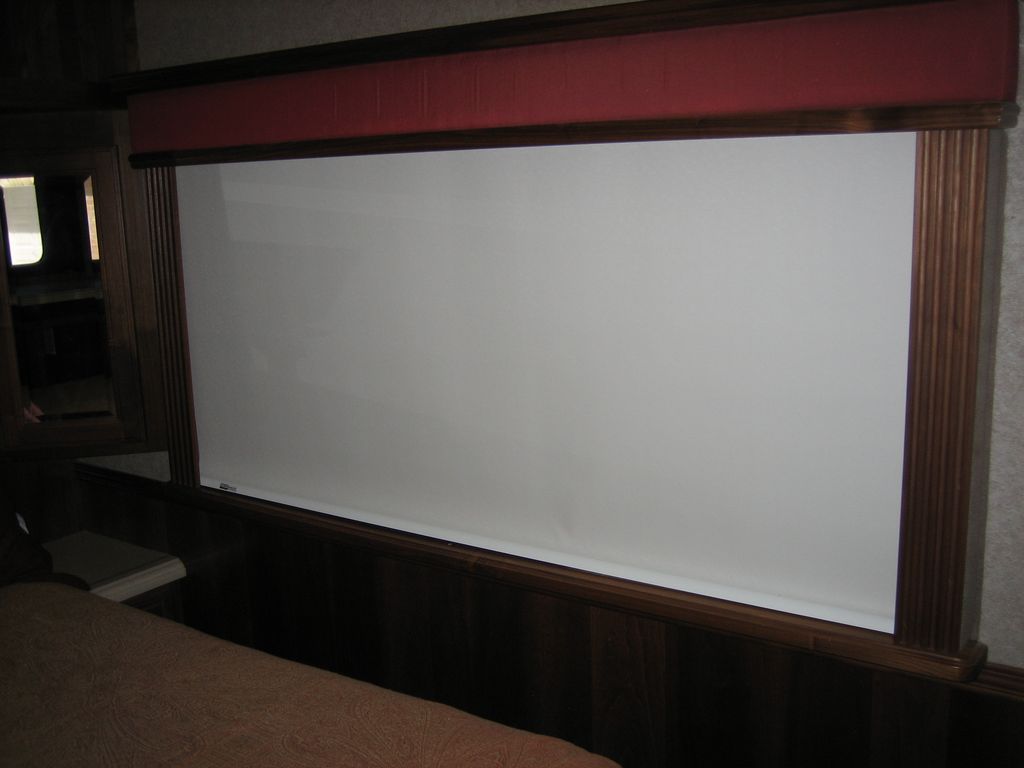
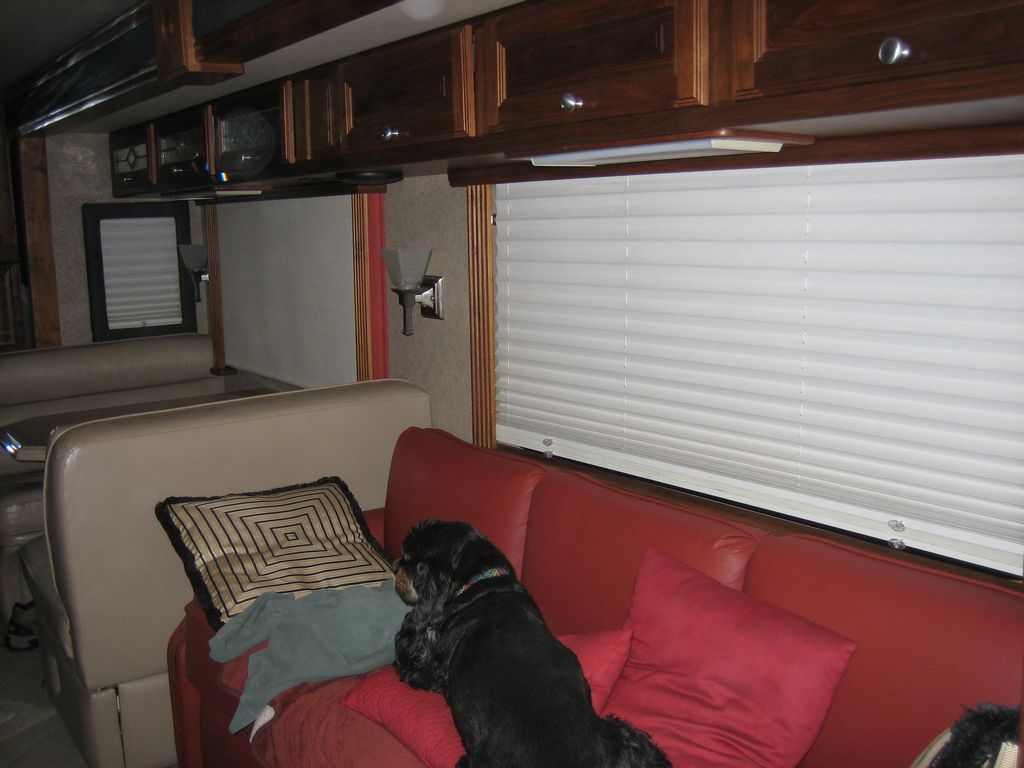
We opted for MCD Duo Shades on all windows, these contain two rollers each. One holds the solar reflective day shade, and a second the blackout night shade. All of them are manually operated except for the front windshield where its electric powered (legally required) to prevent it from coming down while going down the road. You can install electric ones all around with remotes as well.
These shades are a big improvement over our pleated day-night shades. Greater privacy, no strings to break or hang down on sides, much cooler inside coach, one handed operation, greatly reduced sun glare, and an updated look.
The manual roller shade mechanism is a MCD proprietary product and works unlike the conventional “snap up” ones you may be thinking about. You pull the shade down and it latches similar to a conventional shade, but to retract, just pull down a little, and the shade rolls up with a slow smooth controlled motion.
Installation
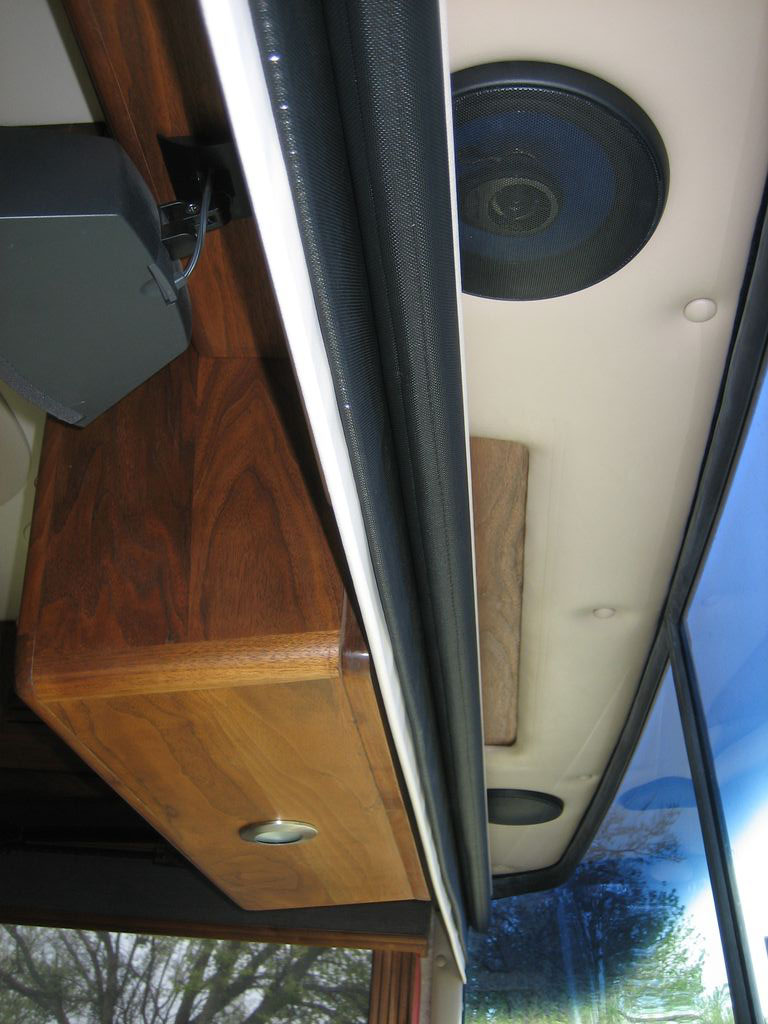
Installation is definitely within the capability of a handy person or couple. Each window has a pair of roller shades mounted above each other, fastened to the cabinet / ceiling with spring-clips. The shades snap into the spring clips and are held in place very securely.
- The inside (non visible) area of the valance may have to be trimmed back after you remove it. This is to clear the spring clips. We had to cut small crescent shapes so the valances would fit back with no gap.
- The side listels may have to be cut down in the area inside the valance. Ours extended almost to the top of the valances and caused the shades to rub when they were fully retracted.
- The underside of the cabinet you are mounting your shade clips to may not be parallel to the window ledge, so a washer may be needed to level out the clips. In some areas we had 1/2” to 3/4” of adjustment.
-
If your under cabinet mounting space is way up behind a cabinet as in a slide-outs it takes some manual dexterity as you will be working in a blind well. It also requires close supervision by the posse
Start with an easy to access shade, and get the hang of whats required, and the tools that will be needed. It took us a day to install 9 shades, and in our coach there were 5 different mounting “conditions”.
The overall process is the same for each, remove the valance (if there is one) to gain access to the spring clip mounting surface. Install the clips, ensure the valance clears the clips. If you have listels, make sure they will not interfere with the rollers.
Front Shade
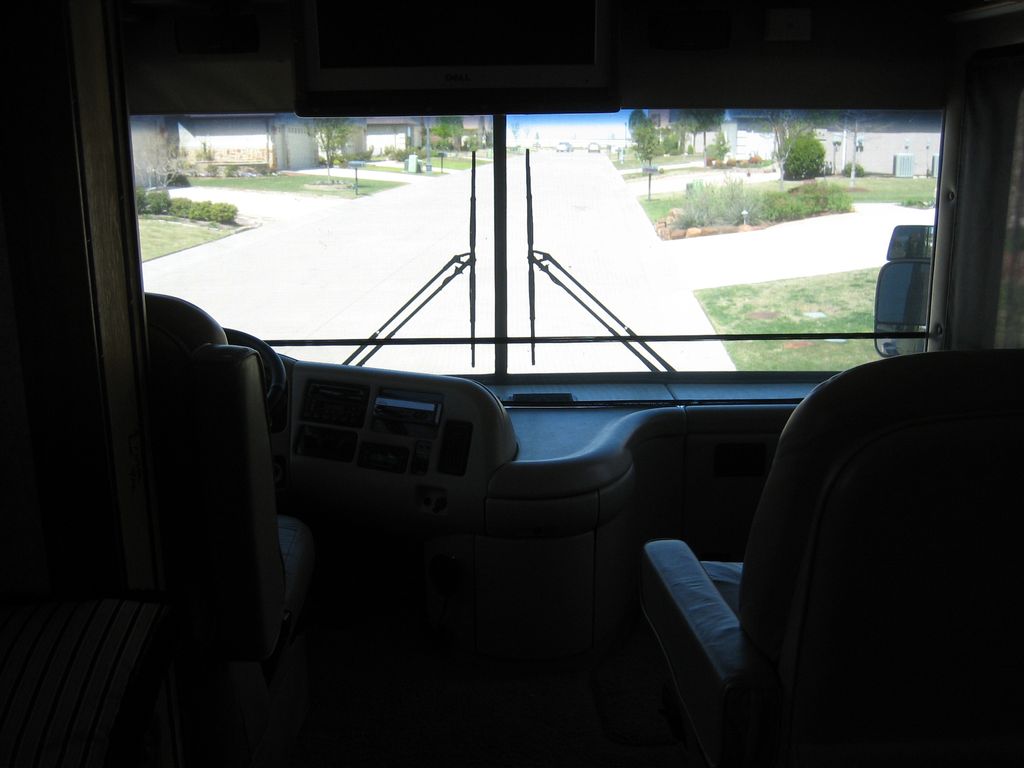
One additional note is the front shade. If you want a single full length shades you may need to modify your cabinets / tv enclosure. We had to cut back the TV enclosure so a single full length shade would fit. We knew this in advance of our visit and had done the necessary modification. You can also install two shades at an angle with a center overlap or center channel as well and avoid the cabinet changes, just depends on what works for you.