HWH Filters and Bowls
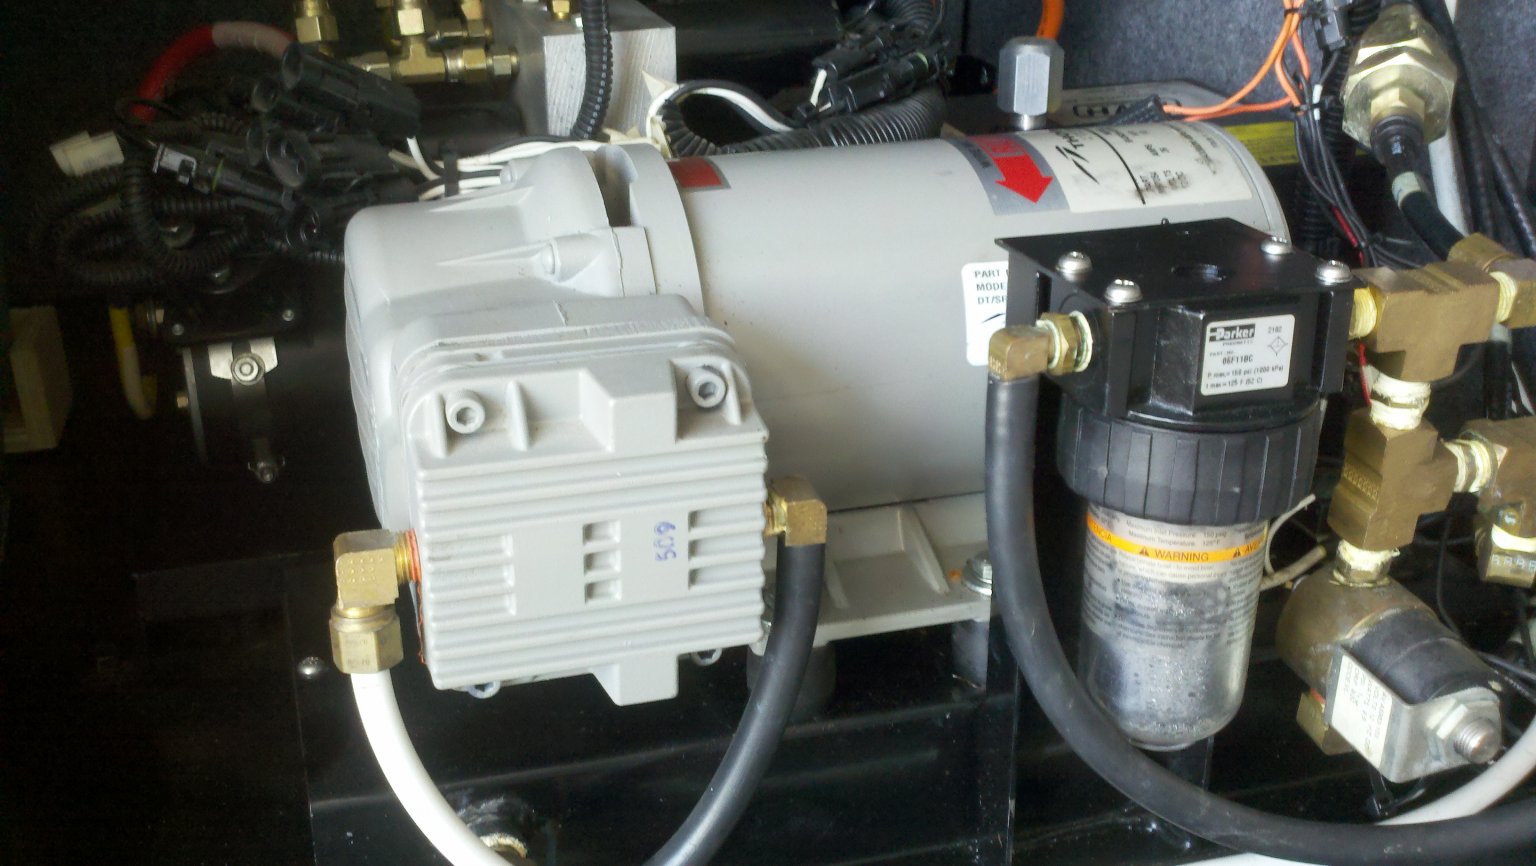
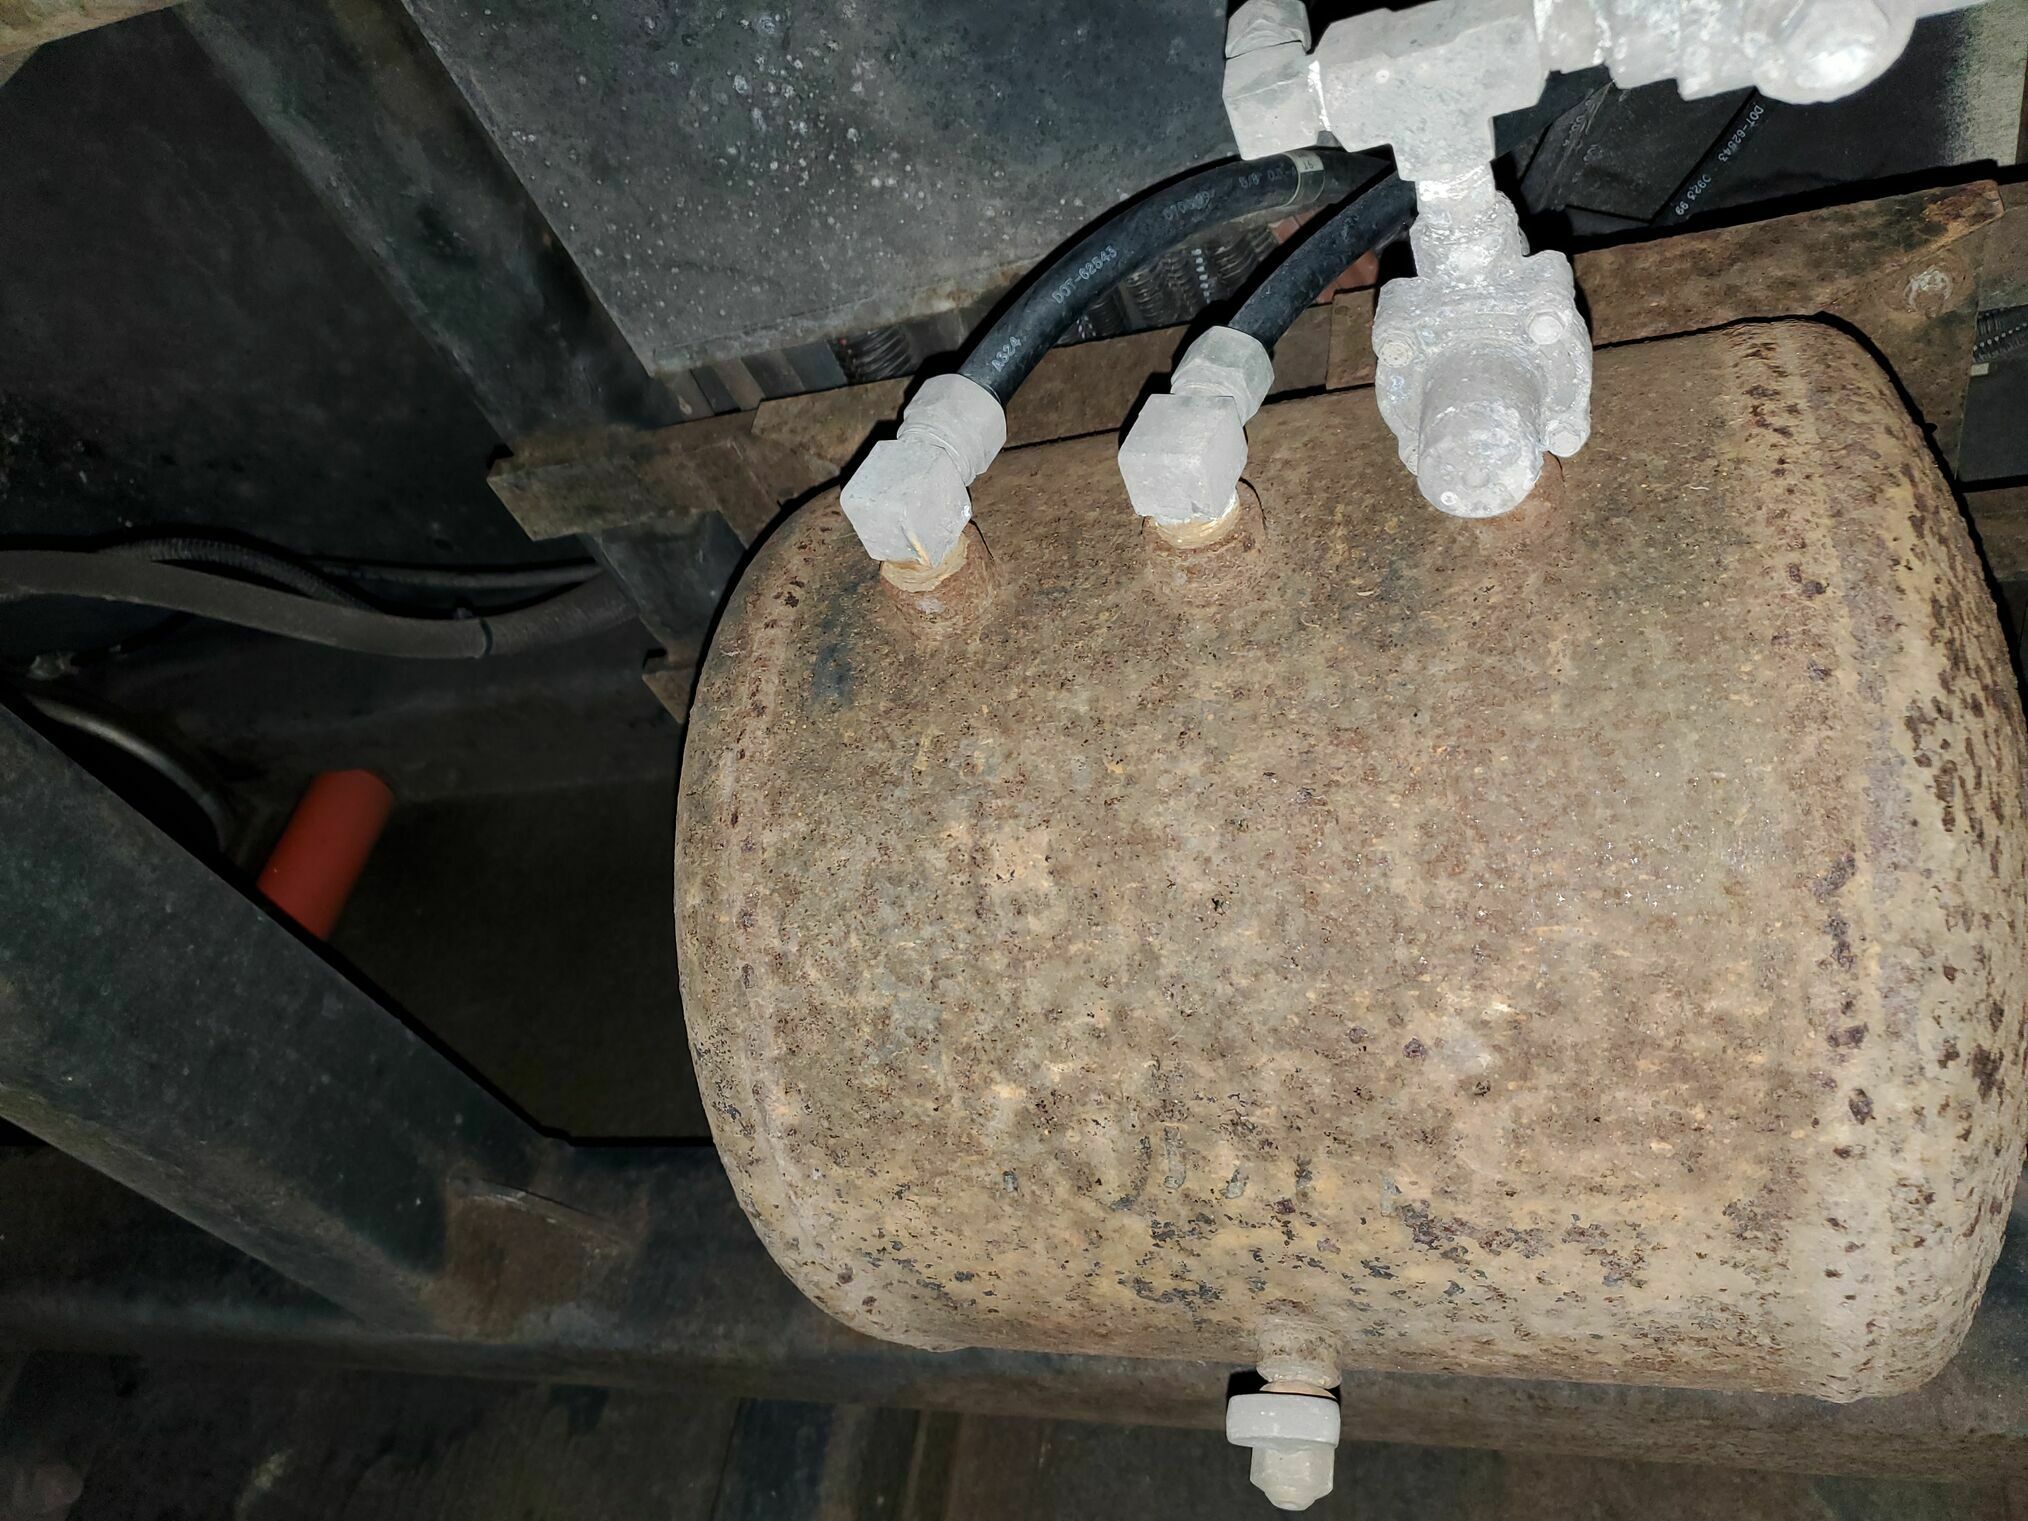
Our HWH pump began to cycle more frequently than normal so it was time to search for air leaks. We found one of push fittings attached to a check valve leaking and replaced it with an higher quality DOT approved fitting. We also replace a few of the other fittings in that area (HWH Pump Bay) for good measure.
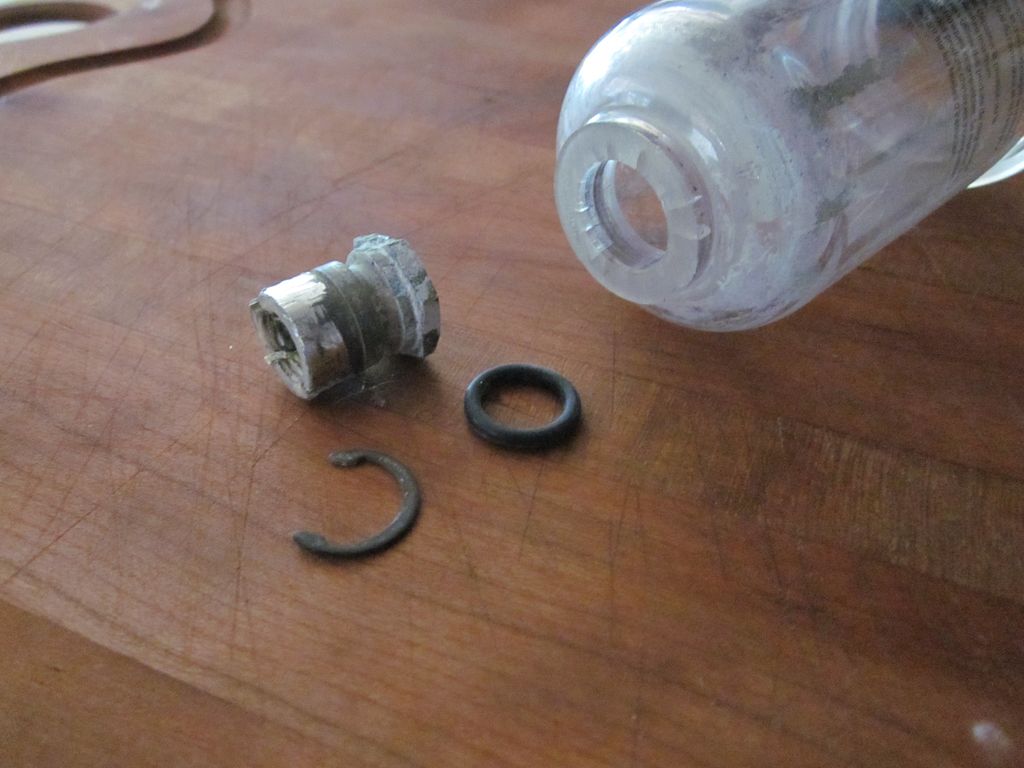
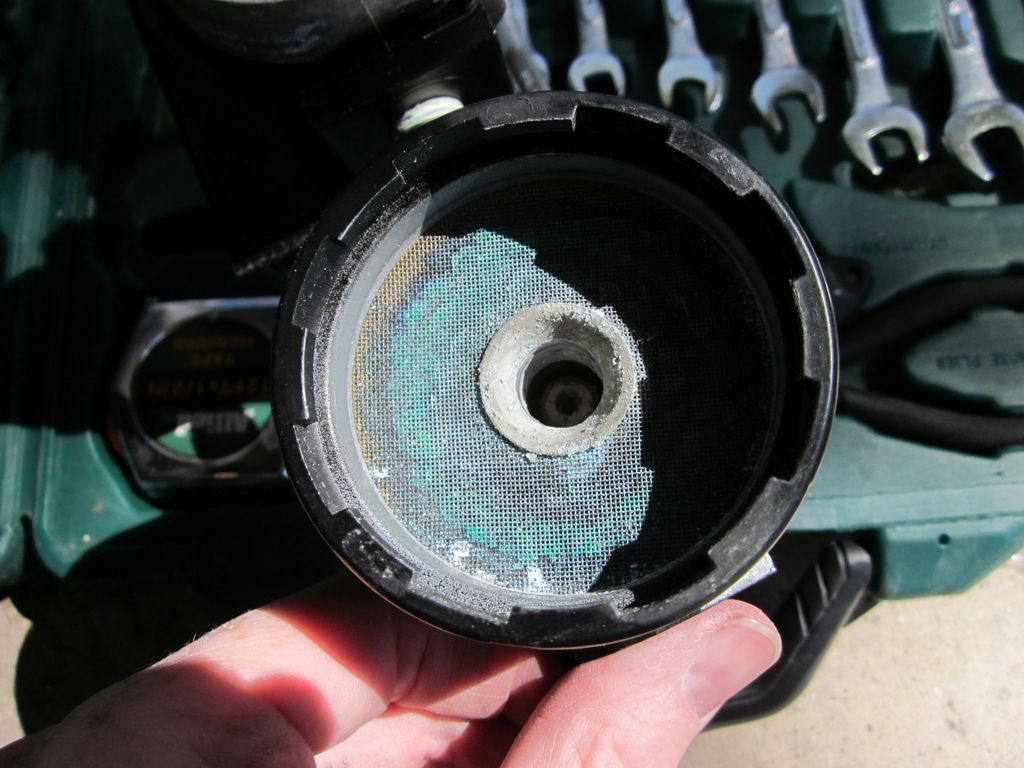
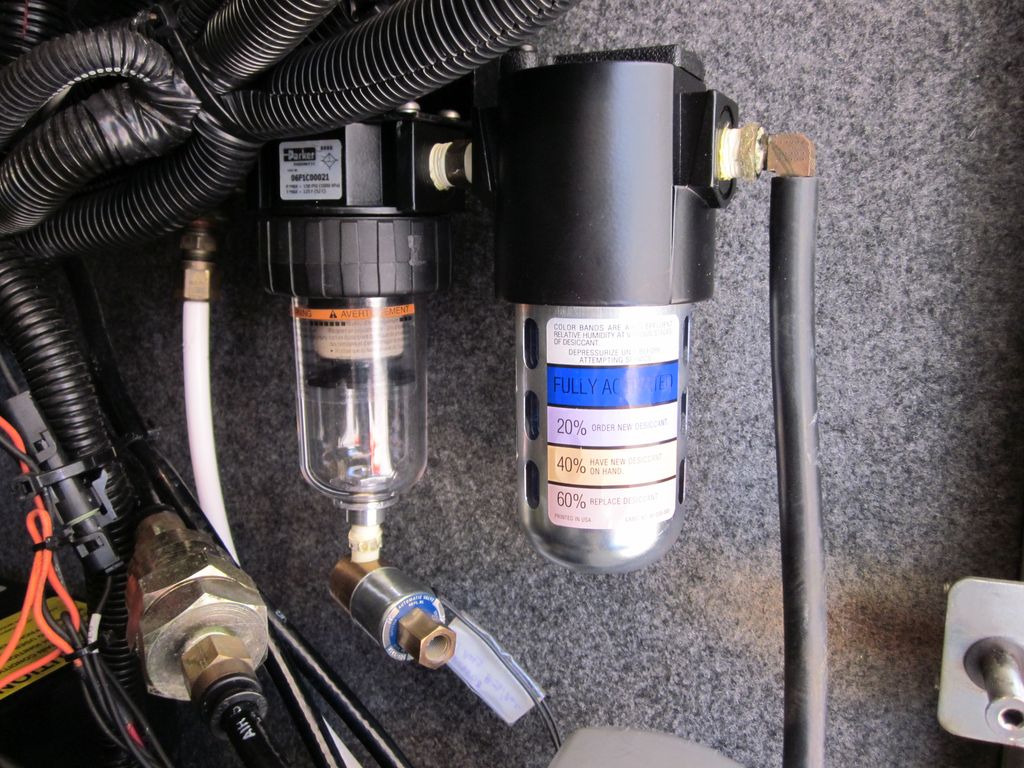
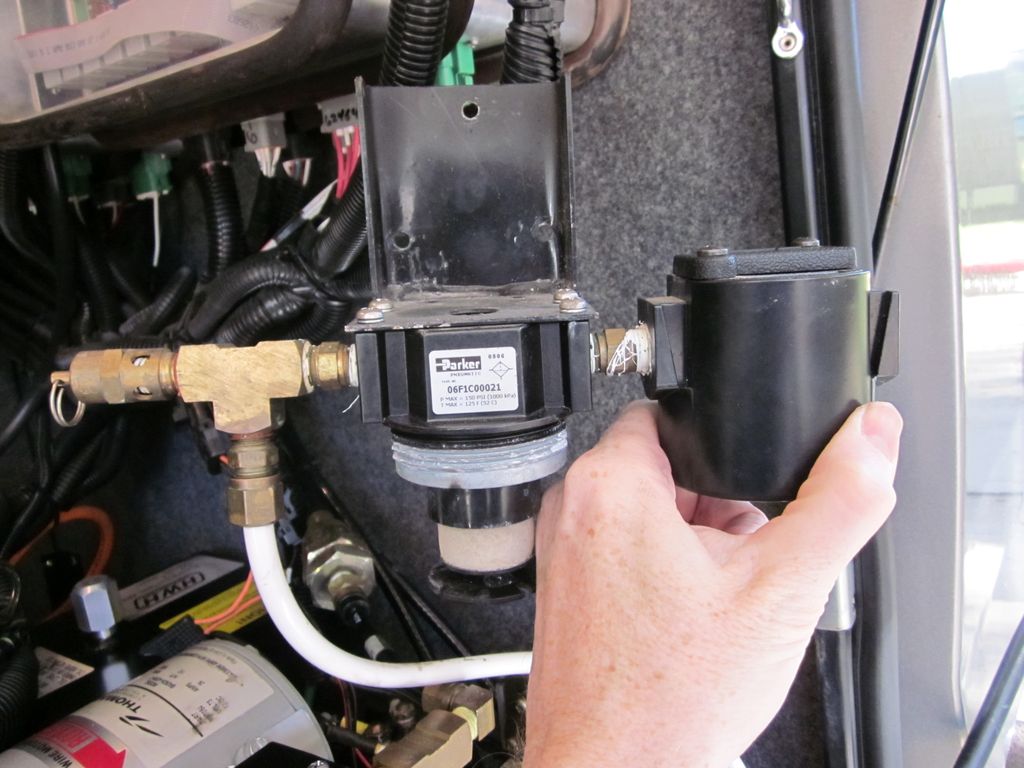
As part of the leak search we discovered the first filter bowl was leaking at its base. The fitting that the solenoid pop-off valve screws onto was actually cracked completely through. There were also through cracks in the base of the poly bowl itself. We also found micro-cracks and extensive corrosion in the desiccant bowl, including the upper screen (which you wouldn’t see unless you completely removed the filter housing, not just the bowl).
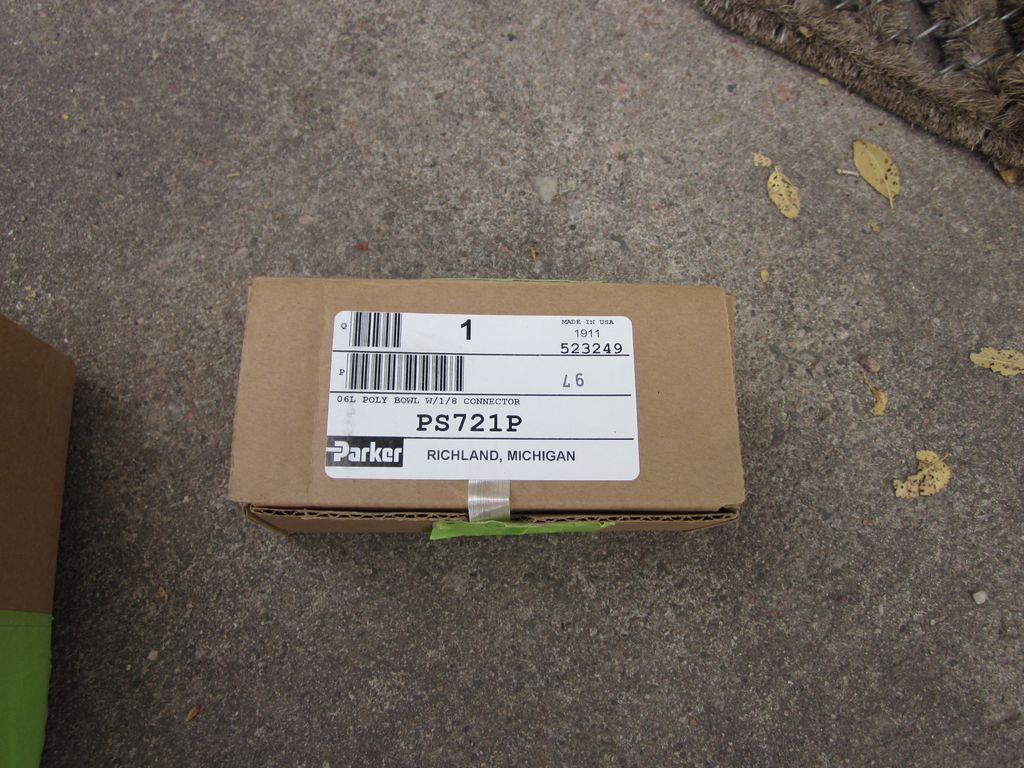
The poly bowl for the first filter, the one with the HWH purge valve, is a Parker P/N PS721P (HWH part number RAP90539). This is a 06L Poly Bowl with 1/8 Connector. You can usually find it in the $30-$40 dollar range online, closer to $60 at FOT but at least they will have it in stock.
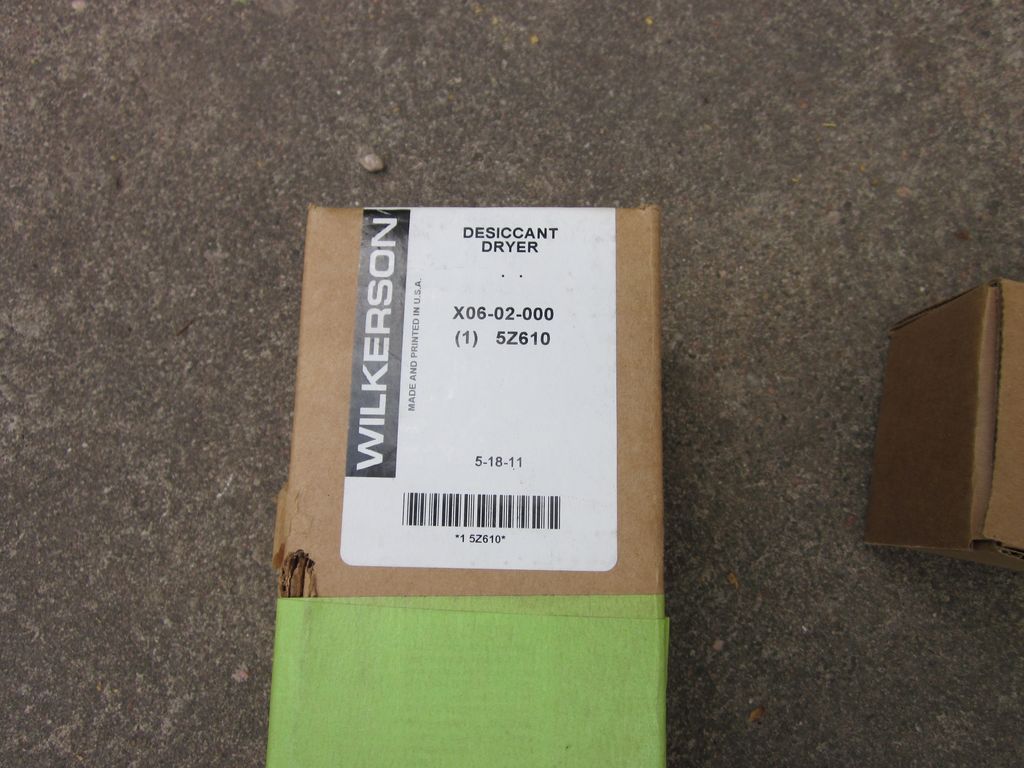
The bowl for the desiccant is not sold separately but comes as a complete assembly (as far as we could find). It is part number 5Z610 (Desiccant Air Dryer). Online you can find it for ~$130 (Grainger) and I recently found a new one on Ebay for $60.
Replacing / Repairing this is an easy job to take on.
- Turn off your HWH pump (pull the fuse if you don’t have a switch)
- Remove the clear bowls from the filters to cut down on the bulk
- Remove the screws that attach the assembly to the bay wall, it will now come out as a single unit.
- Detach the inline air line if needed, on our this is the white line in the pictures. I was able to clip the zip ties that were holding it in place to avoid removing the fitting.
- The outlet line was a press on barb fitting, I cut the line just below the barb as there was no way it was coming back off without cutting it off.
Note When using teflon tape, you should start at least two threads back from the end, this is to prevent any chance of the tape going into the air line. Bad things happen when that occures. You can use the typical white tape, but for air lines I prefer the thicker yellow tefon tape (sold for air connections vs water connections).
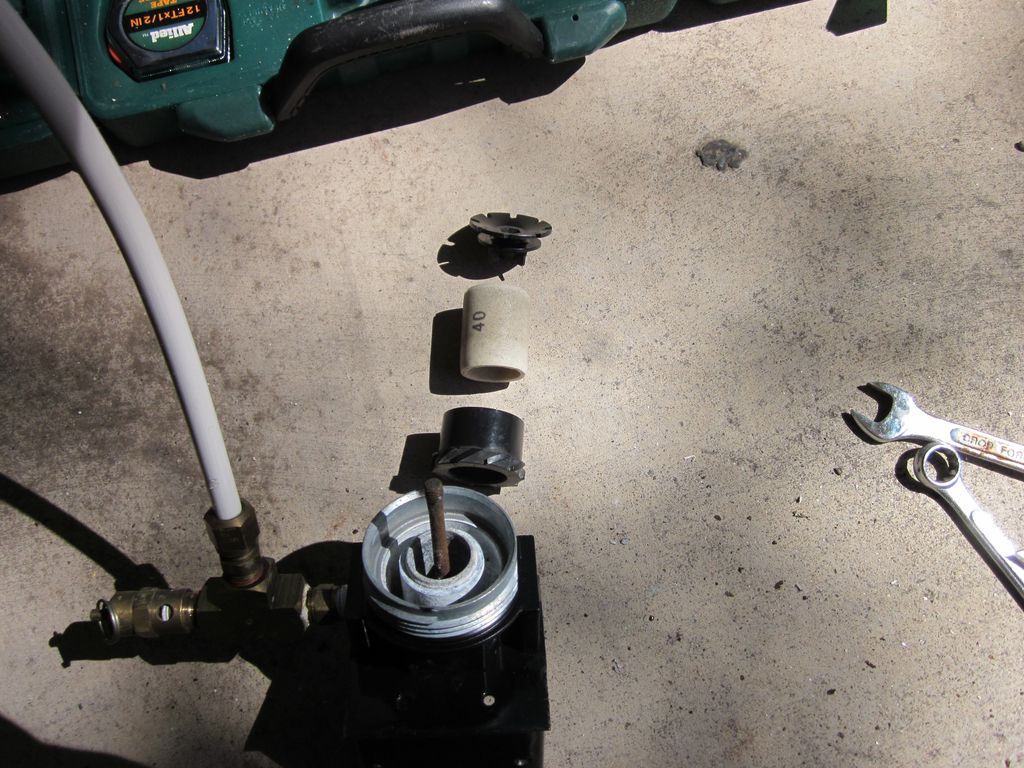
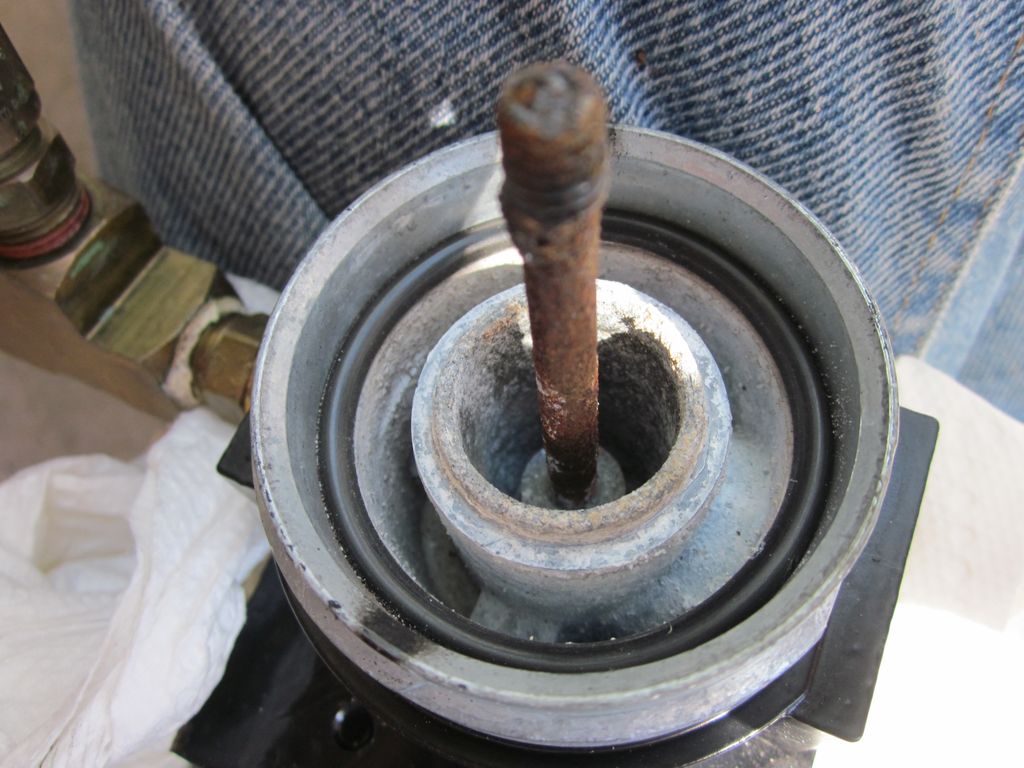
Clean up the the first housing (the one the replacement poly bowl goes on). The plastic around the stone filter unscrews so you can get to the inside and remove / wipe off any loose debris you can. Clean out as much of this as you can, it does not have to be perfect but do brush out the loose material and scale.
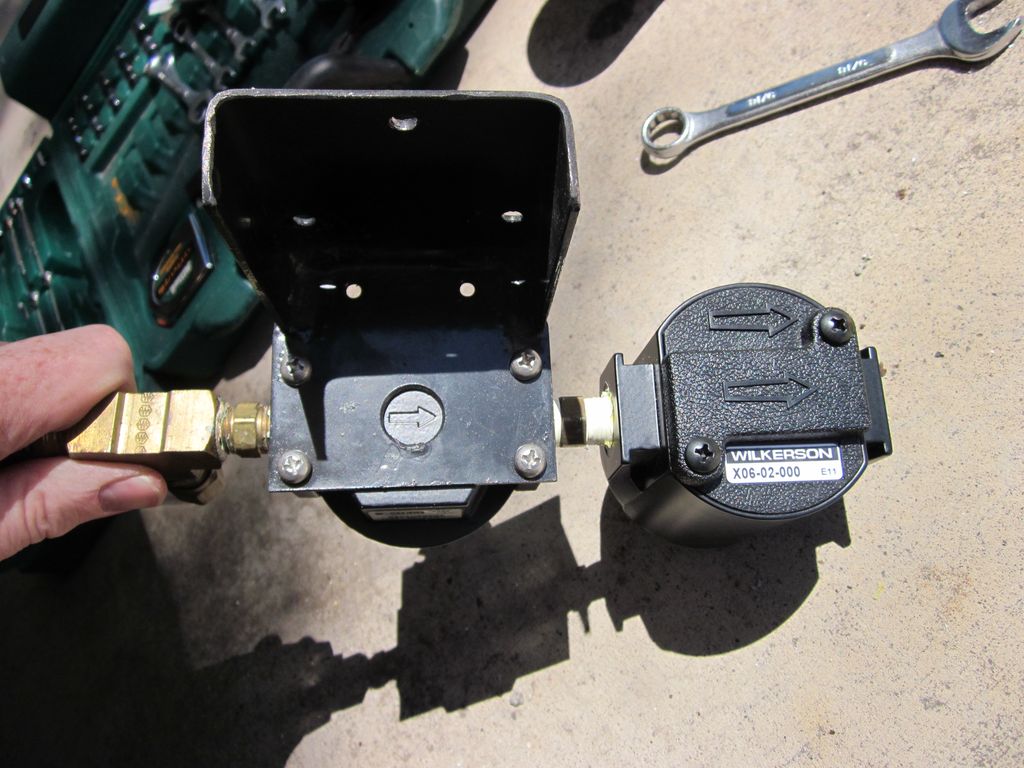
The desiccant side you will completely replace, so you will want to unscrew the fittings and move them over to the new unit (or purchase new fittings if you like). Keep track of the airflow arrows, they are clearly marked on the housings.
Once you have the parts back together you simply reverse the removal process. It will look and work like new, no more leaks