Faucets
We replaced the faucets in the kitchen and the bath with much improved models. The things we disliked about the old ones:
- They were at best cheap plastic, always feeling like they were ready to break
- Two handles made it hard to get the right flow/temp, which wastes water
- They were to close to the basin, so hands and pots didn’t fit well under them
Now we have replaced the kitchen faucet with a nice single-handle chrome Delta pull-out one and the bathroom faucet with a single-handle chrome American Standard one.
Replacing the bathroom faucet was a snap, the hole pattern and connections were identical. It took less than 15 minutes to do this one, most of that to clean up the old mounting goop on the sink deck.
Replacing the kitchen faucet was also pretty easy. The old faucet was a two mounting (8” on center) hole model and the new pull out faucet required a single center mounting style. After removing the old faucet we found that the sink already had all 3 holes drilled, we just had to cut the hole in the counter under the existing middle sink hole with a hole saw. The old holes were covered with the new faucet’s trim plate. Once the hole was in place, the faucet was set into place and secured. Then the copper water lines were bent outward in an L shape to line up with the supply lines (use a tube bender). This took about an hour to complete.
Pictures
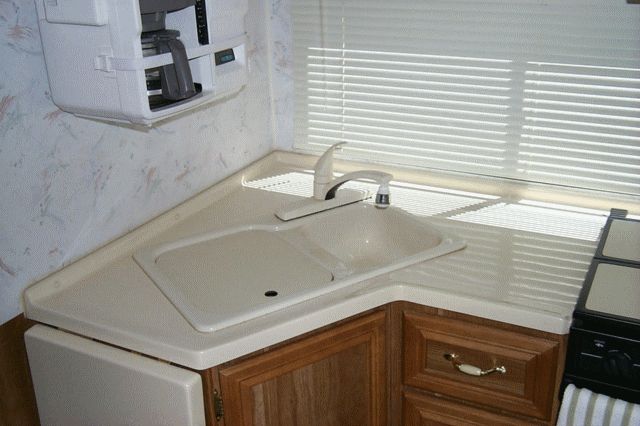
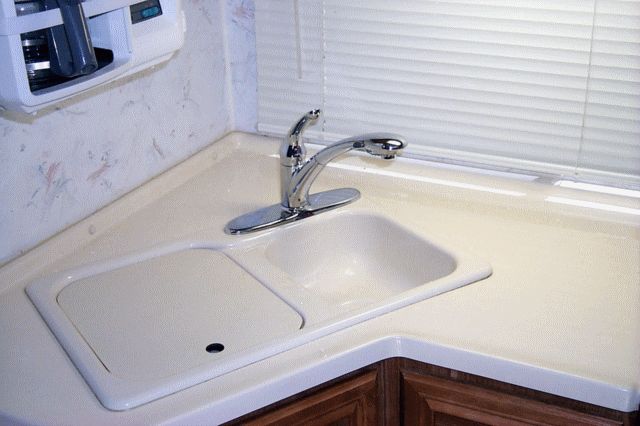
The original faucet
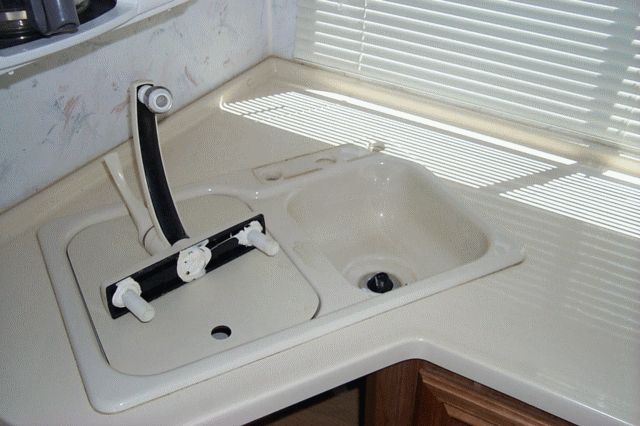
The faucet after removal, notice the three sink holes
The new faucet in place with its trim ring covering the two now unused holes
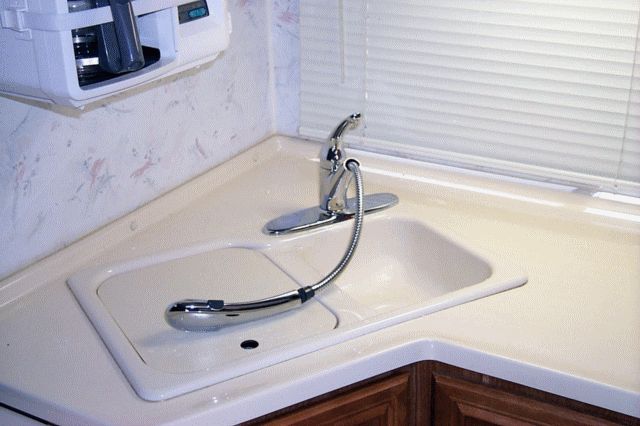
The fancy pull out spray head
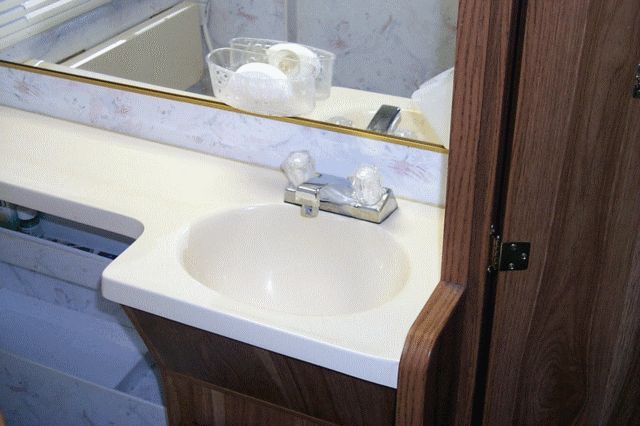
The original bathroom sink faucet
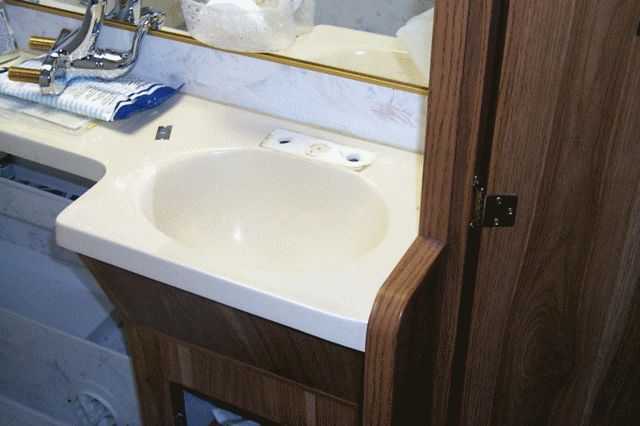
The faucet after removal
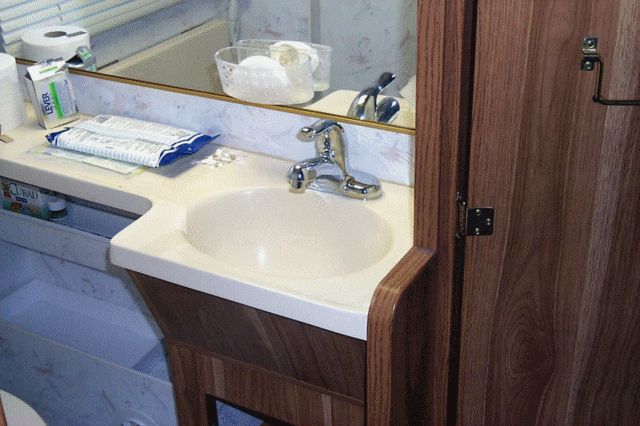
The new faucet in place