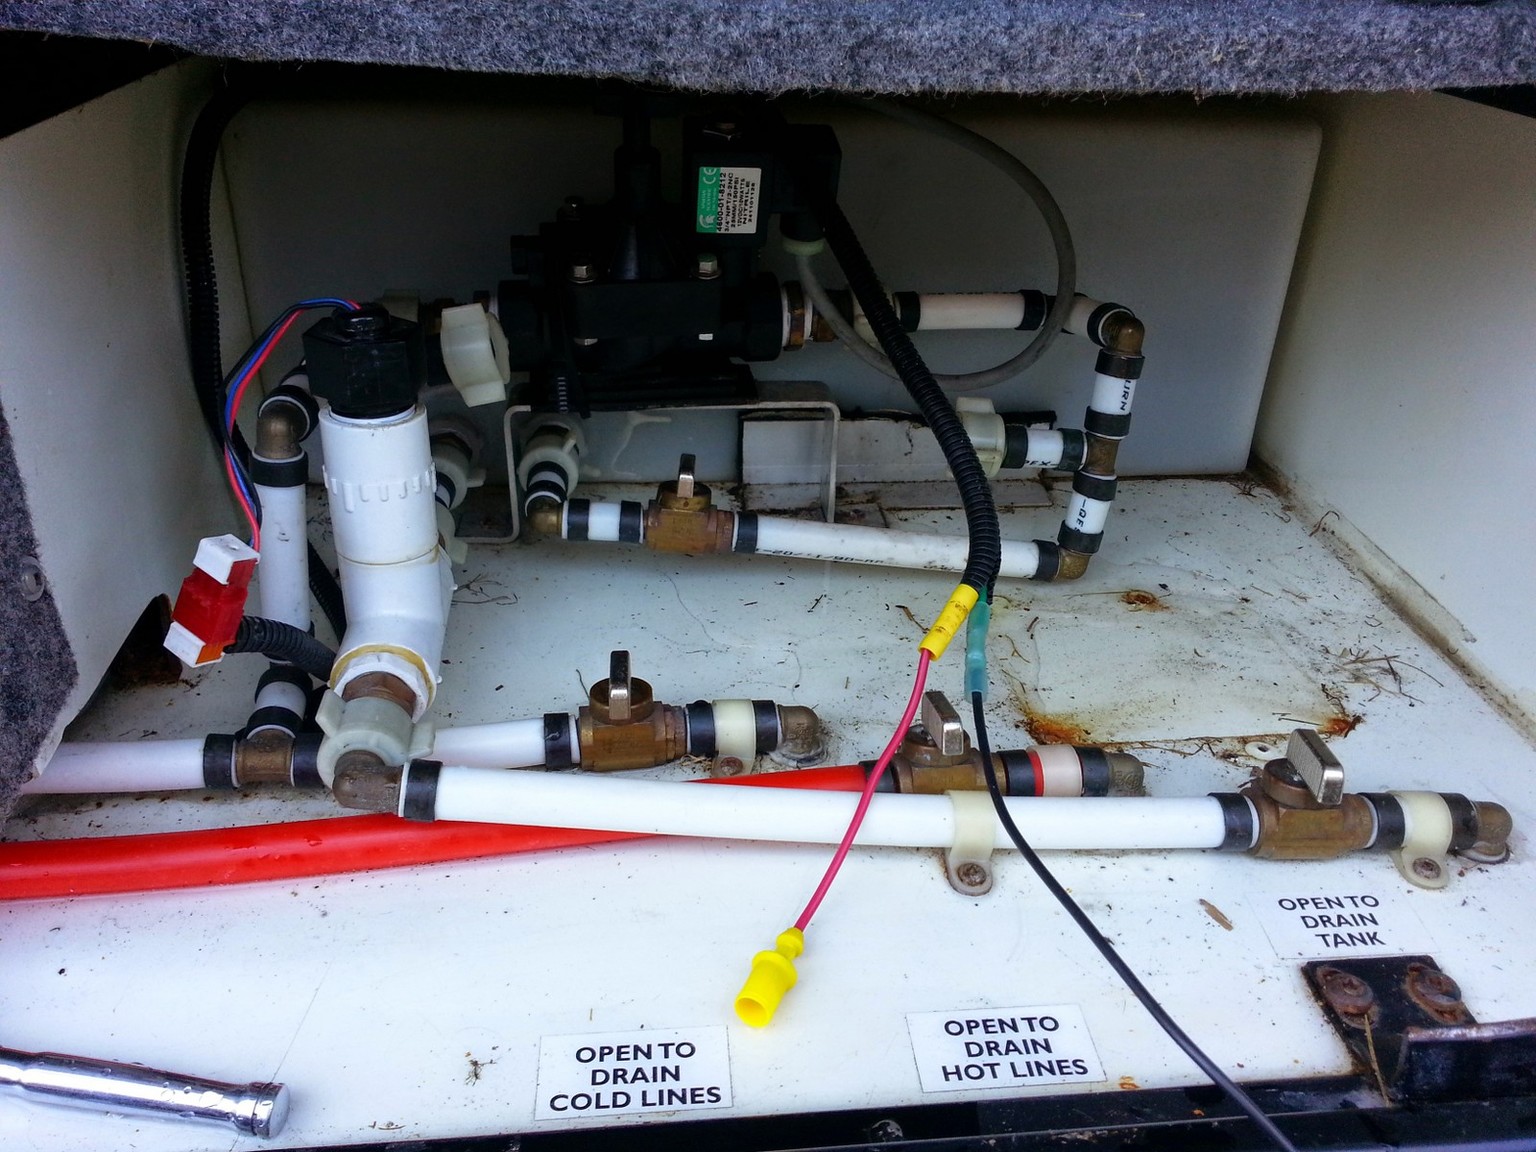
Water Bay Plumbing
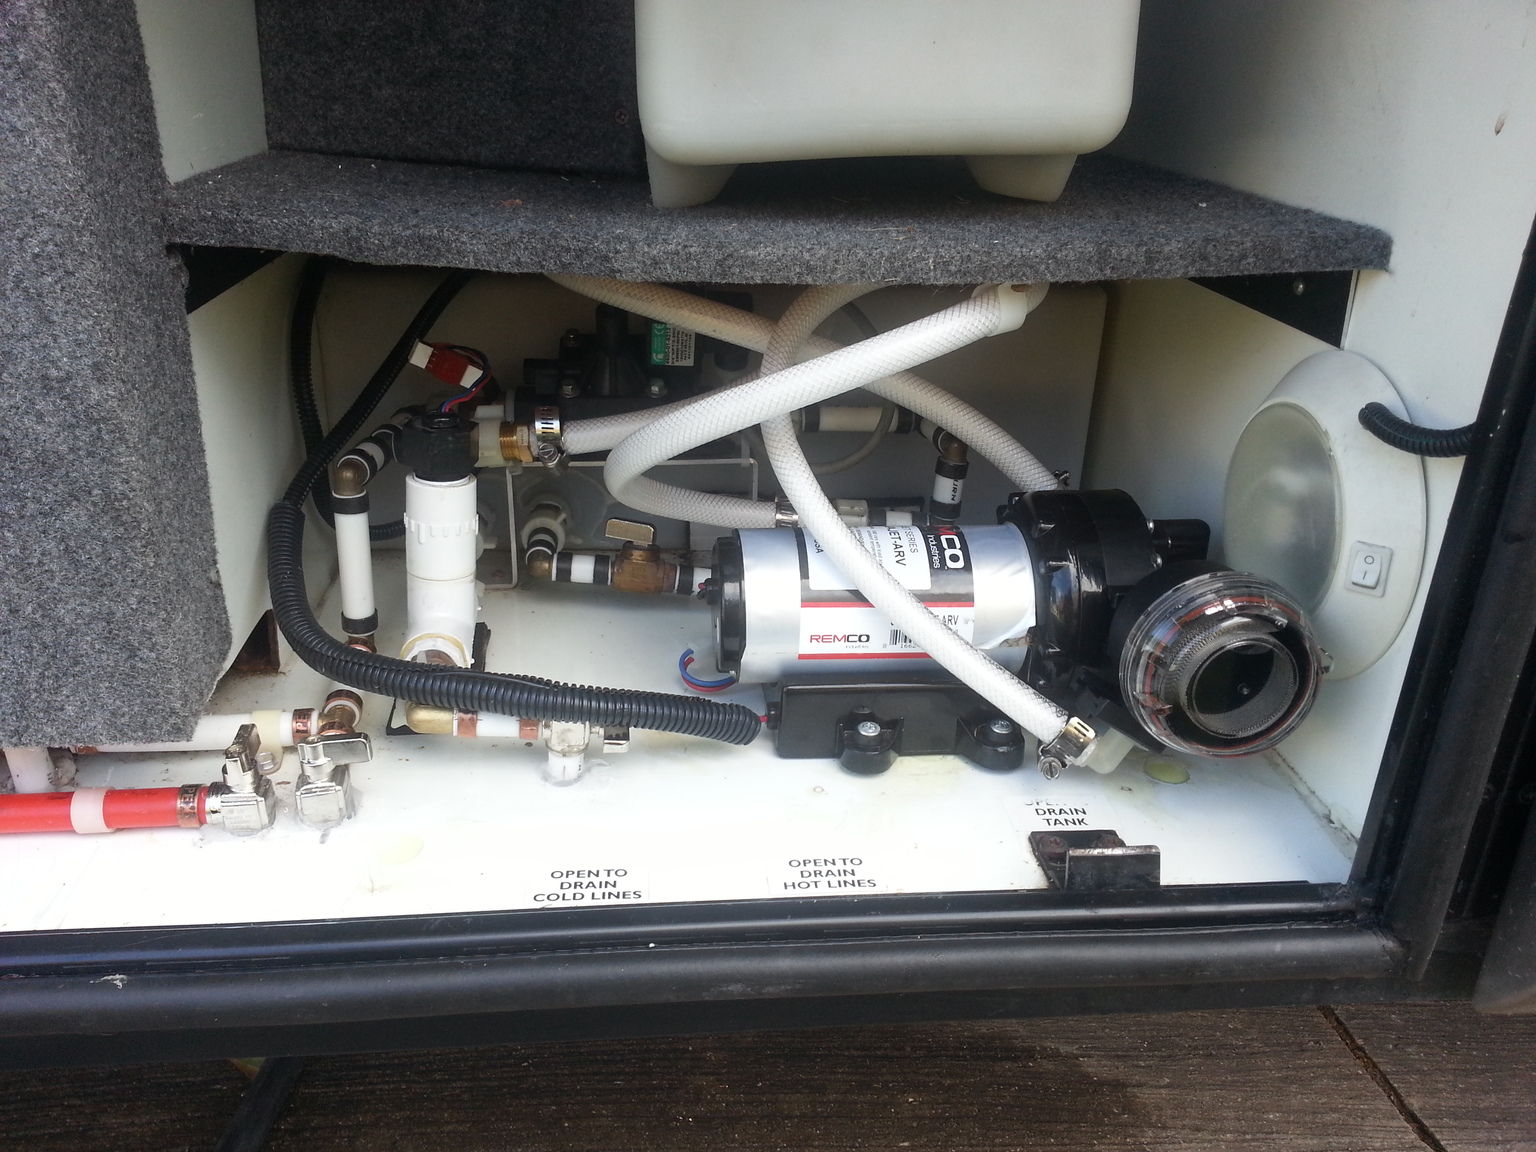
Our old “quiet” loop on the AquaJet water pump was getting tired with age, just like any of the other plastic/rubber parts in and around the coach. We ordered two new quiet loops as it was recommended that a “loop” be on both the inlet and outlet side of the pump. RV Water Filter Store
On our coach only the outlet had the loop, The inlet was hard plumbed to the piping. Also to note, those are not AquaJet OEM parts at the link, but at $10 vs $24 for the “Pump Pulsation Dampener” OEM ones, it’s (2) for the price of one.
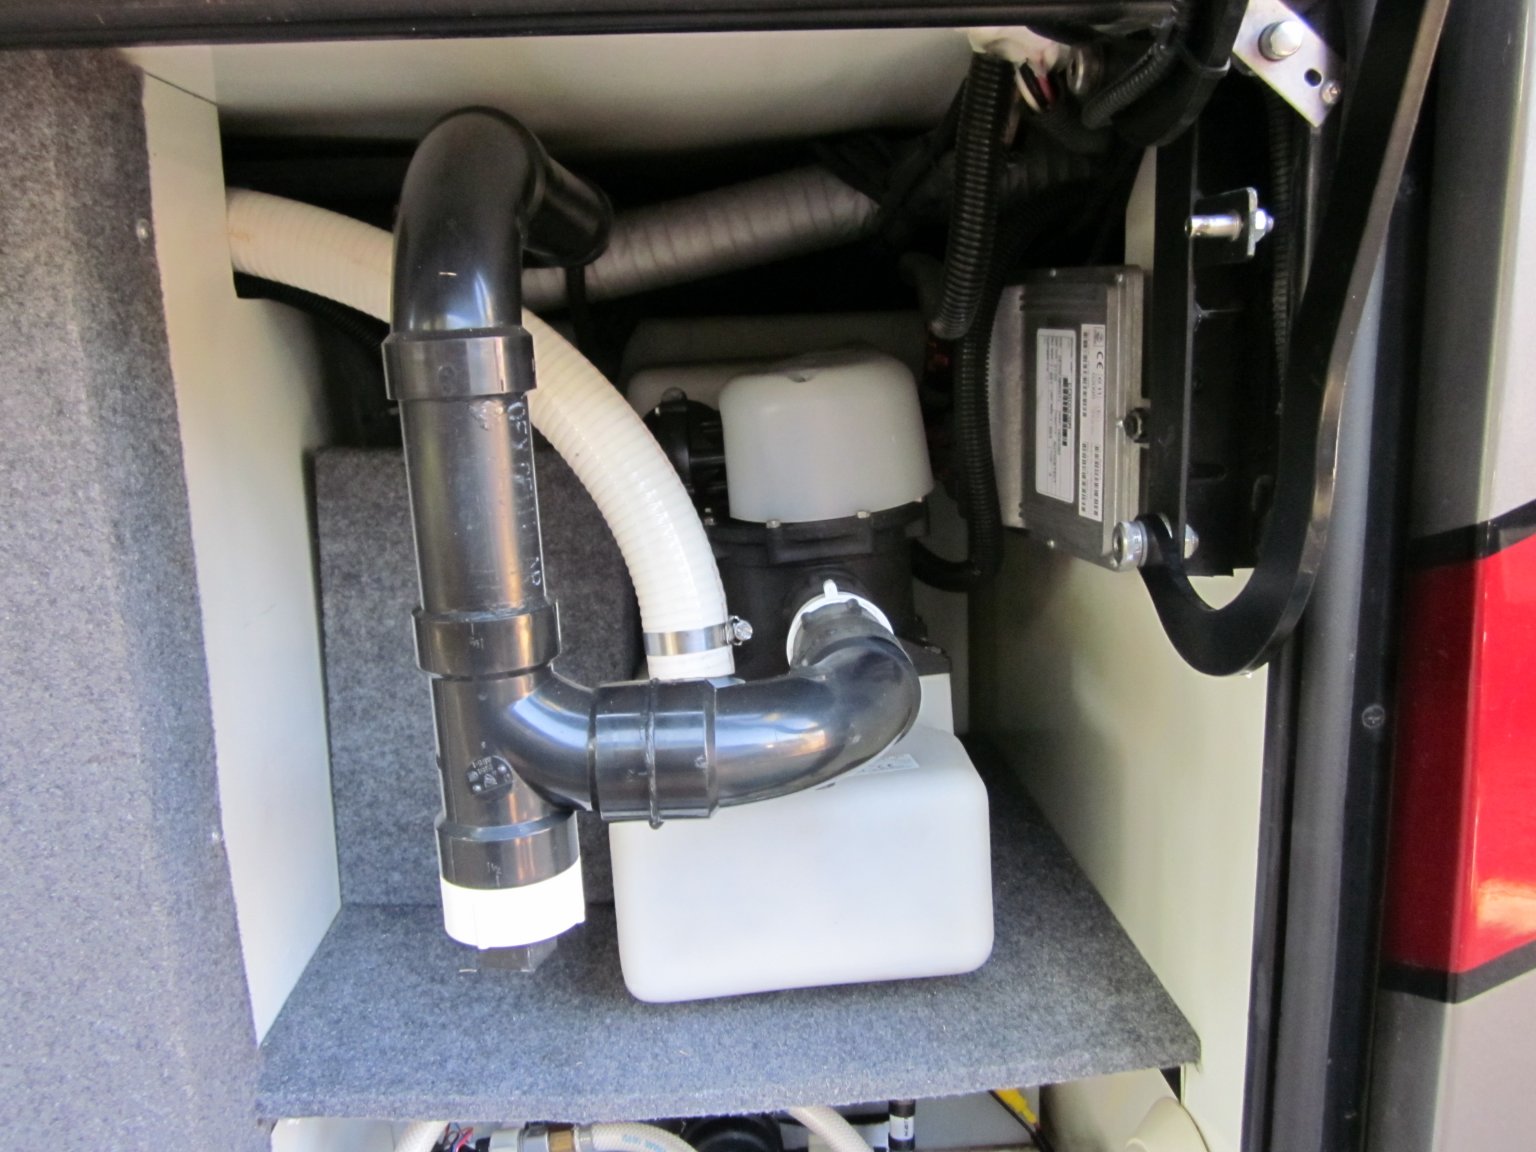
Wanting to install the loops on both the outlet and on the inlet, it became apparent that a slight reconfigure of the bay plumbing was in order. In doing this I wanted to accomplish a few things:
- One was to not have any piping overlap other piping, no X crossing, at least not that could be avoided.
- Two was to orient the pump so I could see the inlet strainer, the way things were it was hidden from view. This would also allow me to easily hookup the wonderful pink antifreeze to the inlet when its time for winter hibernation.
- Three was to add the quiet loop on the inlet and not have it “hard” plumbed to the piping.
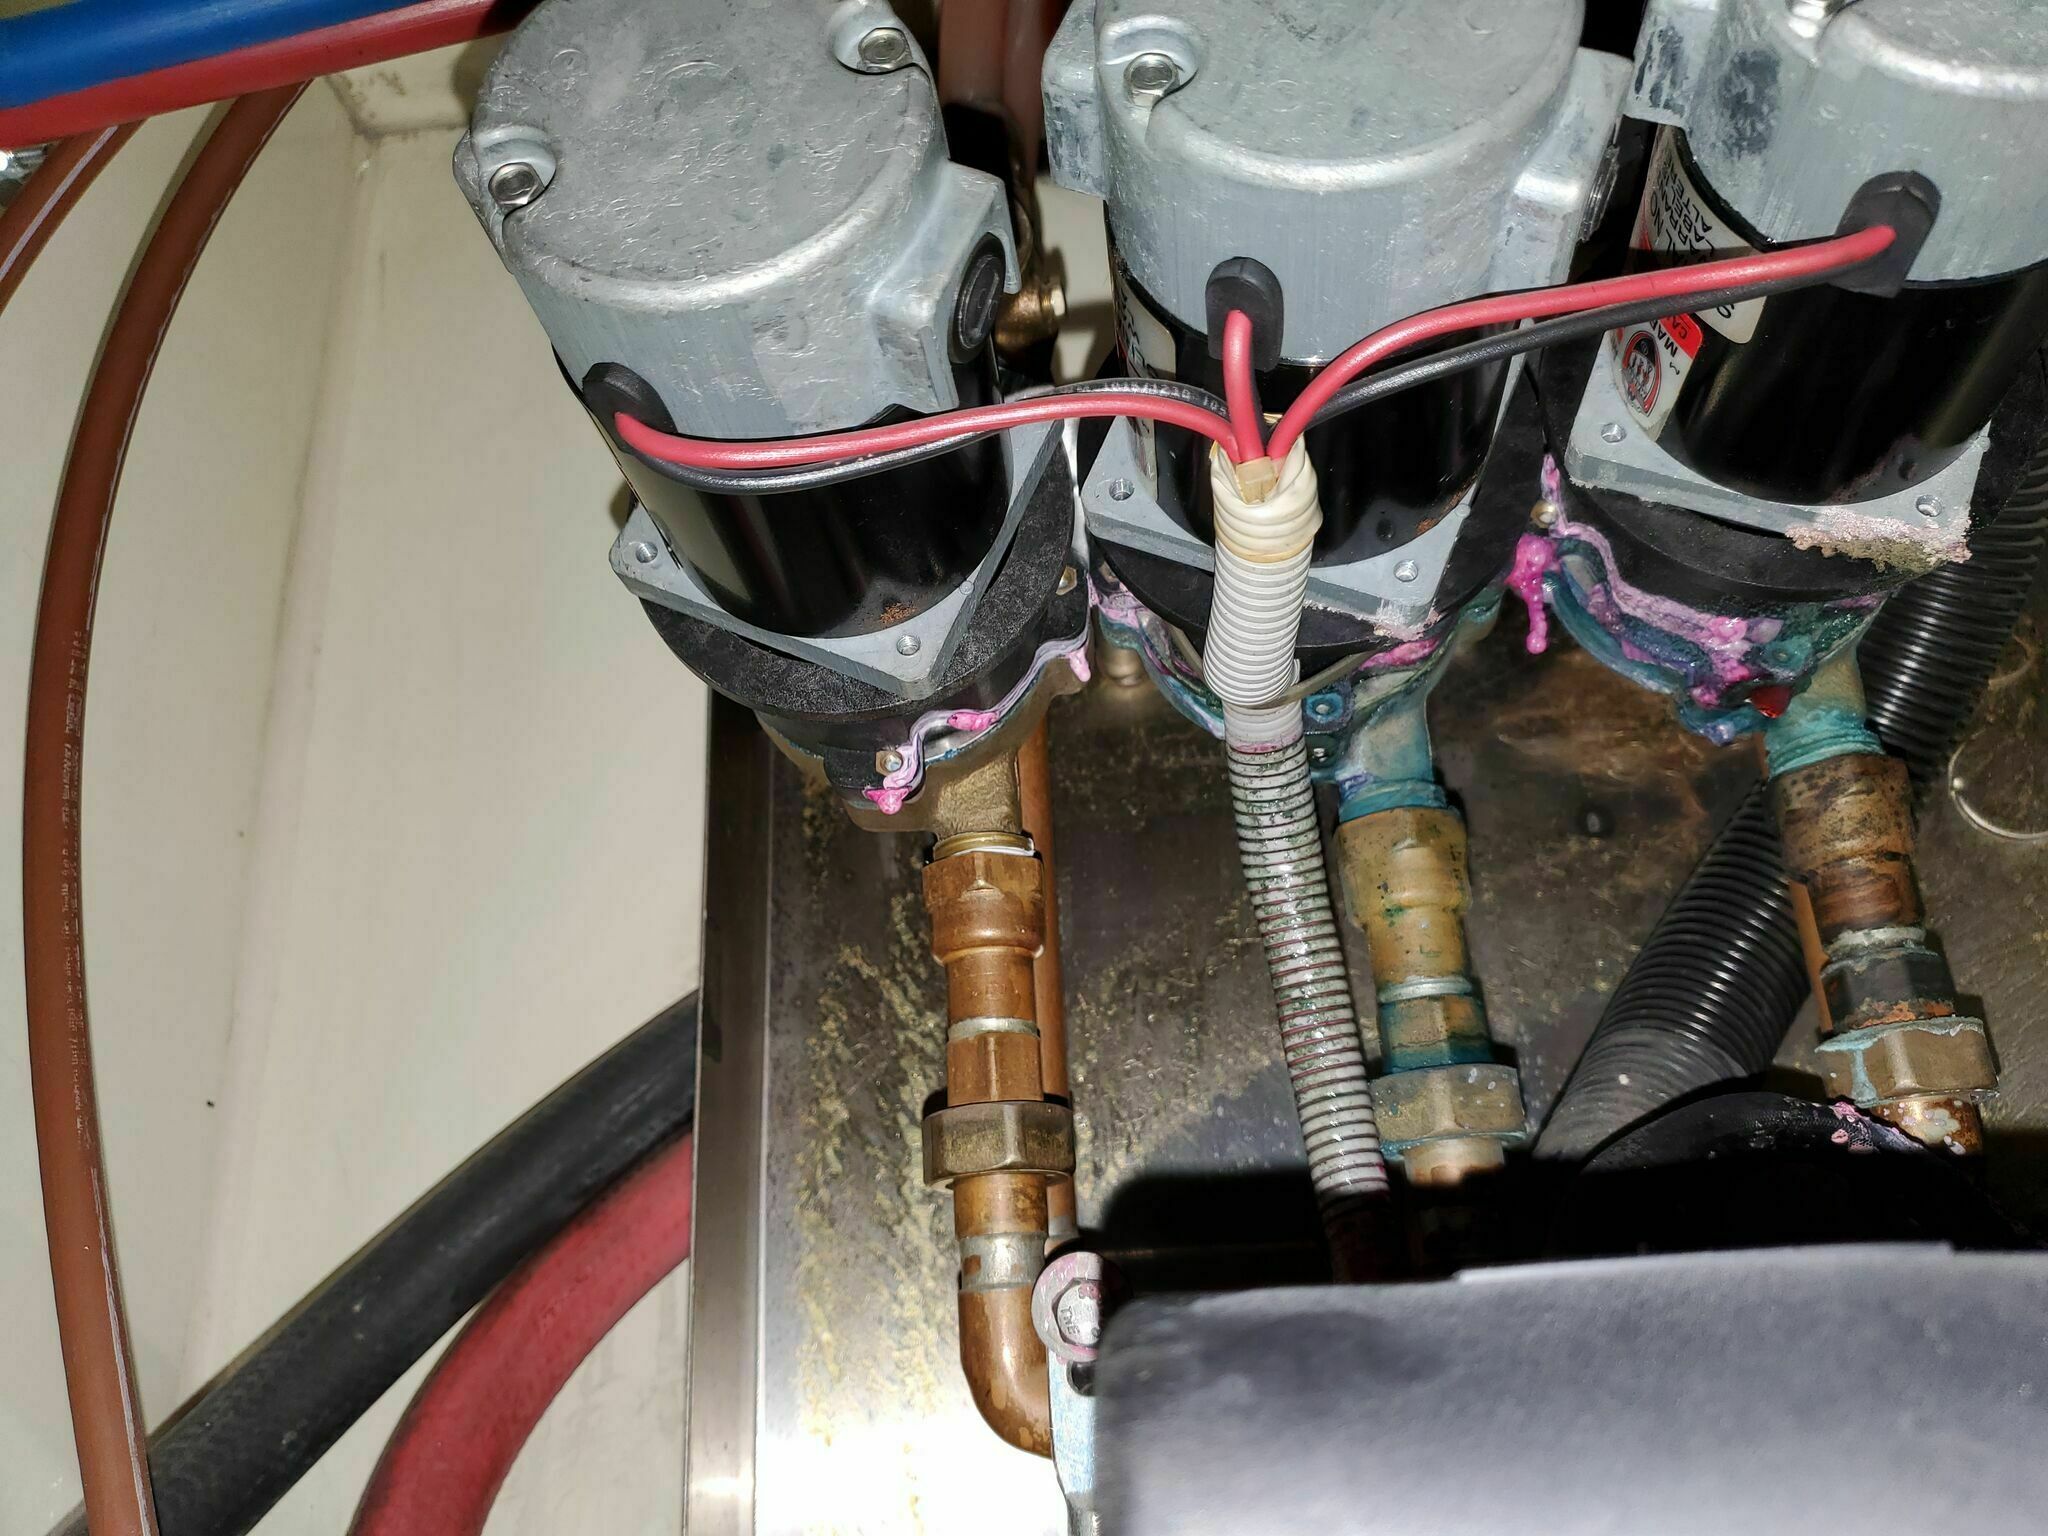
Looking at things a bit I felt I could move the current “empty tank” valves to be straight off the tanks and not turn 90 degrees and run in front of the pump. Shortening them would allow me to rotate the pump 180 degrees and shift it forward. I was unable to get the fresh tank empty to be a straight shot without getting into the level sensor etc so it still has a turn, although much shorter now.
I plugged the old holes with a mixture of epoxy and micro balloons (makes the epoxy lighter and more sandable). I did leave one hole “open” and simply sleeved it with a section of pex piping epoxied in place. This will act as a drain in that bay, oddly on our coach the water bay had no drain, so now it does. It’s filled with some brass wool to keep the bugs out but water will flow right out.
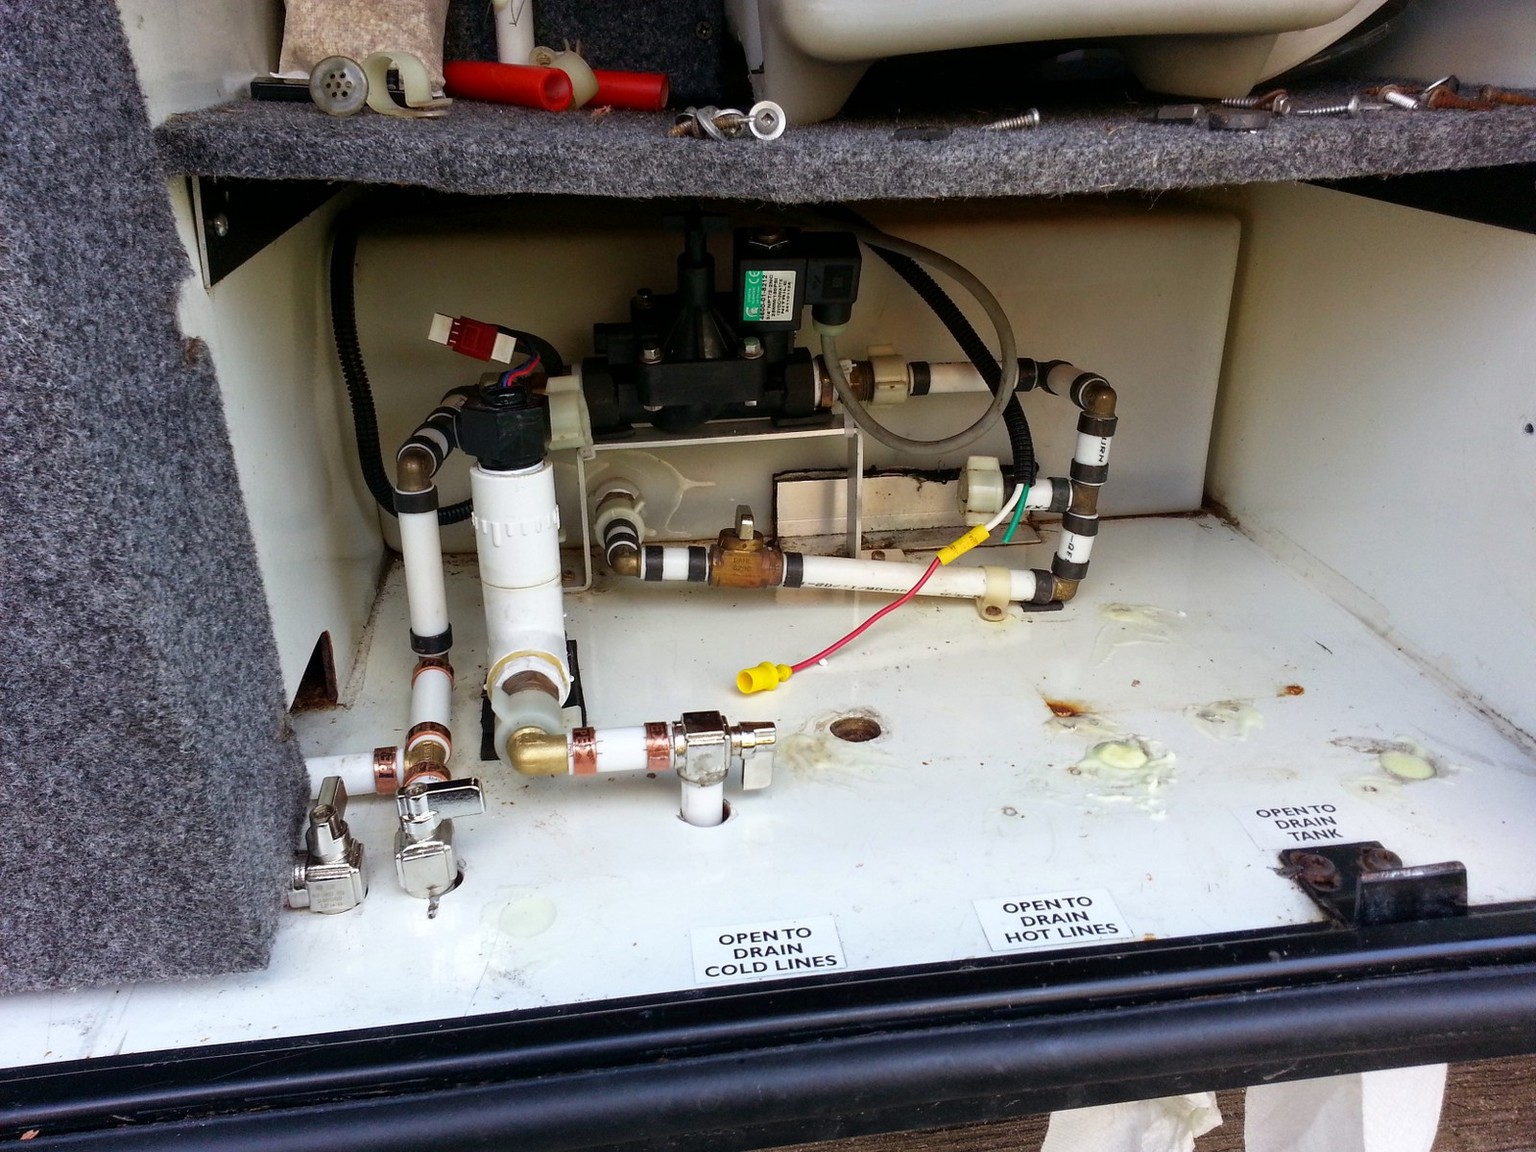
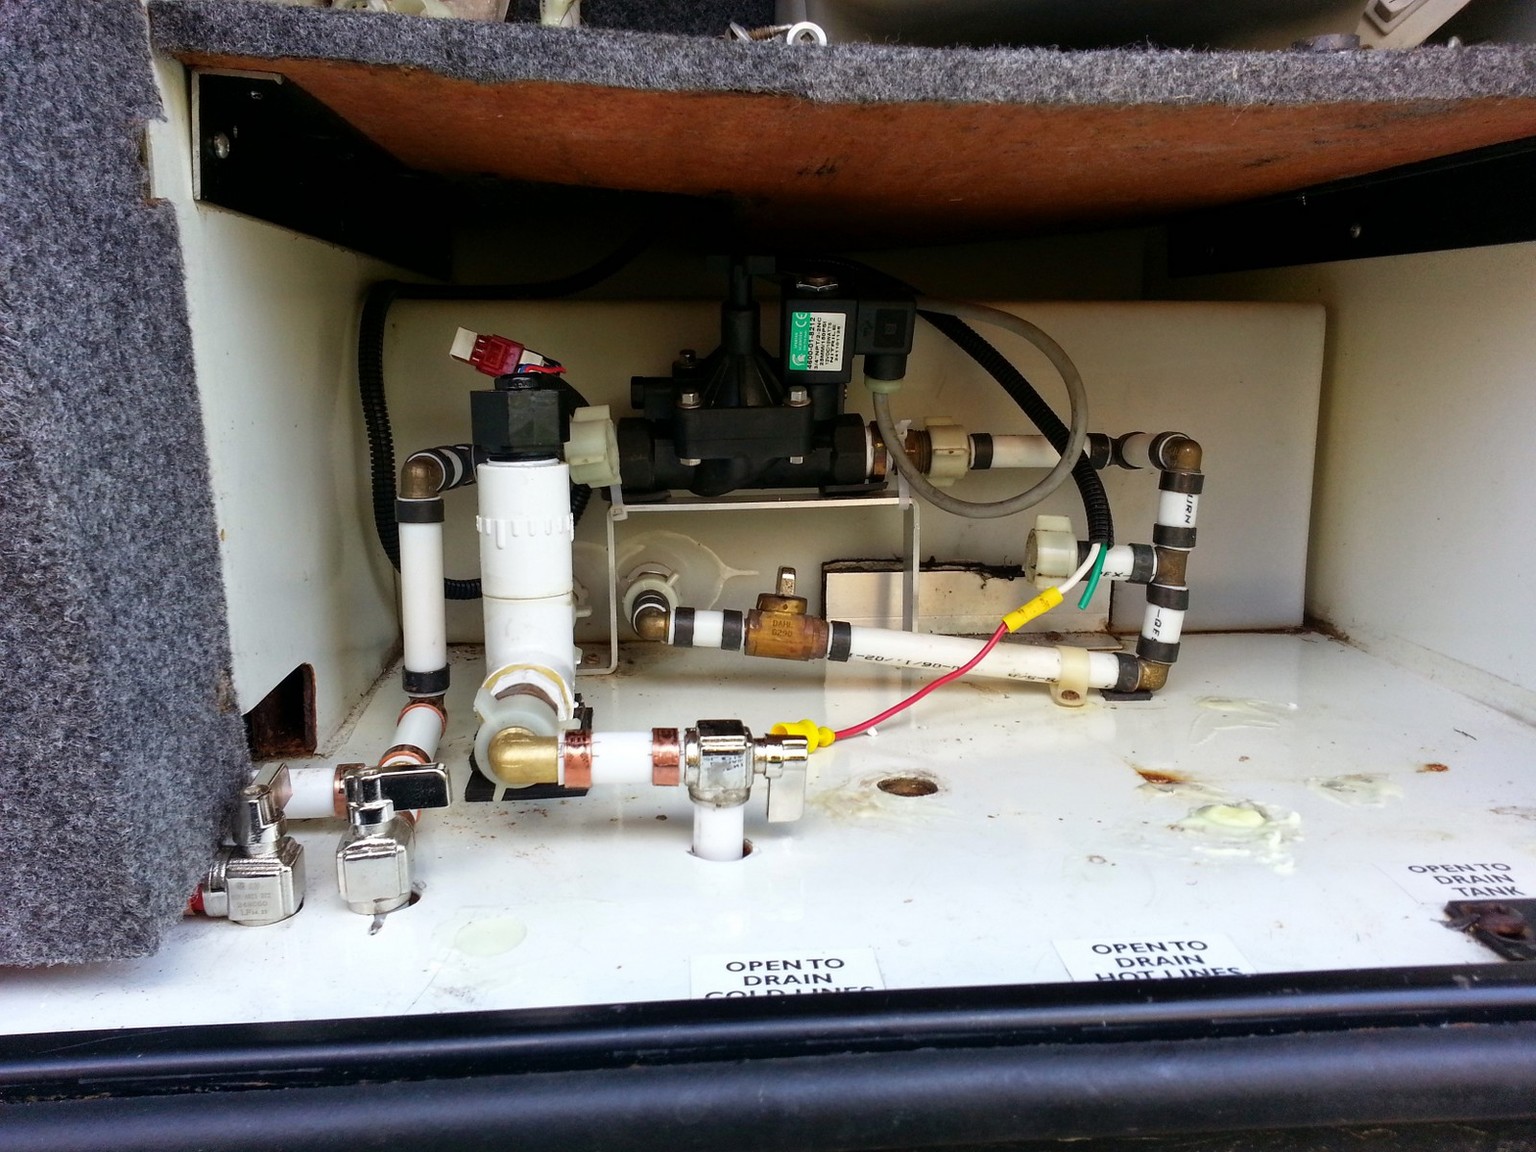
So cut, measure, dry fit, check, crimp the pex fittings, repeat to you are done. Yes I missed one crimp the first time around :P That’s why you test your connections for leaks…
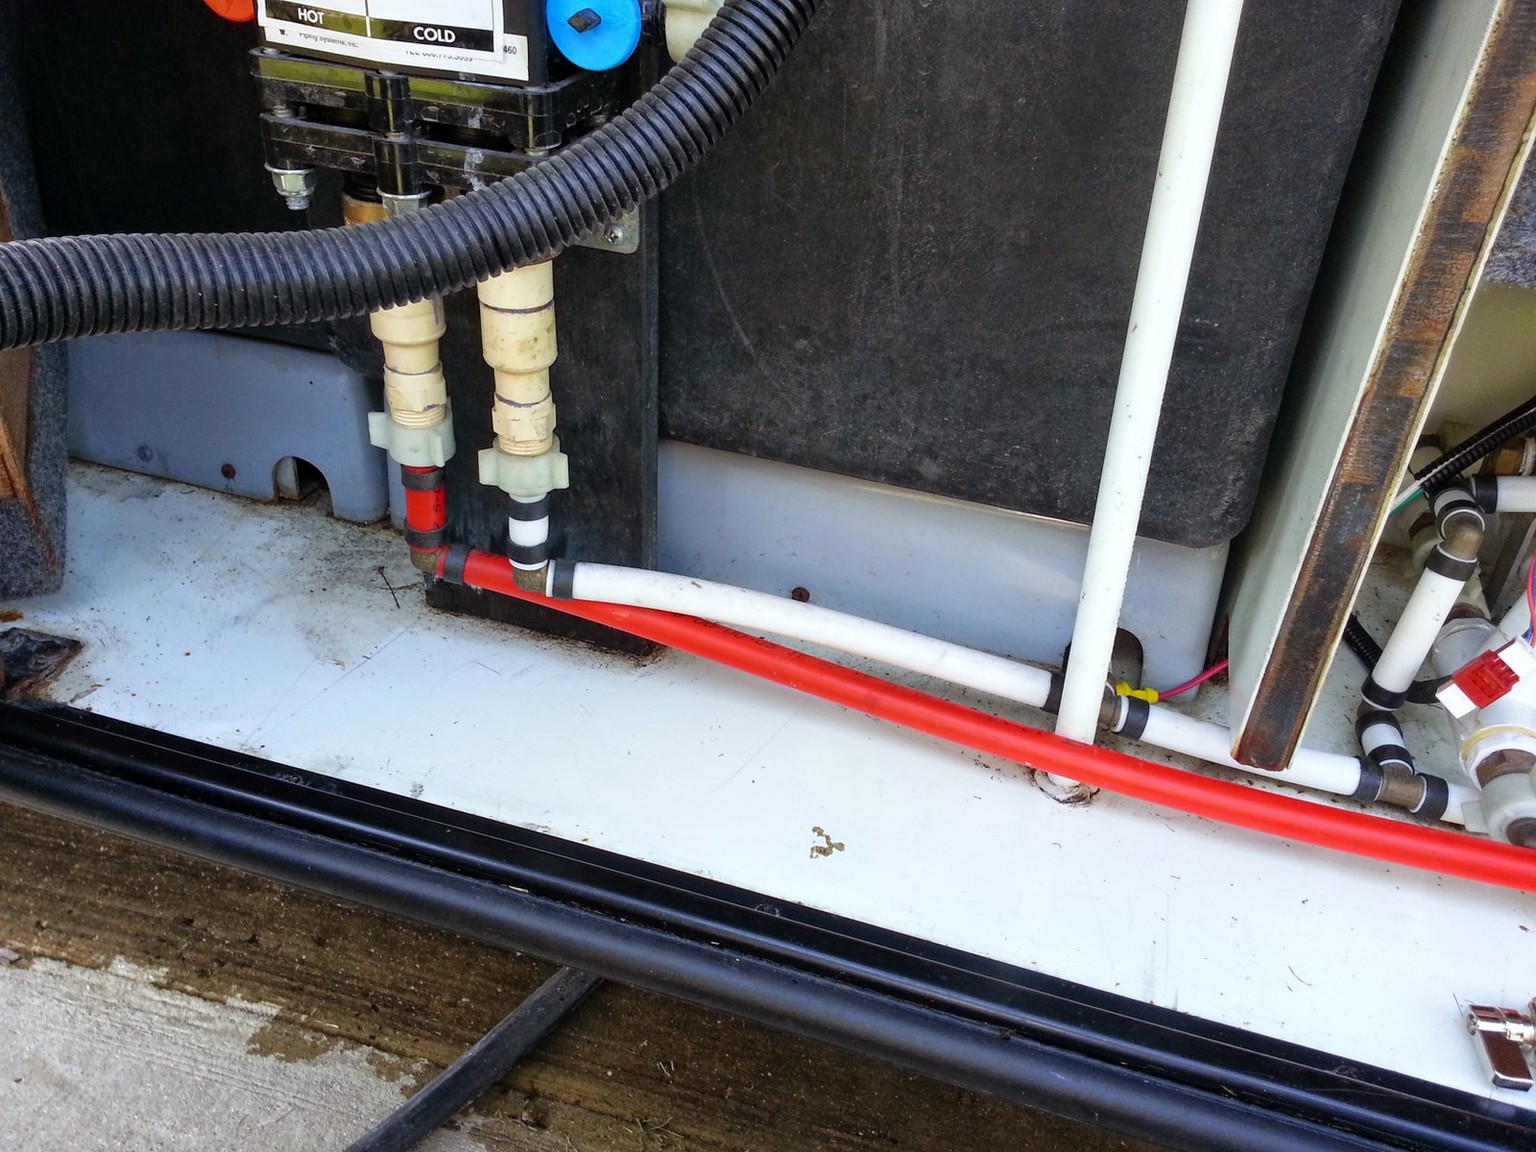
Once done attaching the new soft loop to the strainer was going to take a few adapters; our original strainer had a pipe thread and the new quiet loop has a quick connect. As I looked around for a set of adapters or connectors, I double checked the strainer basket, and voila, the new ones come with the quick connect. So out with the old and in with the new, only $10 at Remco 25-181 Aquajet Pump Protector Inlet Strainer that was less cost than of the fittings I would have had to add and lot easier to do.
So that’s my story, can’t say for sure things are any more quiet until we get on the road, but the accessibility is much better, and judging on how much the inlet hose moves, it’s certainly decoupled the pump from the plumbing. I used cable loops to “hang” the loops from the shelf above so they would not touch anything. Just a few new labels to make for the drains.
Schematic
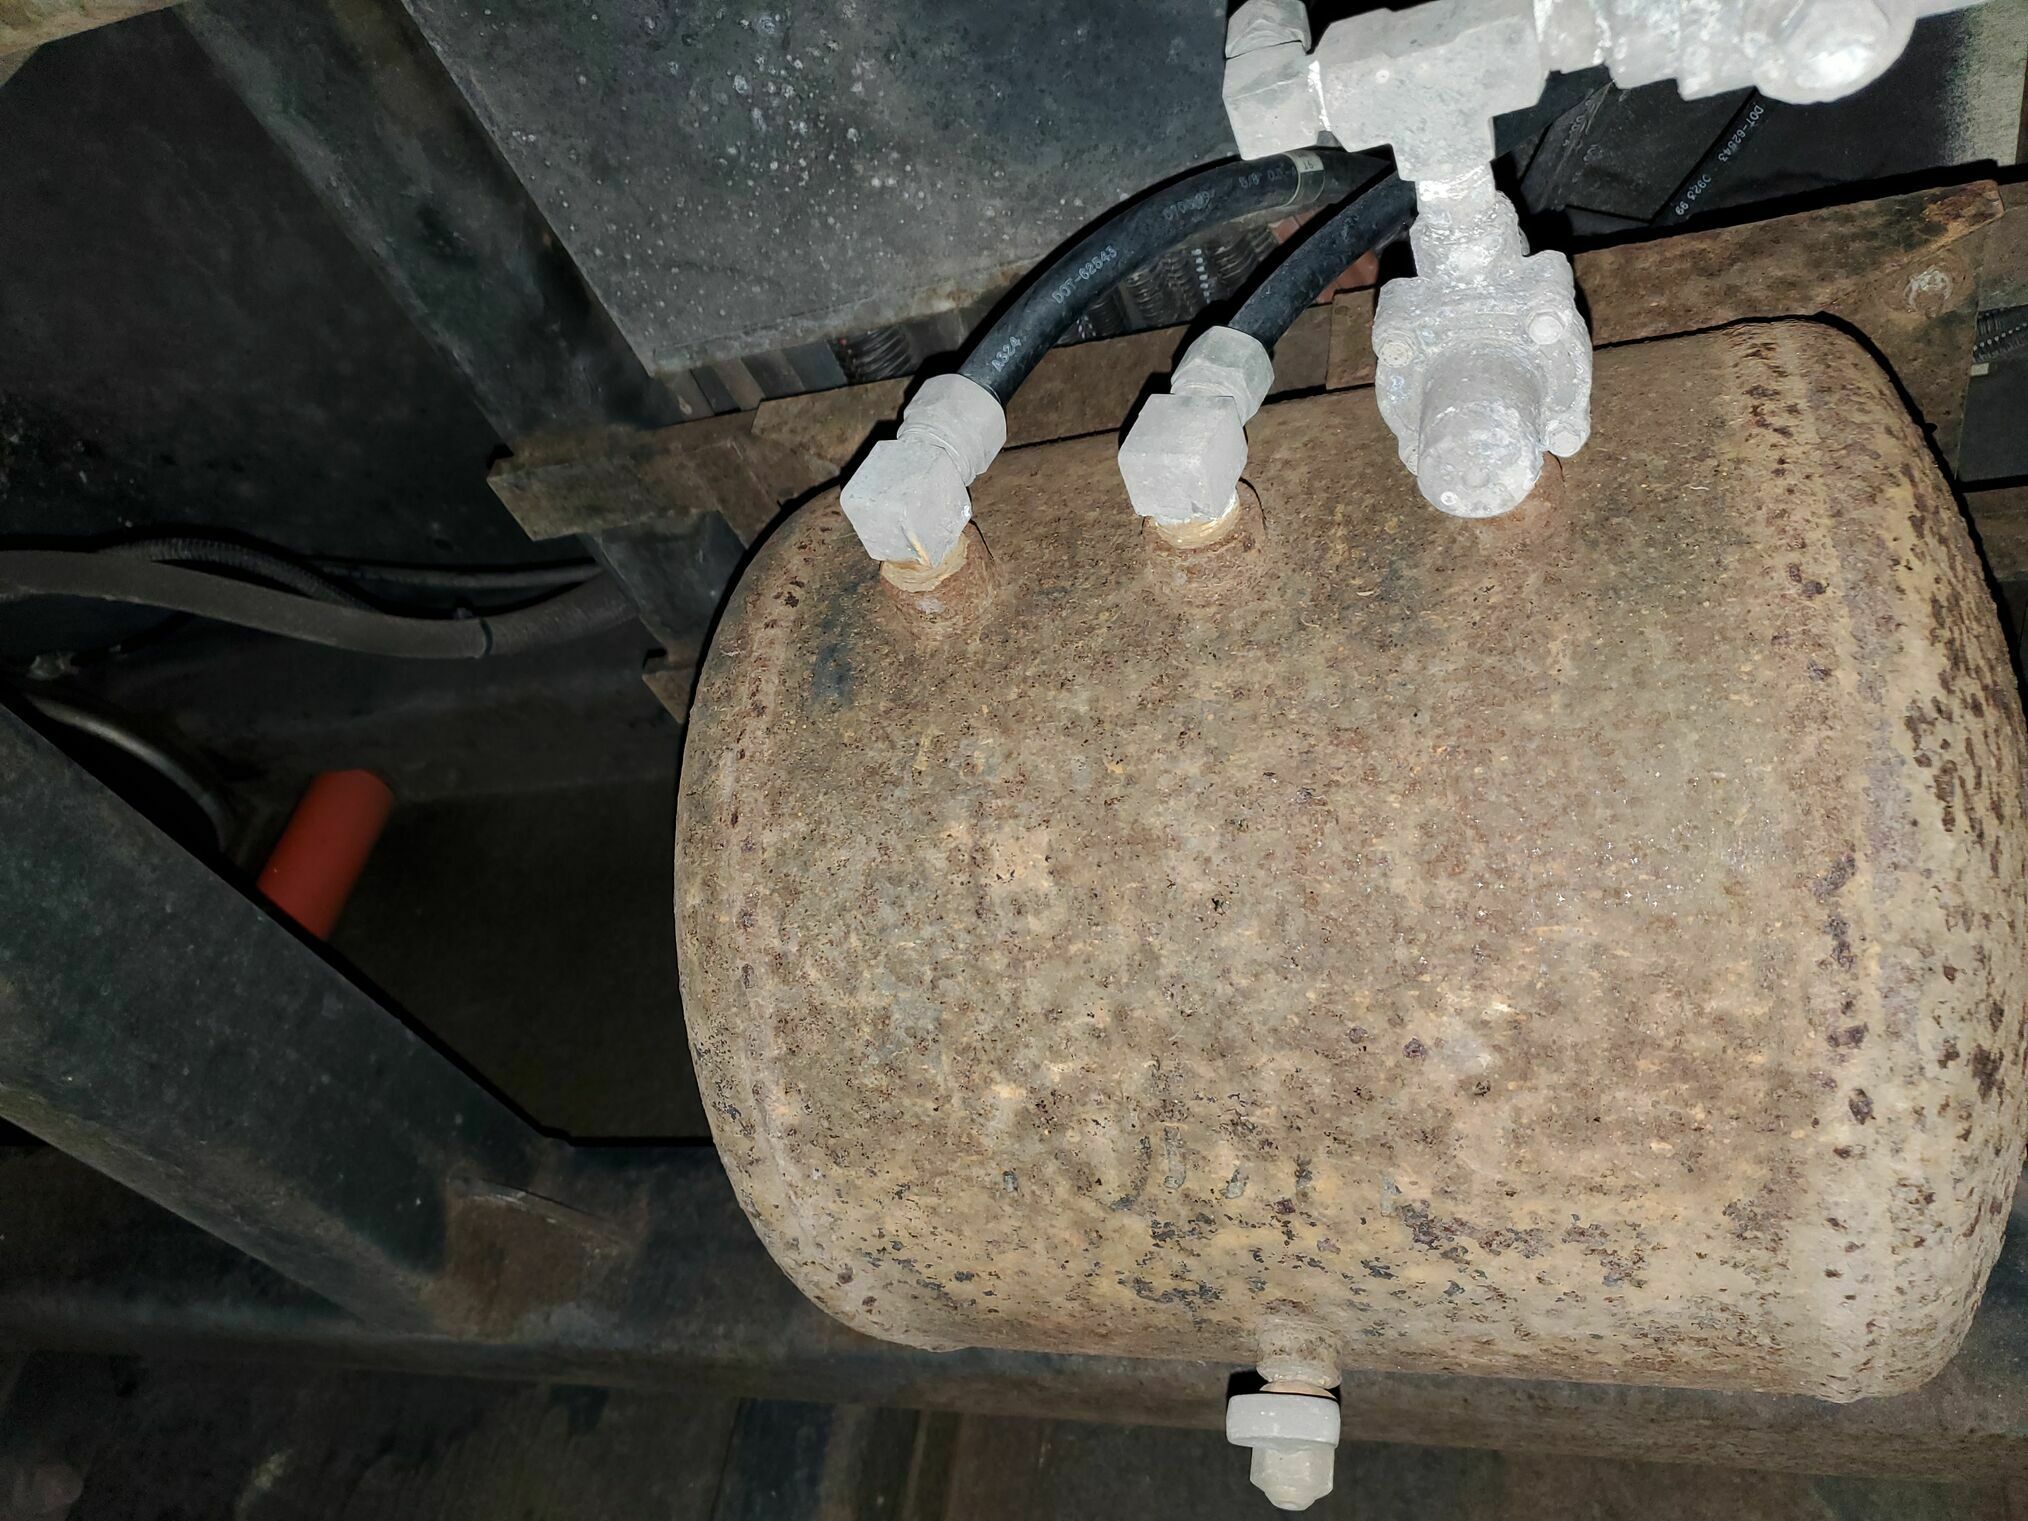
We have two taps on the water tank. One is set up to only drain the tank, that one also has the tank pressure (level) sensor on it.
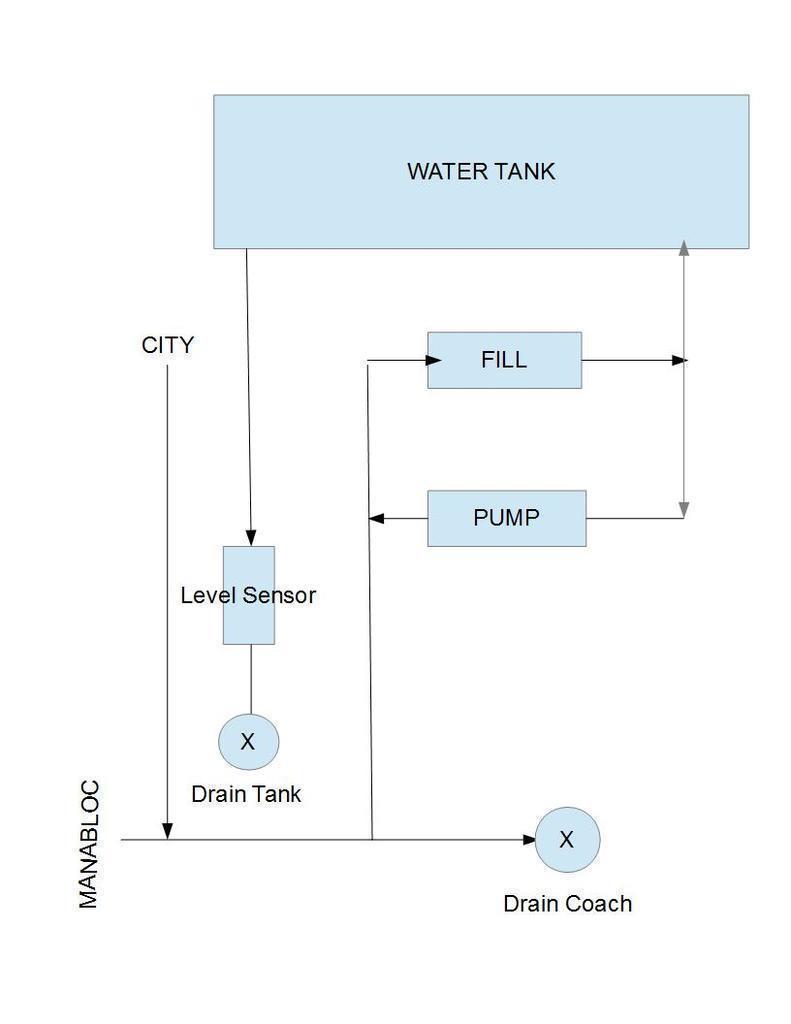
The second tap has both the pump and fill valve attached to is, so its a push-me pull-me setup. When the pump runs it pulls from the tank. When the fill is open, the “city” water pressure is can’t drive the pump, and even if it could it can’t go anywhere with the faucets closed, so instead its forced in the bottom of the tank. I know that has to be the bottom since its the same line the pump pulls from. So based on that I think your proposal would work fine.