Bathroom Faucet
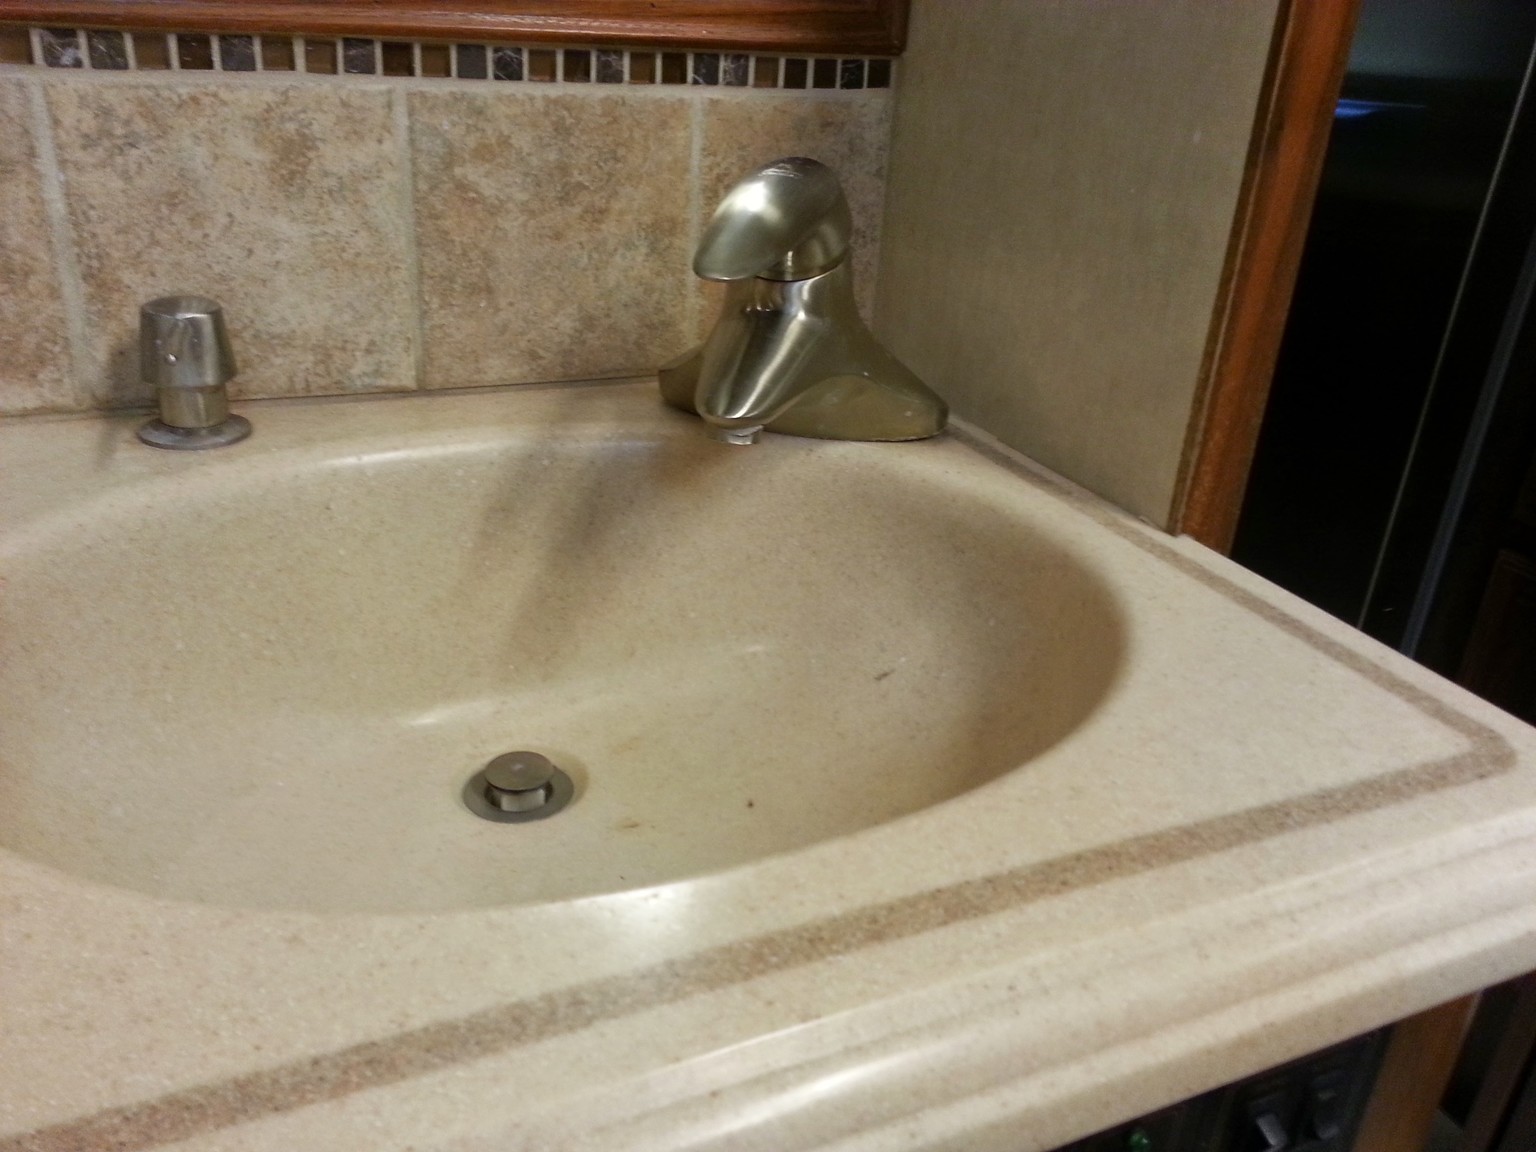
We decided to replace our bathroom faucet with a new “bolder” one to freshen the look a bit. The old one a.k.a the “toad in the corner” design worked fine but there was not much room under it for you to wash you hands, etc.
So here is what we found in replacing the faucet, nothing in an RV is every easy, wait you knew that already but, its always good to repeat.
Our faucet is located in a corner, so it really restricts what you can replace it with, there is not a lot of lever to wall clearance. We were also restricted to a center lever design by this placement. The first one we tried still did not have the needed clearance. Just something to keep in mind when looking.
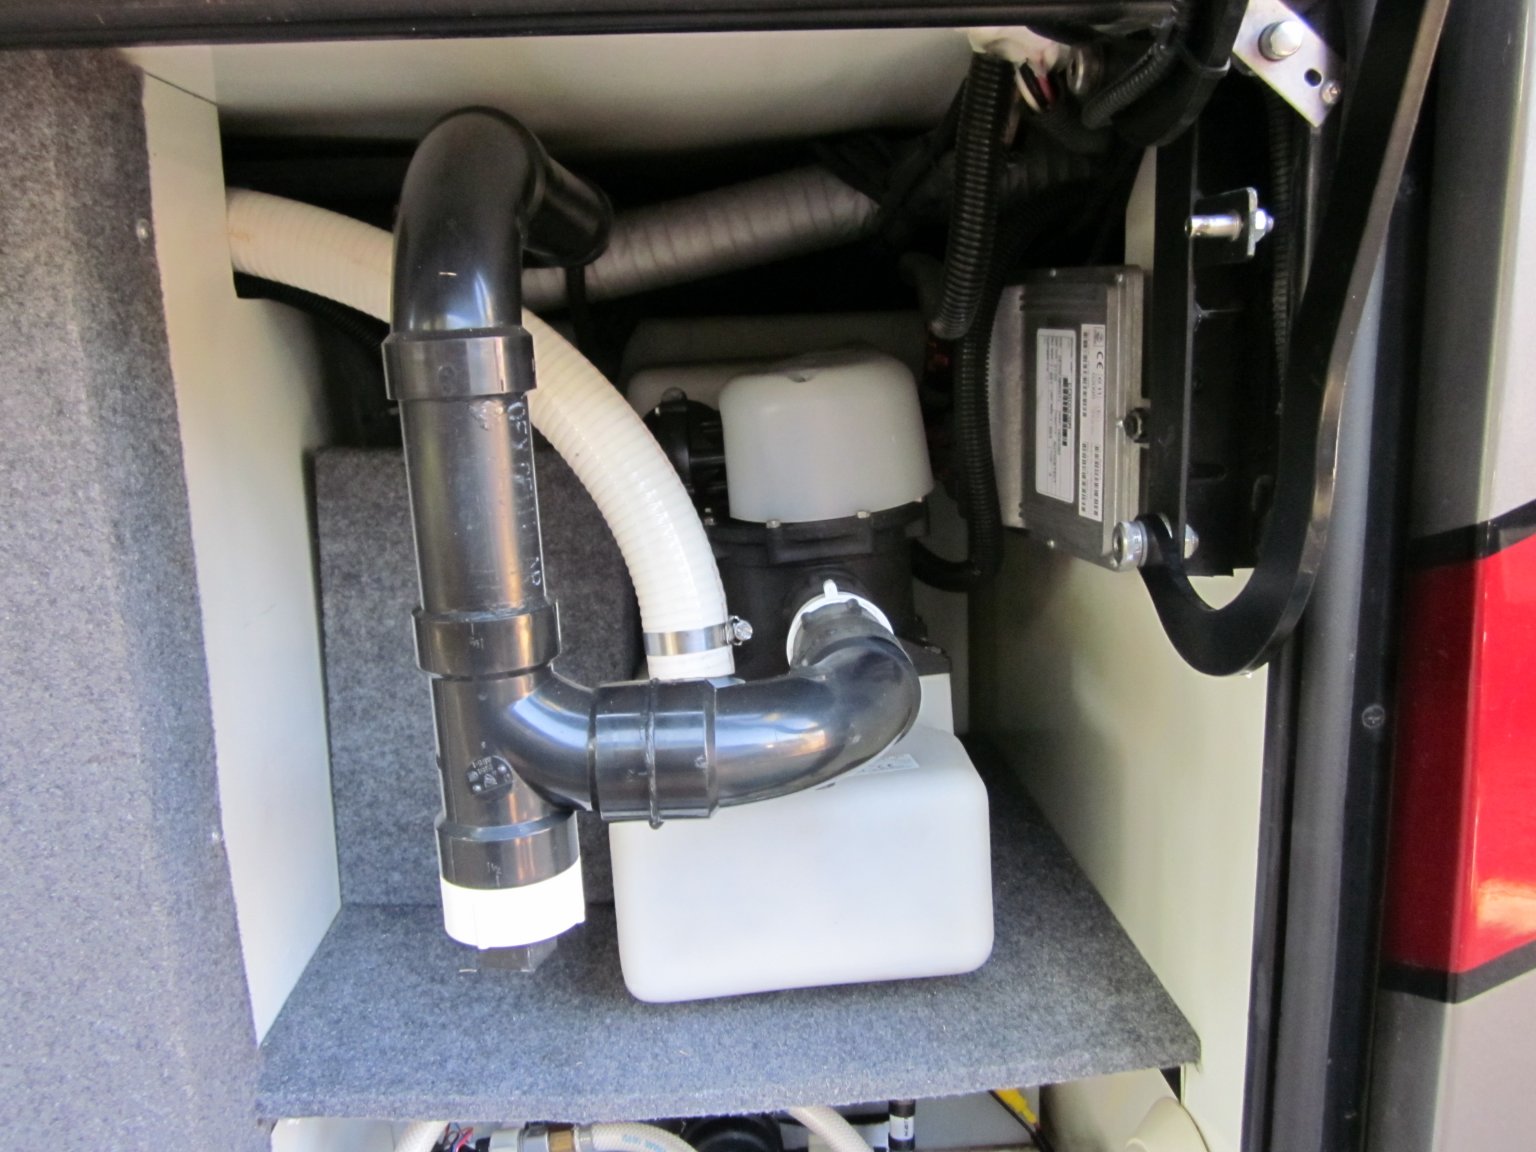
The original one is a 3 hole design, with the plumbing (pex) attached directly to the faucet. Removal is straight forward, did not even need tools. The water connections (that you turned off at the manablock) came right off as did the the two plastic nuts that held the old faucet to the counter.
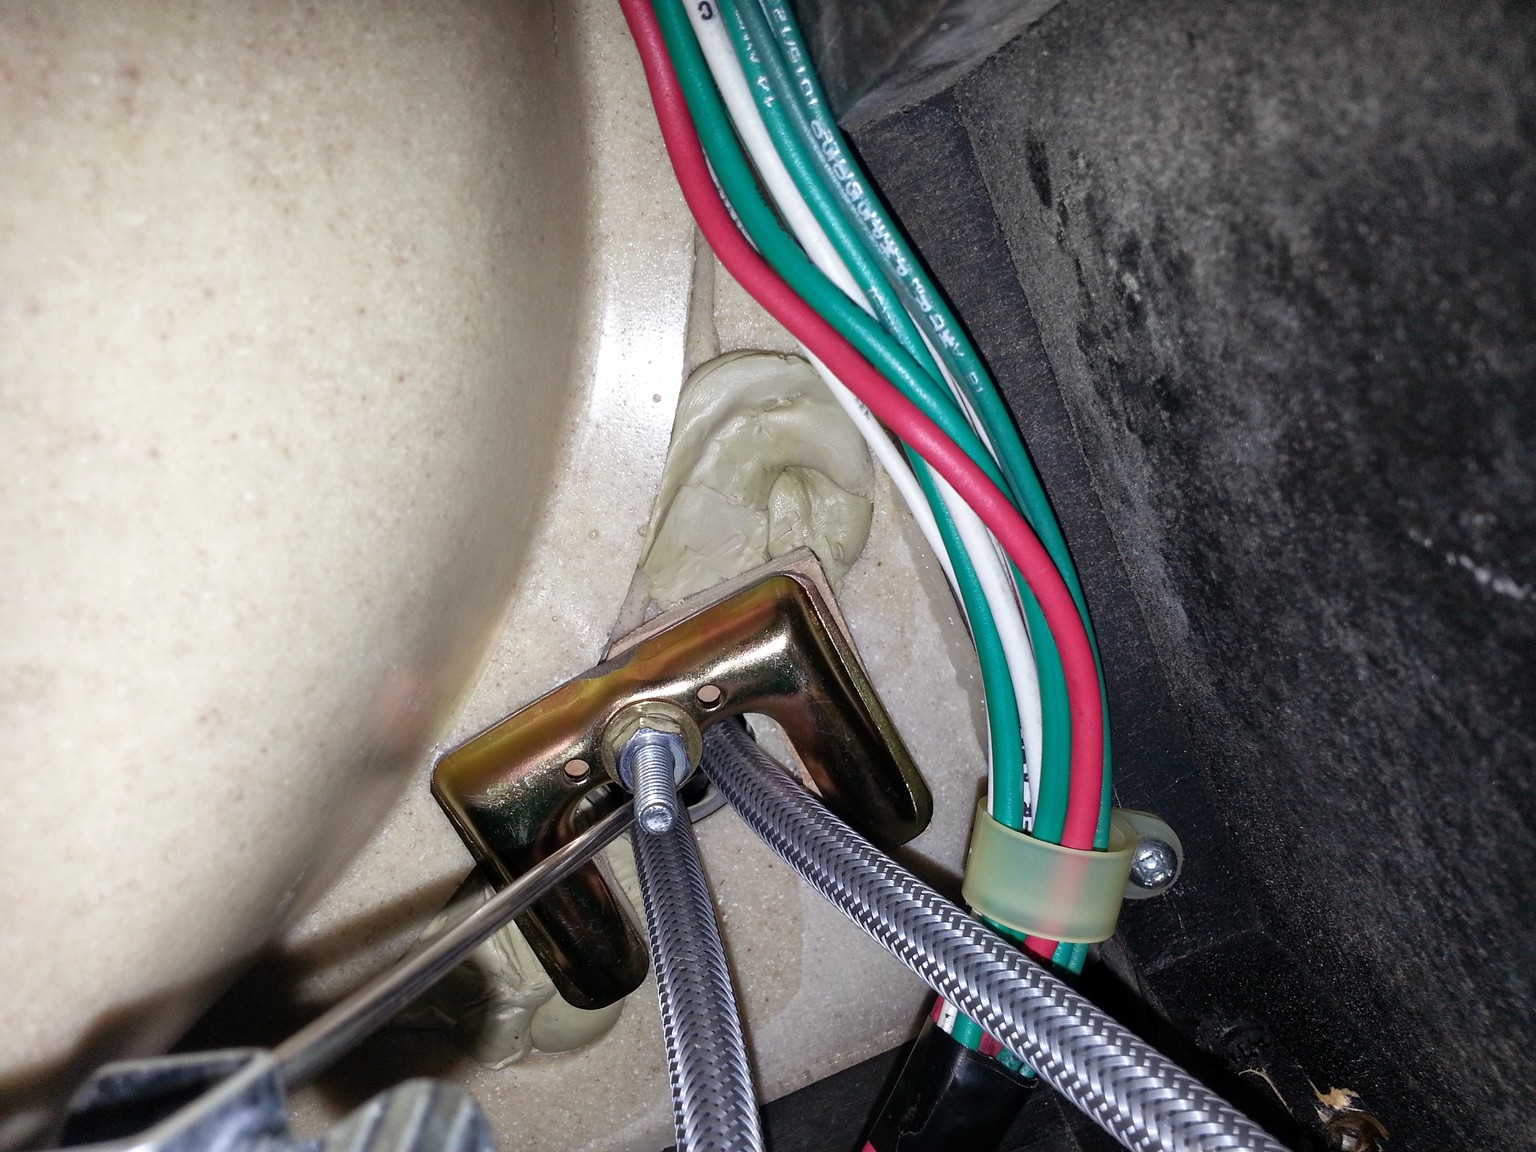
The new one was a single hole design with a escutcheon to cover the now unused holes. The faucet mounting holes are as close to the sink edge as FT could make them, so the clearance between them and the actual basin is minimal, particularly that center one which now has all the feed lines, stopper bar, and mounting bolt coming through it. Our coach has a Corian sink, so there is also an extra step and glue line to deal with in that area, you don’t have a flat clamping surface.
I had to use a spacer block (plywood block in the picture) to get things to positioned, so it could mount and remain far enough forward that the escutcheon would cover the old holes. I thought I had it all set but then the supply lines pushed slightly on the stopper bar binding it. So another spacer block was made that allowed me to turn the clamp bracket at a different angle. This finally allowed all things to fit and clear and work. It was not pretty but I did manage to get myself positioned under that cabinet so I could see what I was doing, the fire department was not needed to help me back out.
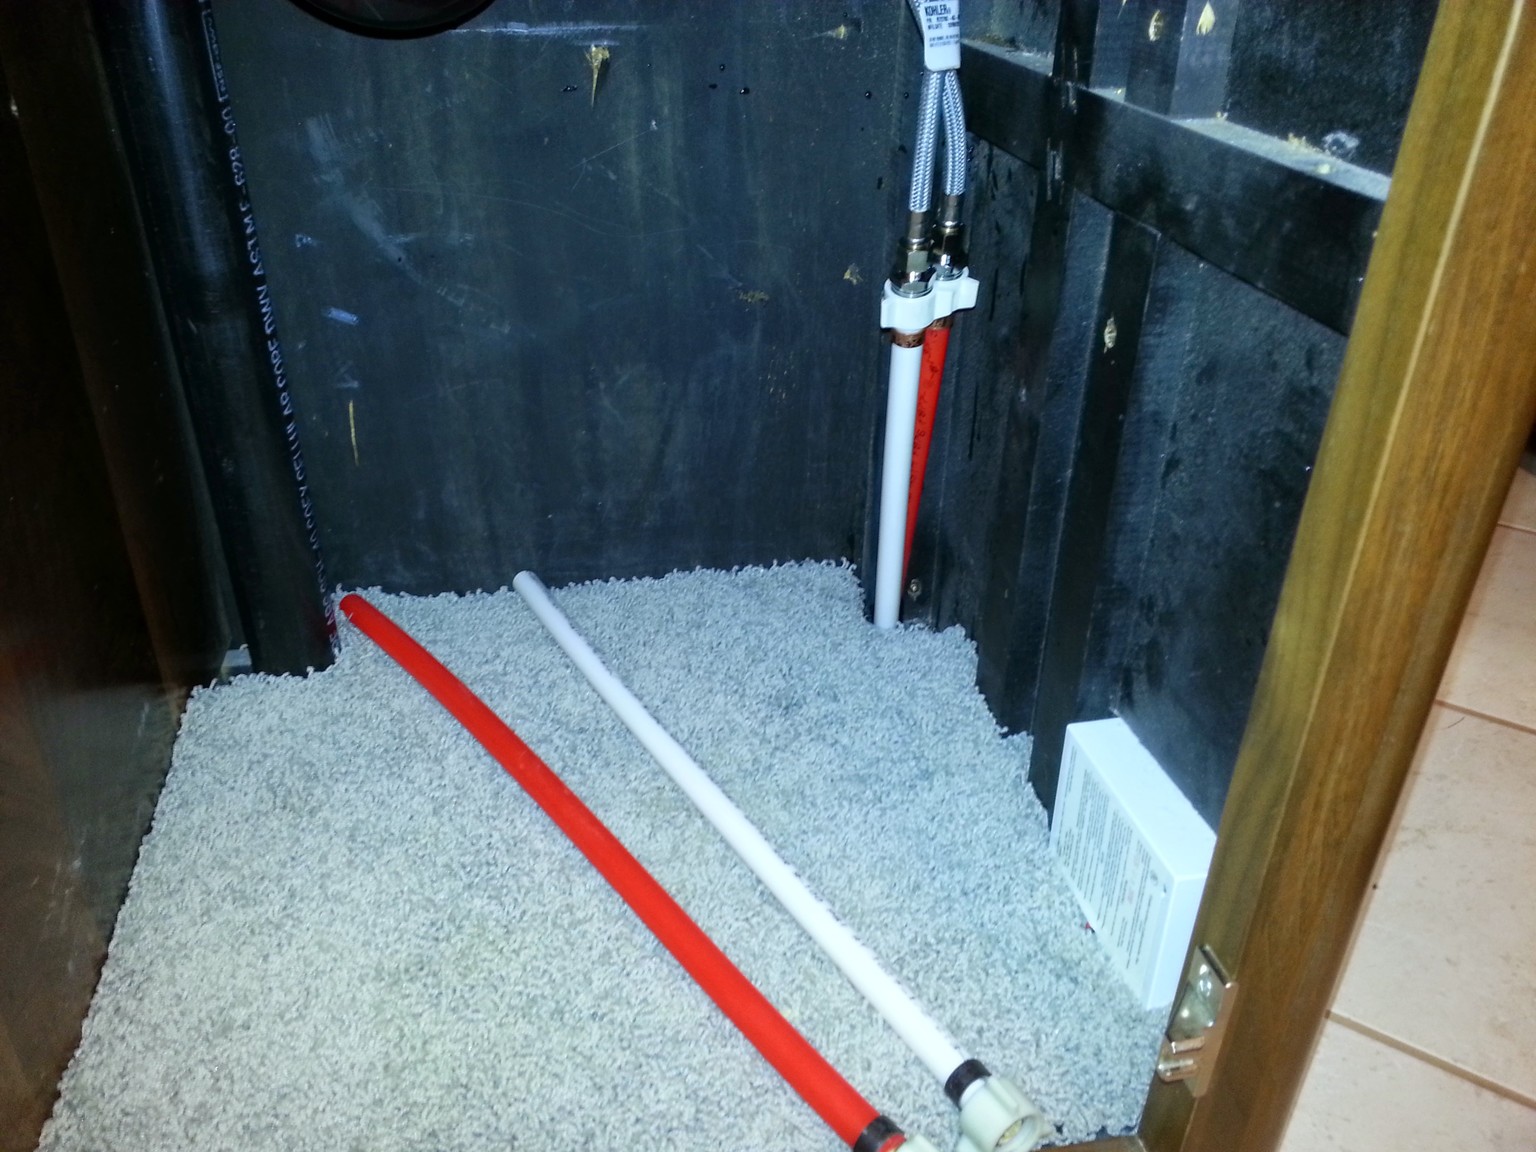
The new faucet had connections designed to go to a standard residential sink valve, so you will need an adapter to go from the pex fitting to the new faucet fitting. I also had to cut down the pex since it went right up to the base of the counter and the new faucet had 2’ lines on it, I did not want any loops. Plus I don’t need much of an excuse to use my pex crimp tool.
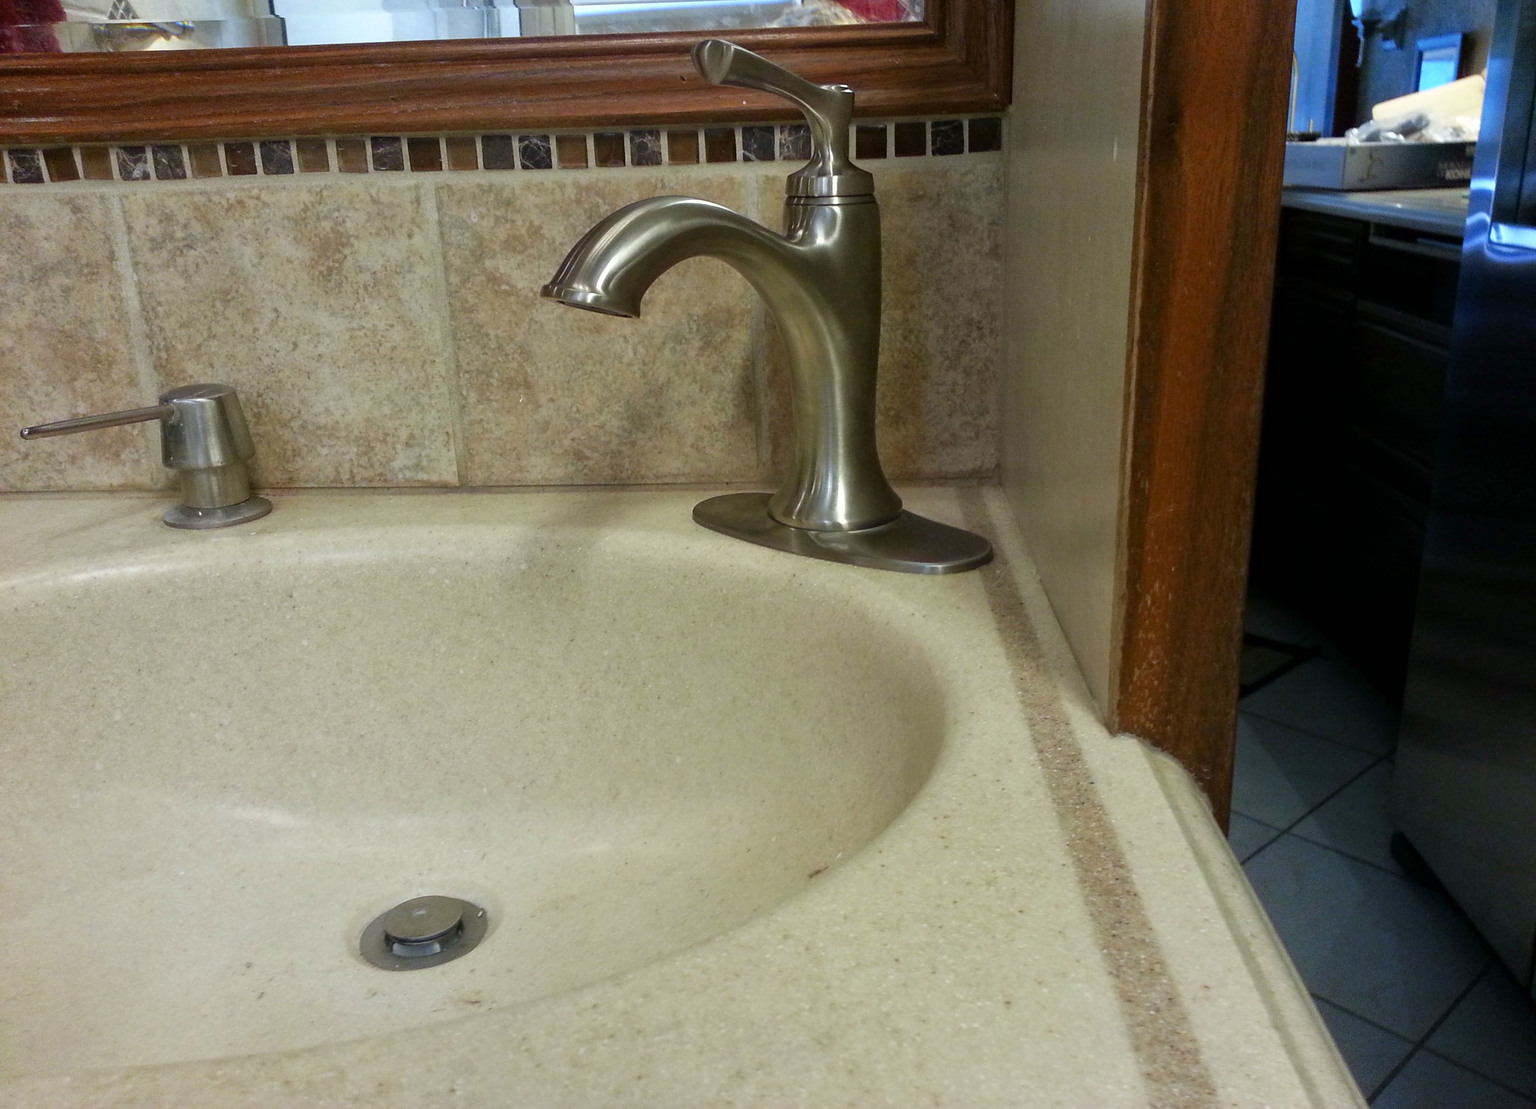
So there you have it, the now “bold” look of our bathroom.