Installing Smart Dimmers
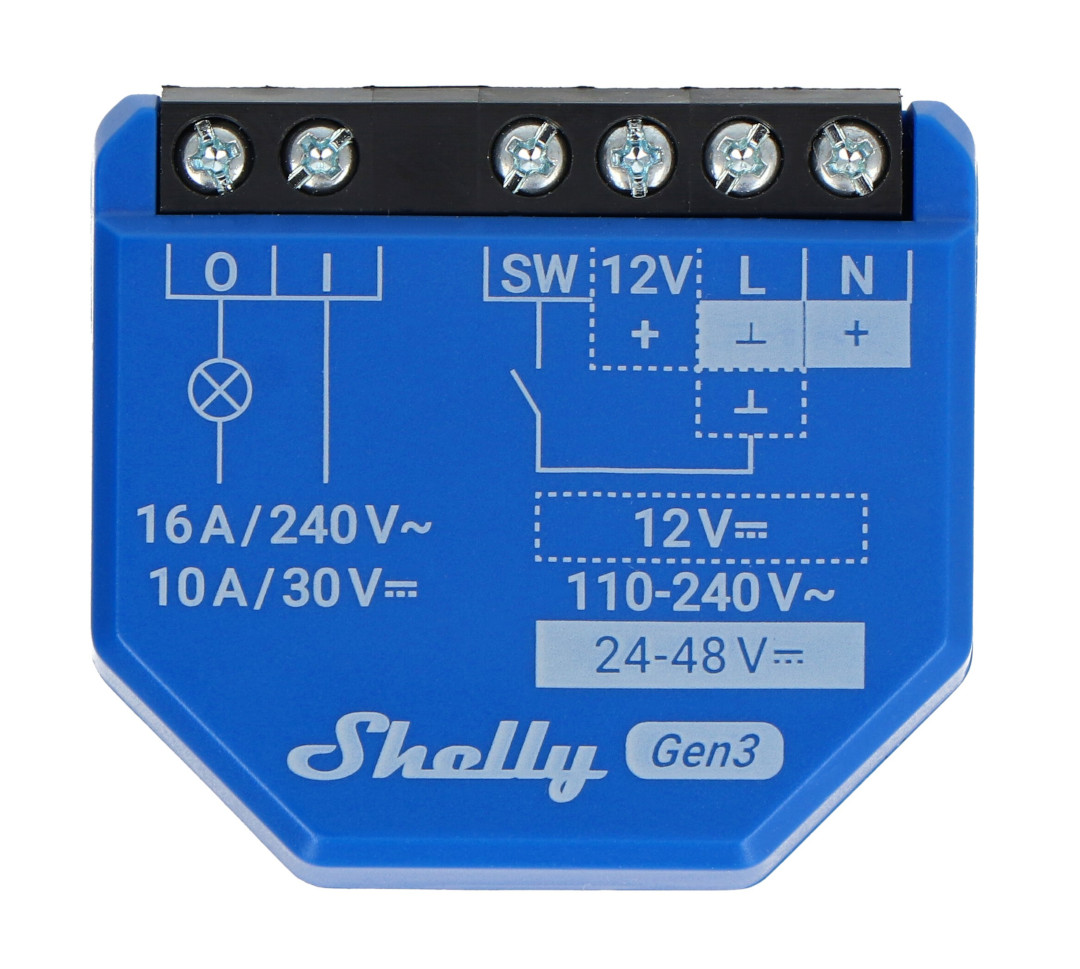
For our dimmable lights, I’ve been experimenting with the Shelly Plus RGBW PM. Despite its name suggesting RGB functionality, it’s perfectly capable of controlling single-color light strips and puck lights.
The total supported load is 10A, which translates to approximately 40 puck lights or 34 feet of light strips (given the lights I have) None of our circuits come anywhere close to these limits.
Understanding Lights Mode
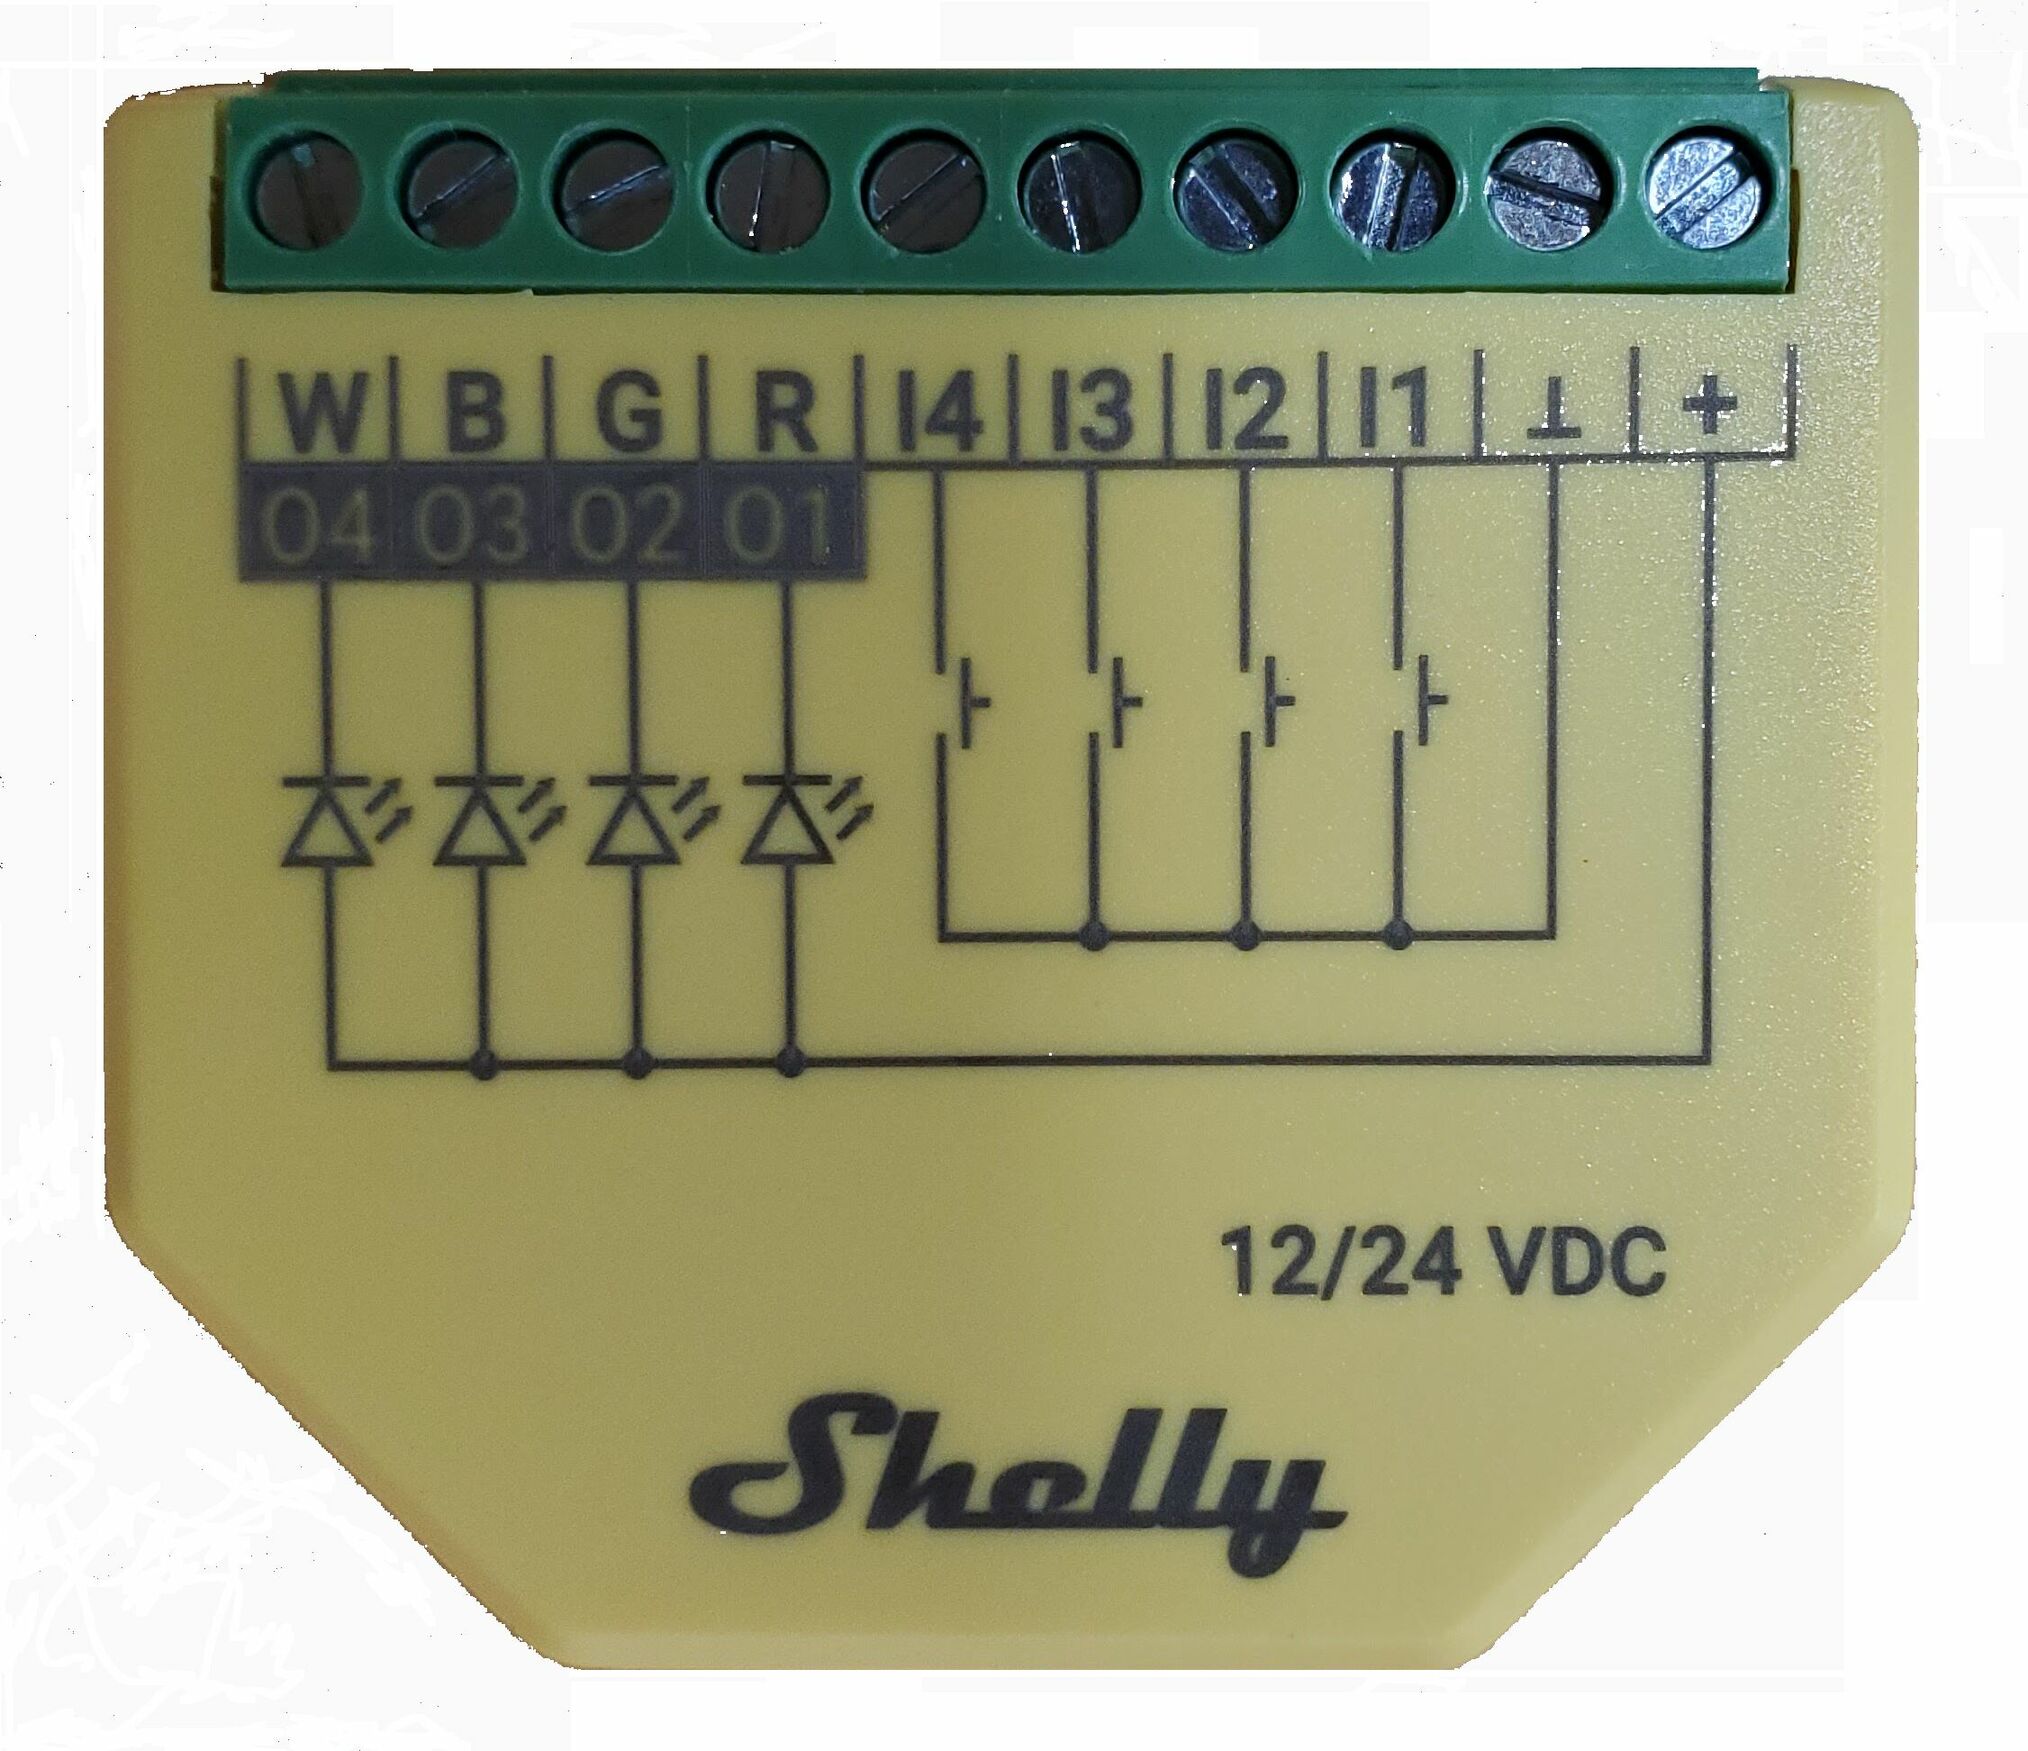
To control single-color lights, you activate the Shelly’s “Lights Mode,” which is specifically designed for this application. It treats your light strip as a single dimmable light instead of four separate color channels. In this mode, you can control up to four independent single color strips / loops.
Accessing the Wiring
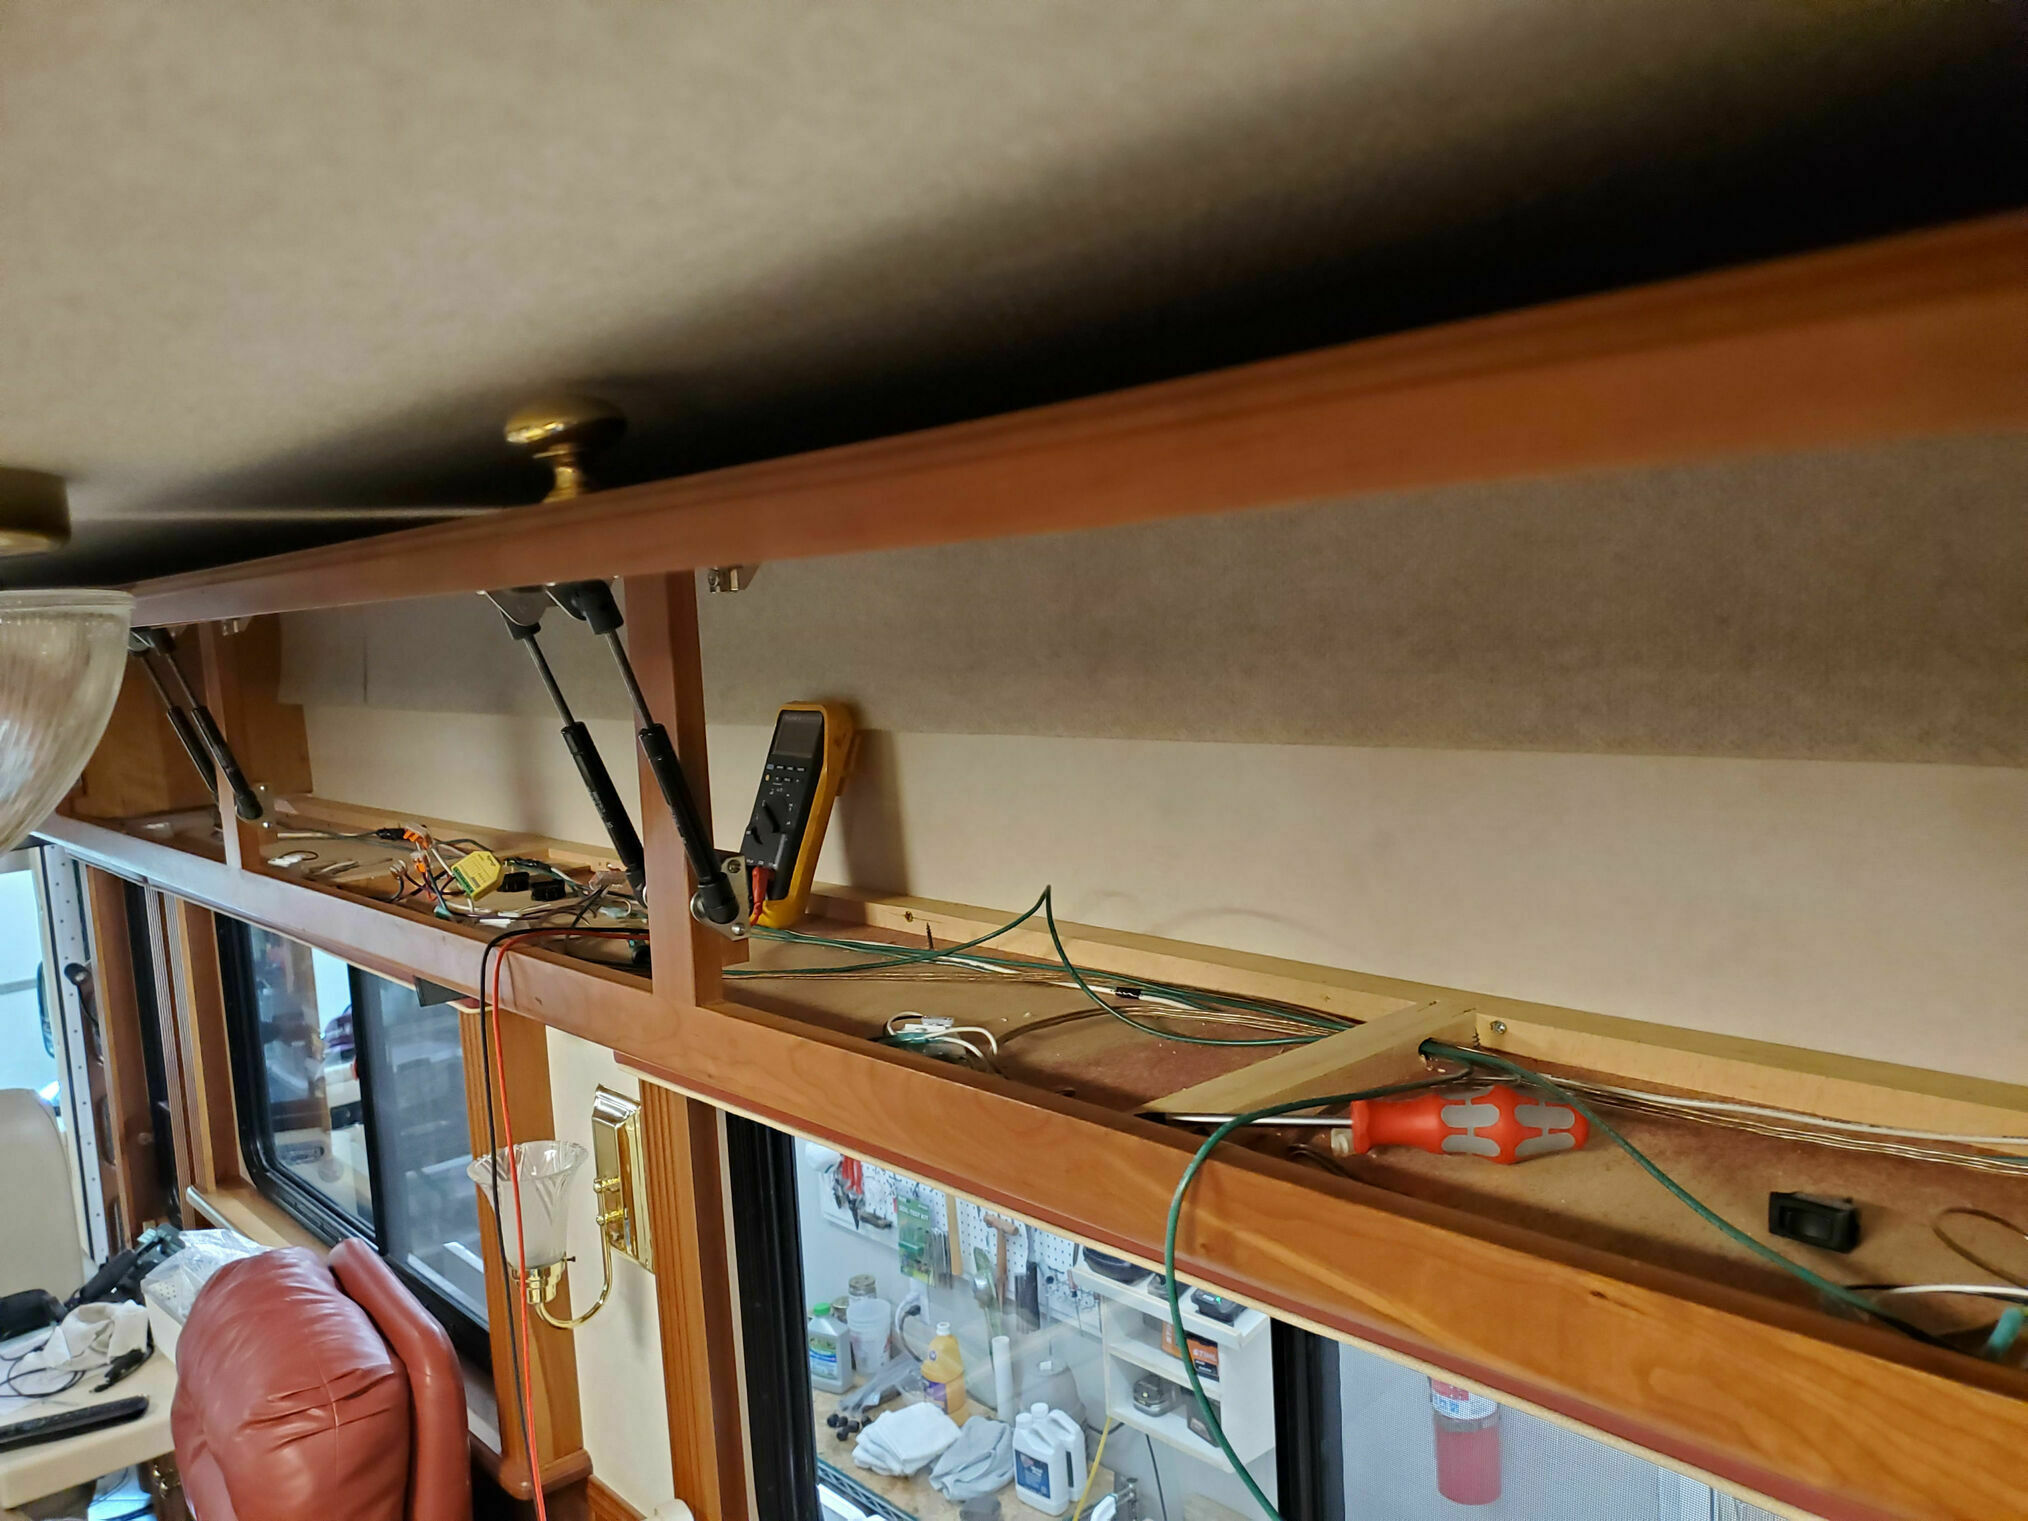
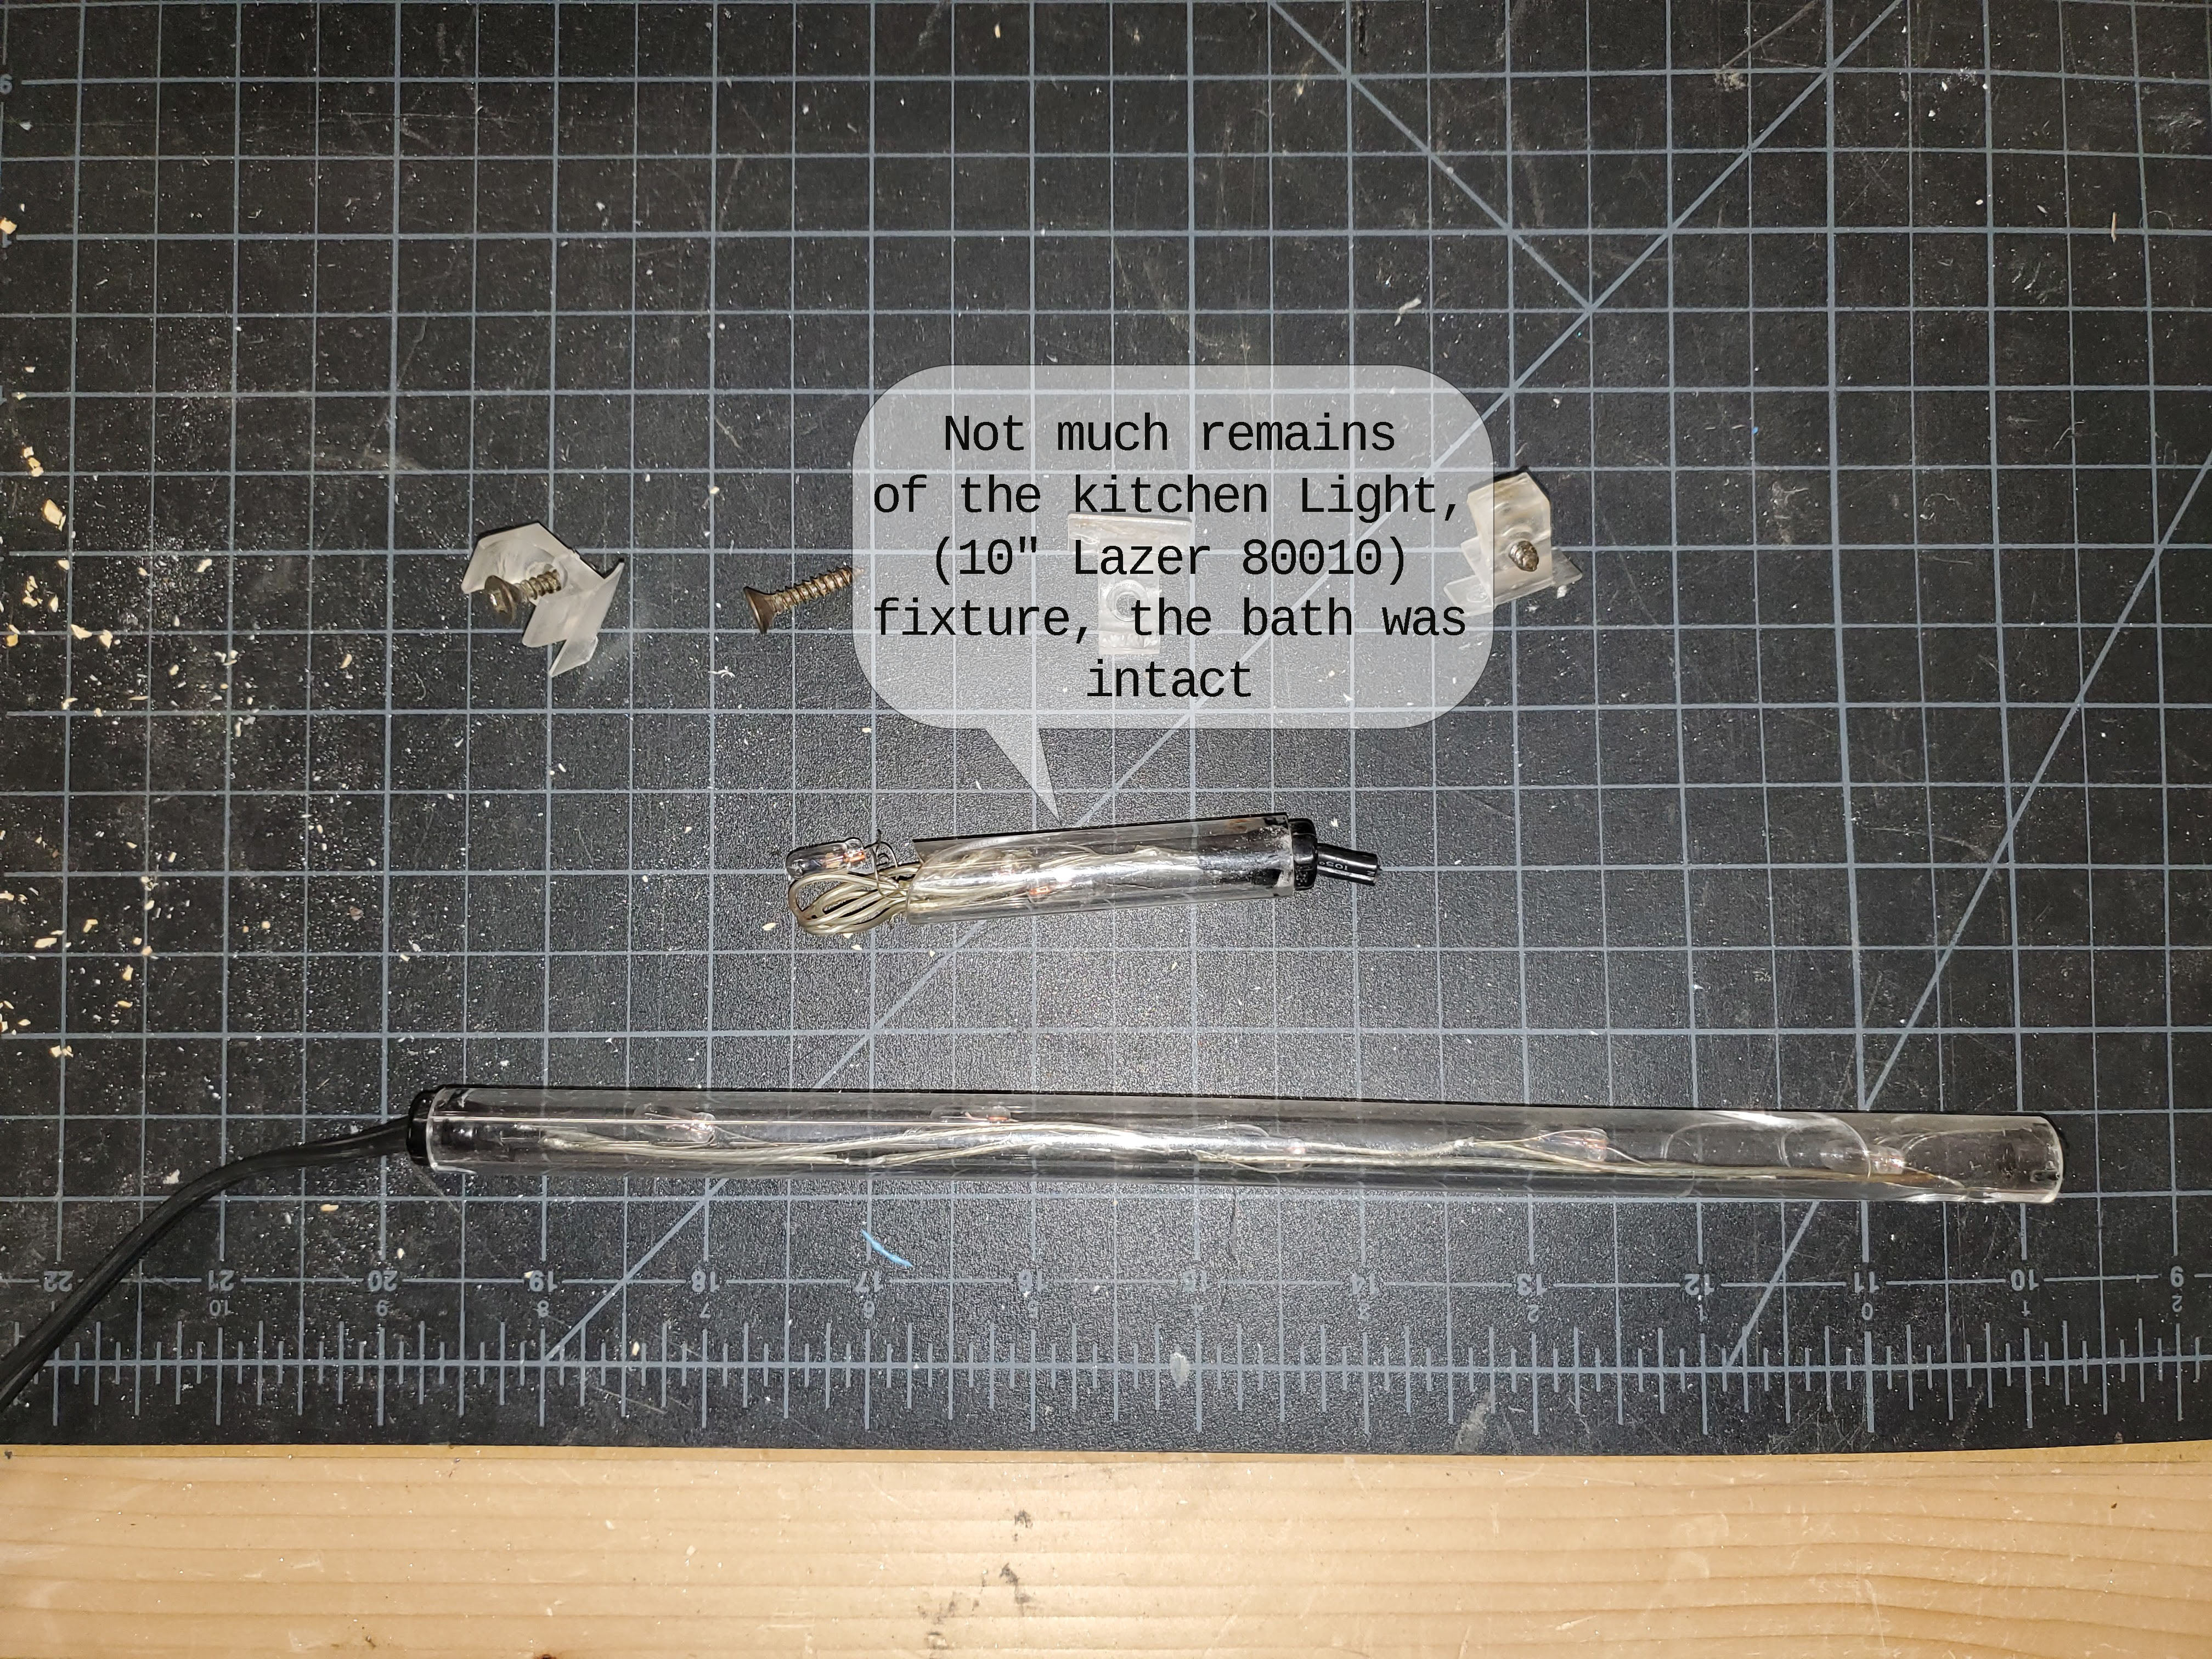
The under-cabinet lights we previously installed are dimmable, but accessing them requires removing the cabinet floors. These are typically 4-foot sections simply screwed to the cabinet frame. Some sections span under the dividers but can slide out once the screws are removed. The photo shows what the area above the recliner and dinette looks like with the base panels removed.
Wiring the Shelly Dimmer
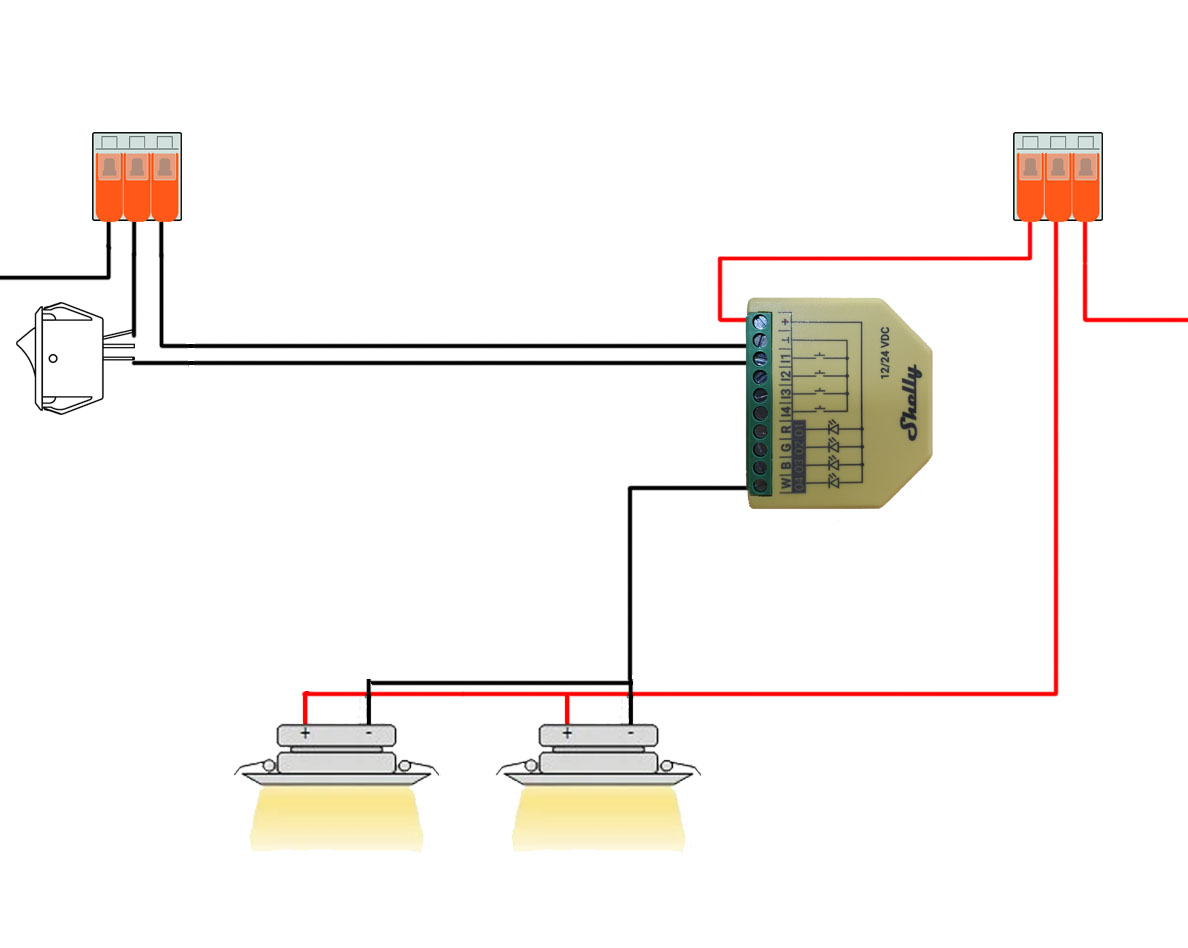
The wiring process involves three main steps:
Step 1: Power Connection Remove the positive wires from the existing switch and create a pigtail to provide power to the Shelly. Combine all positive lines using a crimp or Wago connector. This ensures the Shelly brain receives constant power.
Step 2: Ground Rewiring
Locate the ground line going to the lights and break that connection. Run the true ground side to the Shelly’s ground terminal and connect the other side—the one going to the lights—to one of the four Shelly LED inputs (in this example, “R”).
Step 3: Switch Connection
Run a wire from the now-empty switch to the Shelly’s I1 input, which controls the “R” channel. Connect the other side of the switch to the ground.
Important Wiring Notes
Single Positive Power Source: If you’re controlling multiple branches with a single Shelly device, they all share the same positive line. In the few places where I had multiple branches, this was already how things were wired.
Single Negative Ground Path: The Shelly is a low-side dimmer, meaning the light’s return path must flow through the Shelly—it has now become the switch. Grounds are often bundled together in RV wiring, creating multiple return paths. You’ll need to isolate the ground going to the lights, sometimes by running a separate ground wire to ensure proper dimmer operation.
Switch Options: Toggle vs. Momentary
You can use the existing toggle switch or upgrade to a momentary switch, which I did. Here are the behavior options:
Edge Switch Mode: Standard on/off behavior, but the physical switch position no longer matches the light state. For example, if the switch is up (on) and you use the app to turn the light off, the switch remains up but the light is off. Flipping it down turns it back on.
Toggle Switch Mode: Standard-ish on/off behavior where the physical position matches the light state. If the switch is up (on) and you use the app to turn it off, the switch stays up but the light is off. Flipping it down does nothing since it’s already off. Flipping it back up turns it on.
Momentary Switch Mode: Each press toggles the light state between on and off. This works like the other 3-way switches already in the RV and feels more natural when combined with Home Assistant or the Shelly app control.
Features and Benefits
The Shelly Plus RGBW PM brings several features to our lighting:
Soft Ramp: Provides smooth fade-in and fade-out transitions rather than abrupt on/off switching.
Power Monitoring: Allows you to monitor power draw and verify you’re not overloading any circuits.
Remote Control: Using Shelly’s native app or Home Assistant, you can turn lights on/off or adjust dimming levels from anywhere.
Physical Switch Integration: Your wall switch still controls the lights normally, and Home Assistant always reflects the current state regardless of how the light was controlled.

All of our under-cabinet puck lights, counter-lights, and toe kick lights now use Shelly dimmers. For comparison, the photo shows the Original Dimmer we had used for the toe kick and counter-lights. Those worked fine but lacked all the smart features.
Integration with Automation
The dimmers integrate seamlessly into our automation setup. They’re part of the “all off” button on the touchscreen above the bed and appear on the Home Assistant dashboard for control from laptops, tablets, or phones. The under-cabinet lights activate automatically as part of our morning routine (motion sensor activated), while the valance, under-counter, and floor mood lights can also be controlled via Bluetooth control.
The smooth dimming capabilities have make a noticeable difference with the gradual transitions feeling much more modern than the original on/off switches.
Demo
A couple of quick videos to show the dimmers in action, here controlled by my phone.