Installing Smart Switches
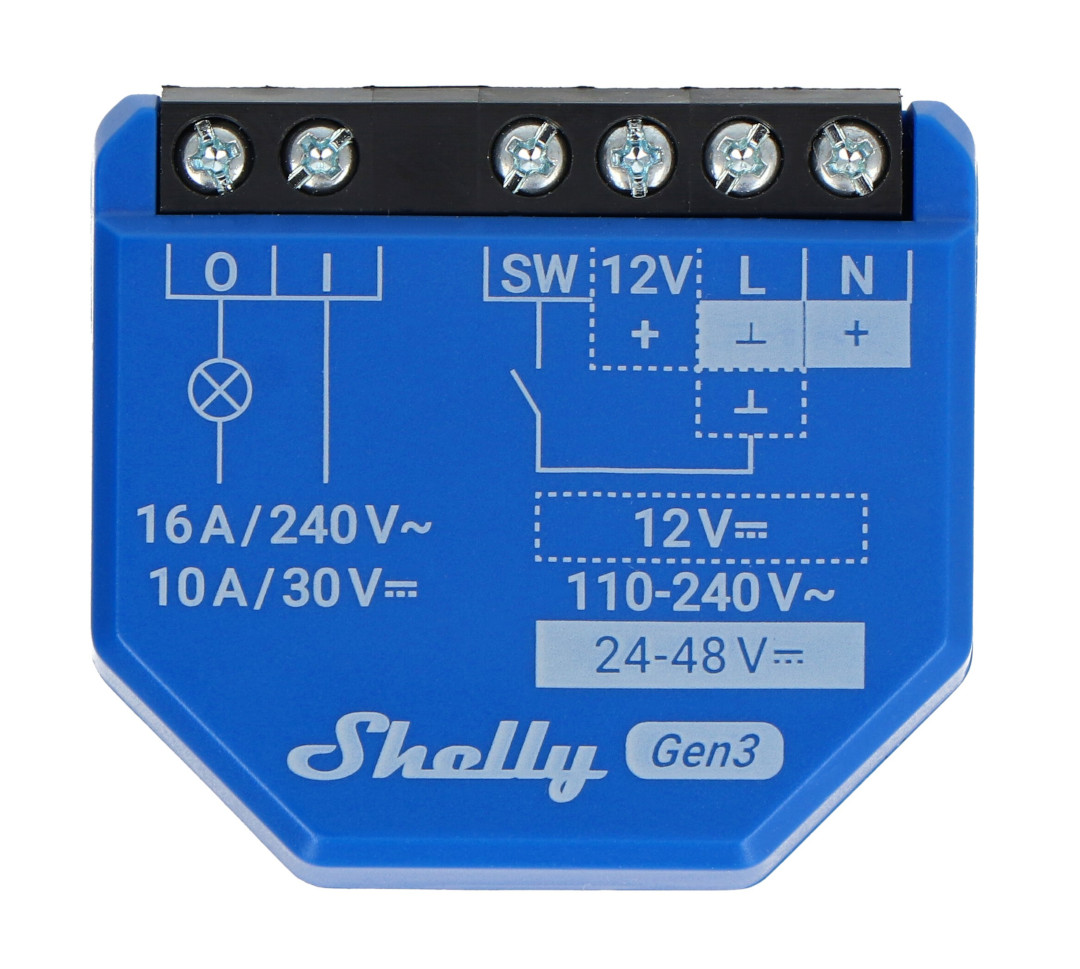
For the switched, non-dimmable lights throughout the coach, I’ve been using the Shelly Switch Gen3. These are dry-contact switches, meaning the relay contacts don’t supply any voltage or current of their own. They simply open or close a circuit and are powered by an external source. In many ways, they’re very similar to the Bosch automotive relays you’ll find throughout your coach.
Because the contacts are isolated, these switches can be used for almost any on/off load: lights, water pump, water fill valves, or virtually anything else that needs switching.
Wiring the Shelly Switch
As always, check your own schematics and use a digital multimeter to validate all grounds and voltages. Remember, others have been working in these areas before you. Trust, but verify.
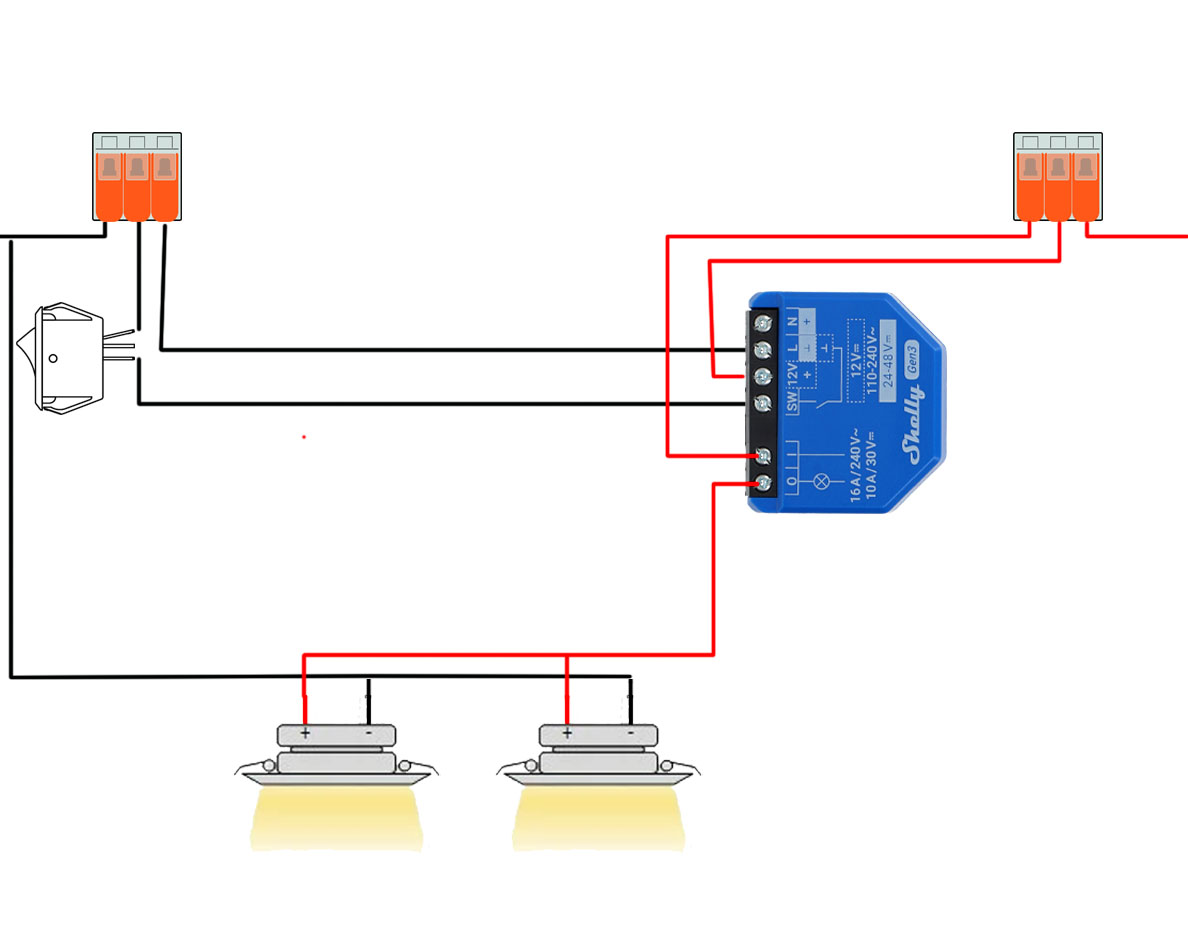
All the switches I updated originally switched the positive line going to the light. One side of the switch was +12VDC and the other side went to the light. The wiring conversion is straightforward:
Load Connections
The hot (+) positive side moves to the Shelly (I) input terminal, and the wire going to the light moves to the (O) output terminal. Electrically it doesn’t matter which is which, but this convention makes it easy to remember.
If you’re familiar with automotive relays, think of (I) and (O) as terminals 30 and 87 (normally open).
Powering the Shelly
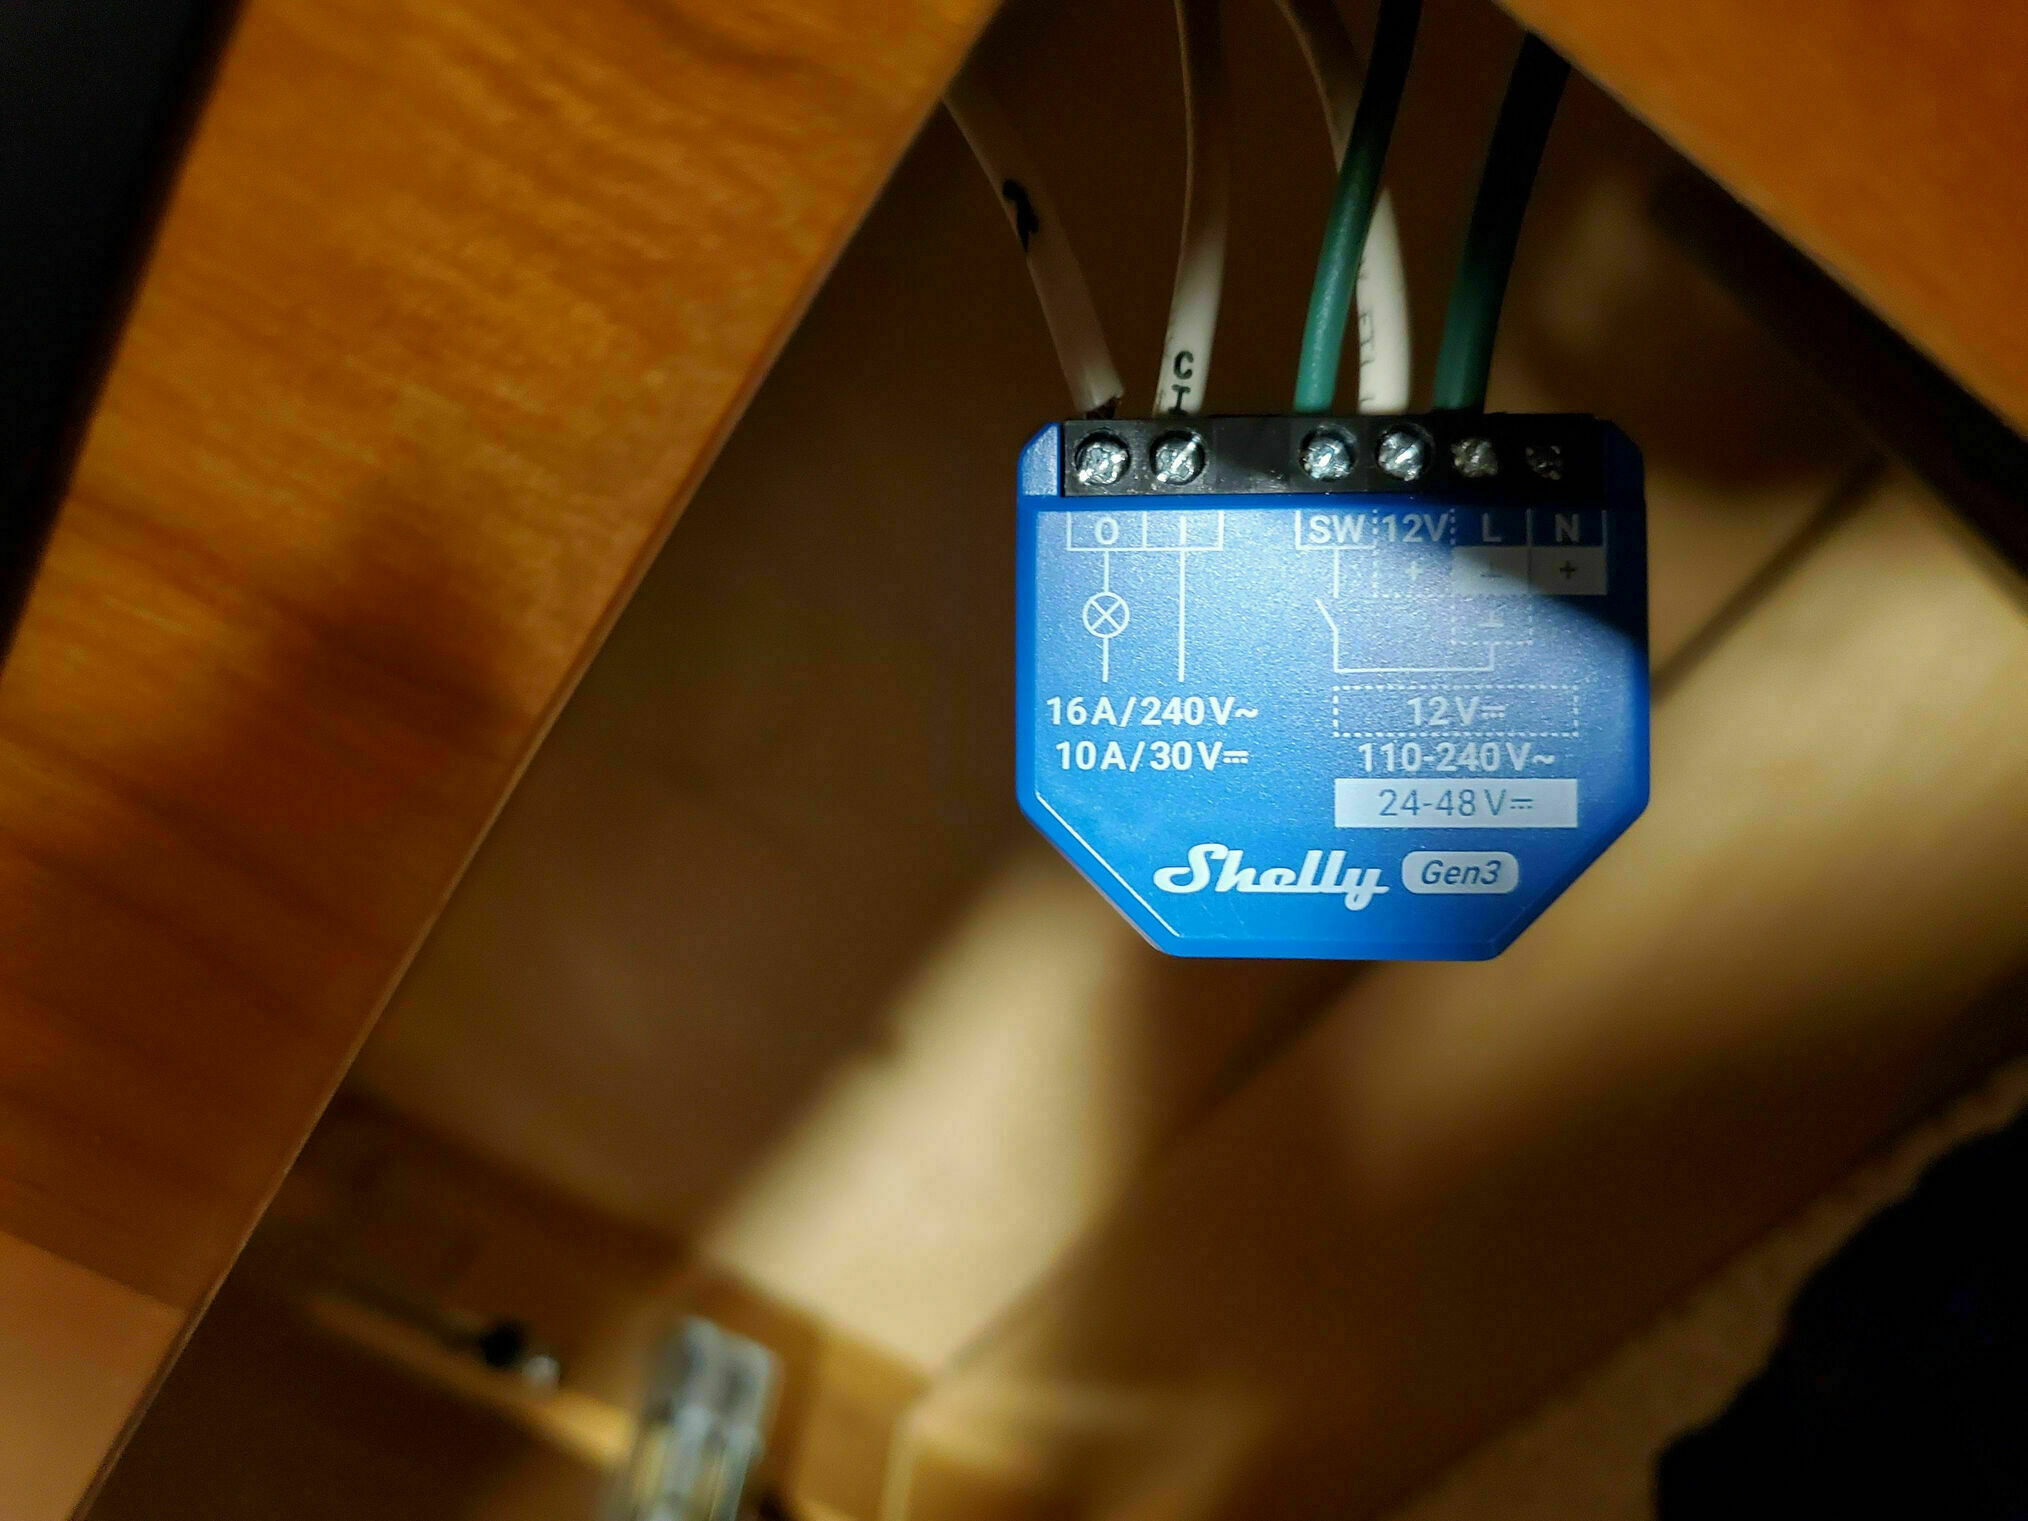
Next, you need to power the Shelly “brain.” It requires 12VDC and ground. The unit can also be powered by and switch 110/240VAC, but that’s not what we’re doing here. You can use the same 12VDC feeding the (I) terminal, just add a Y-splice using Wagos or crimps.
For the ground, find a known good one nearby. There’s almost always a ground in the vicinity, but be sure it truly is ground. Verify no voltage and good continuity with your multimeter. Don’t assume green means ground, trust me on this one. When powering the Shelly with 12VDC, ground connects to the (L) terminal.
Since I seldom get things right the first time, Wagos are fantastic for initial installation. Once you know everything is correct, you can always swap to crimps if you prefer. The 12V and ground are similar to the 85 & 86 coil/control terminals on an automotive relay, except these are always hot and power the electronics.
Wall Switch Connection
The final connection is the wall switch. One side goes to ground, you can use the same ground as the (L) terminal, and the other side goes to the Shelly (SW) terminal. As with the dimmer installation, you can use either a toggle or a momentary switch. I generally converted mine to momentary switches. See the switch options in the previous dimmer write-up for details on the different behaviors.
Replacing Finder Relays
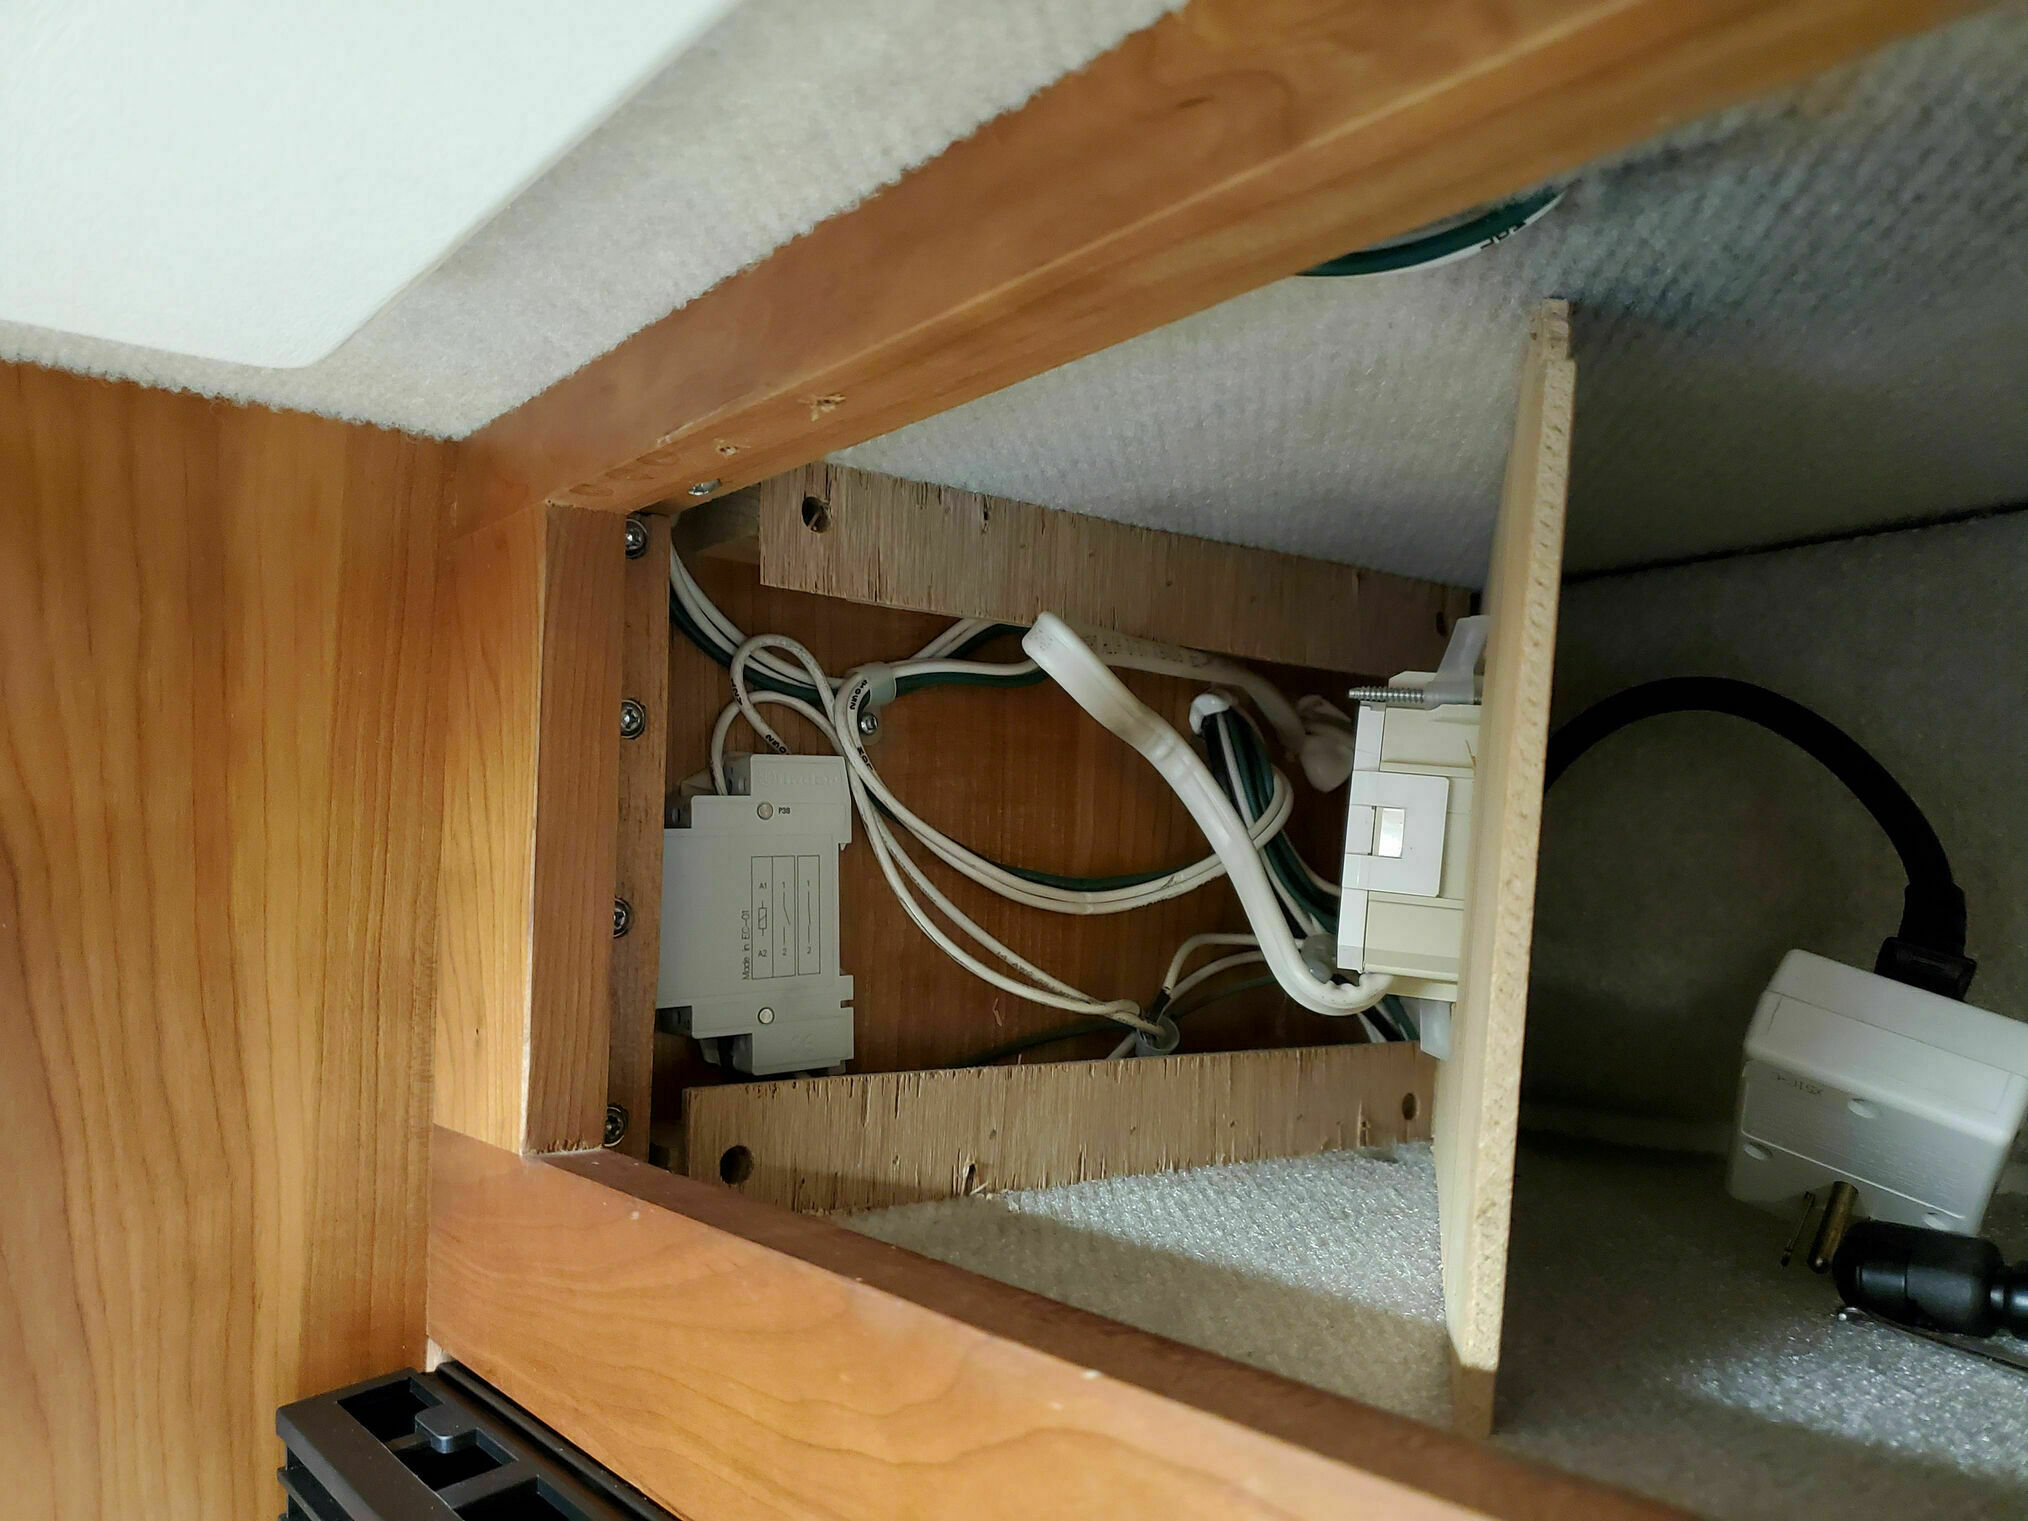
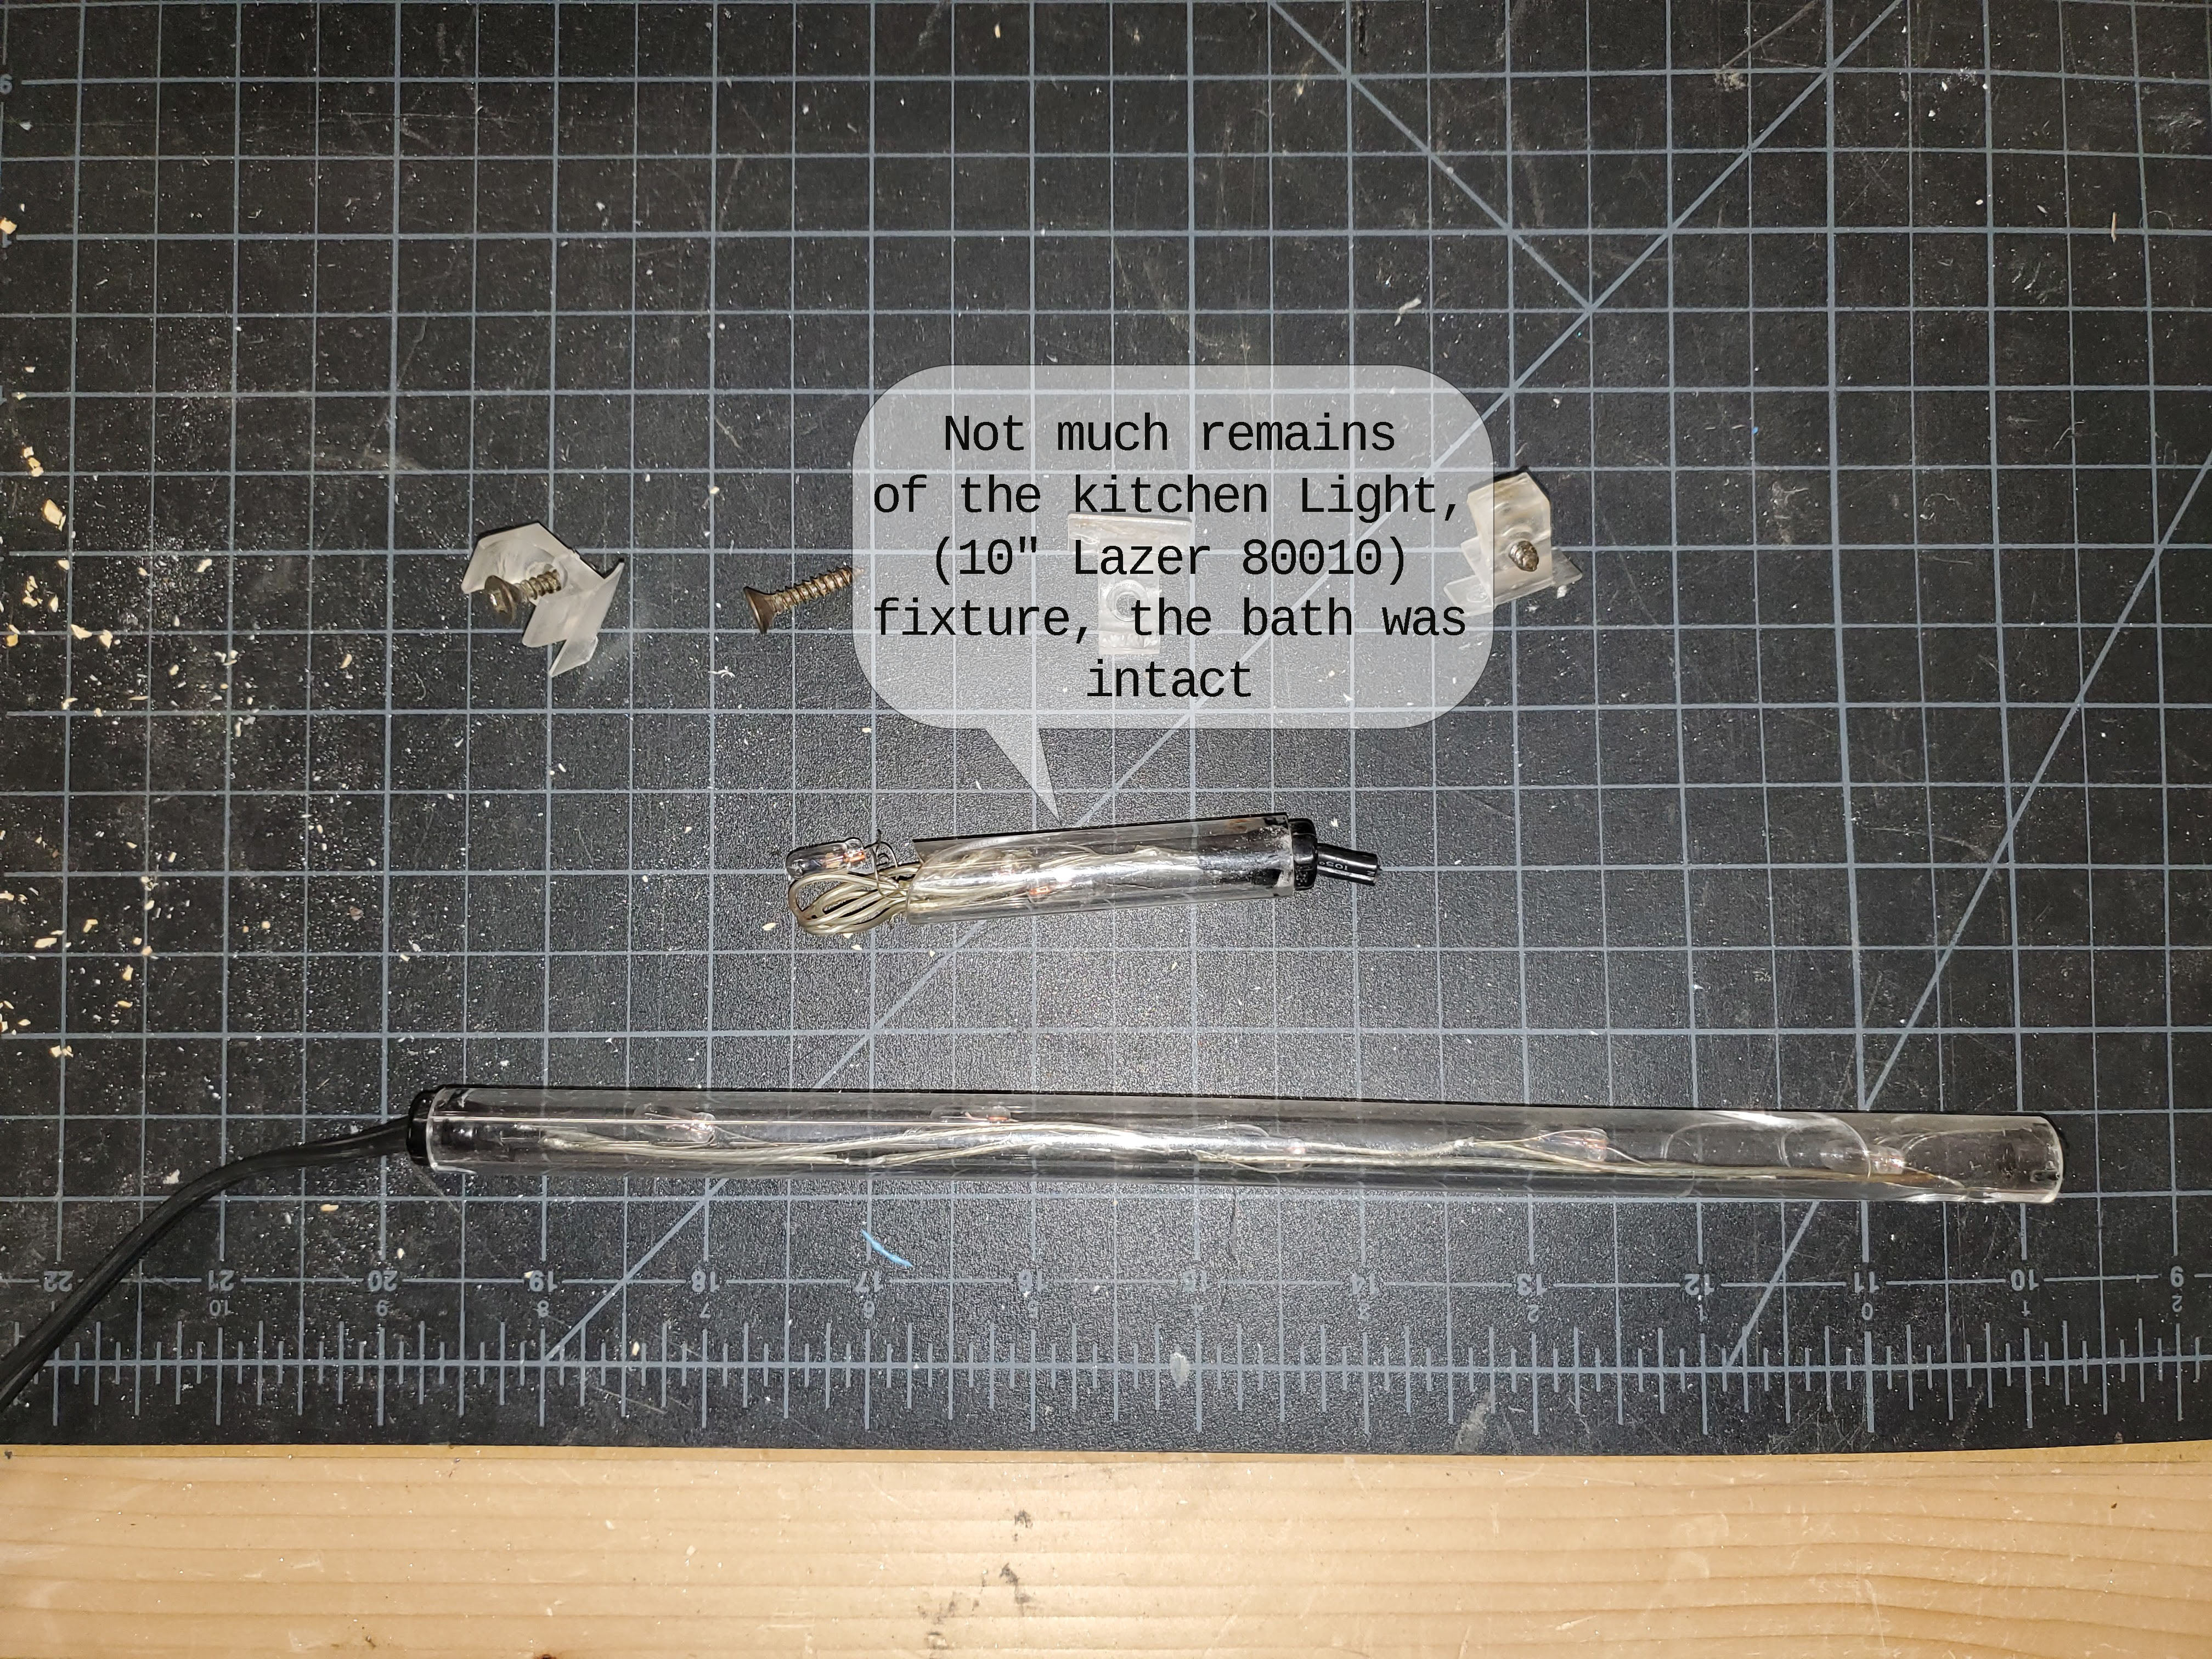
The Shelly switches can also replace the Finder 20.21.9.xxx relays commonly used for 3-way switching, just without that satisfying ka-chunk sound. You’ll hear a small click instead. I replaced the Finders used for the kitchen light, which was activated by either the entry door switch or the kitchen switch, and the one used for the bathroom light, activated by either the bathroom or bedroom switch.
The Finder relays in my coach, check your schematics, and I’m going by memory here, were wired with +12V on [A1] and [1]. The momentary ground from the wall switches went to [A2], and finally [2] went to the light. The relay is normally open (NO); pulling [A2] low triggers the relay, connecting [1] ↔ [2].
For the Shelly conversion, the wiring translates as follows:
- [A1] moves to (+12V)
- [1] moves to (I)
- [2] moves to (O)
- [A2] moves to (SW)
- Add a constant ground to the (L) terminal
Creating Lighting Scenes
Beyond individual light control, you can also set up scenes so a single switch activates multiple lights. Right now we’re keeping it simple: pressing the existing entry/kitchen switch turns both kitchen ceiling lights on or off (where before only one came on). The same applies to the bathroom lights. These are also included in the “all on” (salesman mode) and “all off” scenes.
Scenes can be enabled directly on the Shelly without requiring a computer, or through Home Assistant, which is what I’m using for more complex automation.
Demo Video
Here’s a short demonstration showing the switches in action, controlled from my laptop. The video shows each ceiling light individually, then the kitchen and bathroom scenes, and finally the all-on / all-off scenes.
Summary
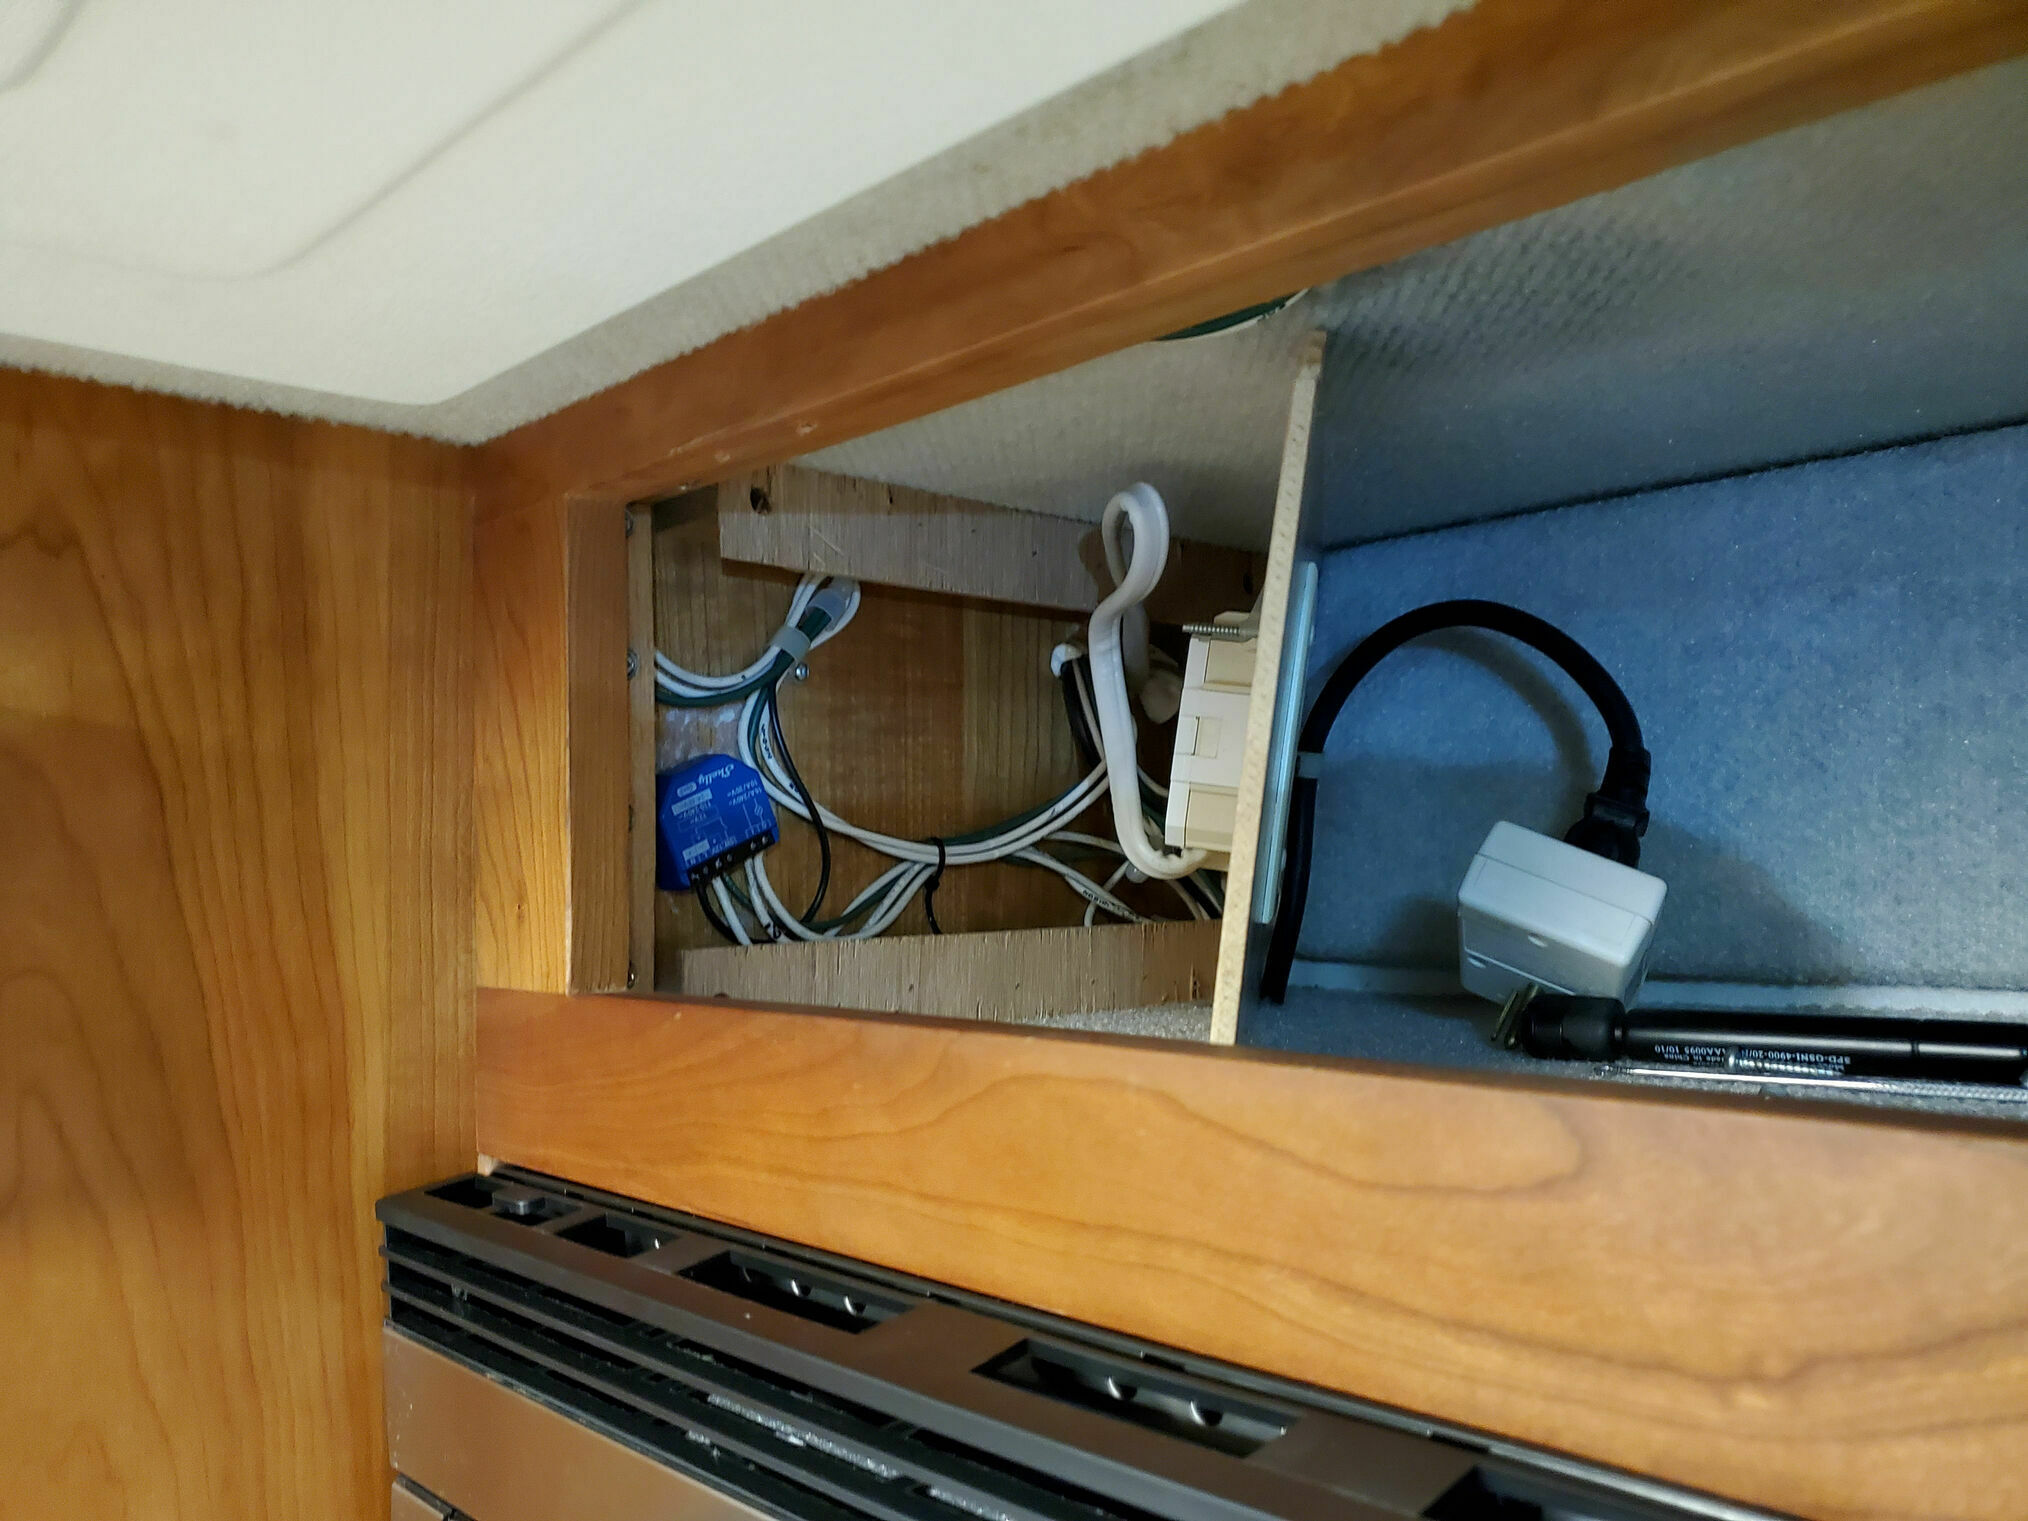
The conversion from mechanical switches and Finder relays to Shelly switches has been completely successful. The units are compact enough to fit in the existing wiring spaces, and their dry-contact design makes them incredibly versatile. The integration with Home Assistant means I can create automation rules that would be impossible with traditional switches.