Updating the Bathroom Fixtures
It was time for a bathroom update: new shower valve trim, new hardware, and a new sink faucet. The original fixtures were showing their age with tarnish and a dated style.
Our coach, like most coaches of its era, came with polished brass fixtures and Moen plumbing. We loved the warm gold tones against the cherry wood, and since the shower surround was still in great shape, we aimed to find a polished gold finish with a contemporary look. Finding a match felt like searching for a needle in a haystack. Moen didn’t offer anything suitable, so a new shower valve was inevitable. We finally settled on Kohler Vibrant French Gold, which usually requires special ordering, and started placing orders in early March
Sourcing Hardware
Some items we were able to find at a fraction of the cost on Ebay, so use a watch list and be patient:
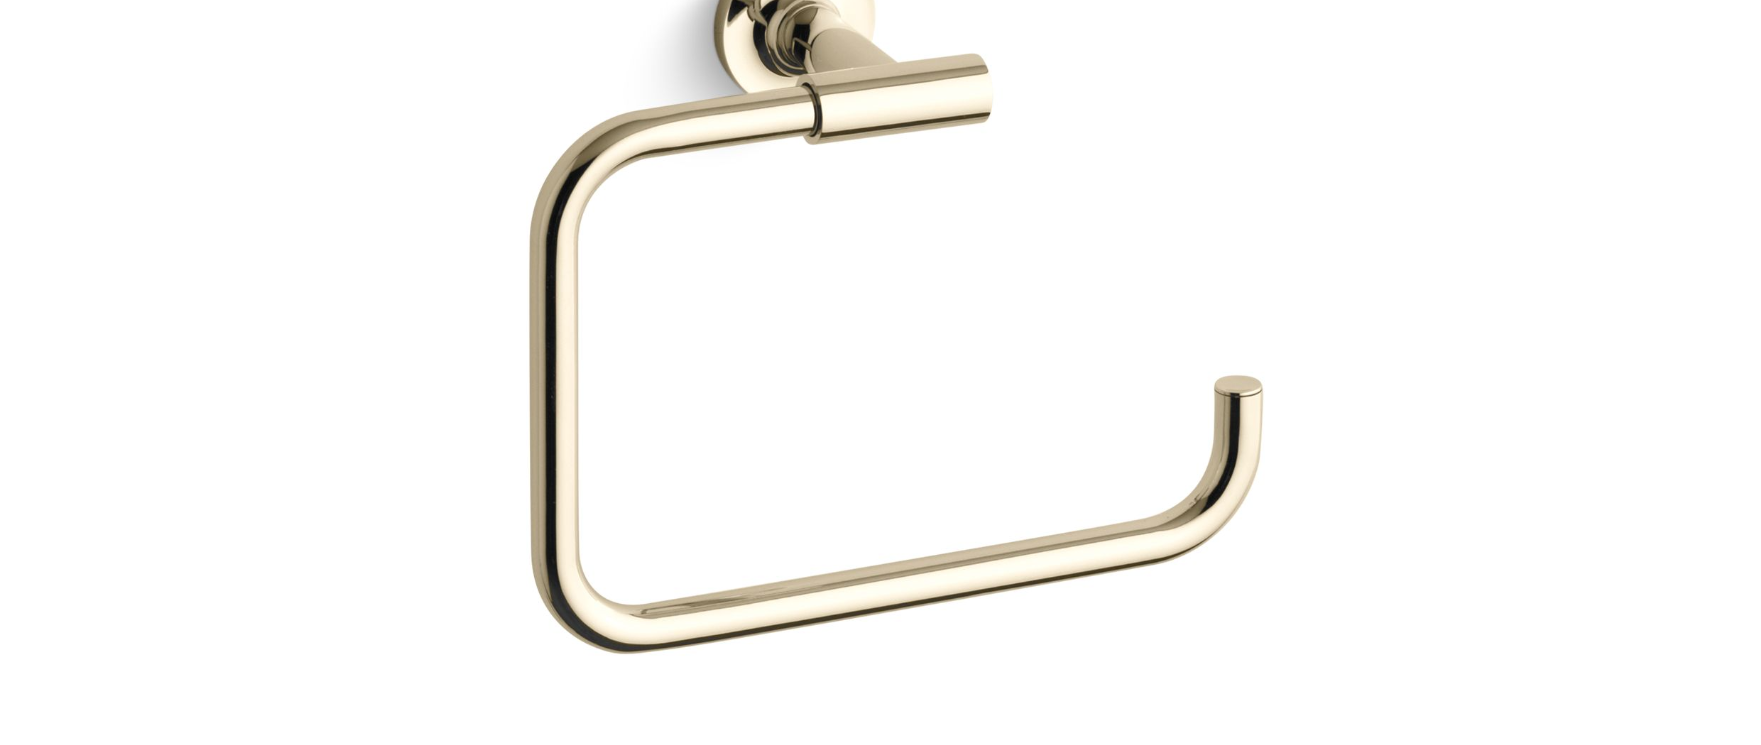
- Kohler Purist Towel Ring
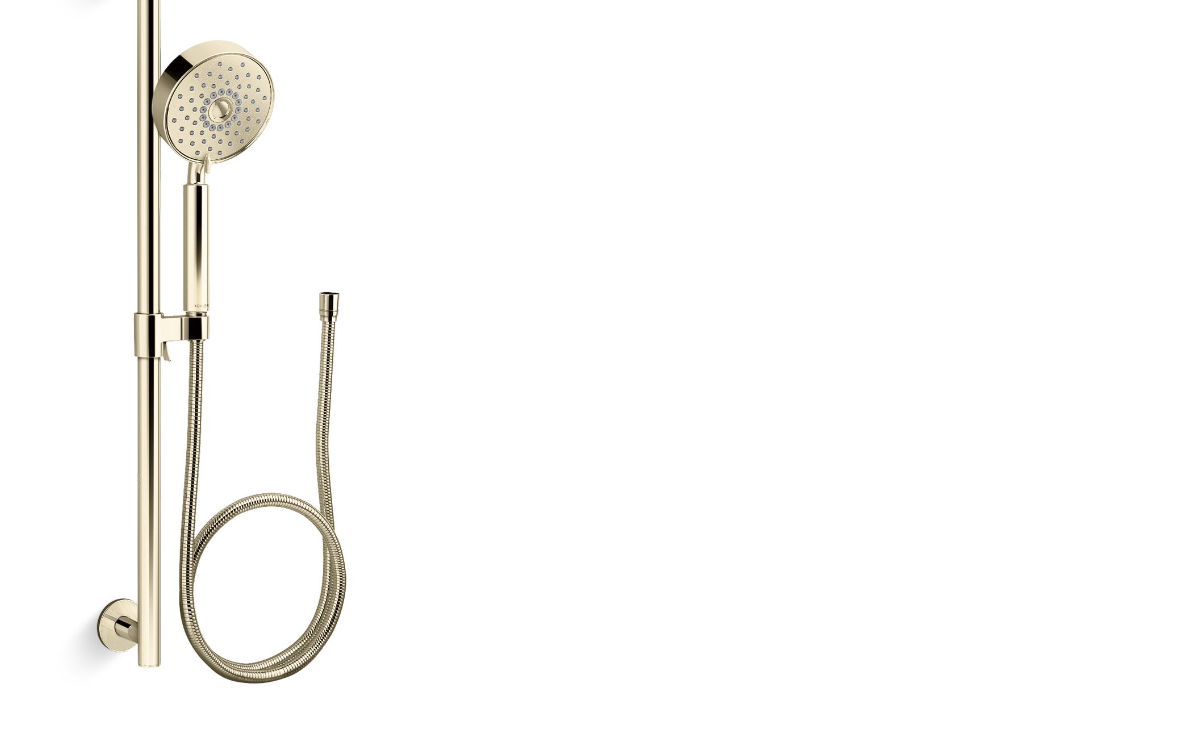
- Kohler Purist Four-Function Handshower Kit (handheld, hose, bar)
Other accessories we purchased from Amazon:
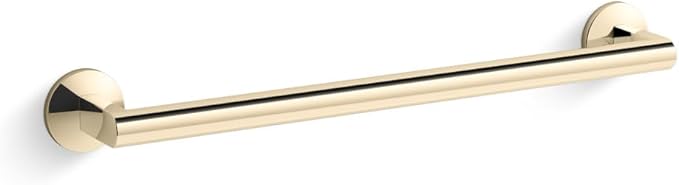
- Kohler K-78372-AF Components 18” Towel Bar
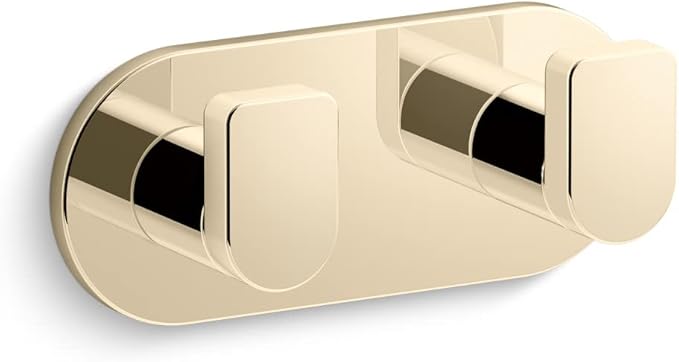
- Kohler Composed K-73146-AF Dual Robe Hook
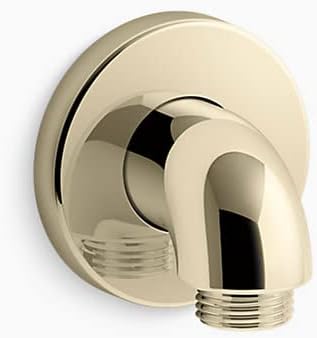
- Kohler Purist K-22172-AF Elbow for Hand Shower Hose
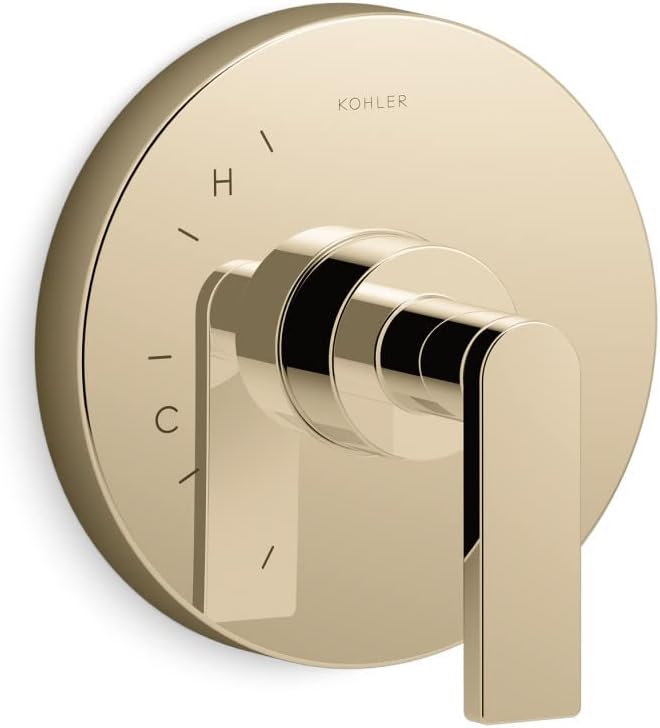
Shower Valve and Trim
With a new valve required, we chose:

Sink Faucet Challenge
The original sink faucet, affectionately called “toad in the corner,” required a narrow single-hole faucet with an escutcheon plate. We wanted a single-handle design.
After much searching, we chose Kohler Purist in Vibrant French Gold:
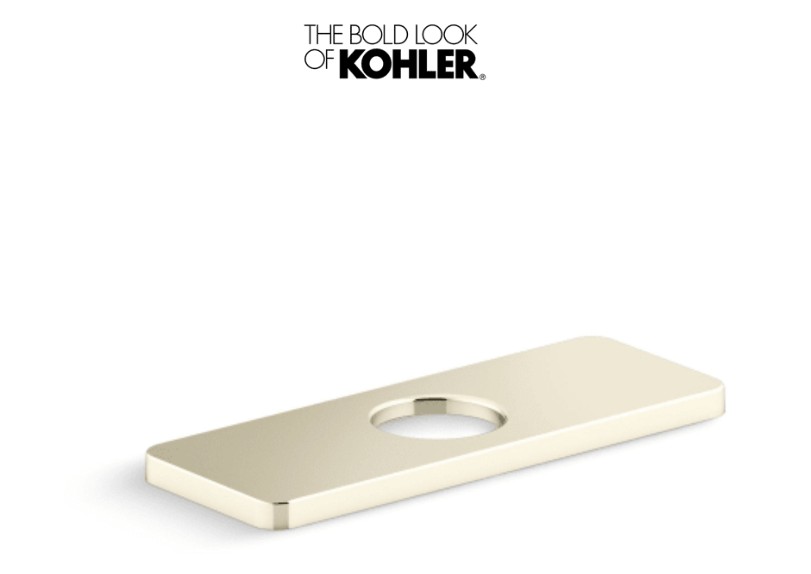

- Kohler Parallel 6-3/8” Escutcheon Plate (in stock)
- Parallel Single-Handle Bathroom Sink Faucet (special order, eventually sourced from Kohler directly)
After months of waiting and multiple delay emails from Build.com, we found the faucet finally in stock on Kohler’s site. It was the only one available, so we ordered directly from them. It was a little more pricey but worth it to finally get the sink faucet.
Installing the Sink Faucet
Starting with the Parallel faucet:
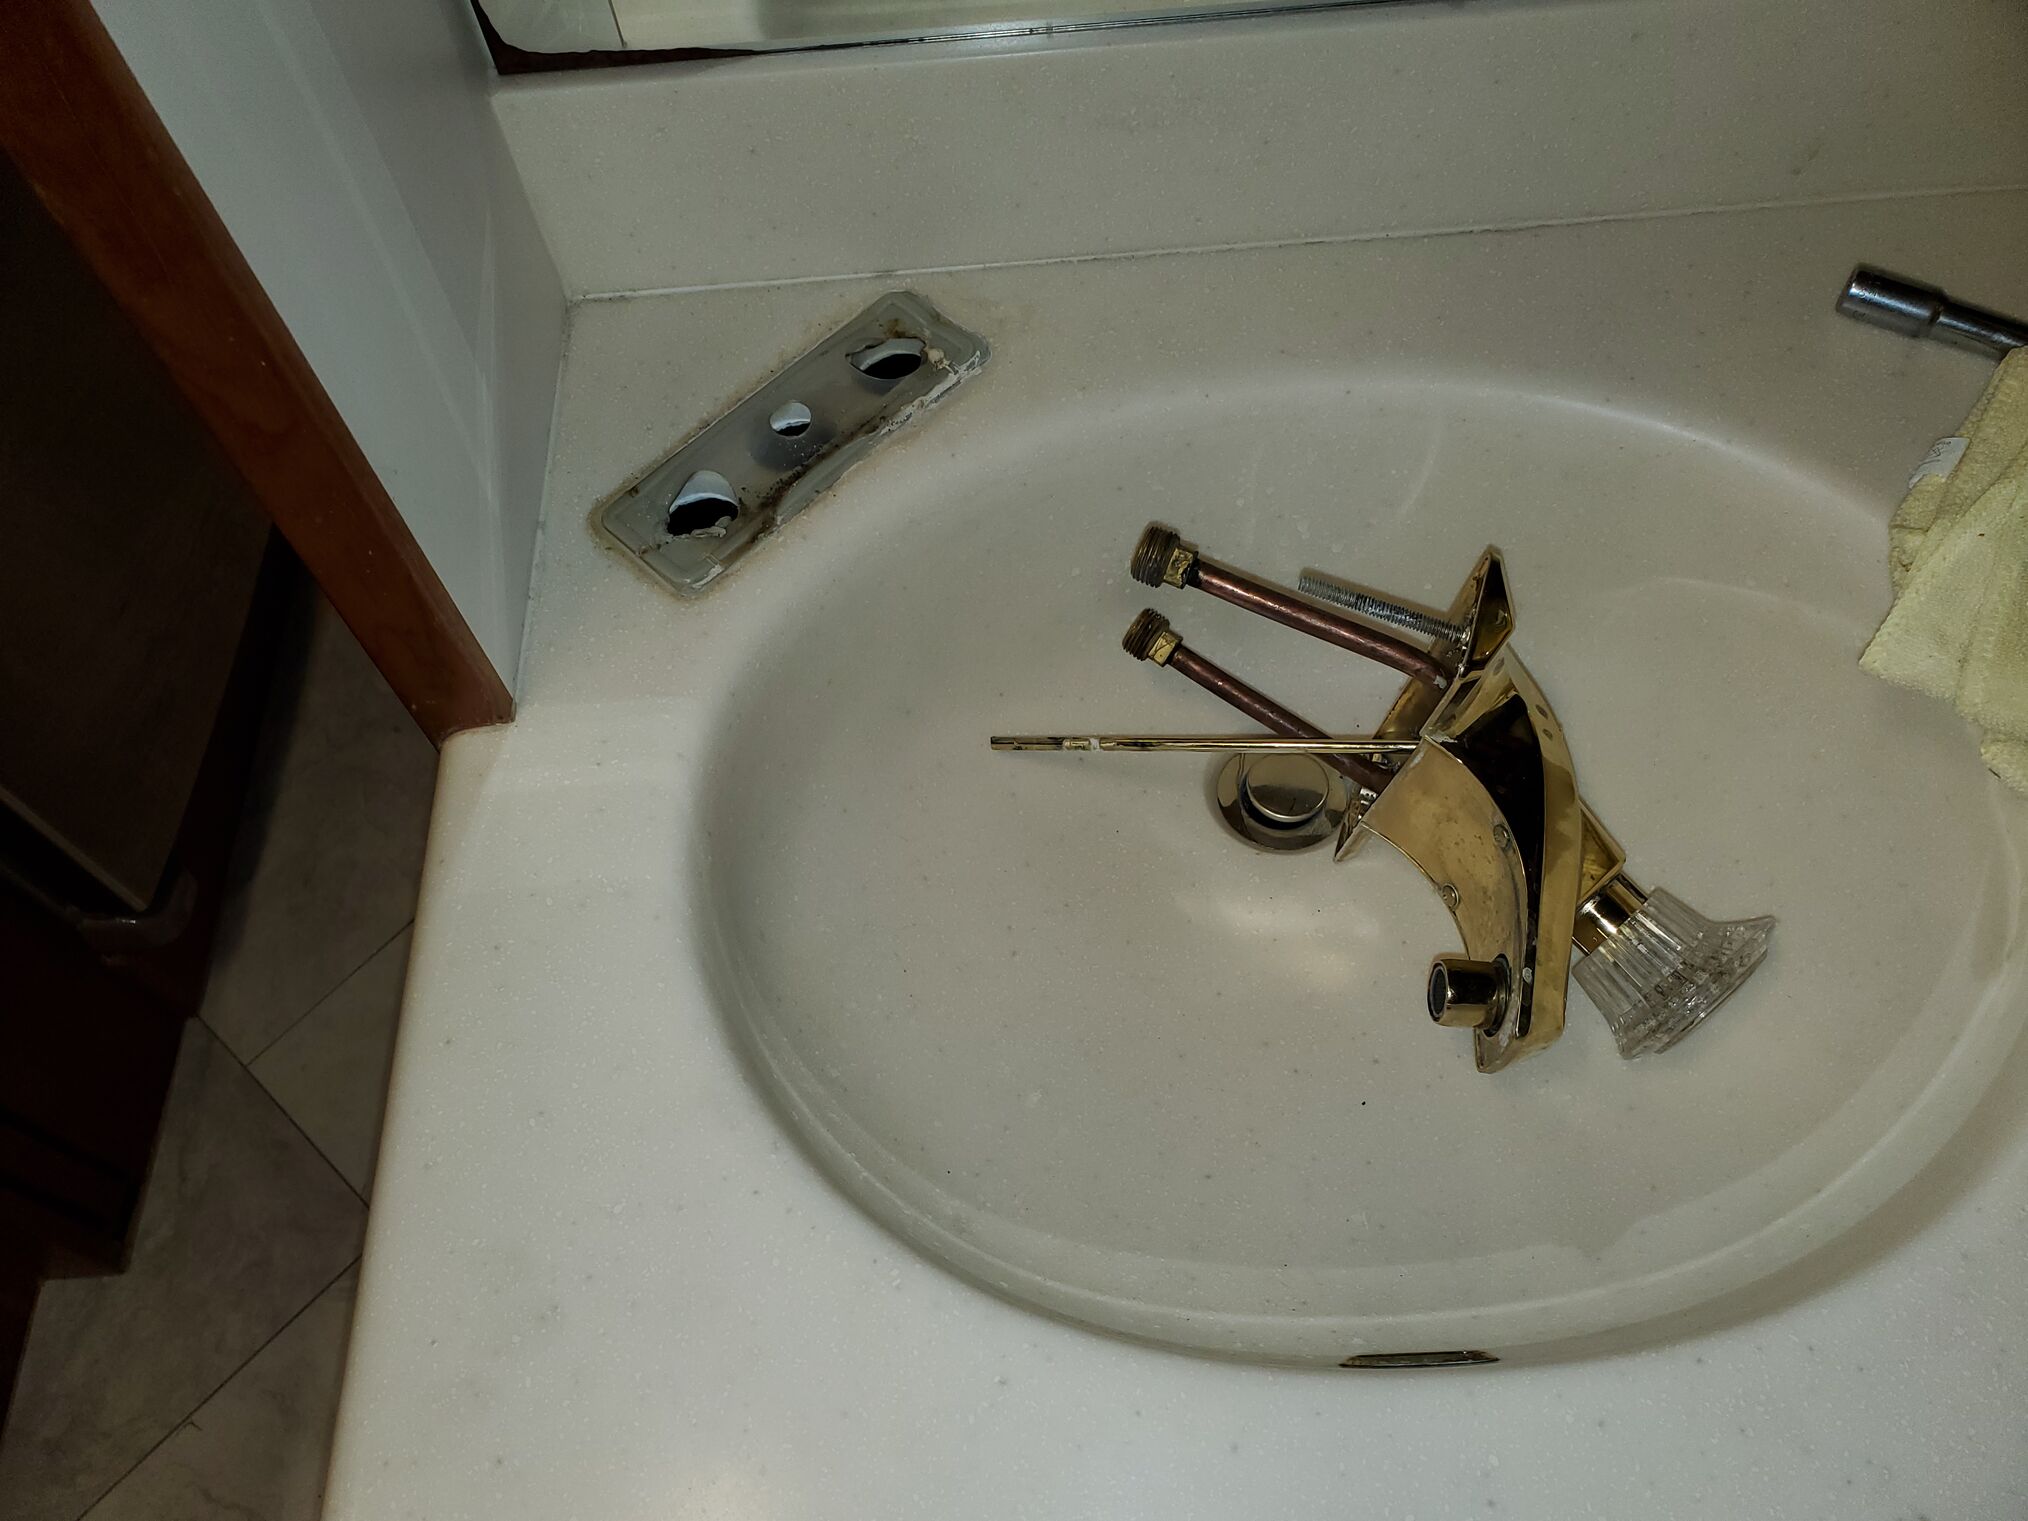
- Out with the old “Mr. Toad”
- Cleaned the surface where the old faucet used to be
- Attempted to install the supplied spacer/gasket. Turns out that even though it was a sealed package with the correct part number, that spacer didn’t fit. No way were we returning this faucet that took months to arrive, so we machined a spacer/gasket that would.
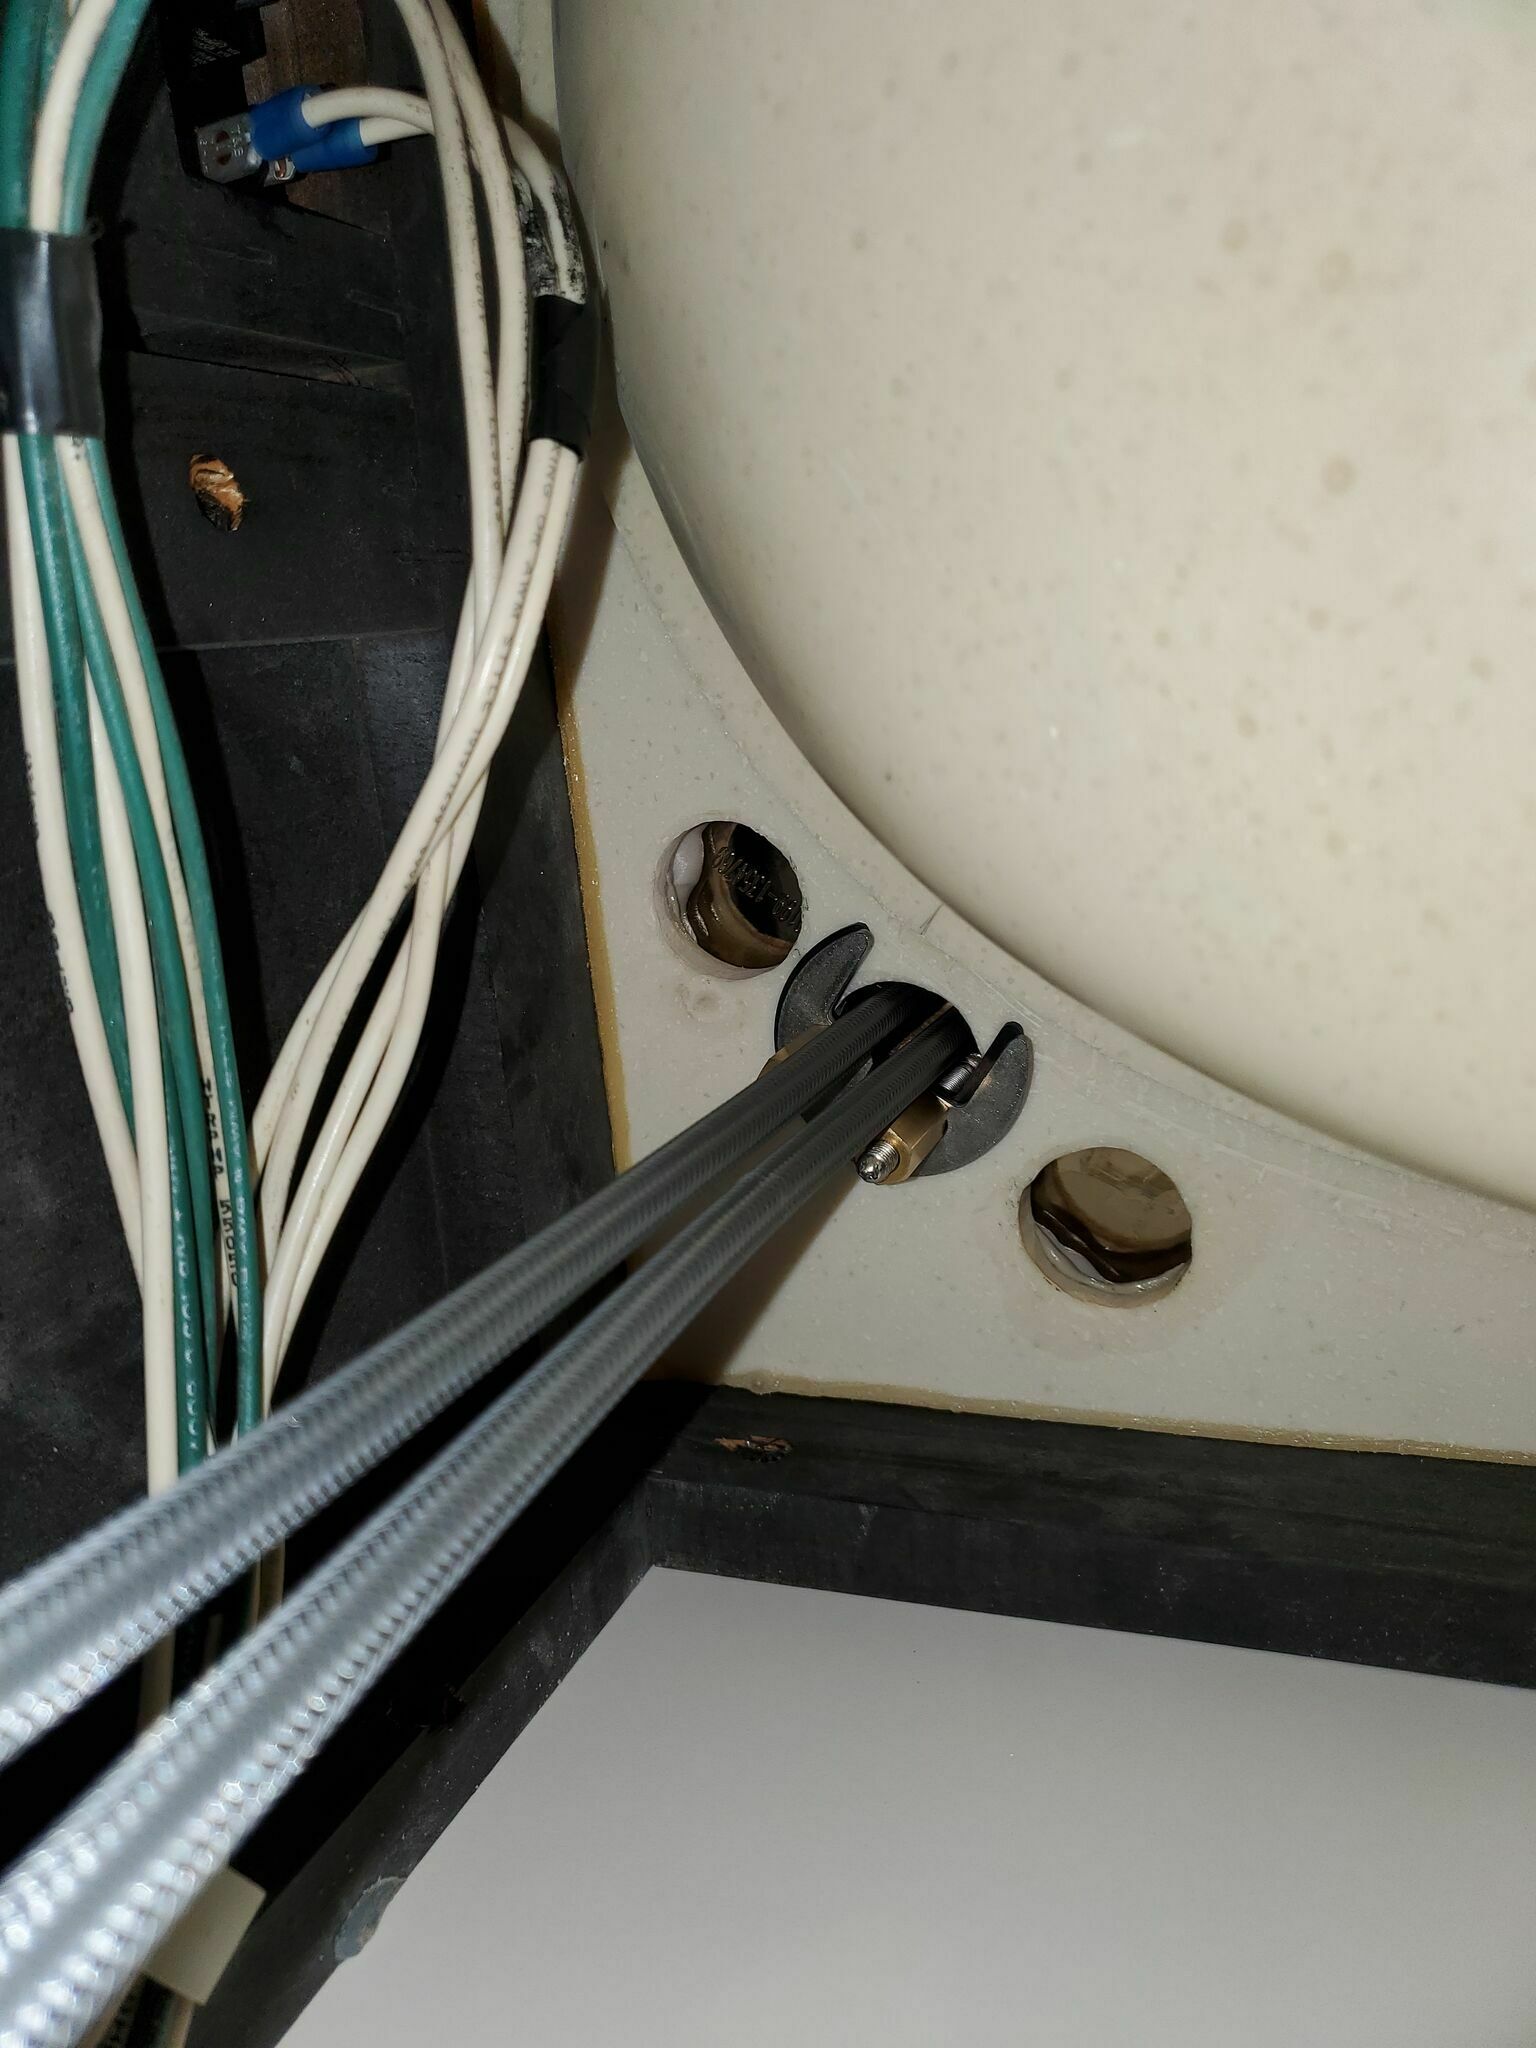
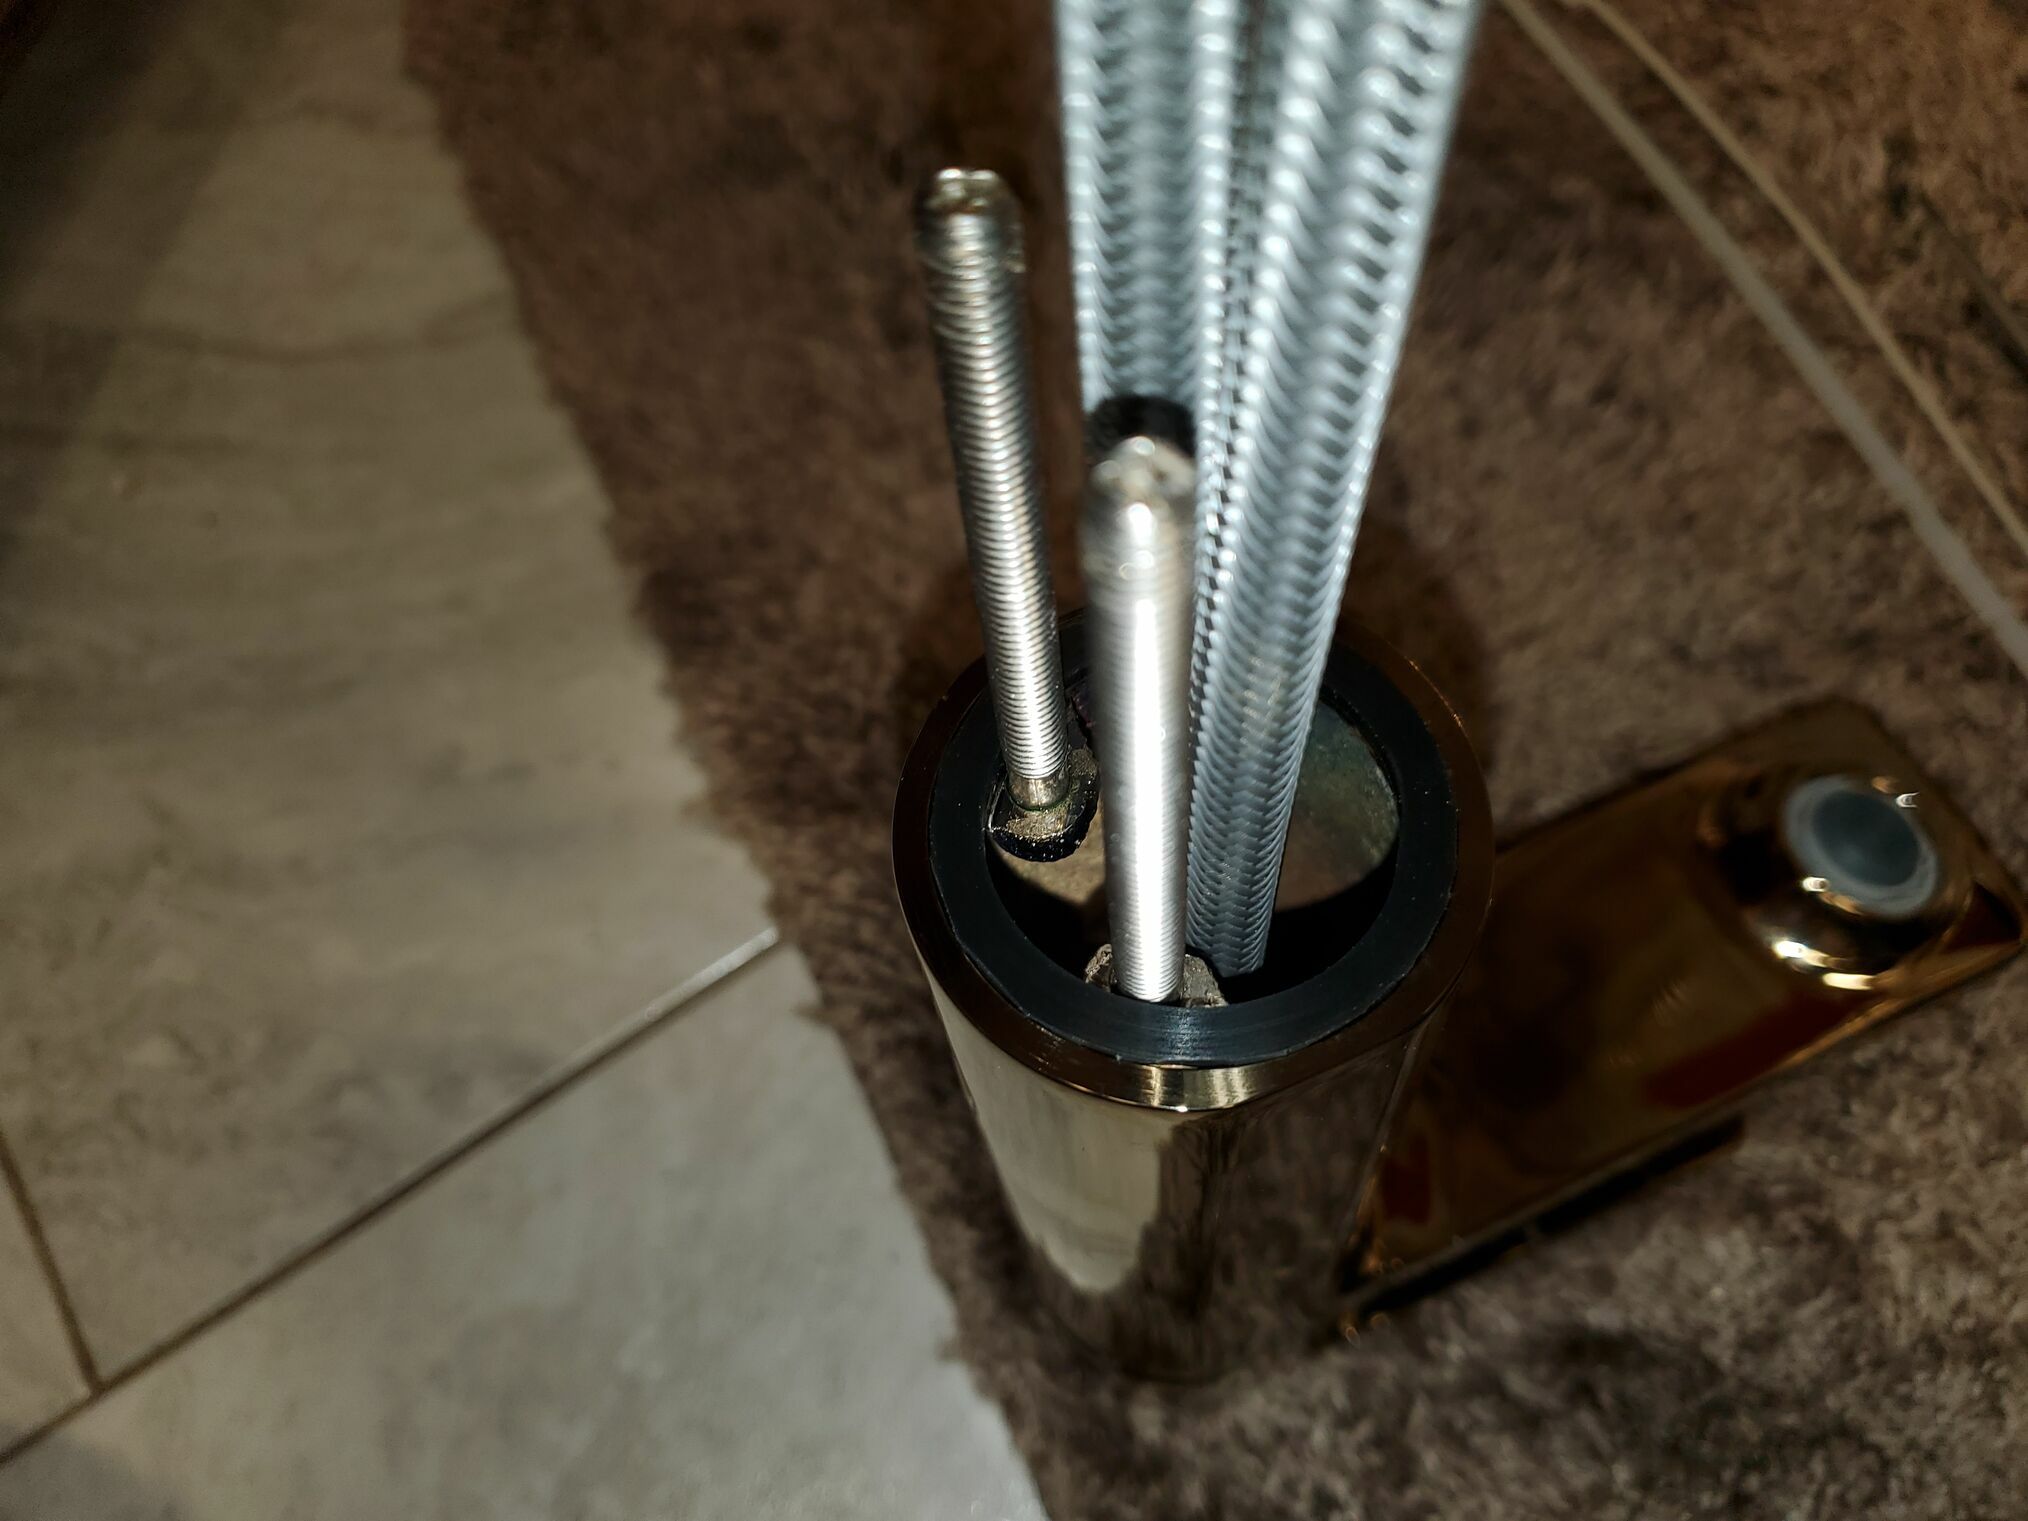
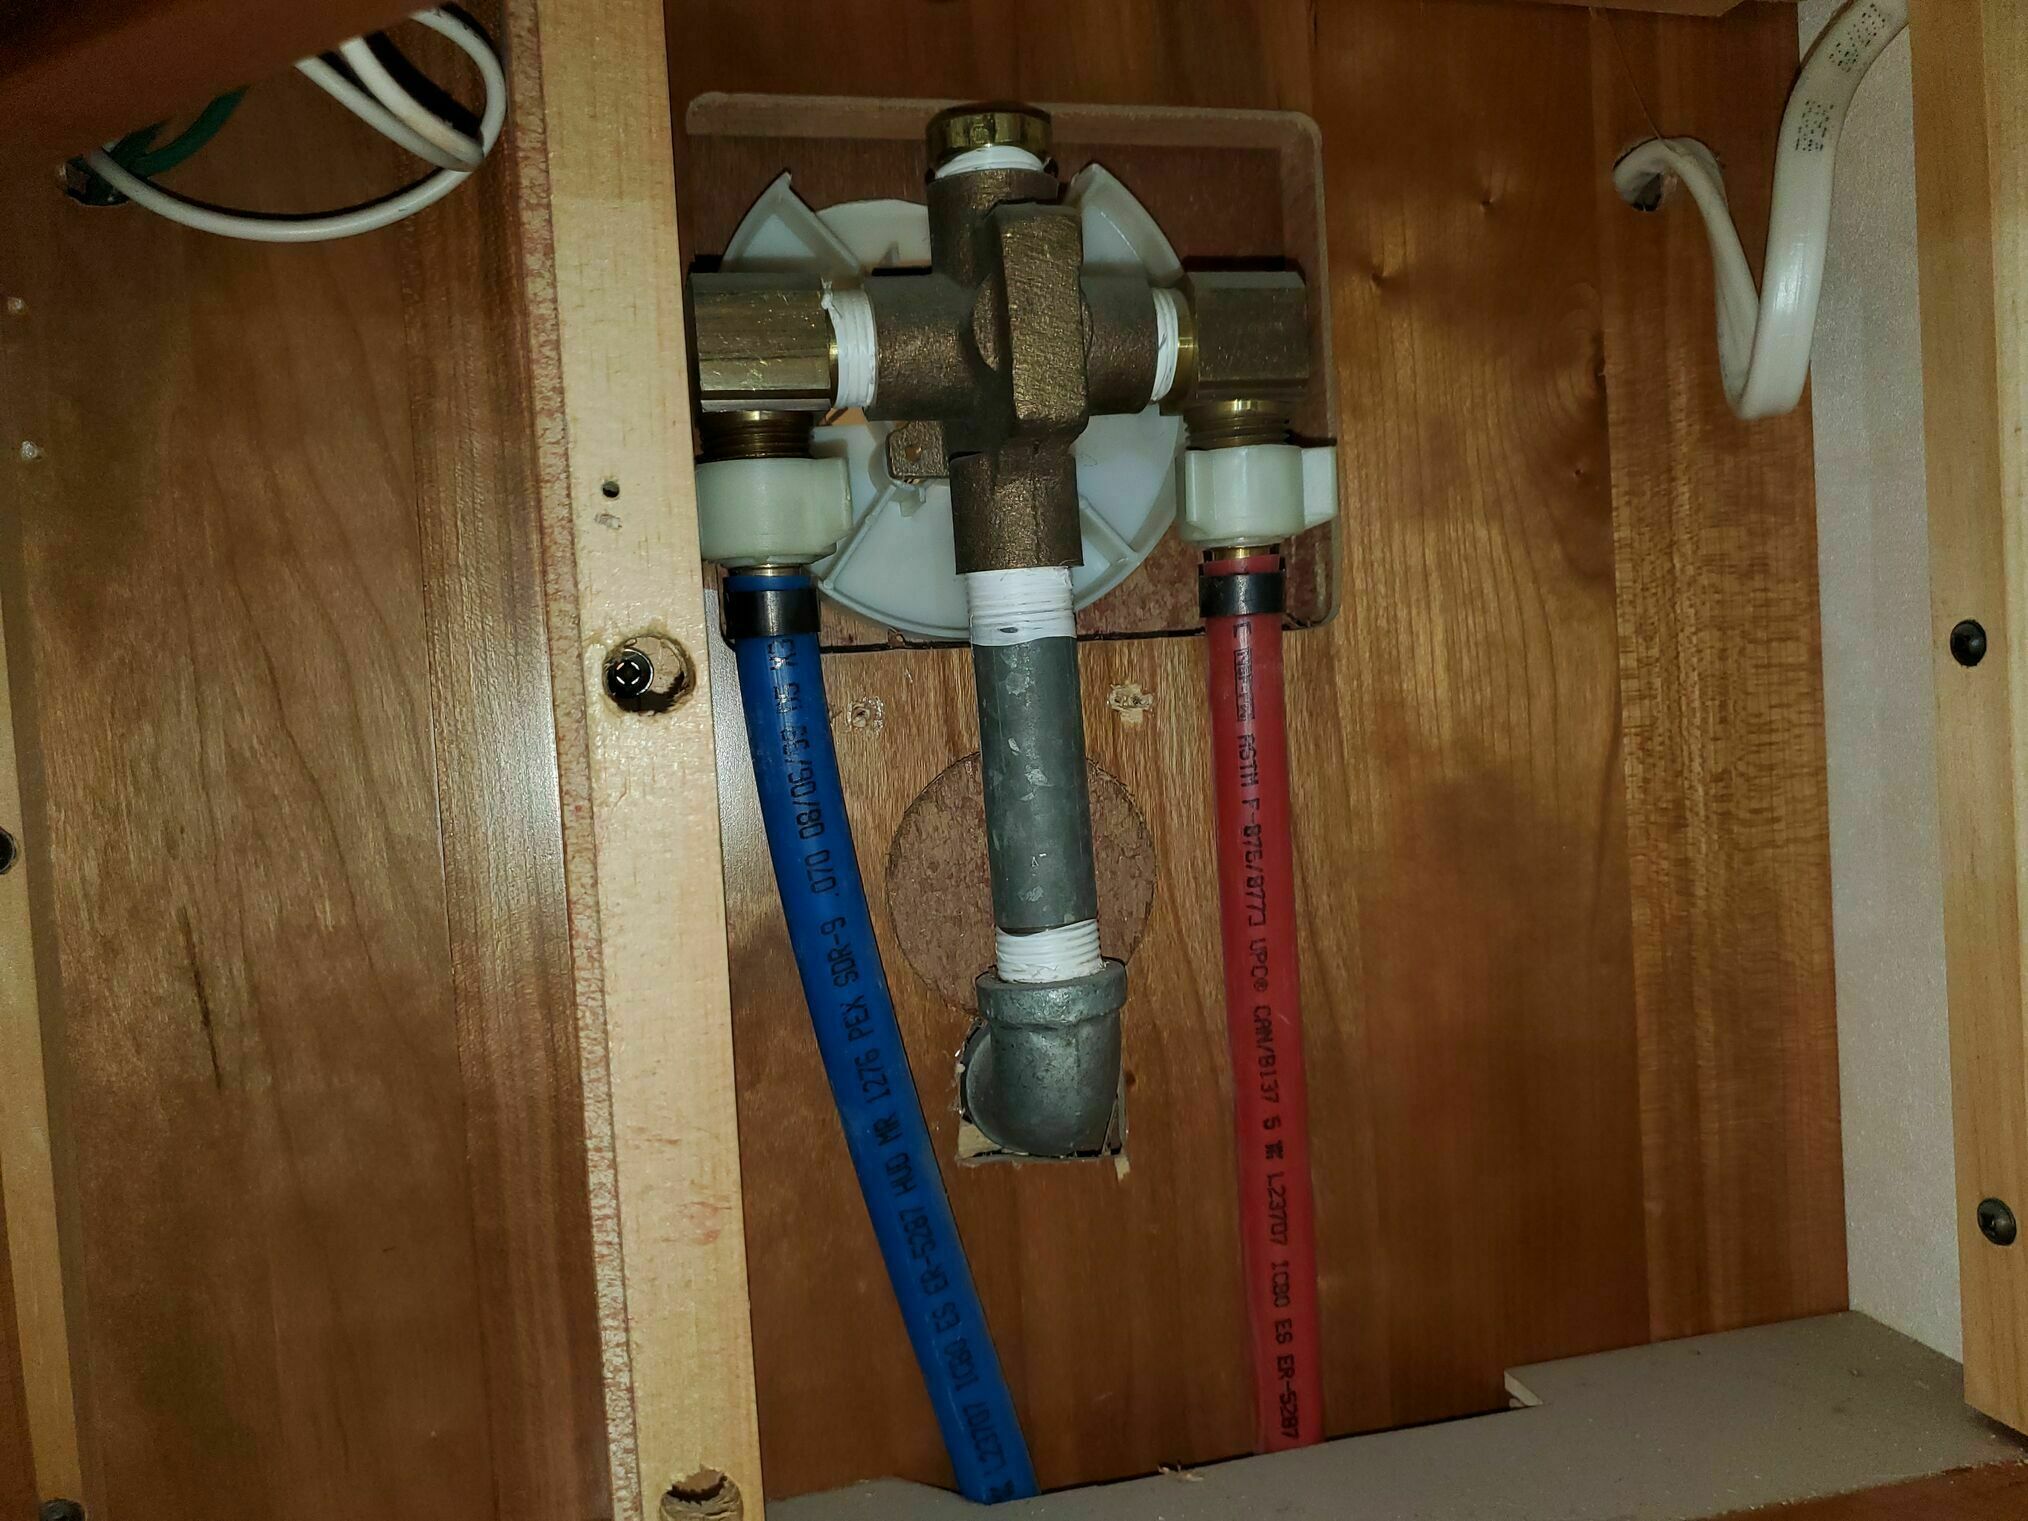
- No surprises under the sink after getting through that spacer hiccup. Both supply lines fit through the center hole, and the old individual ones are covered by the escutcheon on the top surface.
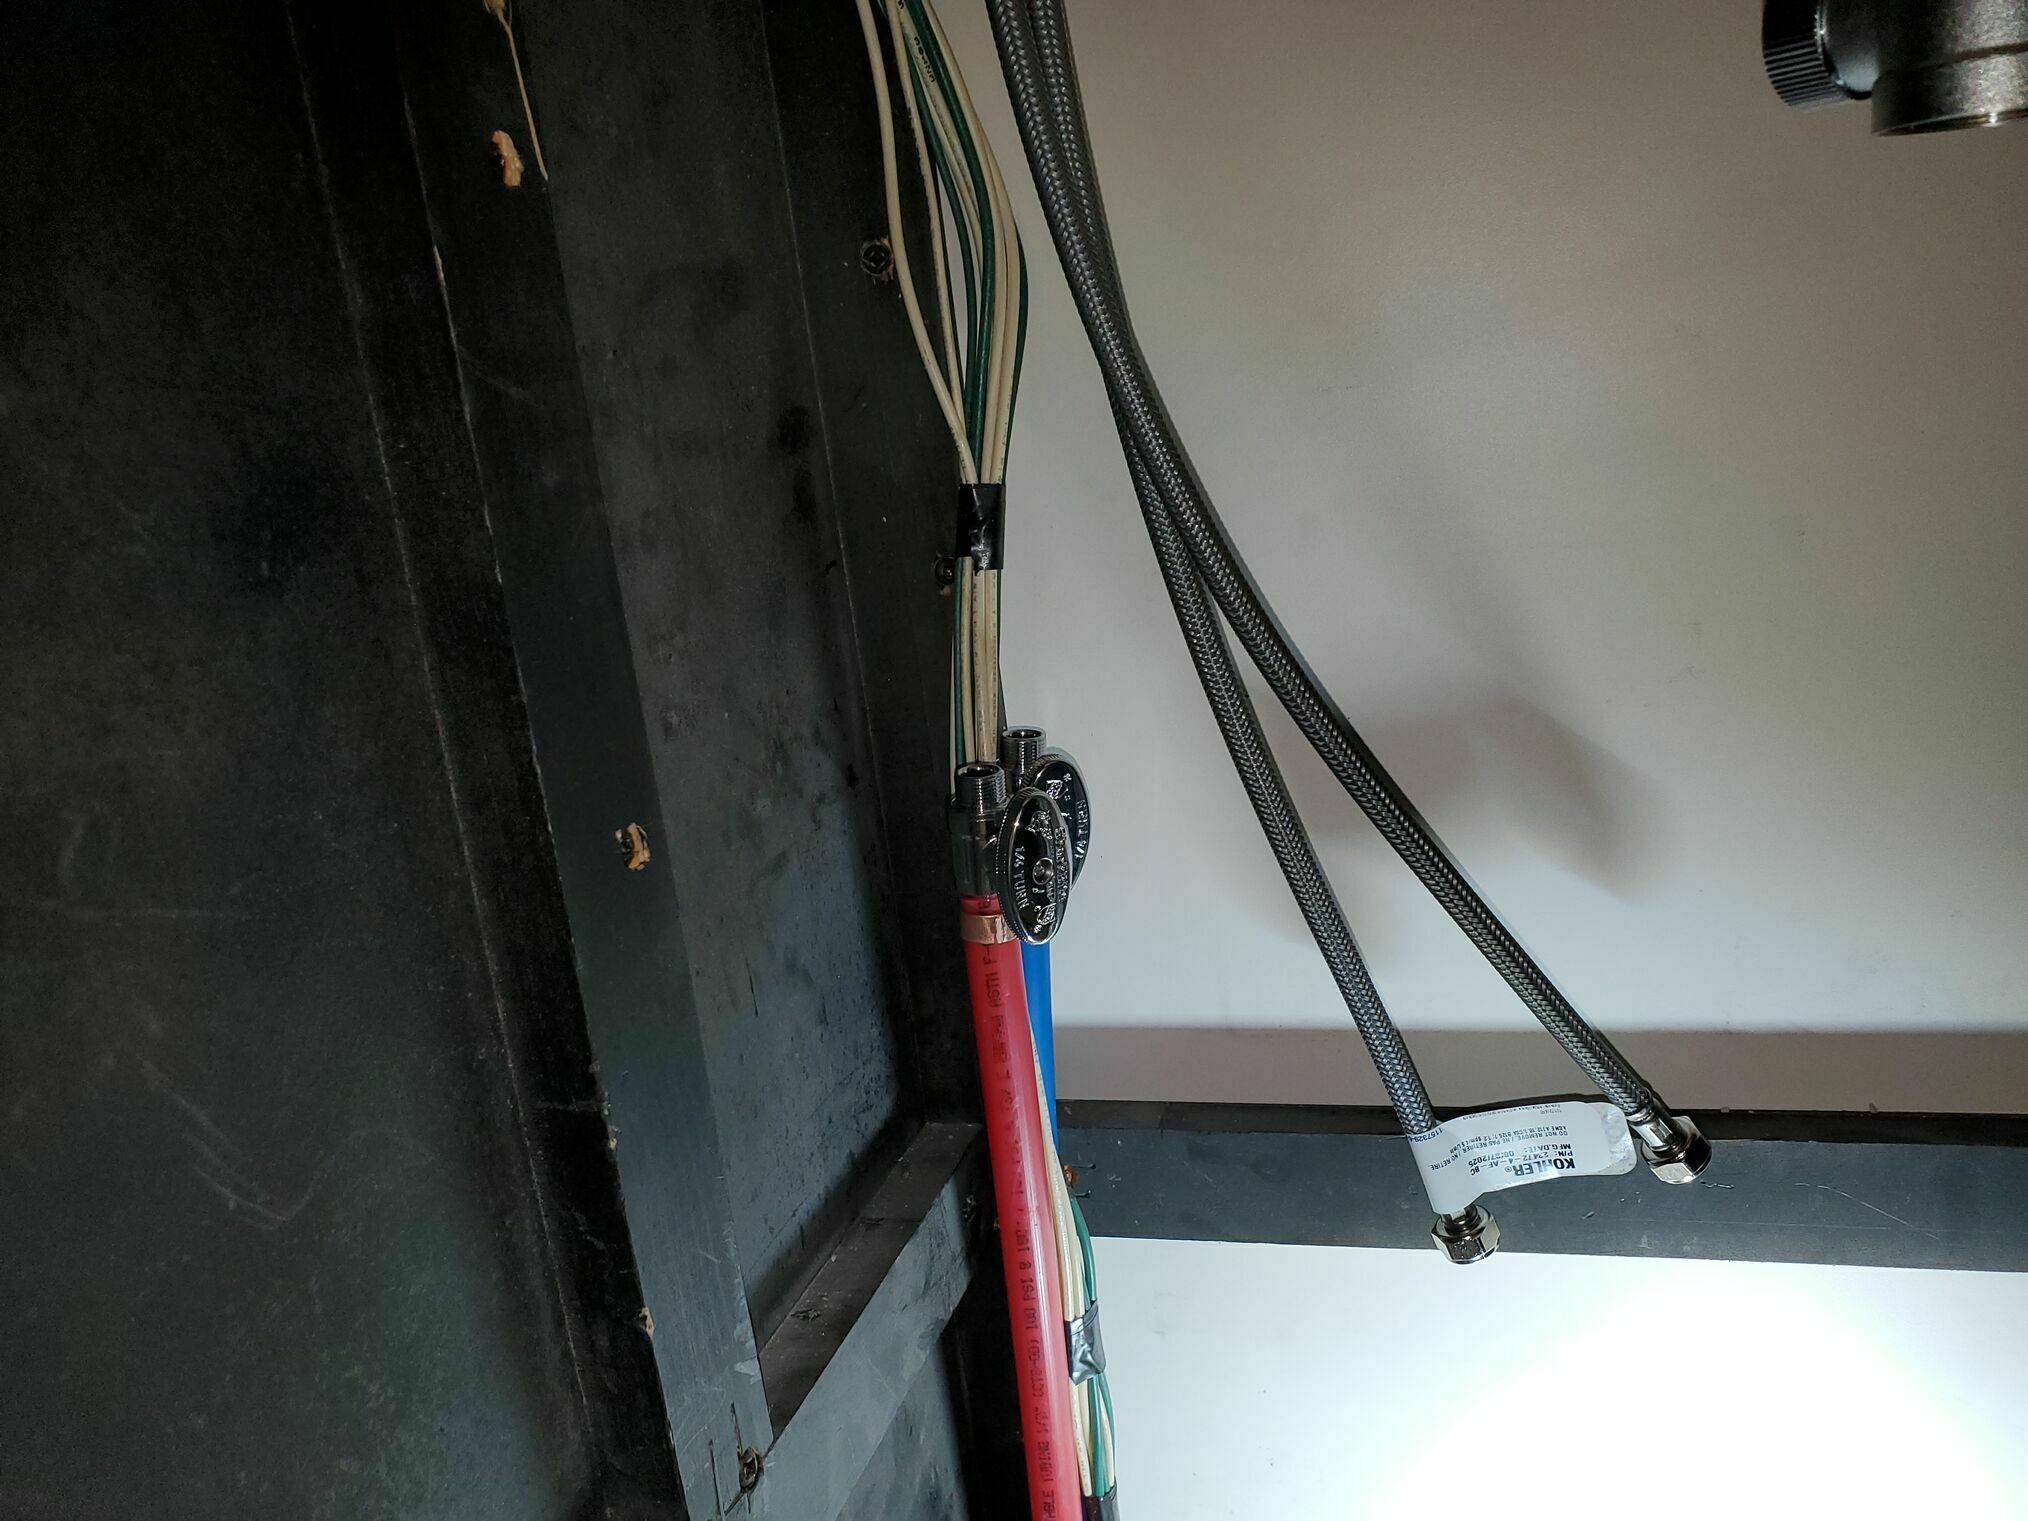
- Installed shutoffs on both supply lines. The original connections were an older pipe thread style, adding the shutoffs converted the connection to one compatible with the new faucet, plus added a convenient shutoff.
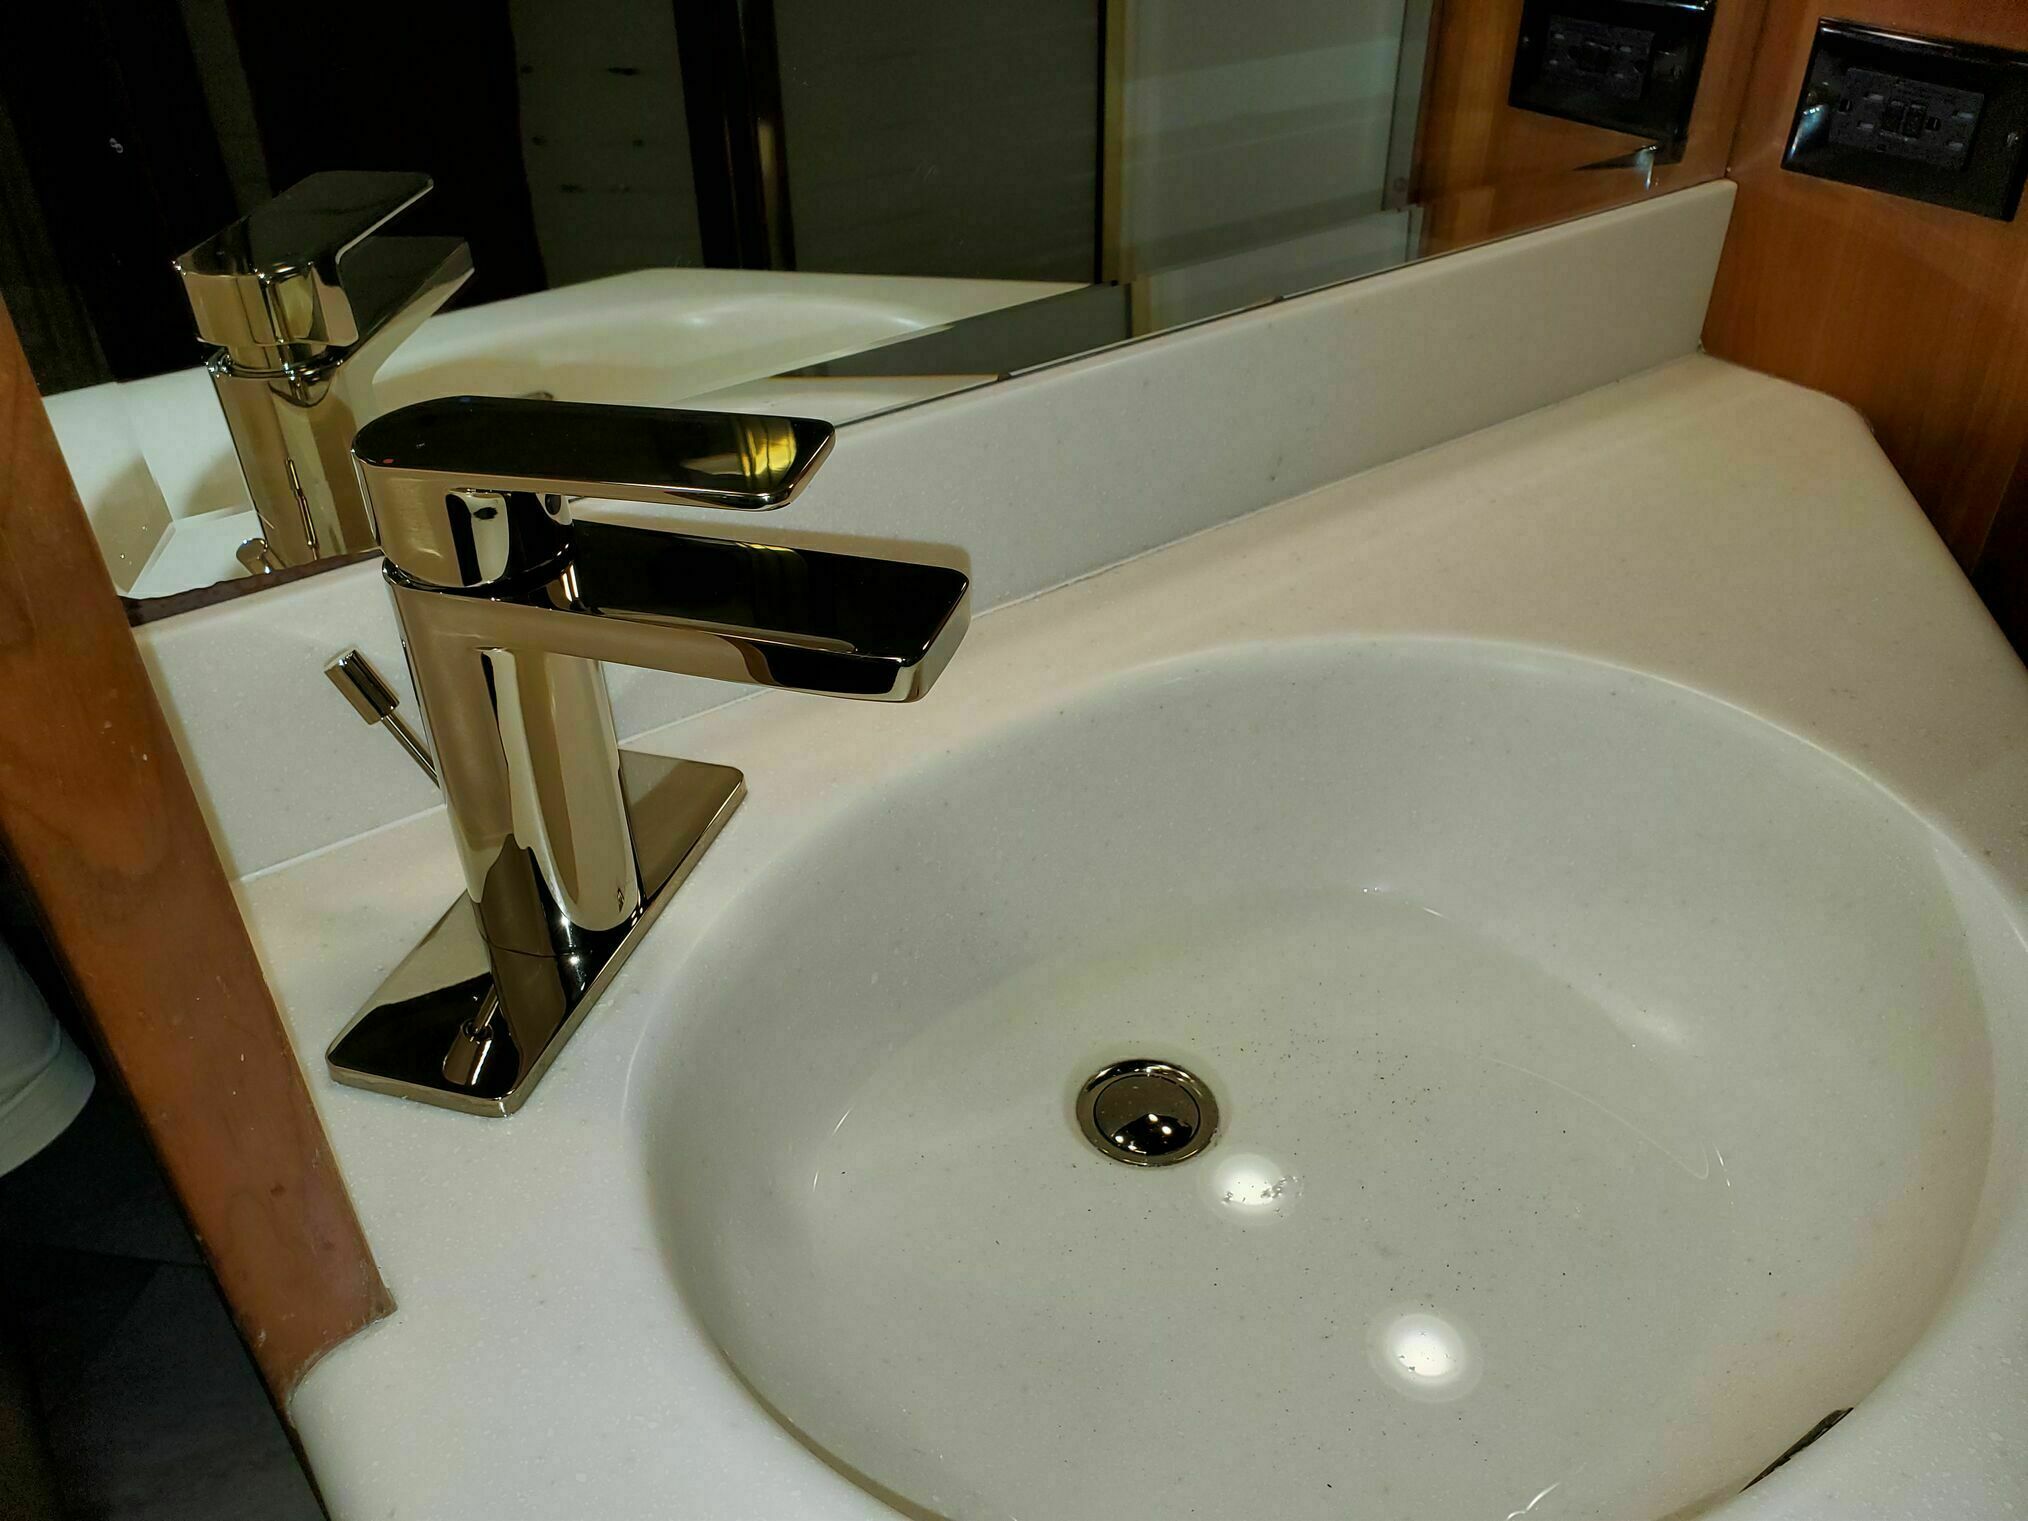
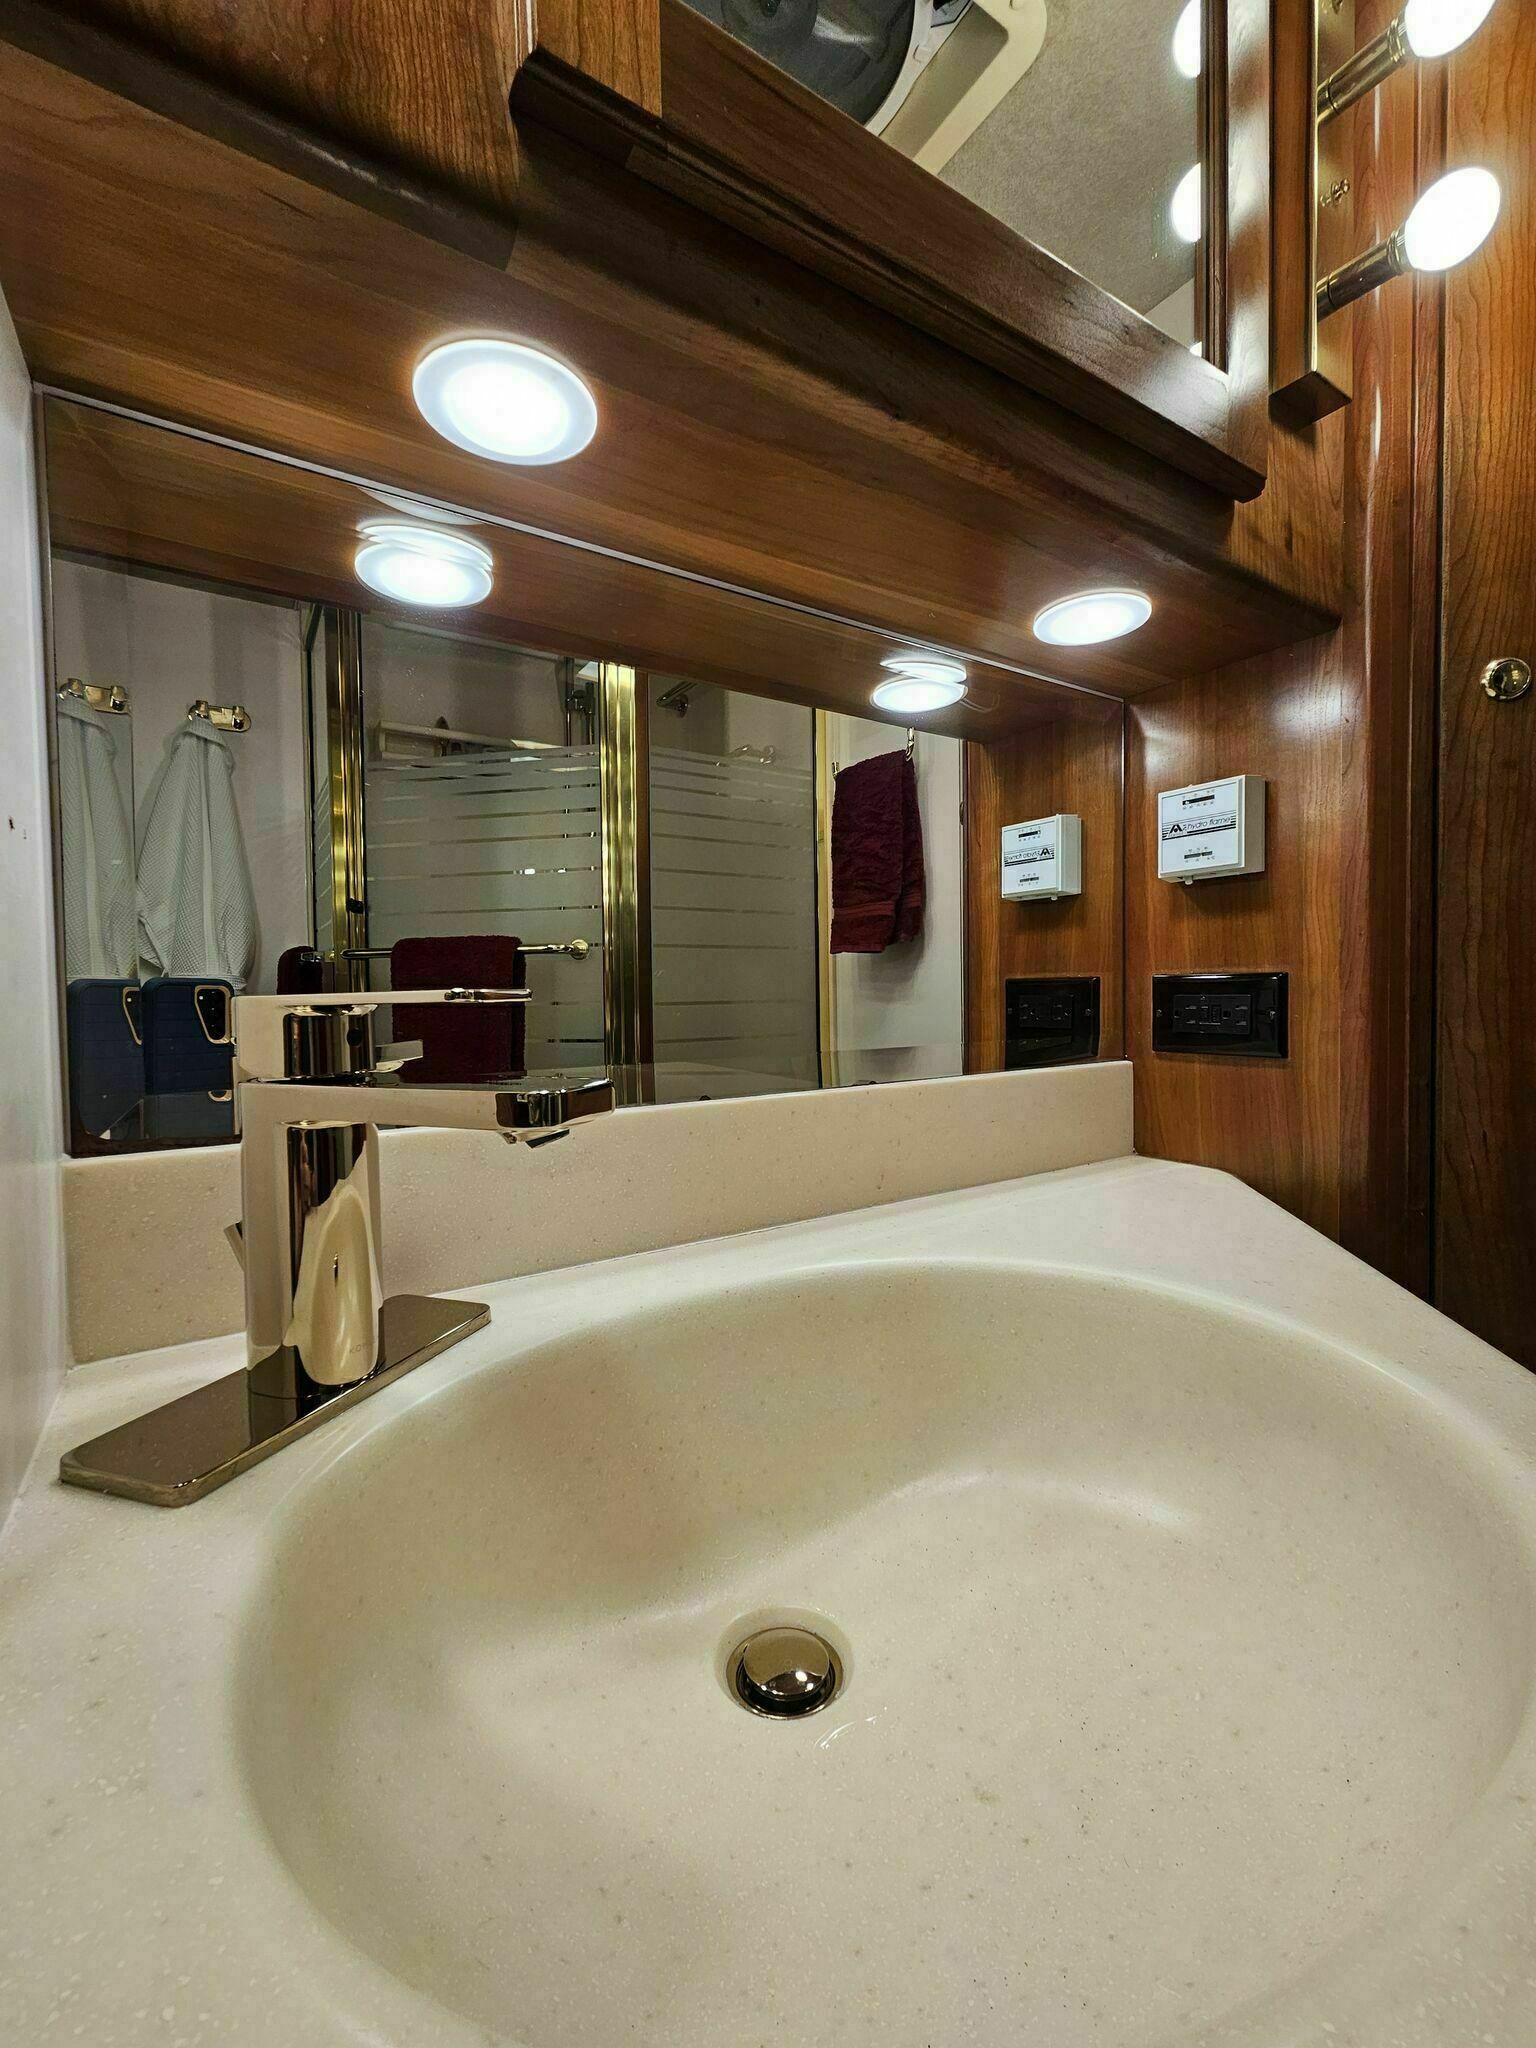
Finished faucet installation with bold Kohler Parallel and updated black duplex GFCI outlet:
Installing the Shower Valve and Trim
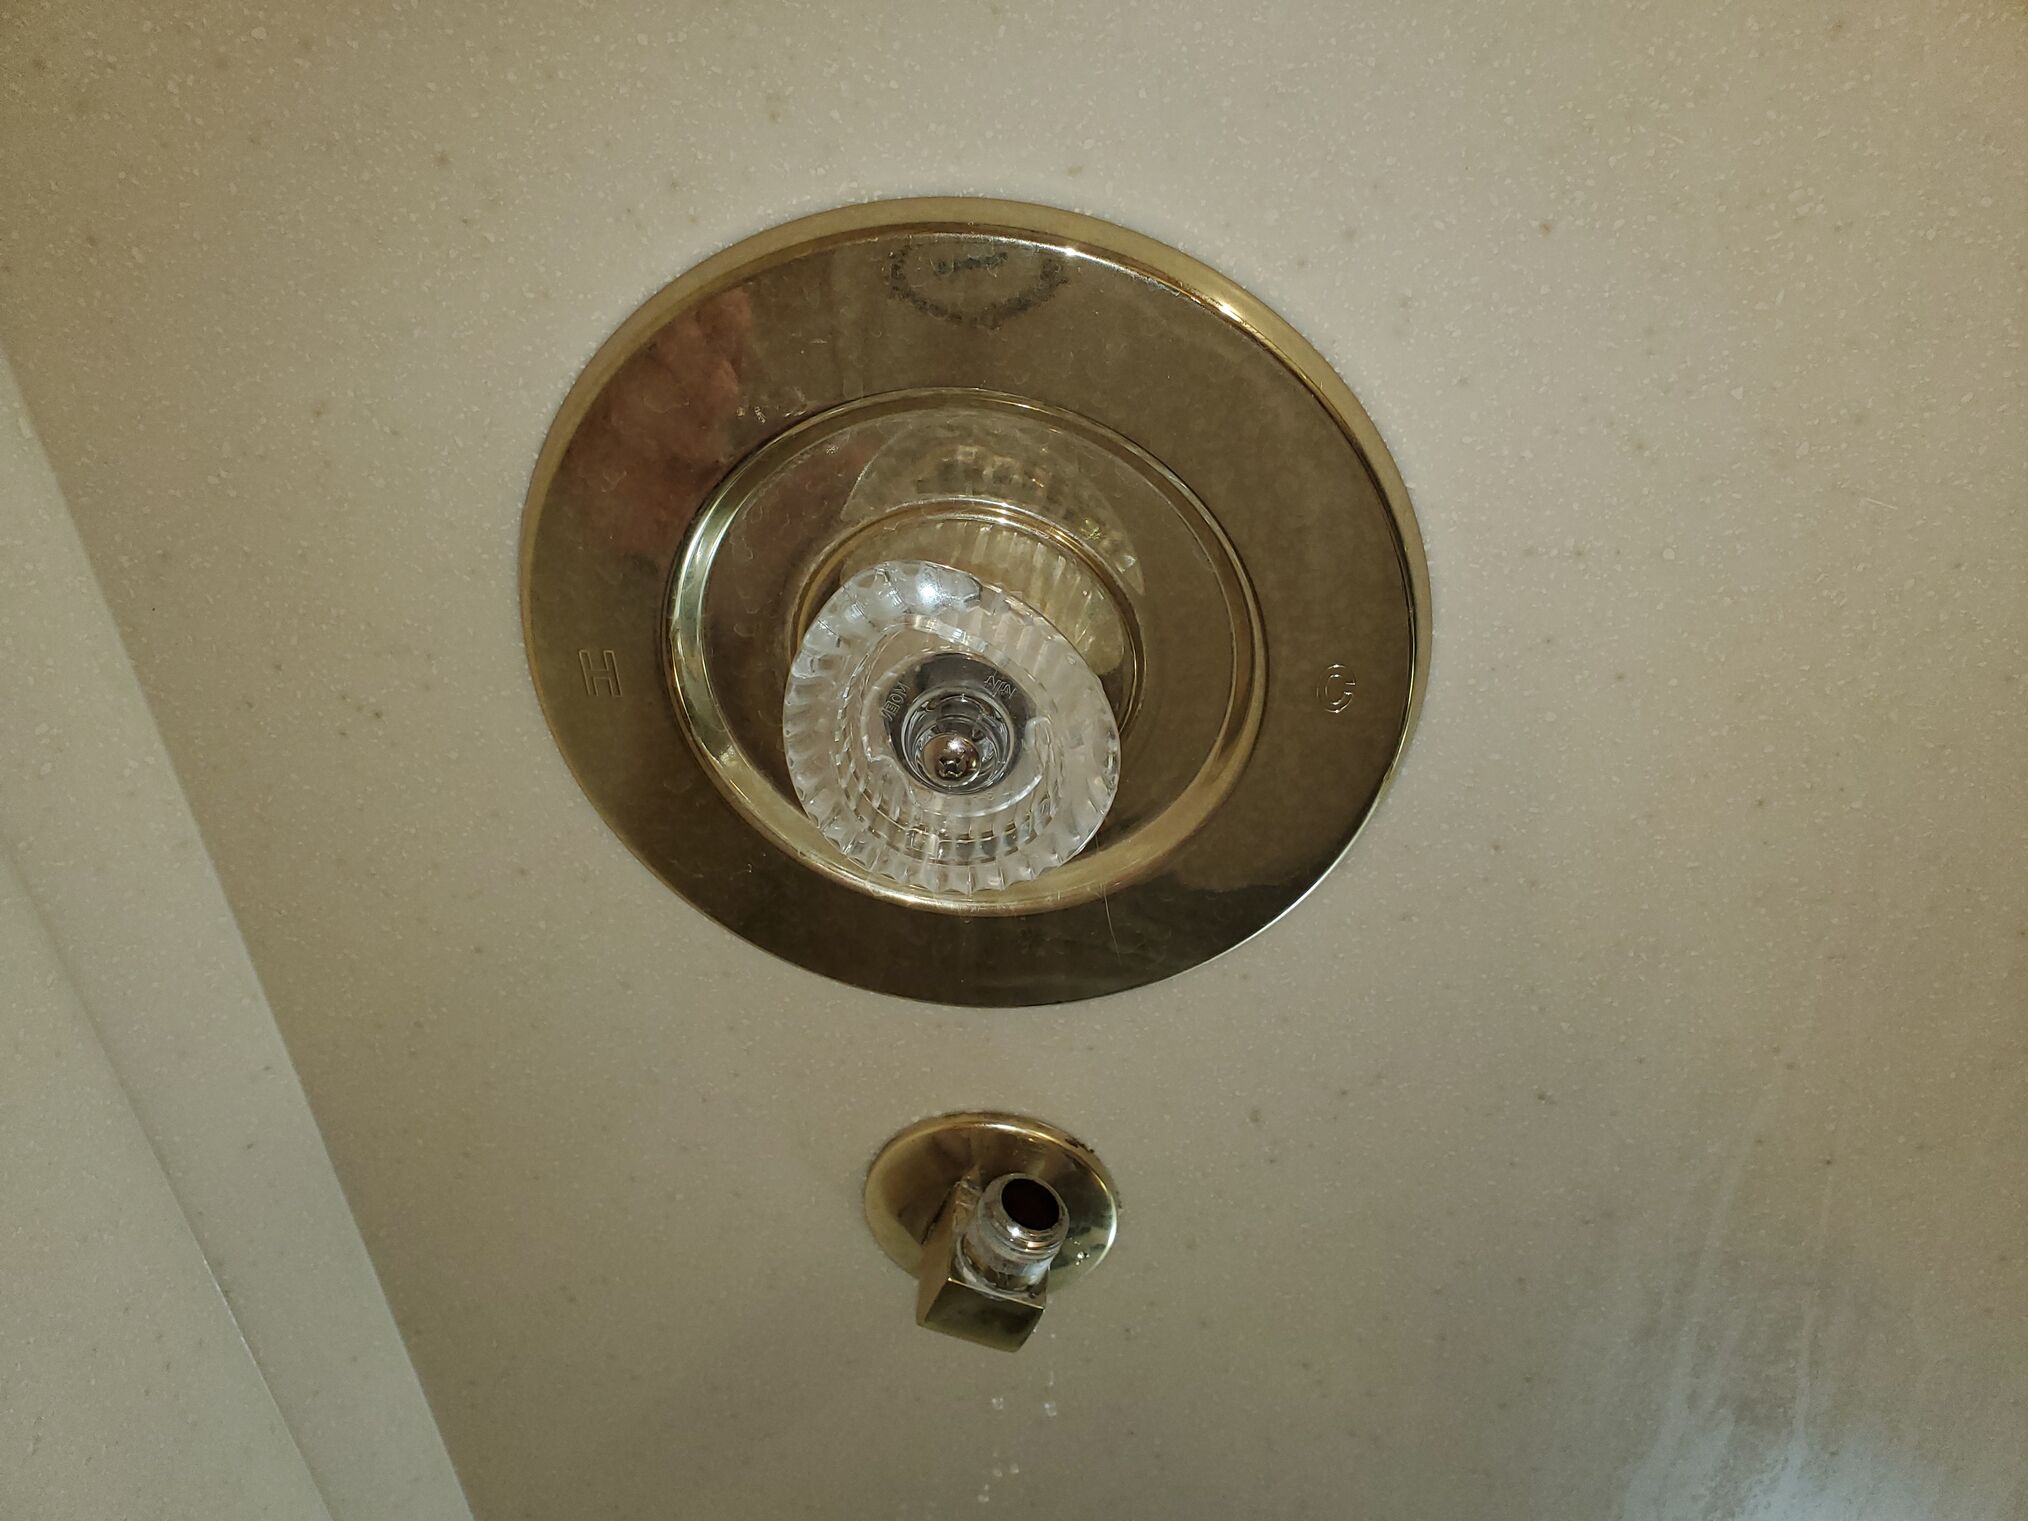
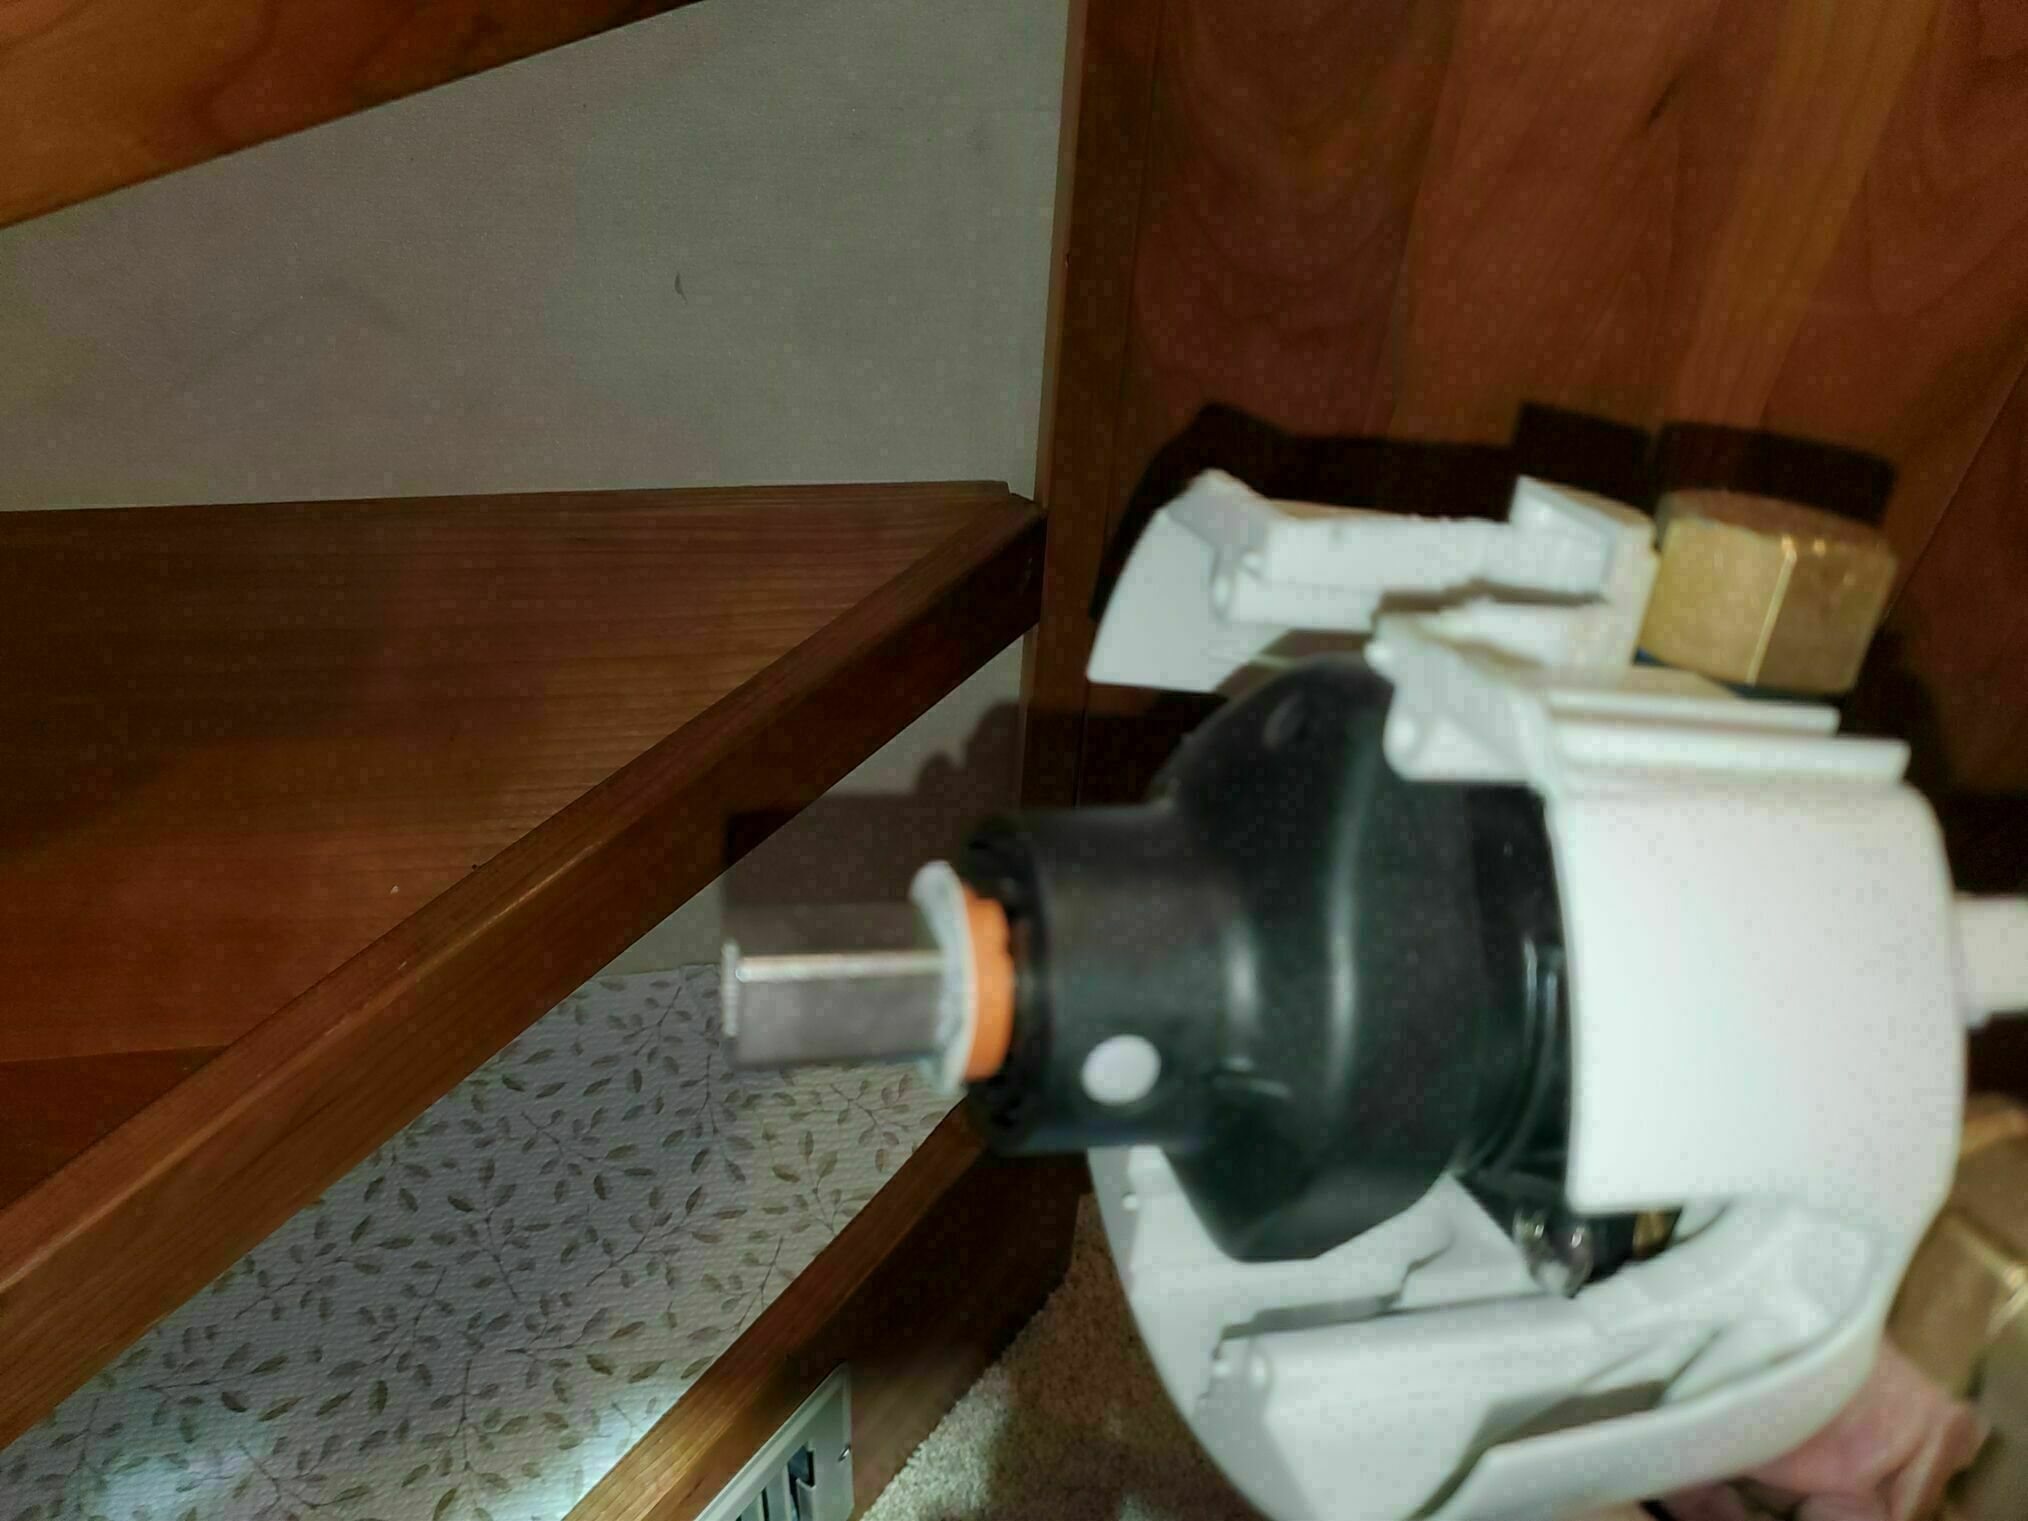
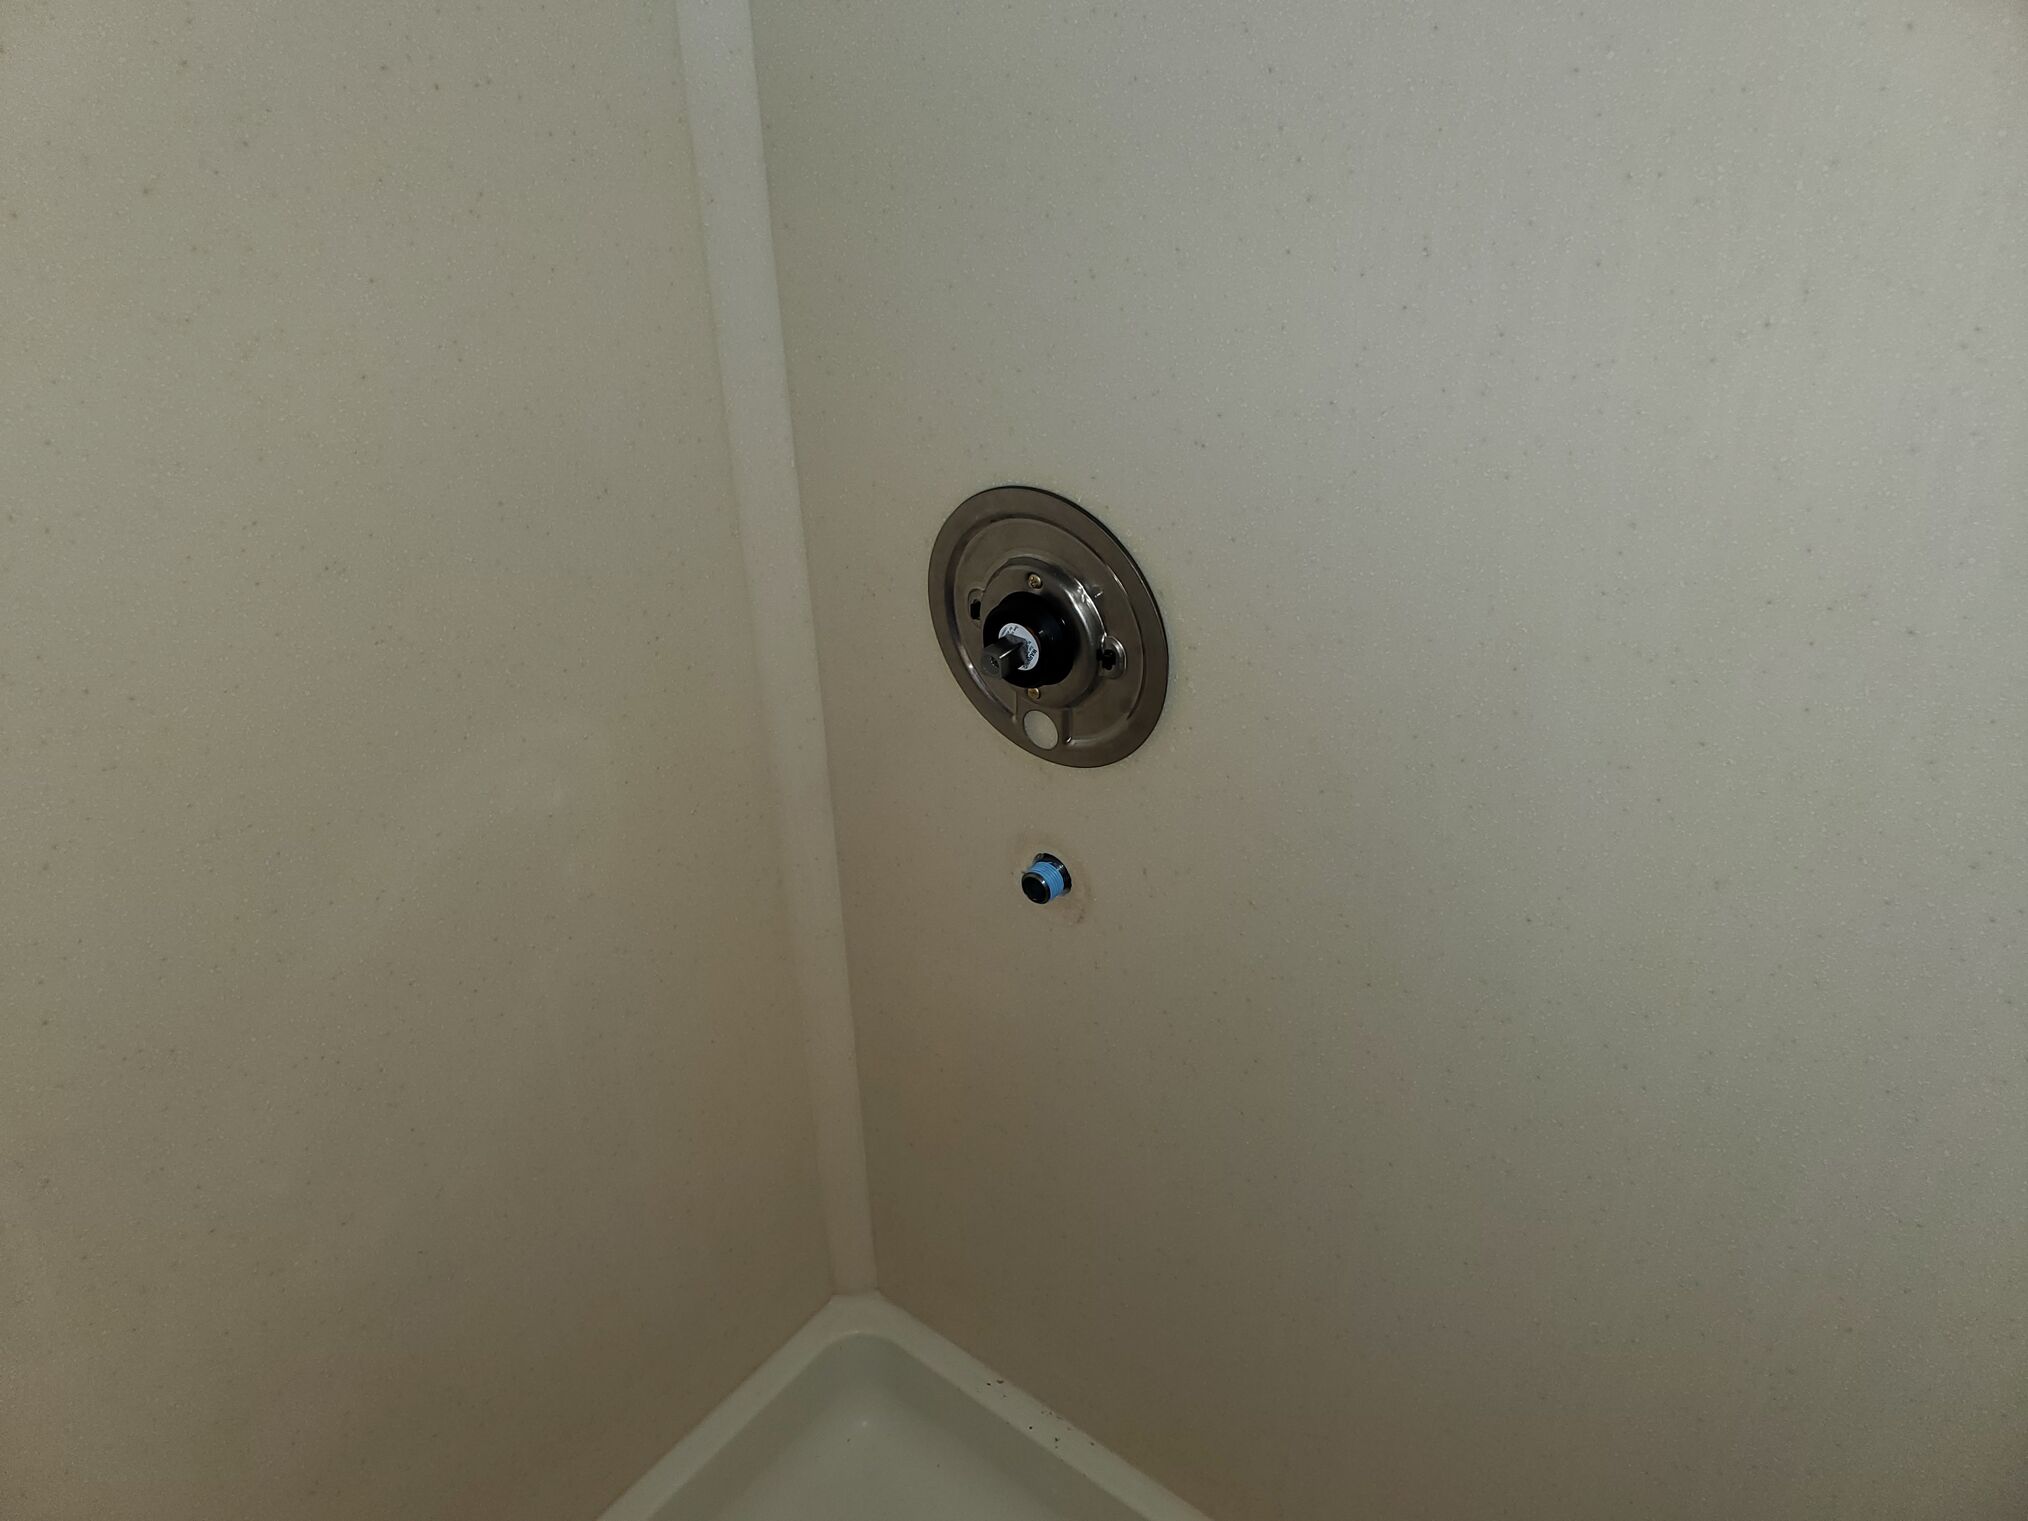
- First up, the shower valve and trim. Quite the project. Here is the OEM trim and the supply elbow for the hand shower hose. You’ll note the elbow is kind of facing up. Kohler wants theirs facing down.

- Old valve on the left, all the parts your new valve will ever need (almost) on the right
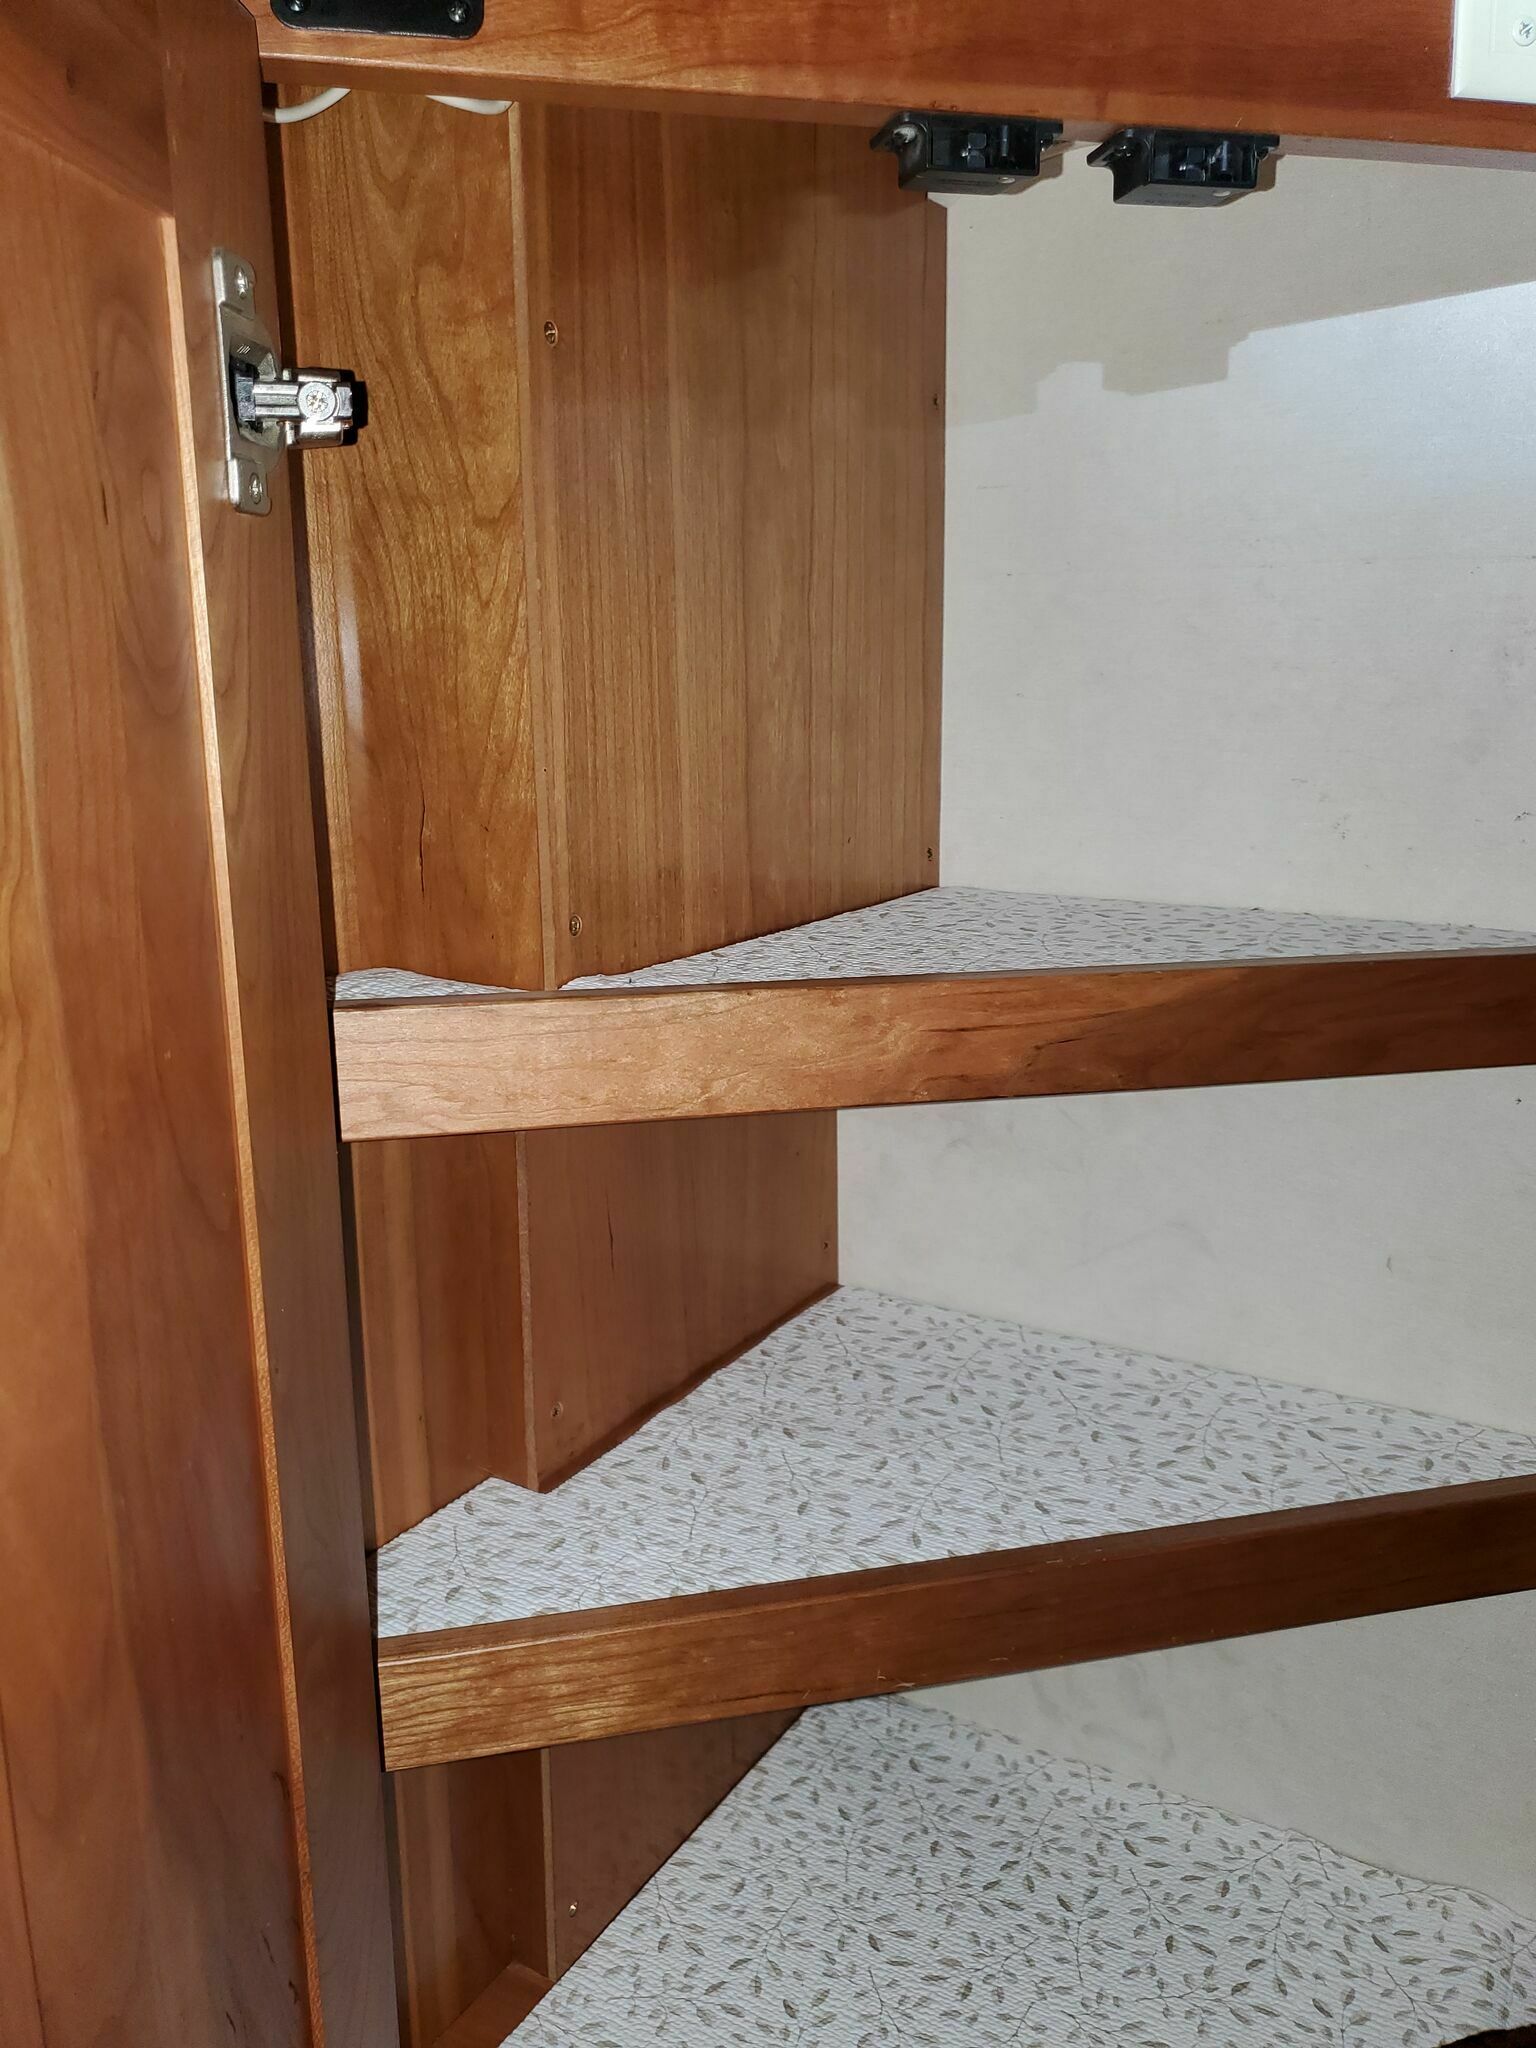
- Now you disassemble this cabinet in the bedroom to access the shower valve
Inside the cabinet, you will find the OEM Moentrol valve. While you can get some trims from a third party that will work with this valve, it appears they are only available in brushed nickel and ORB (oil-rubbed bronze).
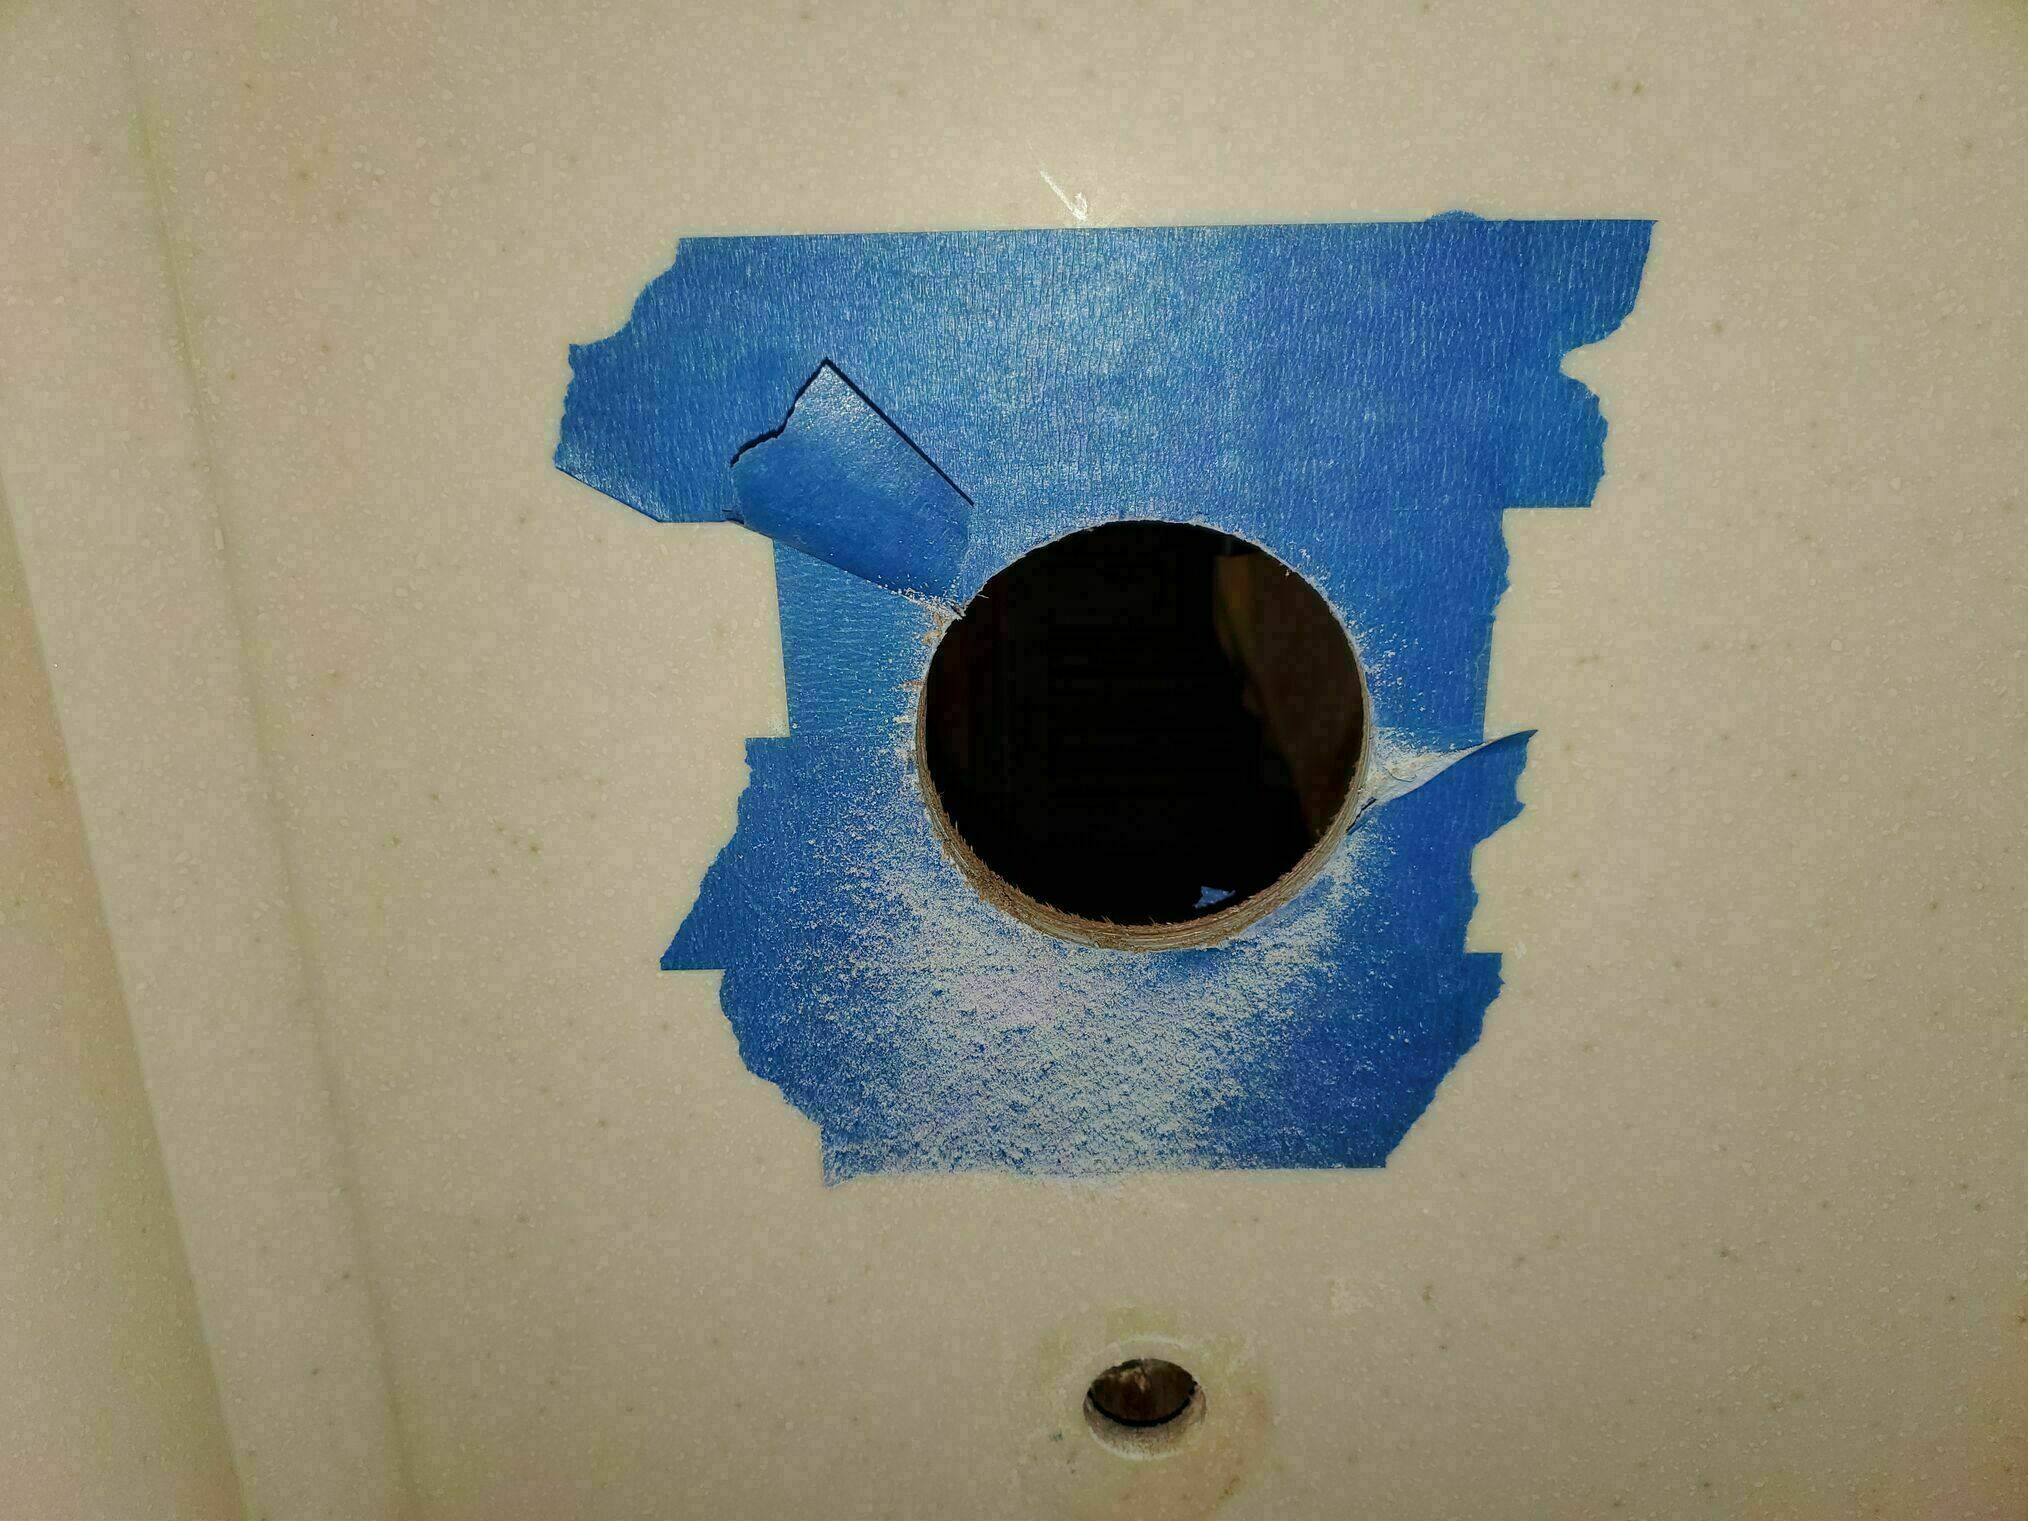
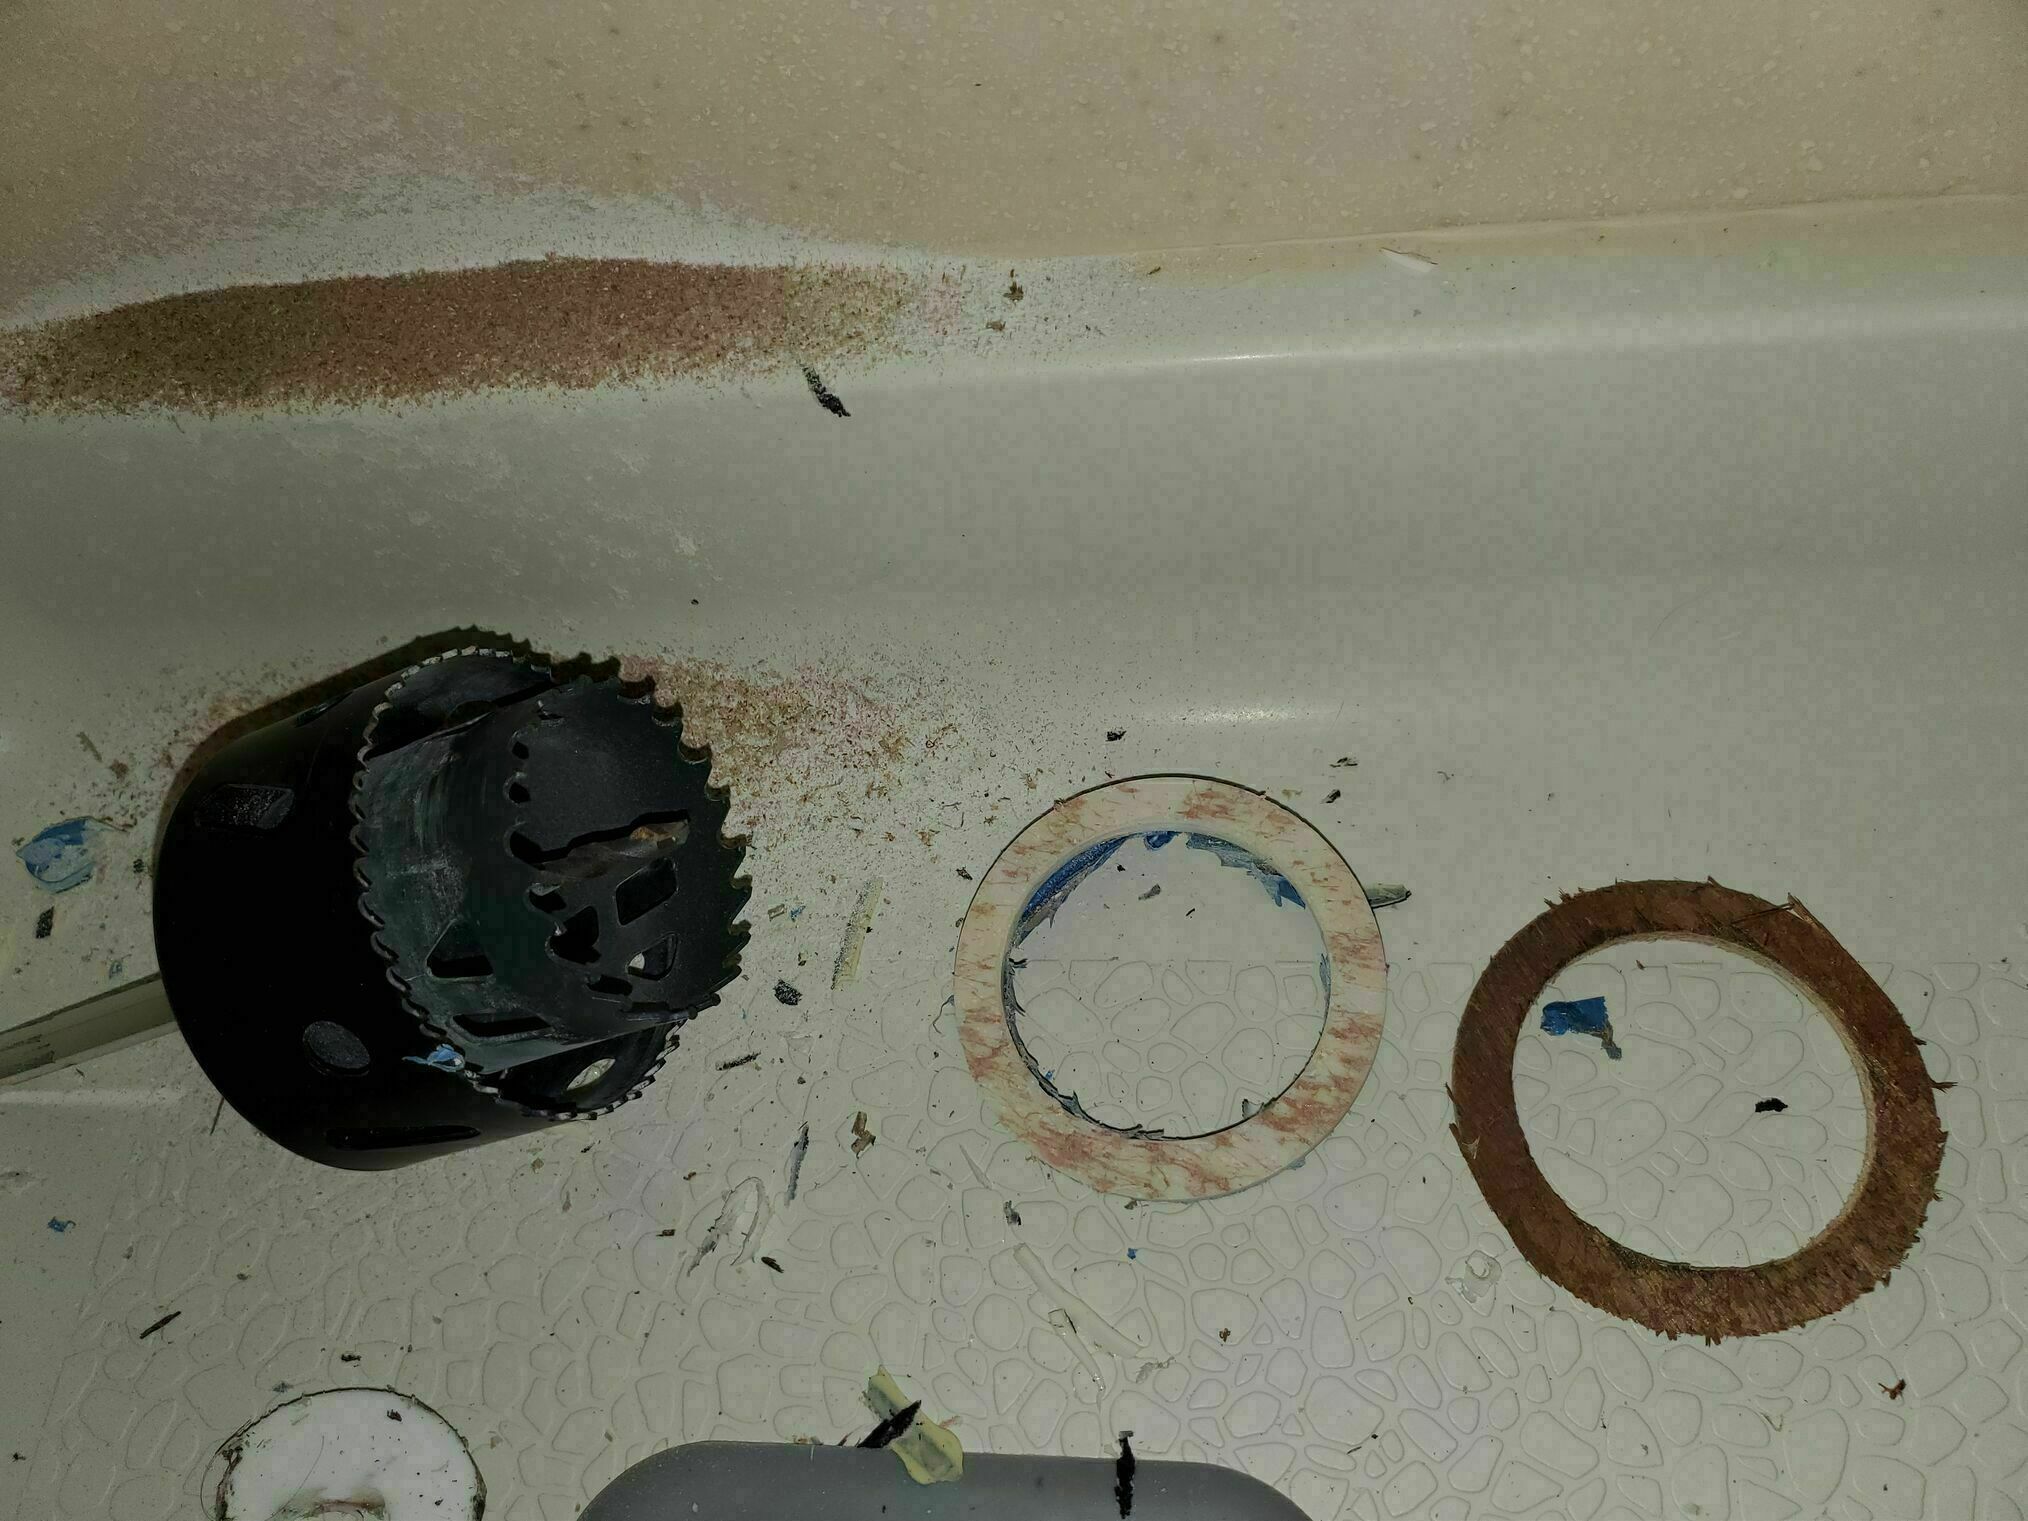
The Kohler valve installation requires that hole be enlarged to fit the valve body through. The existing hole makes this a bit of a challenge. We matched the diameter of the original hole with one hole saw, then the desired larger diameter with a second, slightly shallower hole saw. Mounted on the same arbor, this created a self-aligning stepped hole saw. (The inner saw acts as a pilot to guide the larger cut precisely). First we completed the partial cut that was in the wall from the original installation, then he used the stepped hole saw to drill the larger diameter needed. And since the solid surface is prone to chip out, we masked it with painter’s tape first to protect it
- Now it was time to install the new Kohler valve. First, some relief cut of the valve box to make it fit in the space
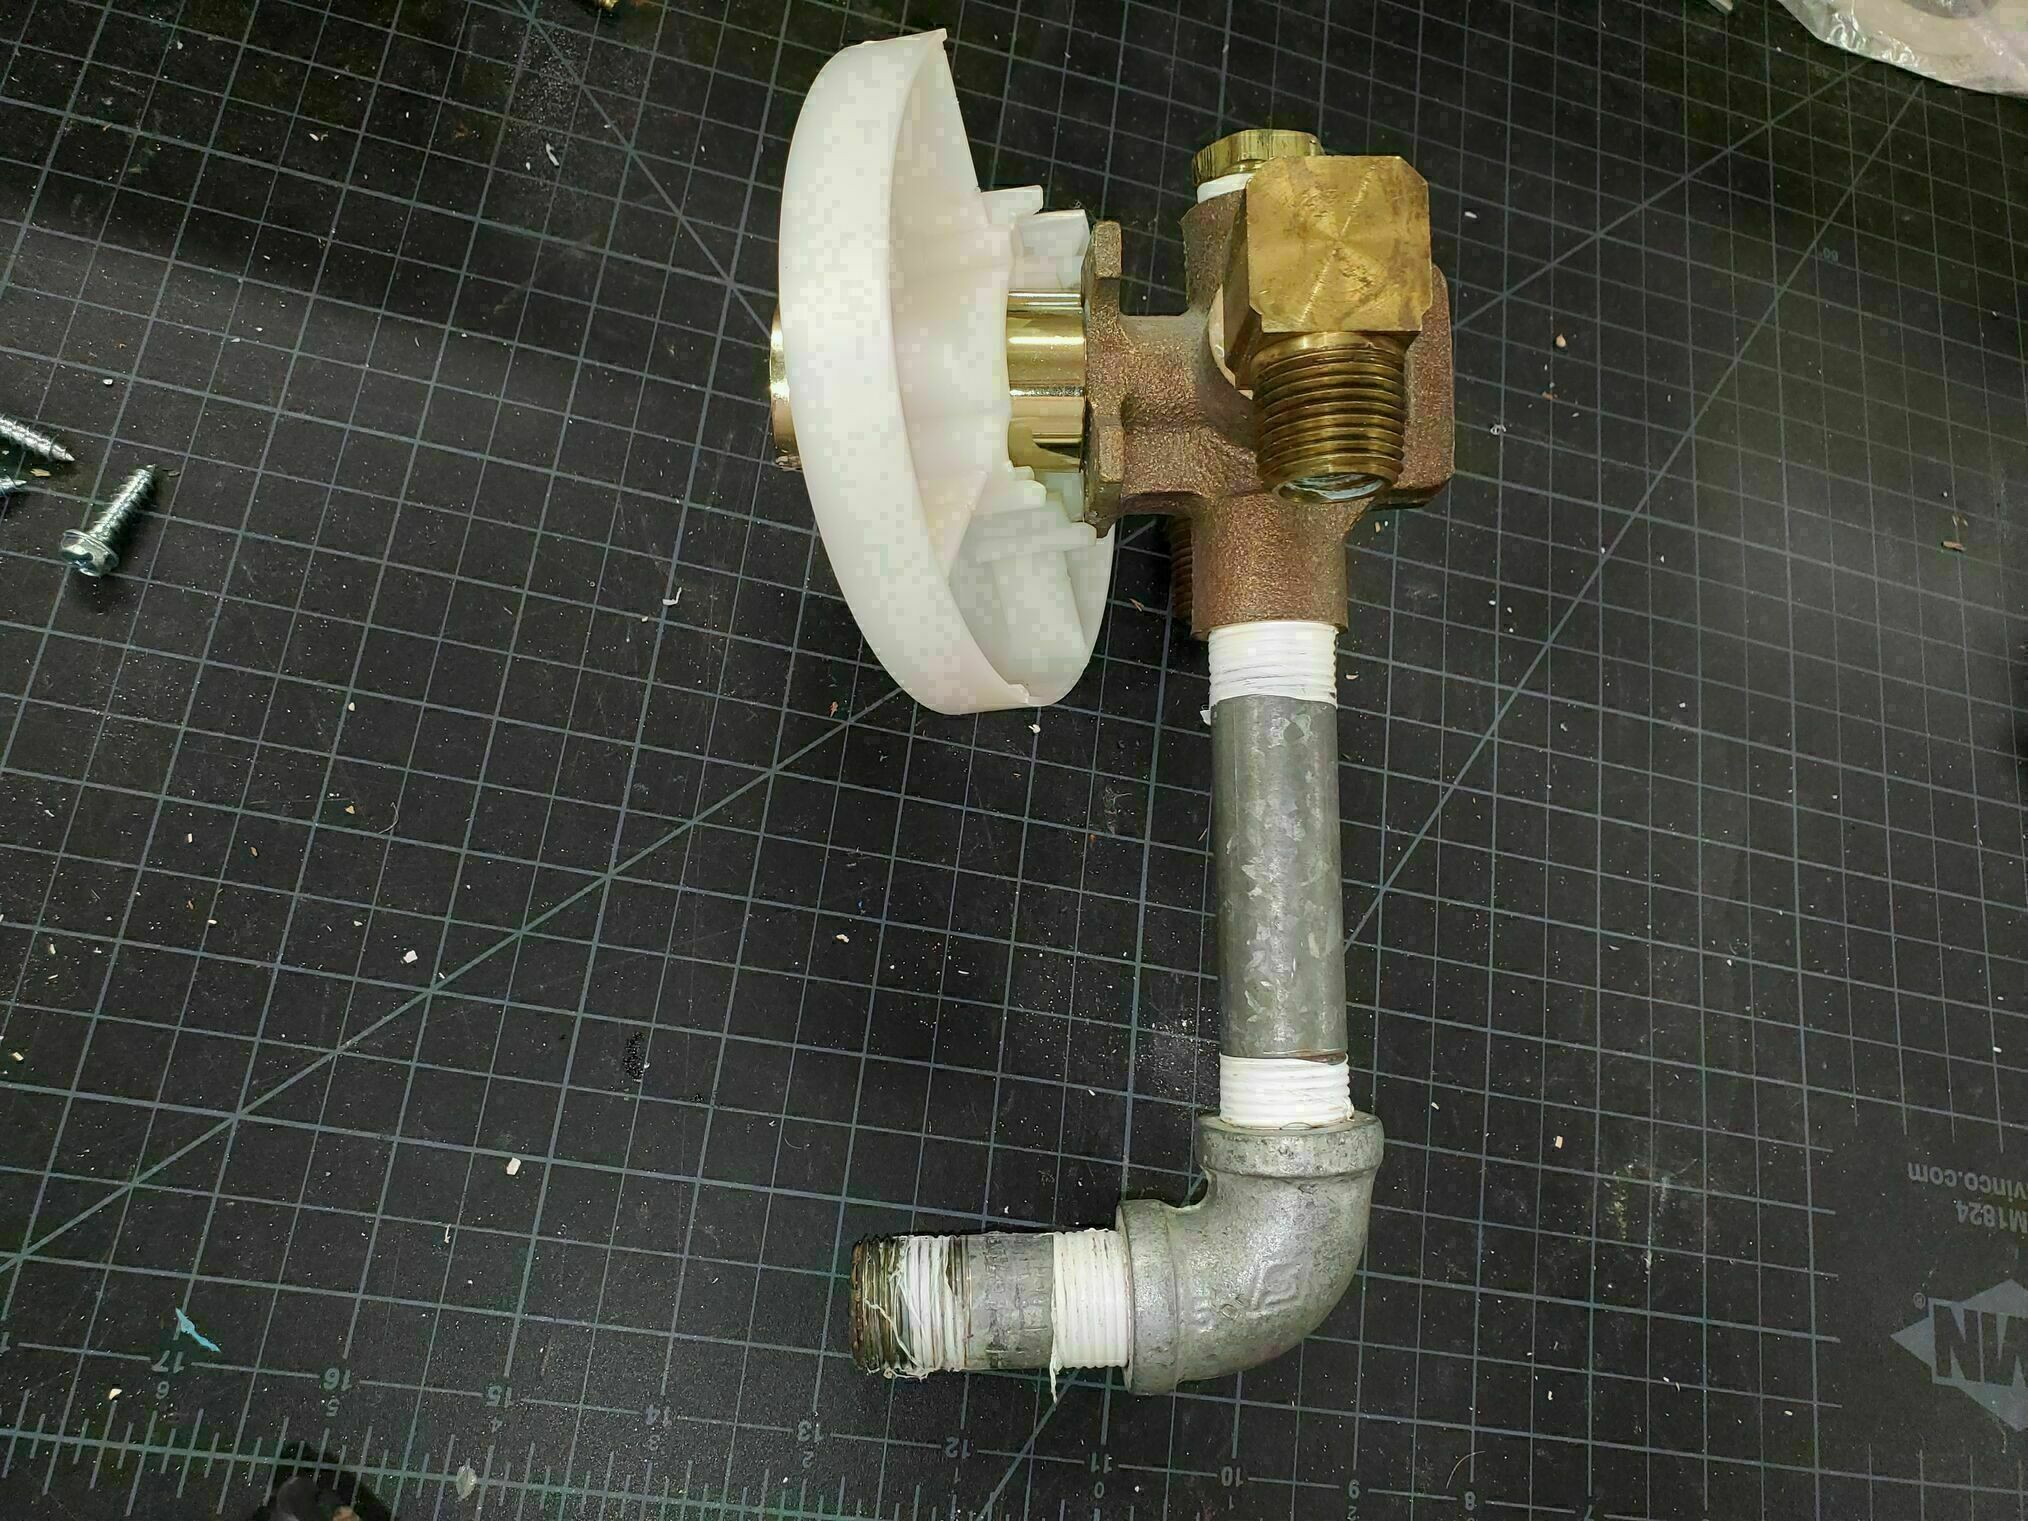
- The distance from the new valve to the hand shower supply elbow was greater than the Moen shown in the photo below, so off to the hardware store for a longer nipple. Ace is the Place with the helpful plumbing parts.
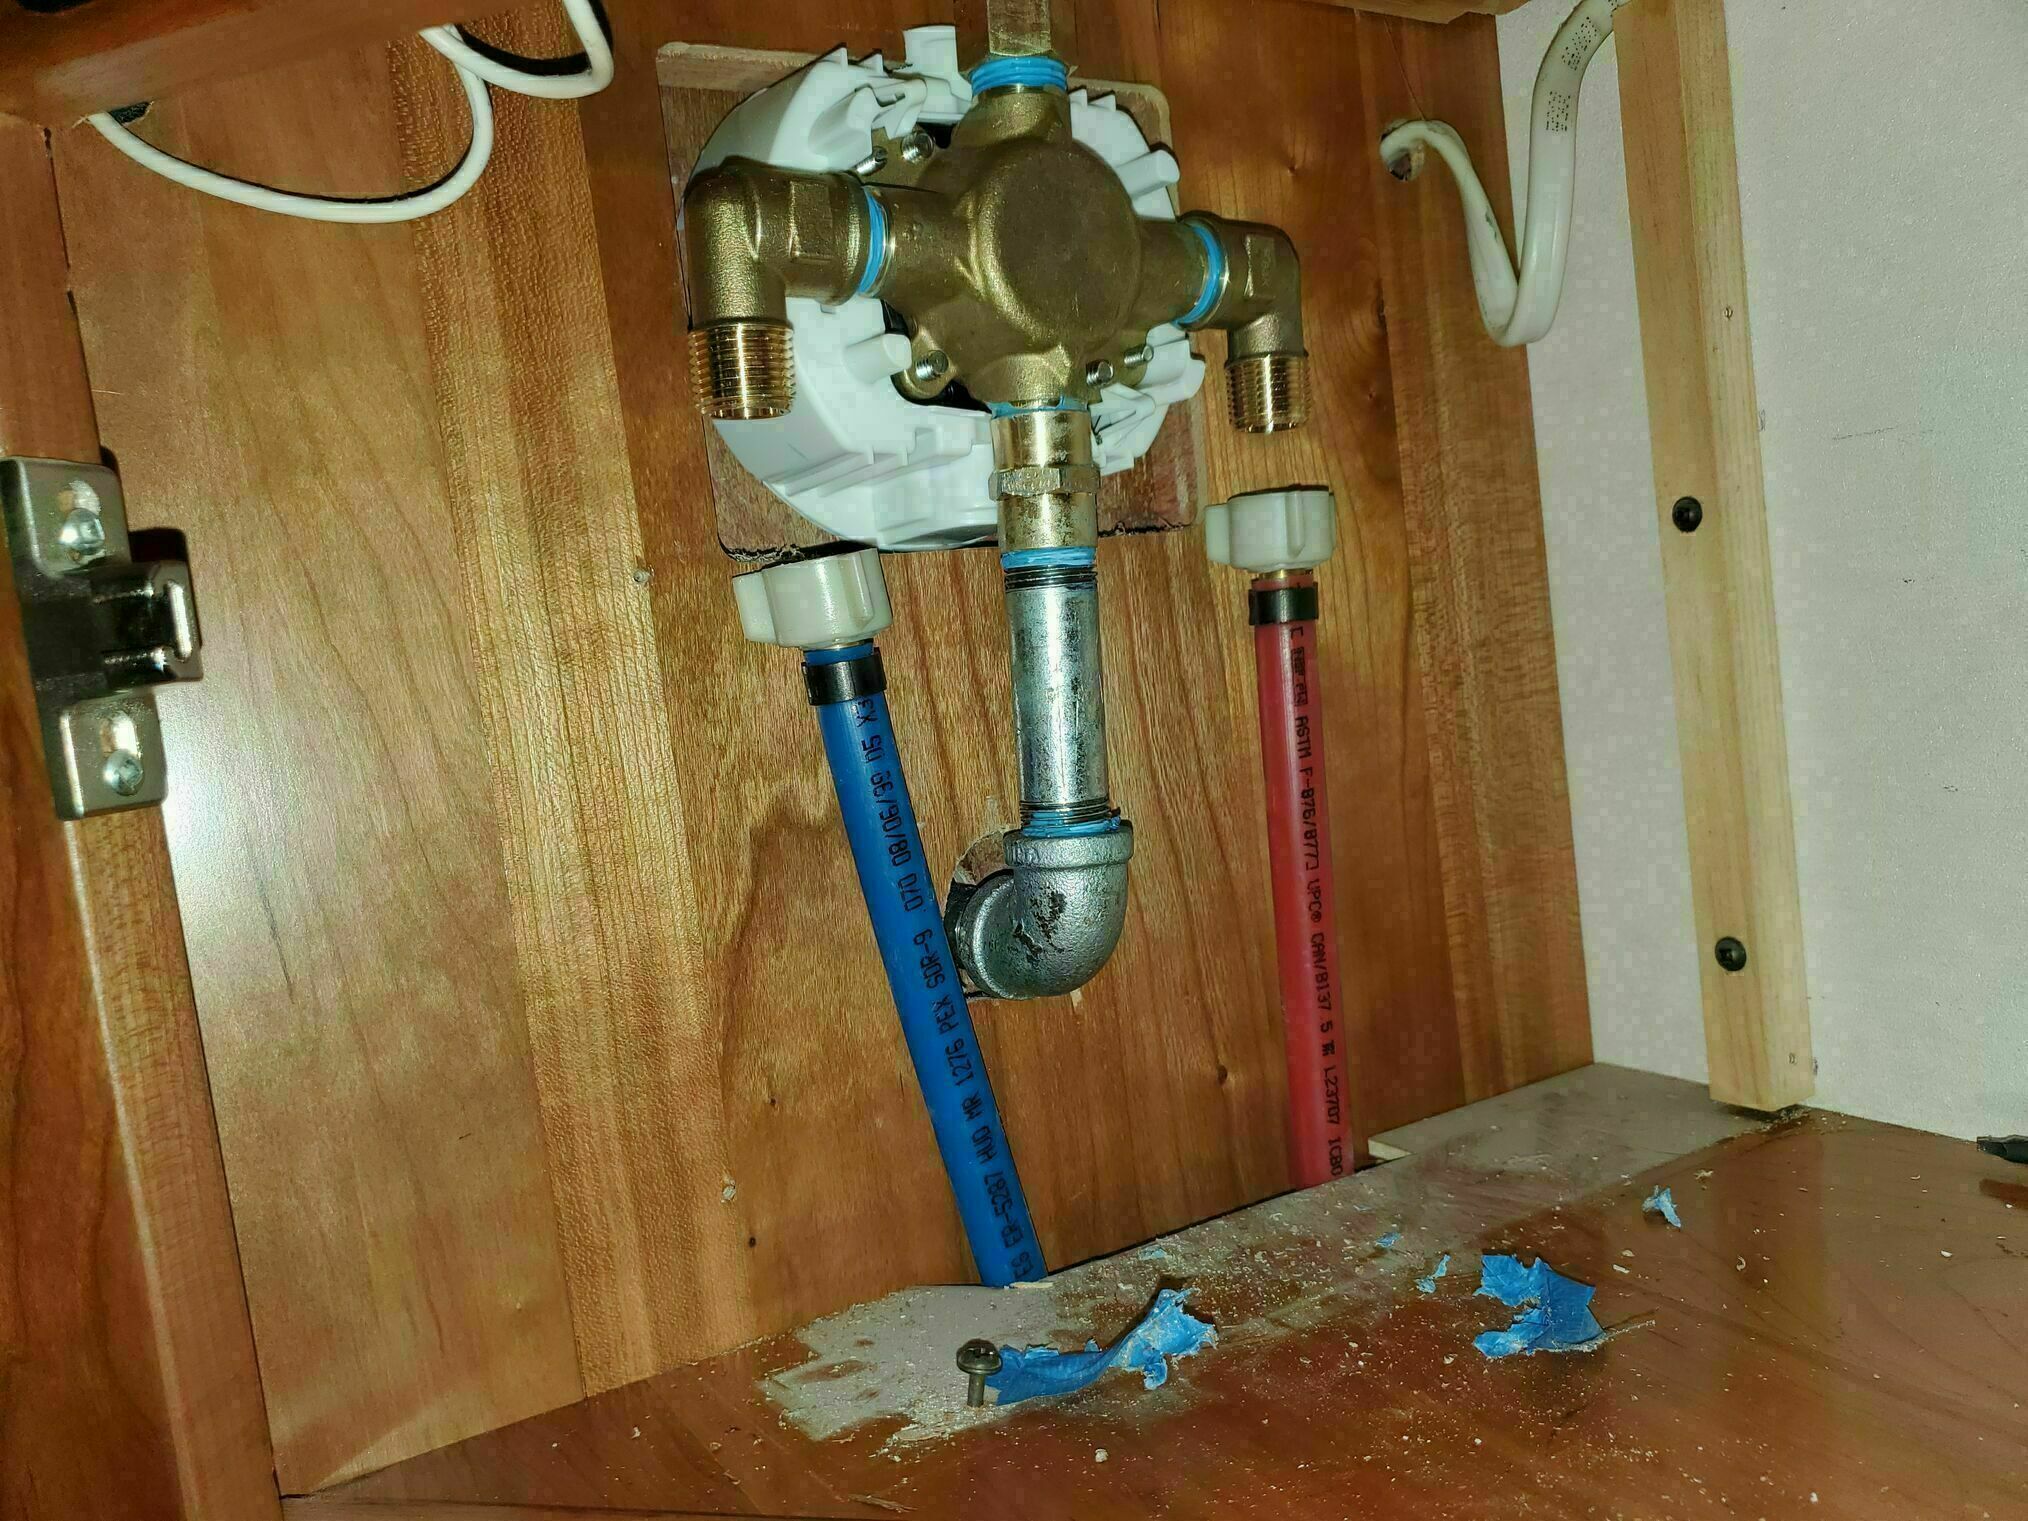
- And the valve was mounted, upon which we discovered the supply lines were a little too short because the connections were higher up on the Kohler valve than the Moentrol
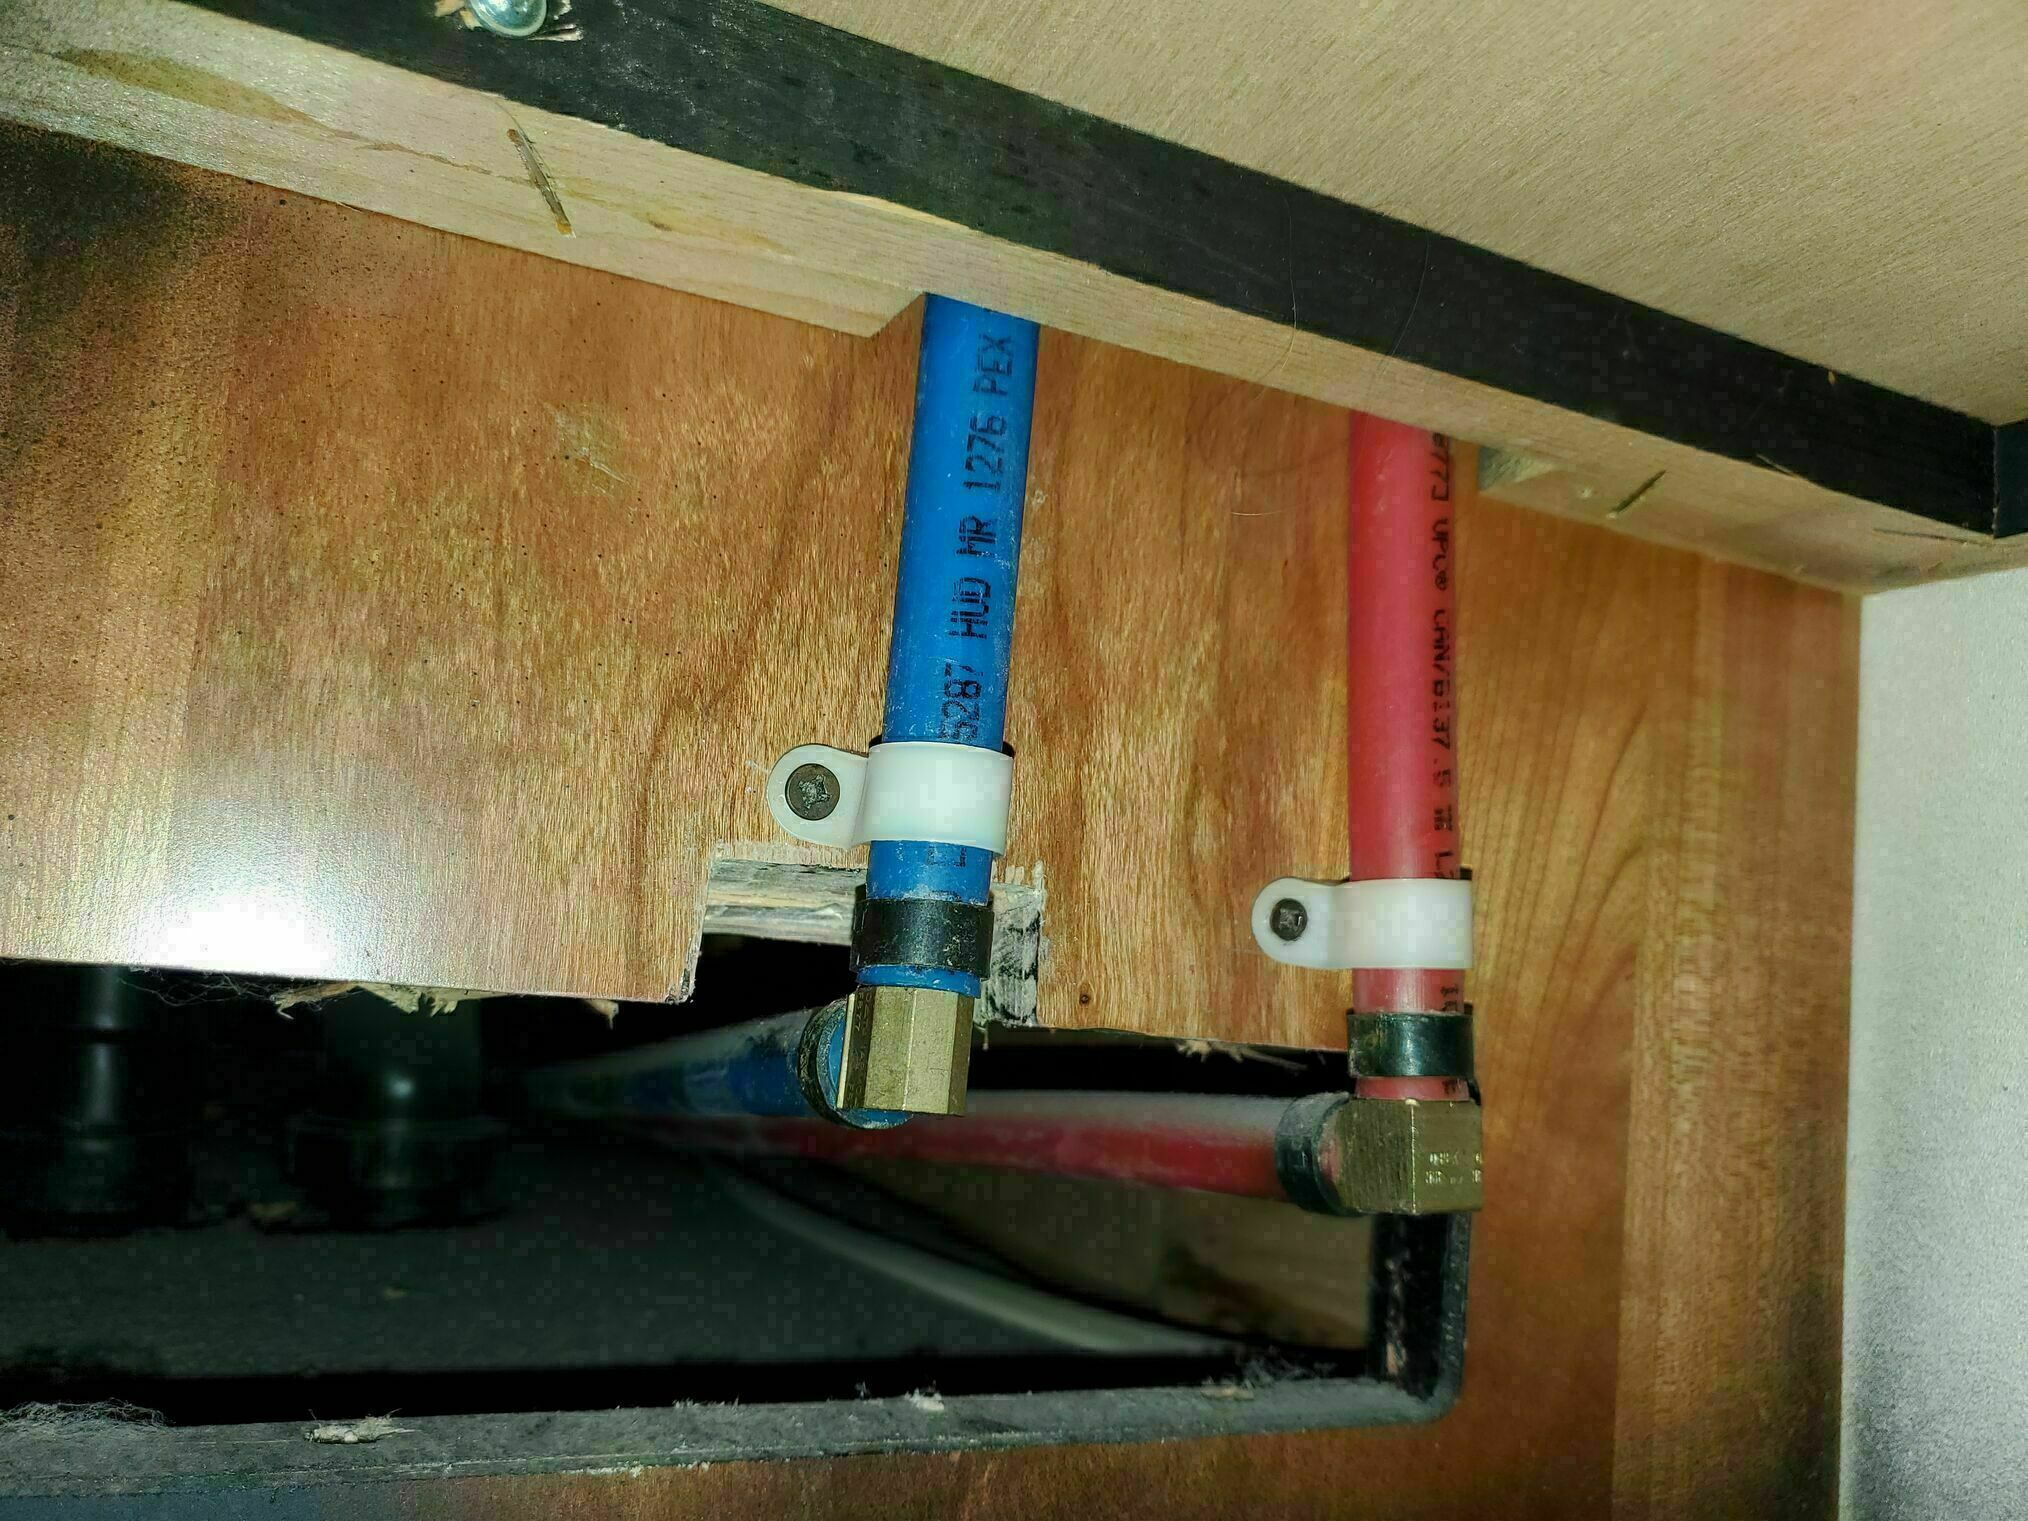
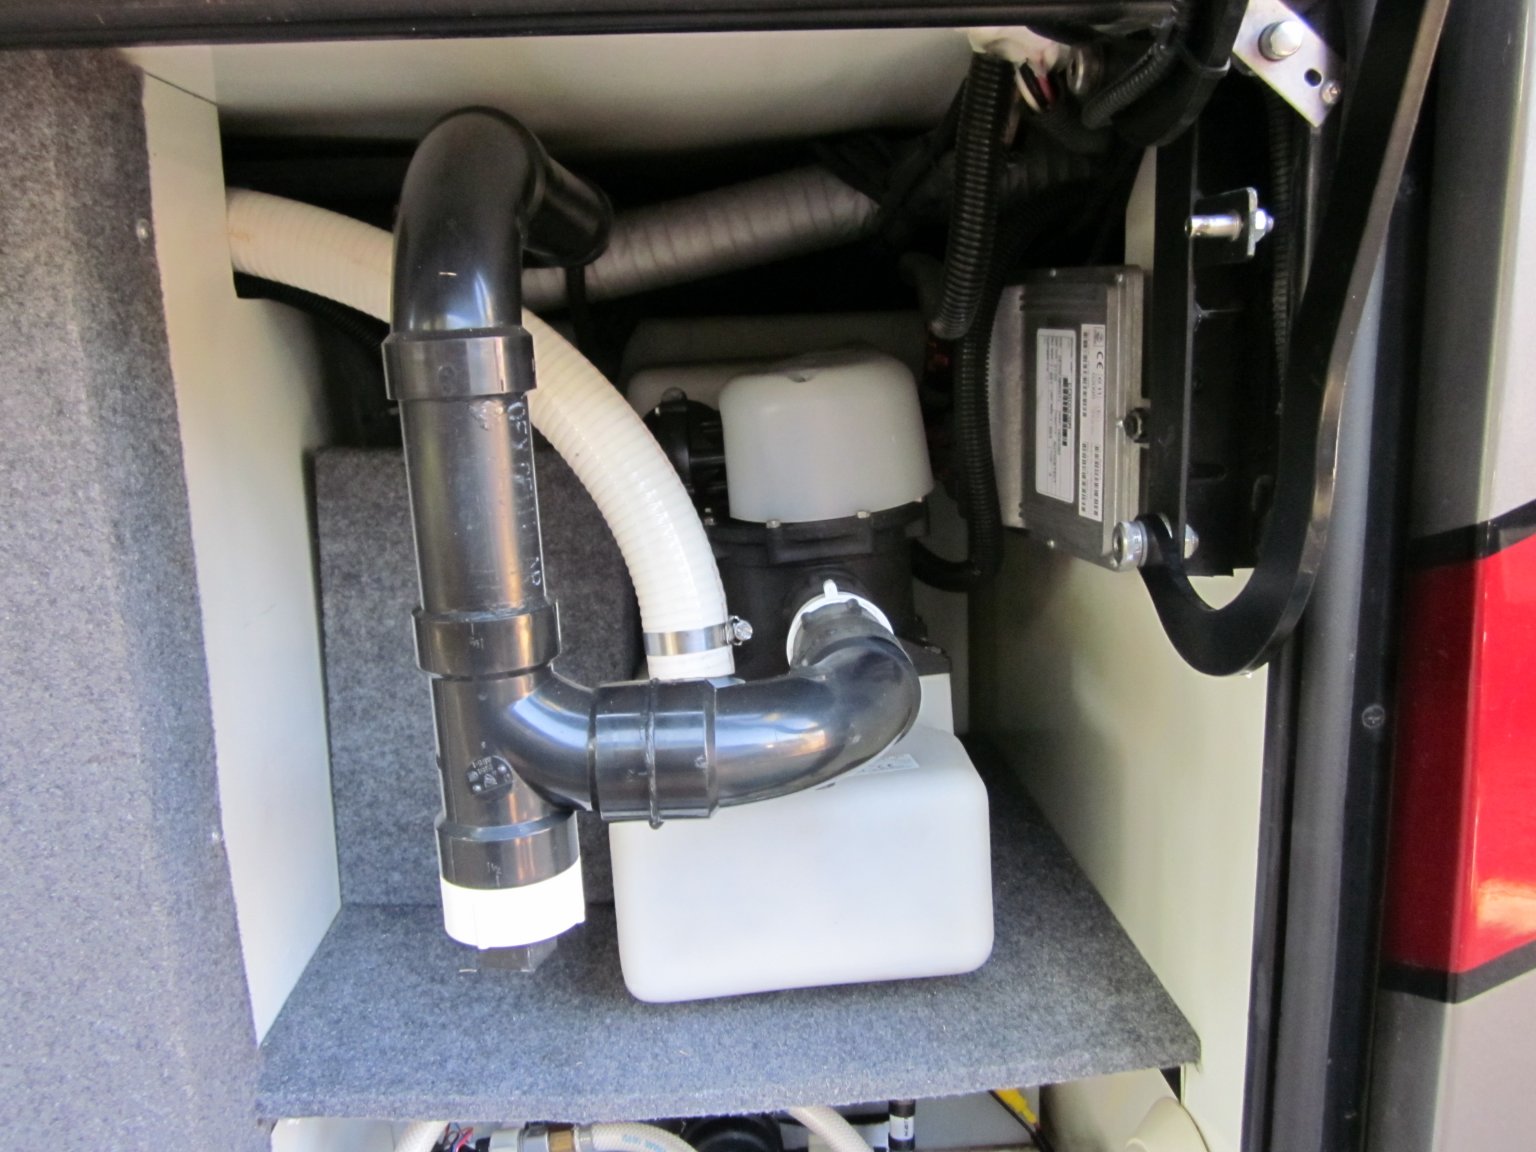
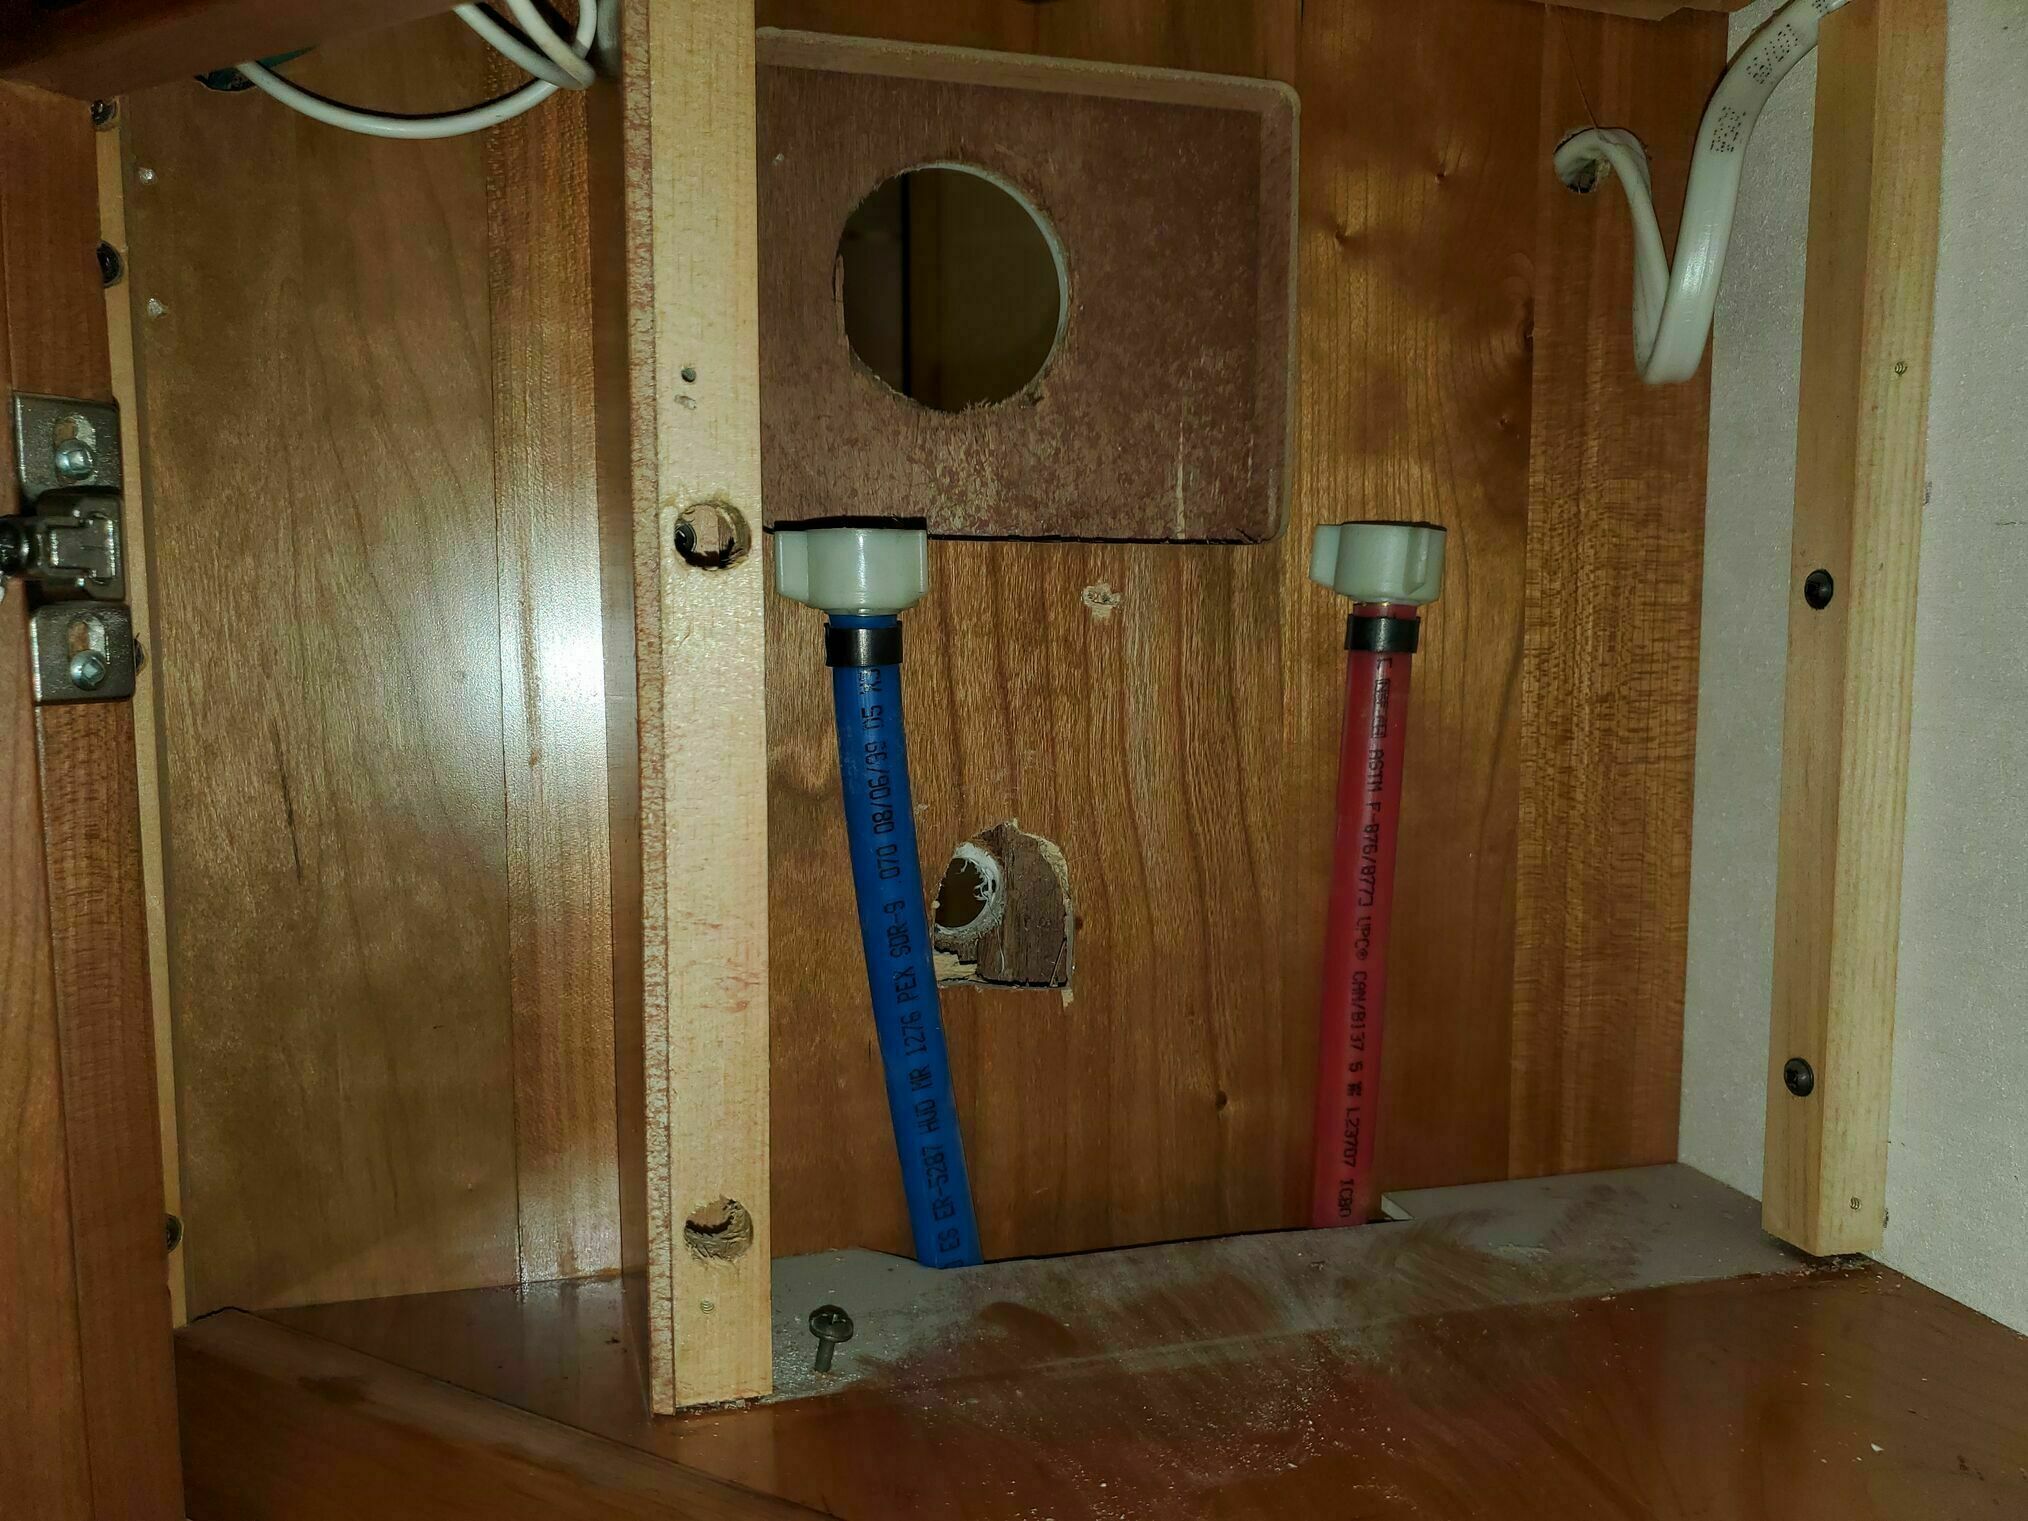
- Next creative solution - remove the AquaHot return vent below the cabinet to see what was going on. Aha! At the back of the cabinet where the supply lines came through, the cabinet back was the problem. We notched it so the lines could shift up, and added some clamps to prevent the lines from moving around (they were just flopping untethered back there).
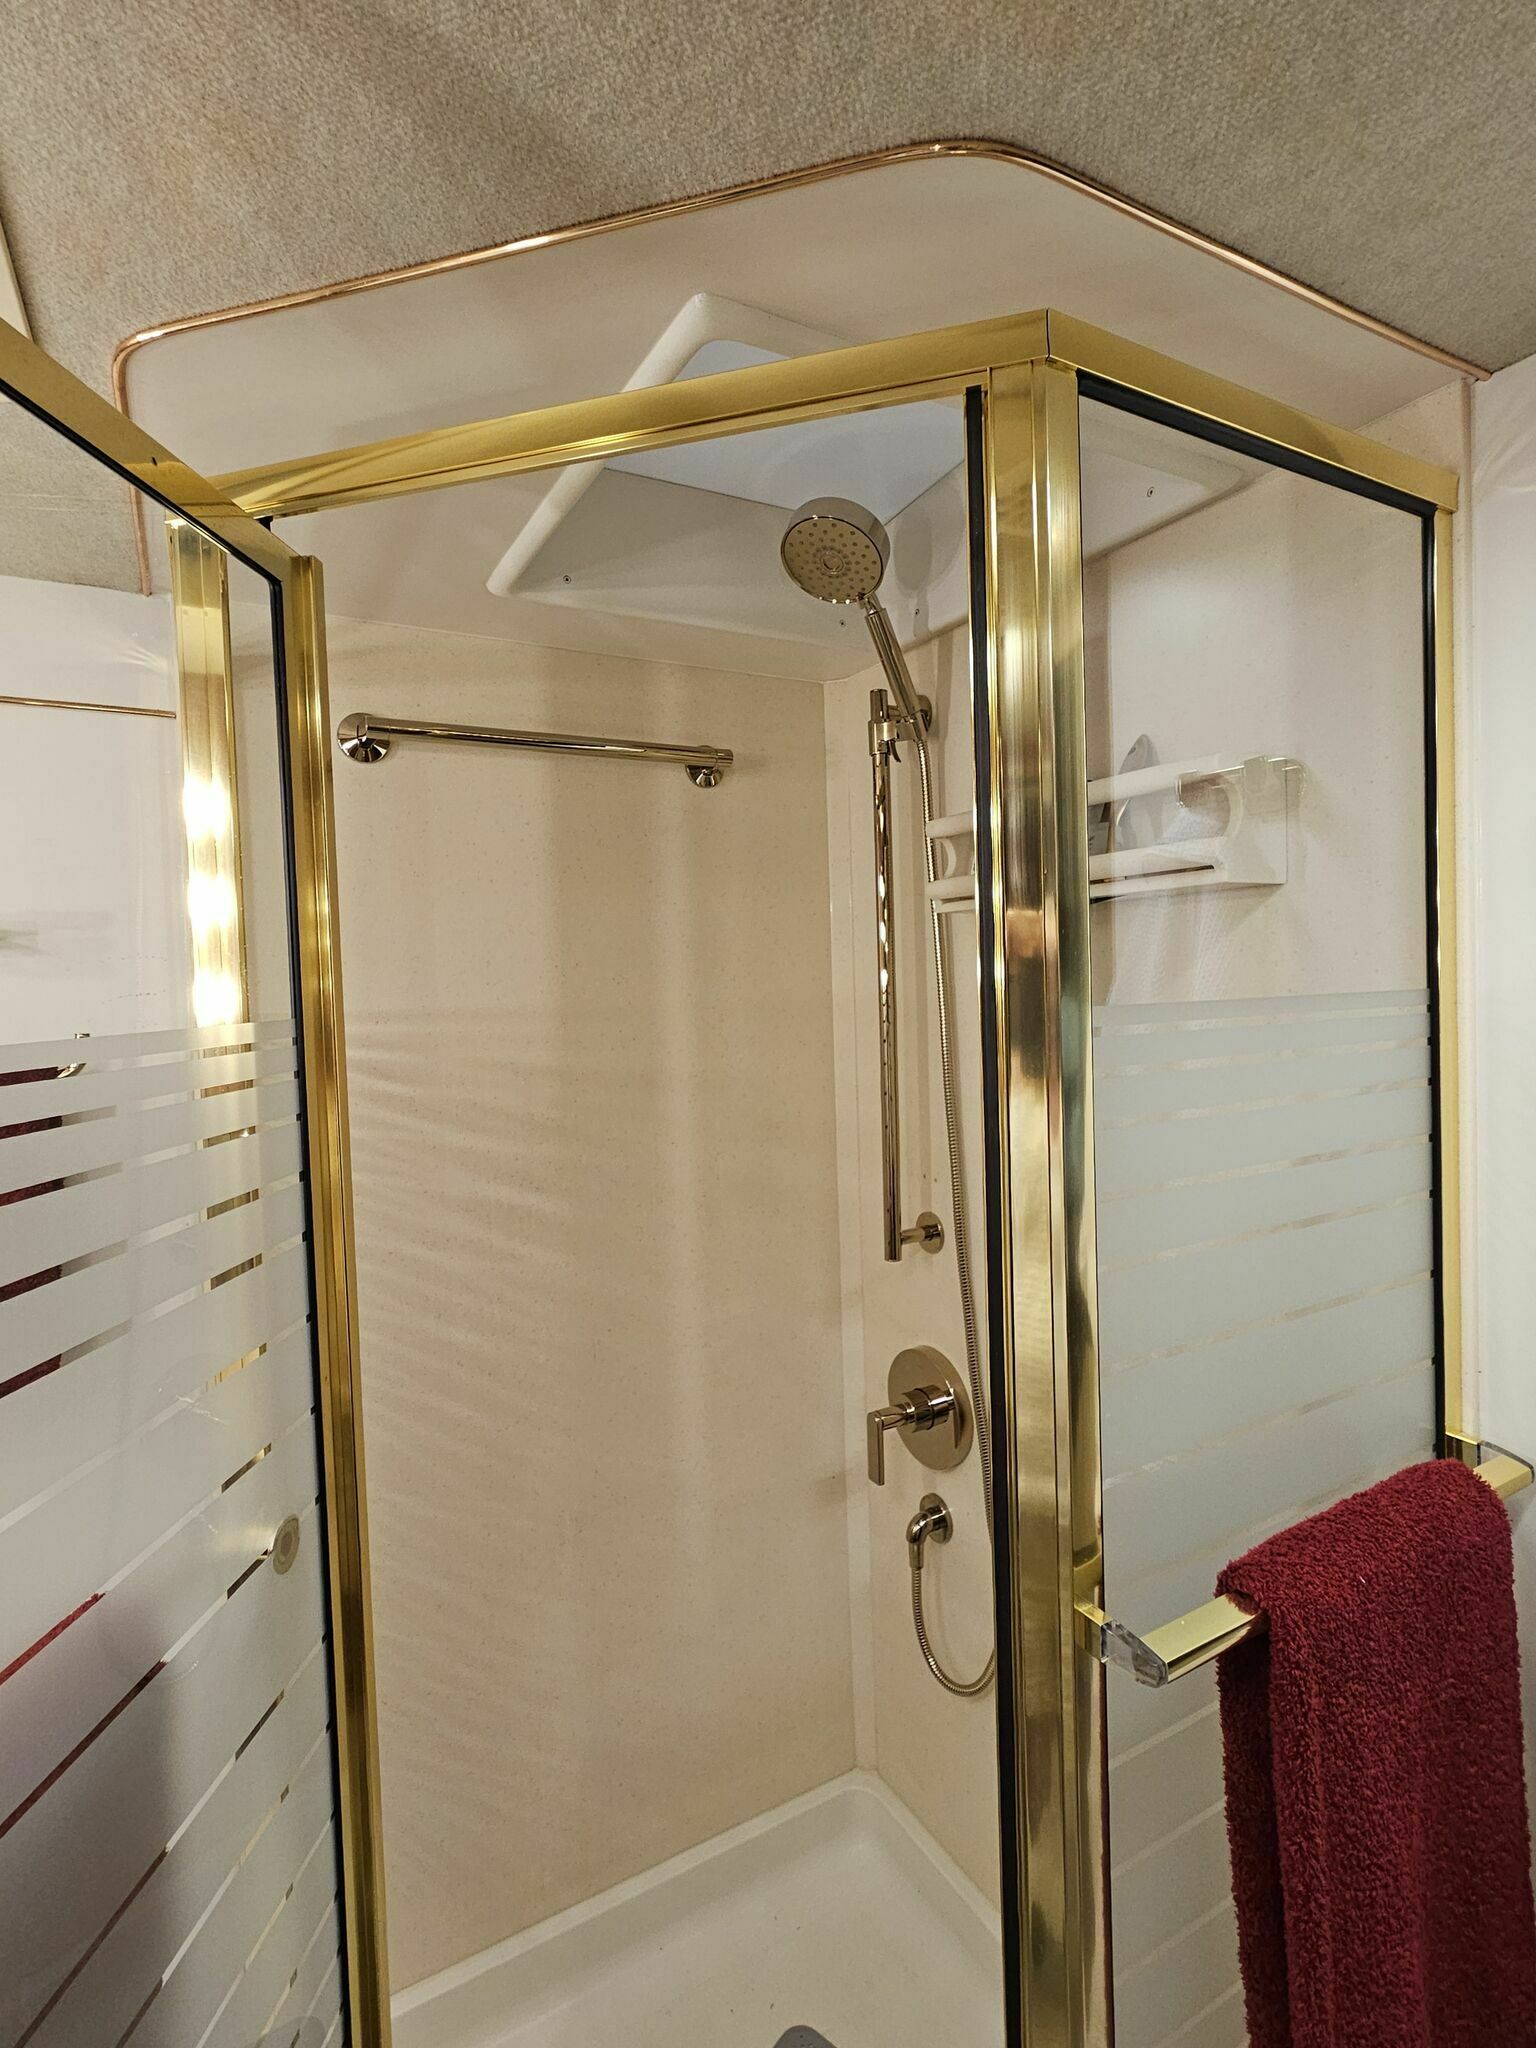
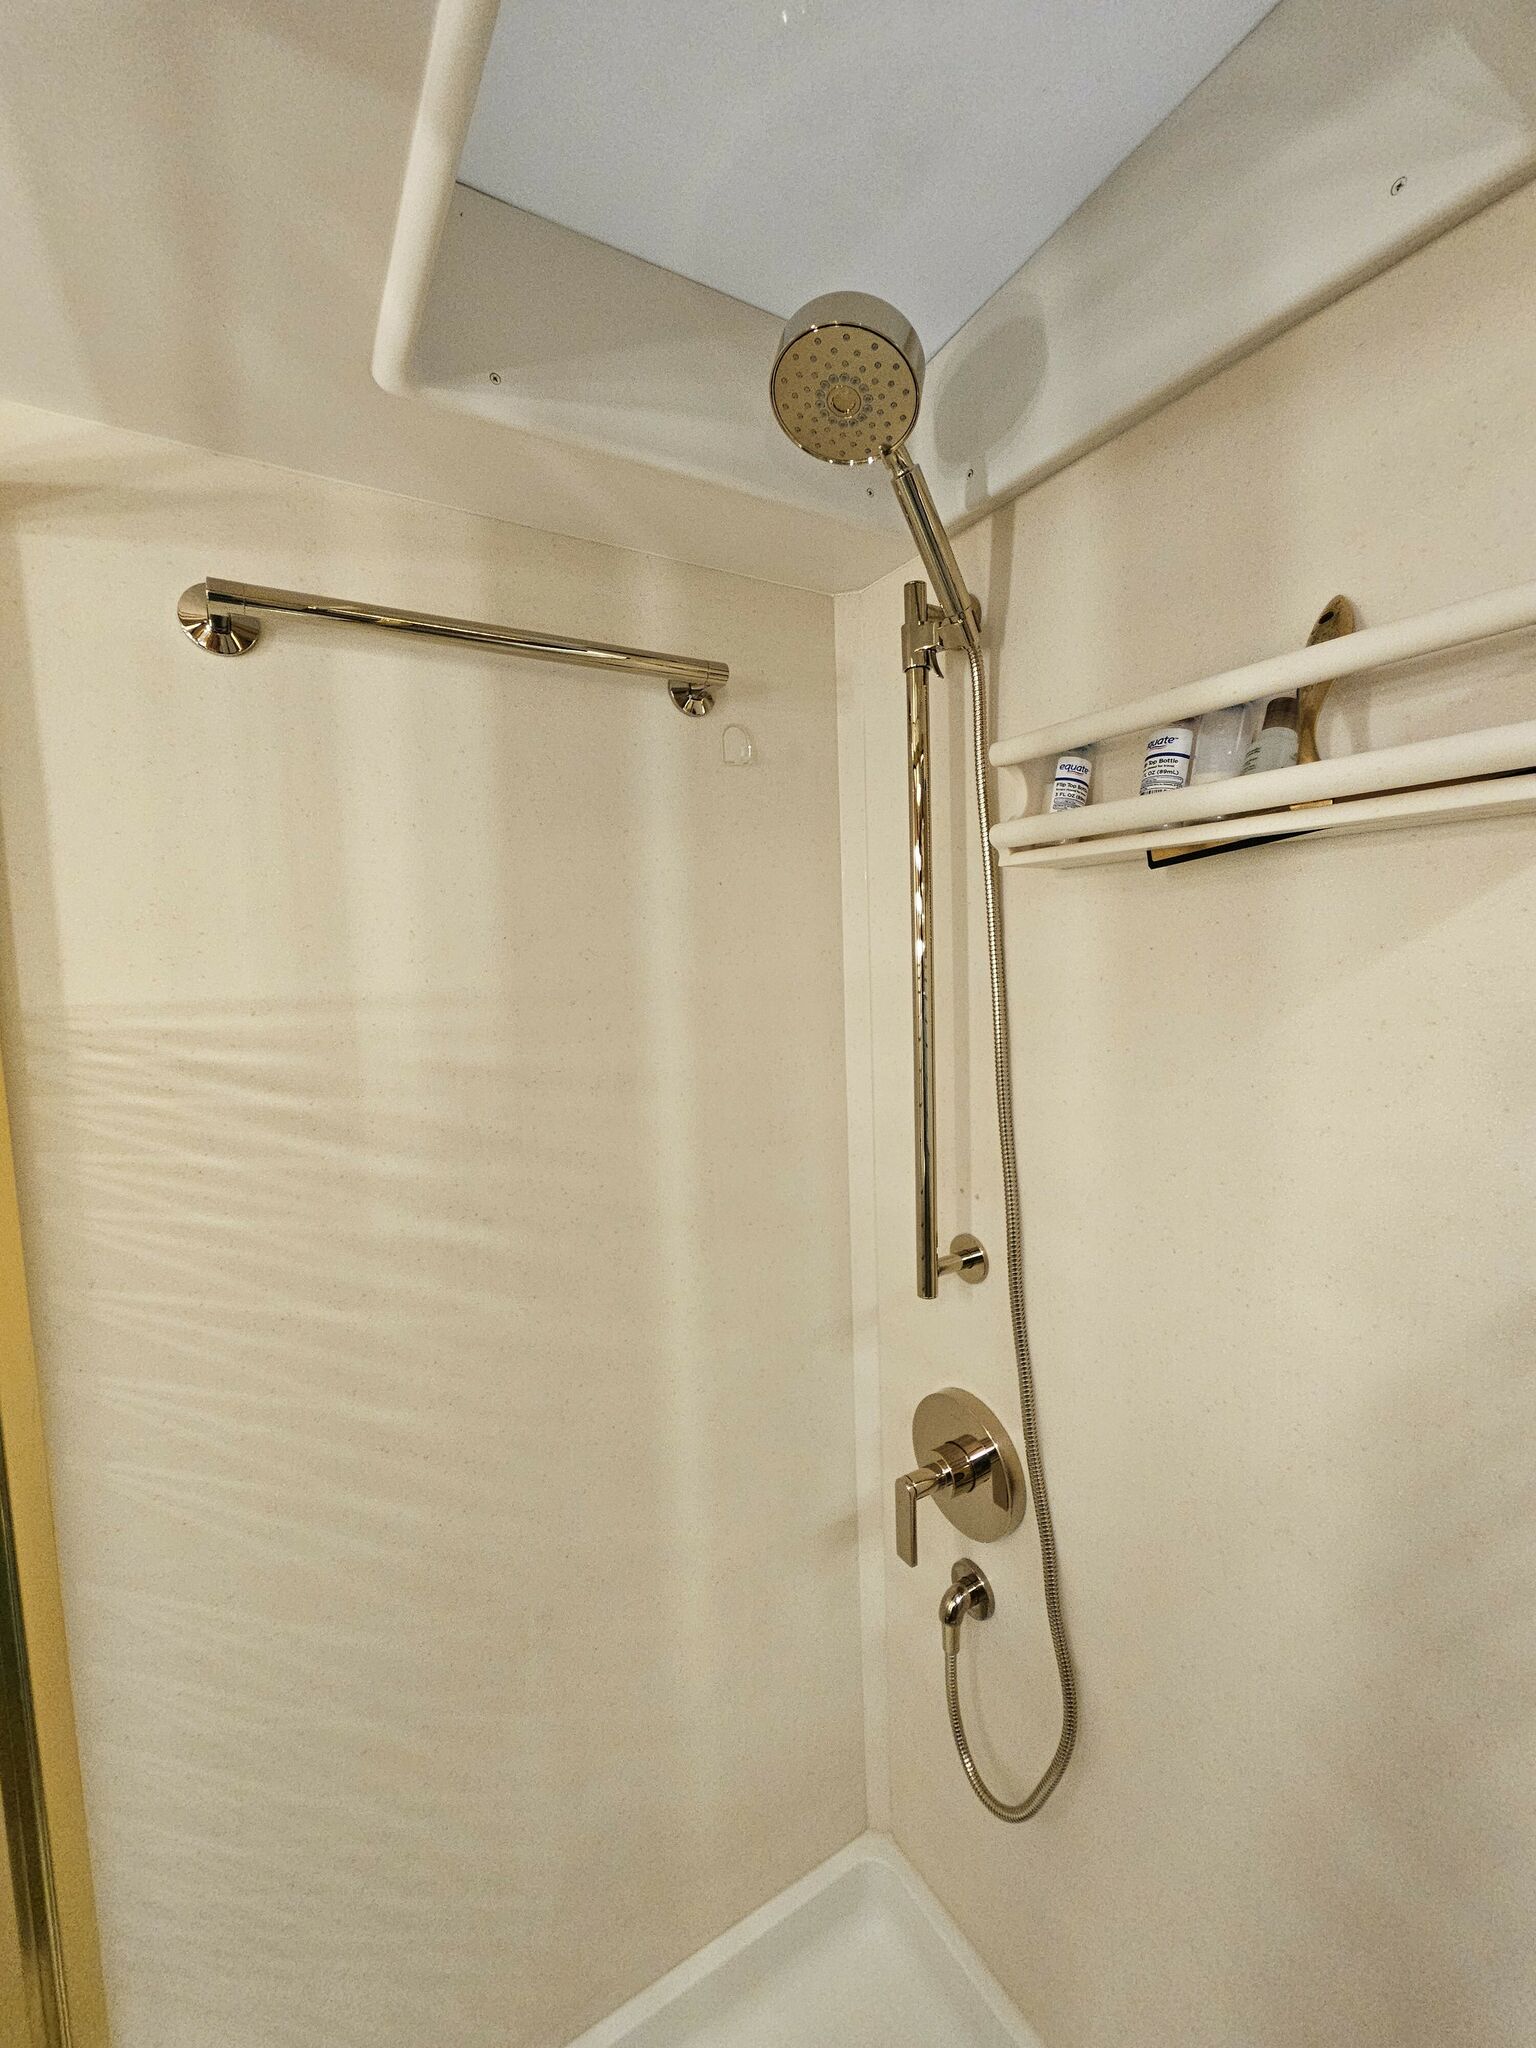
Installing the Shower Set
Trim hardware installed:
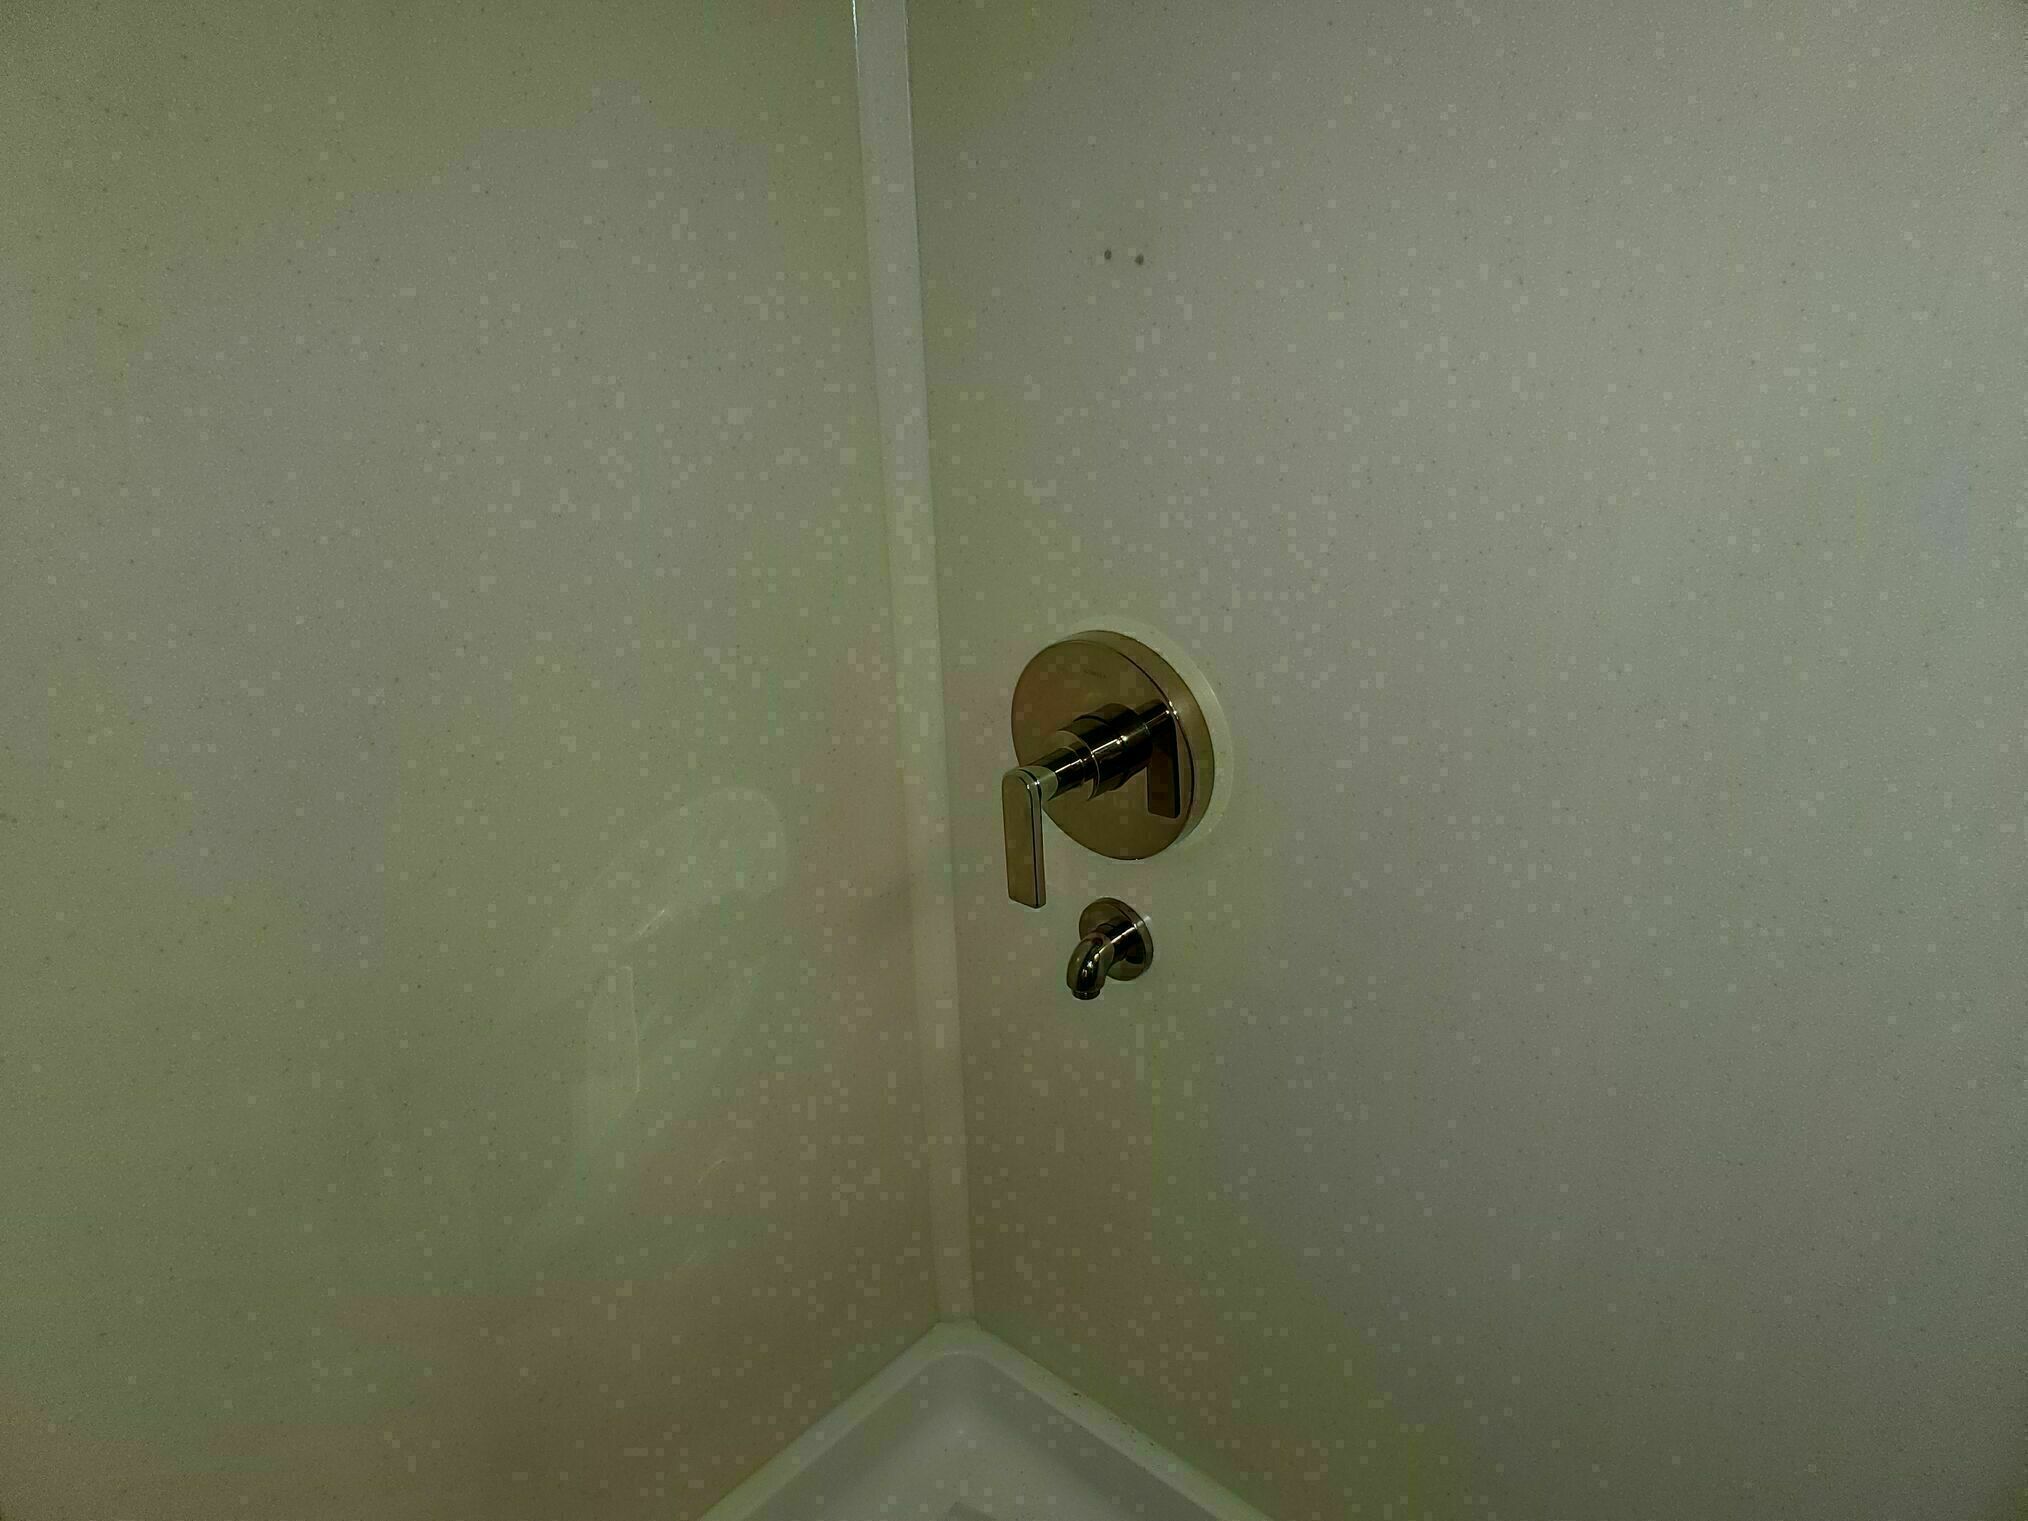
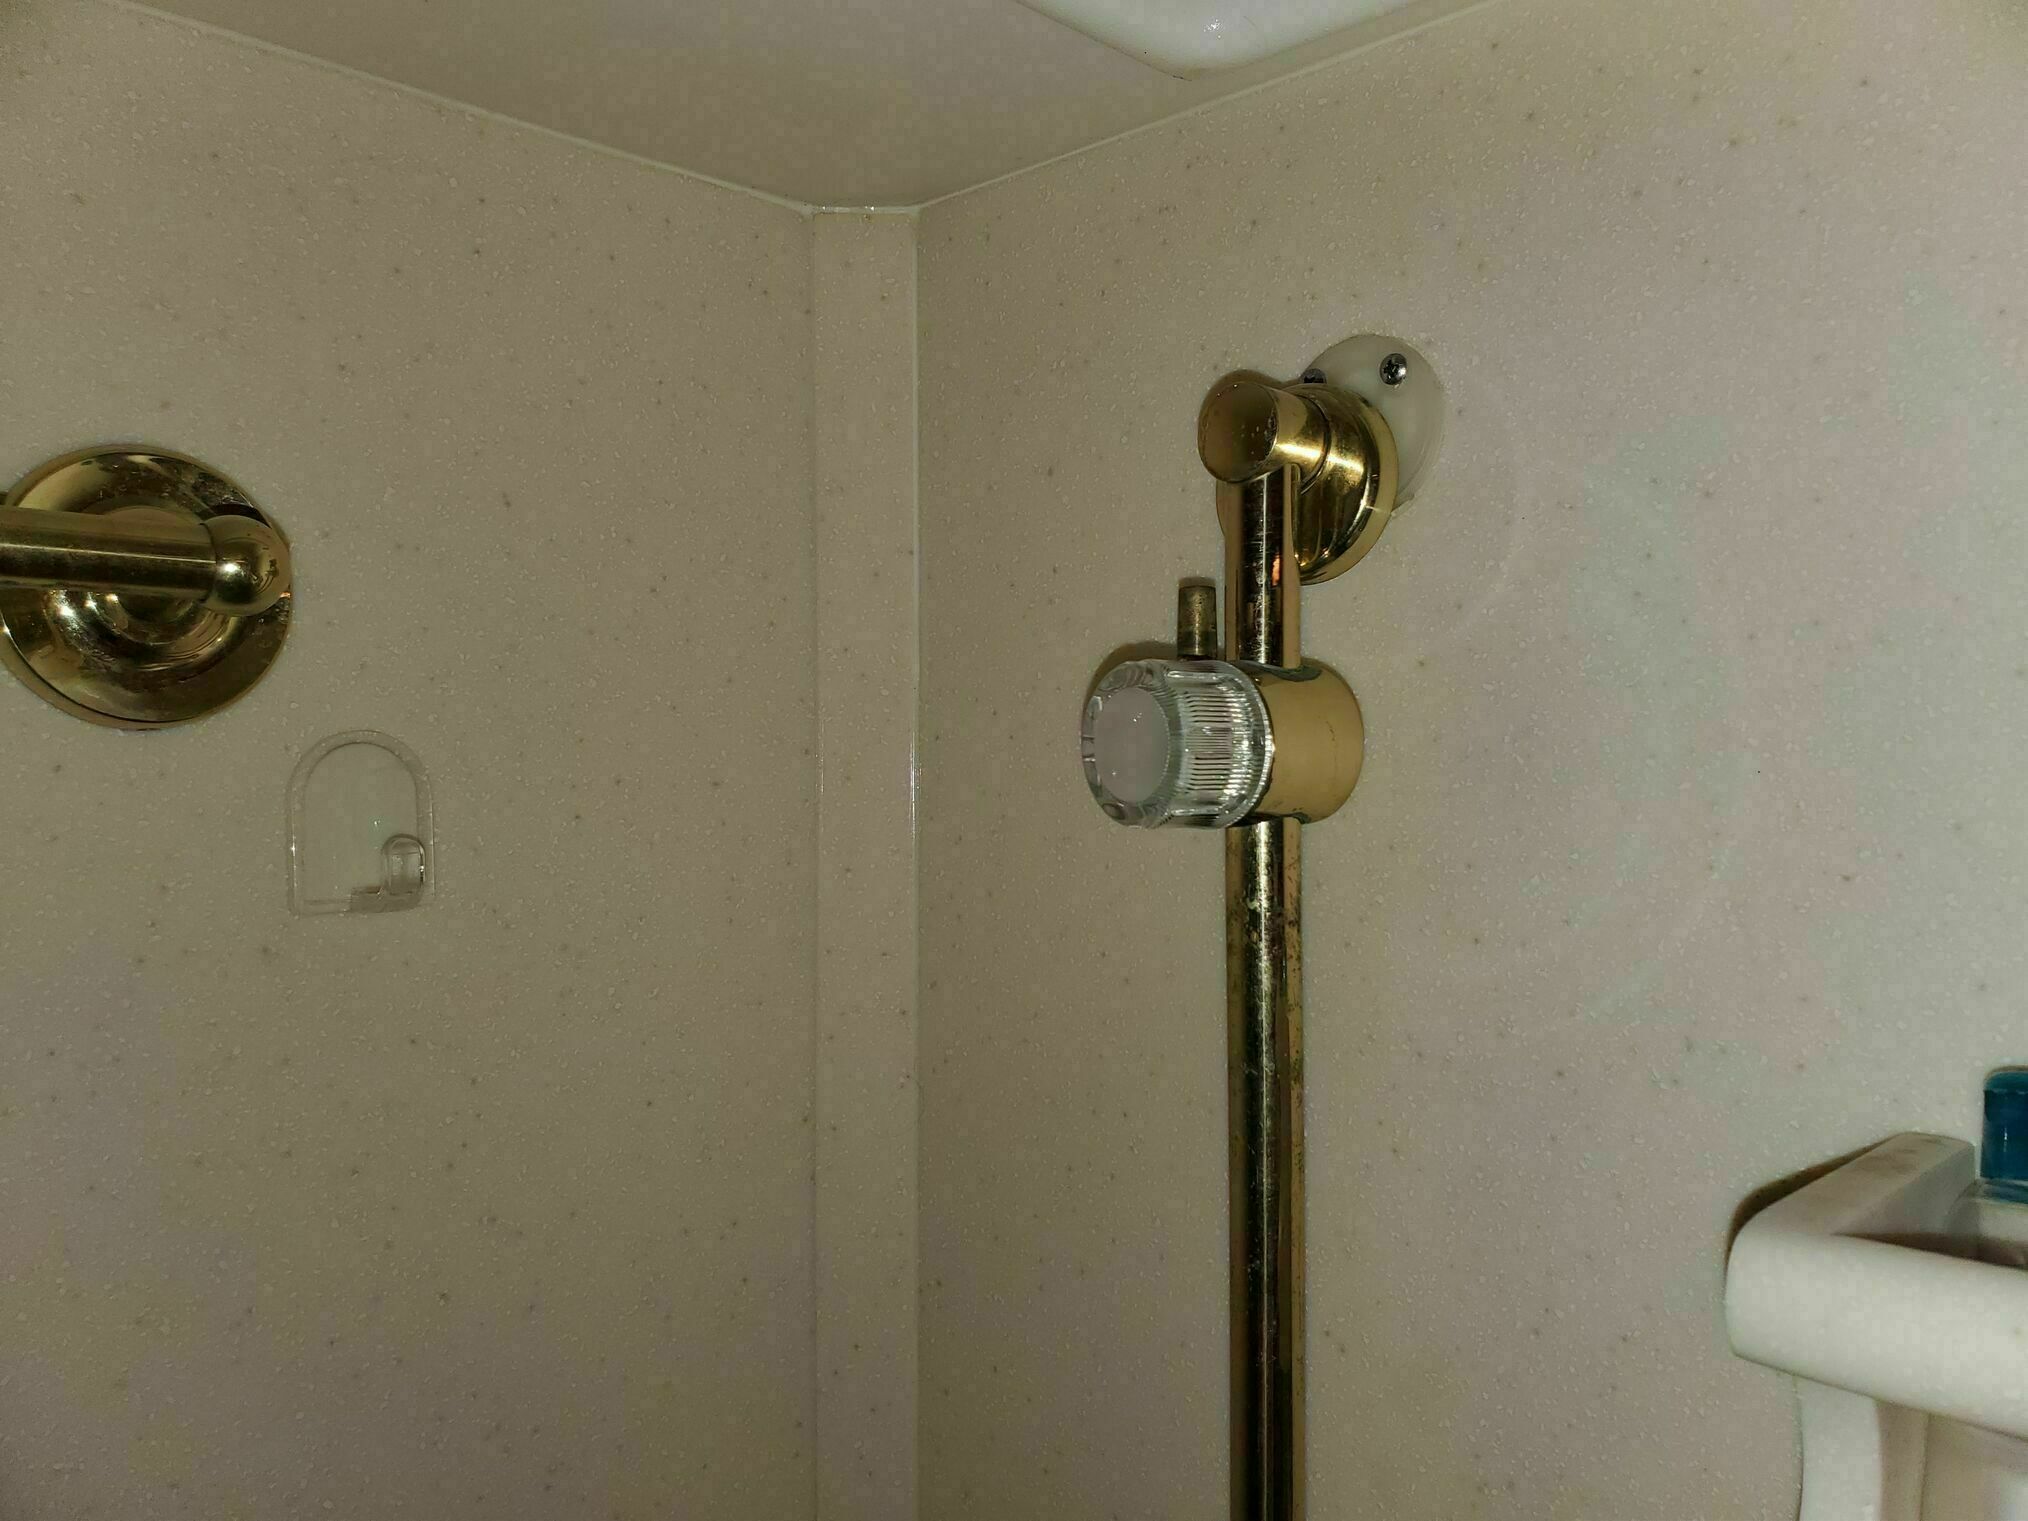
- The shower set was the next biggest challenge. Here’s what the original looked like and how the mounting bits were attached.
Kohler’s slide bars aren’t designed to be cut. There are relief cutouts in the side of the bars that the mounting posts fit into, so your screw holes for mounting are fixed. And, of course, there weren’t any options when I was researching that were in Vibrant French Gold that had the exact spacing our original bar did. The set we got had a slightly longer bar. We were able to use the upper screw location for the upper mount and measured for a new lower mount location. Carefully, we drilled new holes for the mounting screws, taking care to prevent chipping in the solid surface. We filled the old holes with a mixture of clear epoxy and some of the drill-dust from the new hole, which colored it close to the surrounding material.
The new showerhead does have a +/- 15 degree tilt, but took staring at the drawing of the head in the spec sheet https://techcomm.kohler.com/techcomm/pdf/K-22178_spec_US-CA_Kohler_en.pdf to understand how it works. You’d normally think the piece that holds the head and has the slider friction lever would be oriented so the lever was behind or in front of the bar, so the head is in line with the bar as you look at it. But no…… it goes to the side of the bar, so the head is next to the bar as you look at it. And it really does need that 15 degree angle to work well with the shower space.
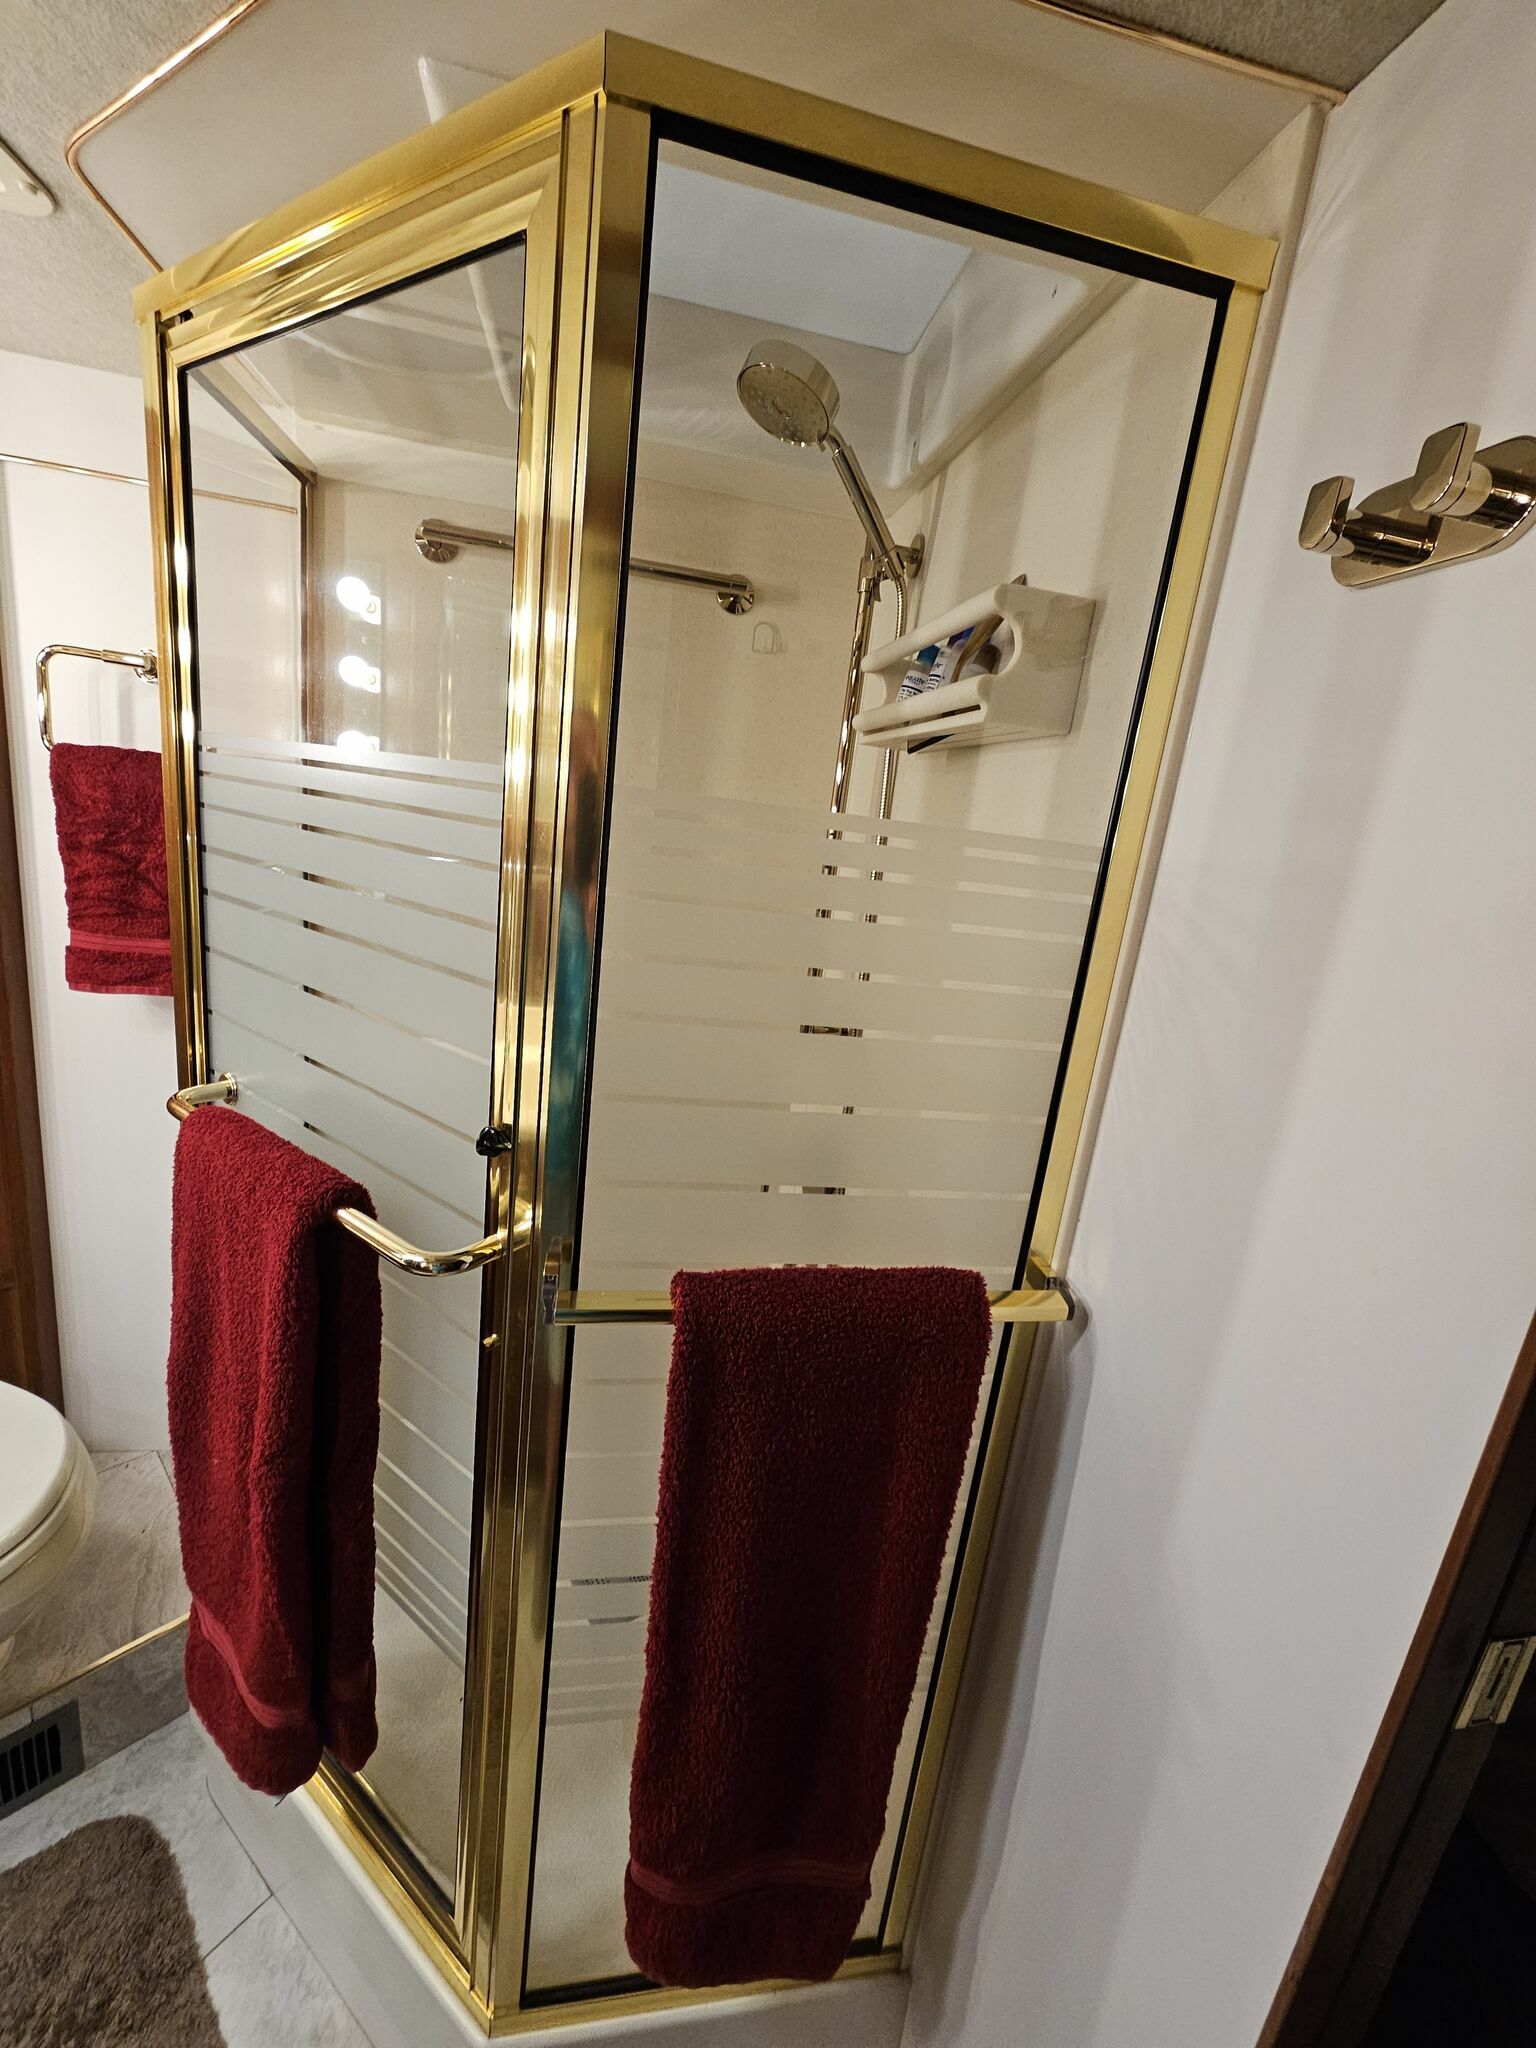
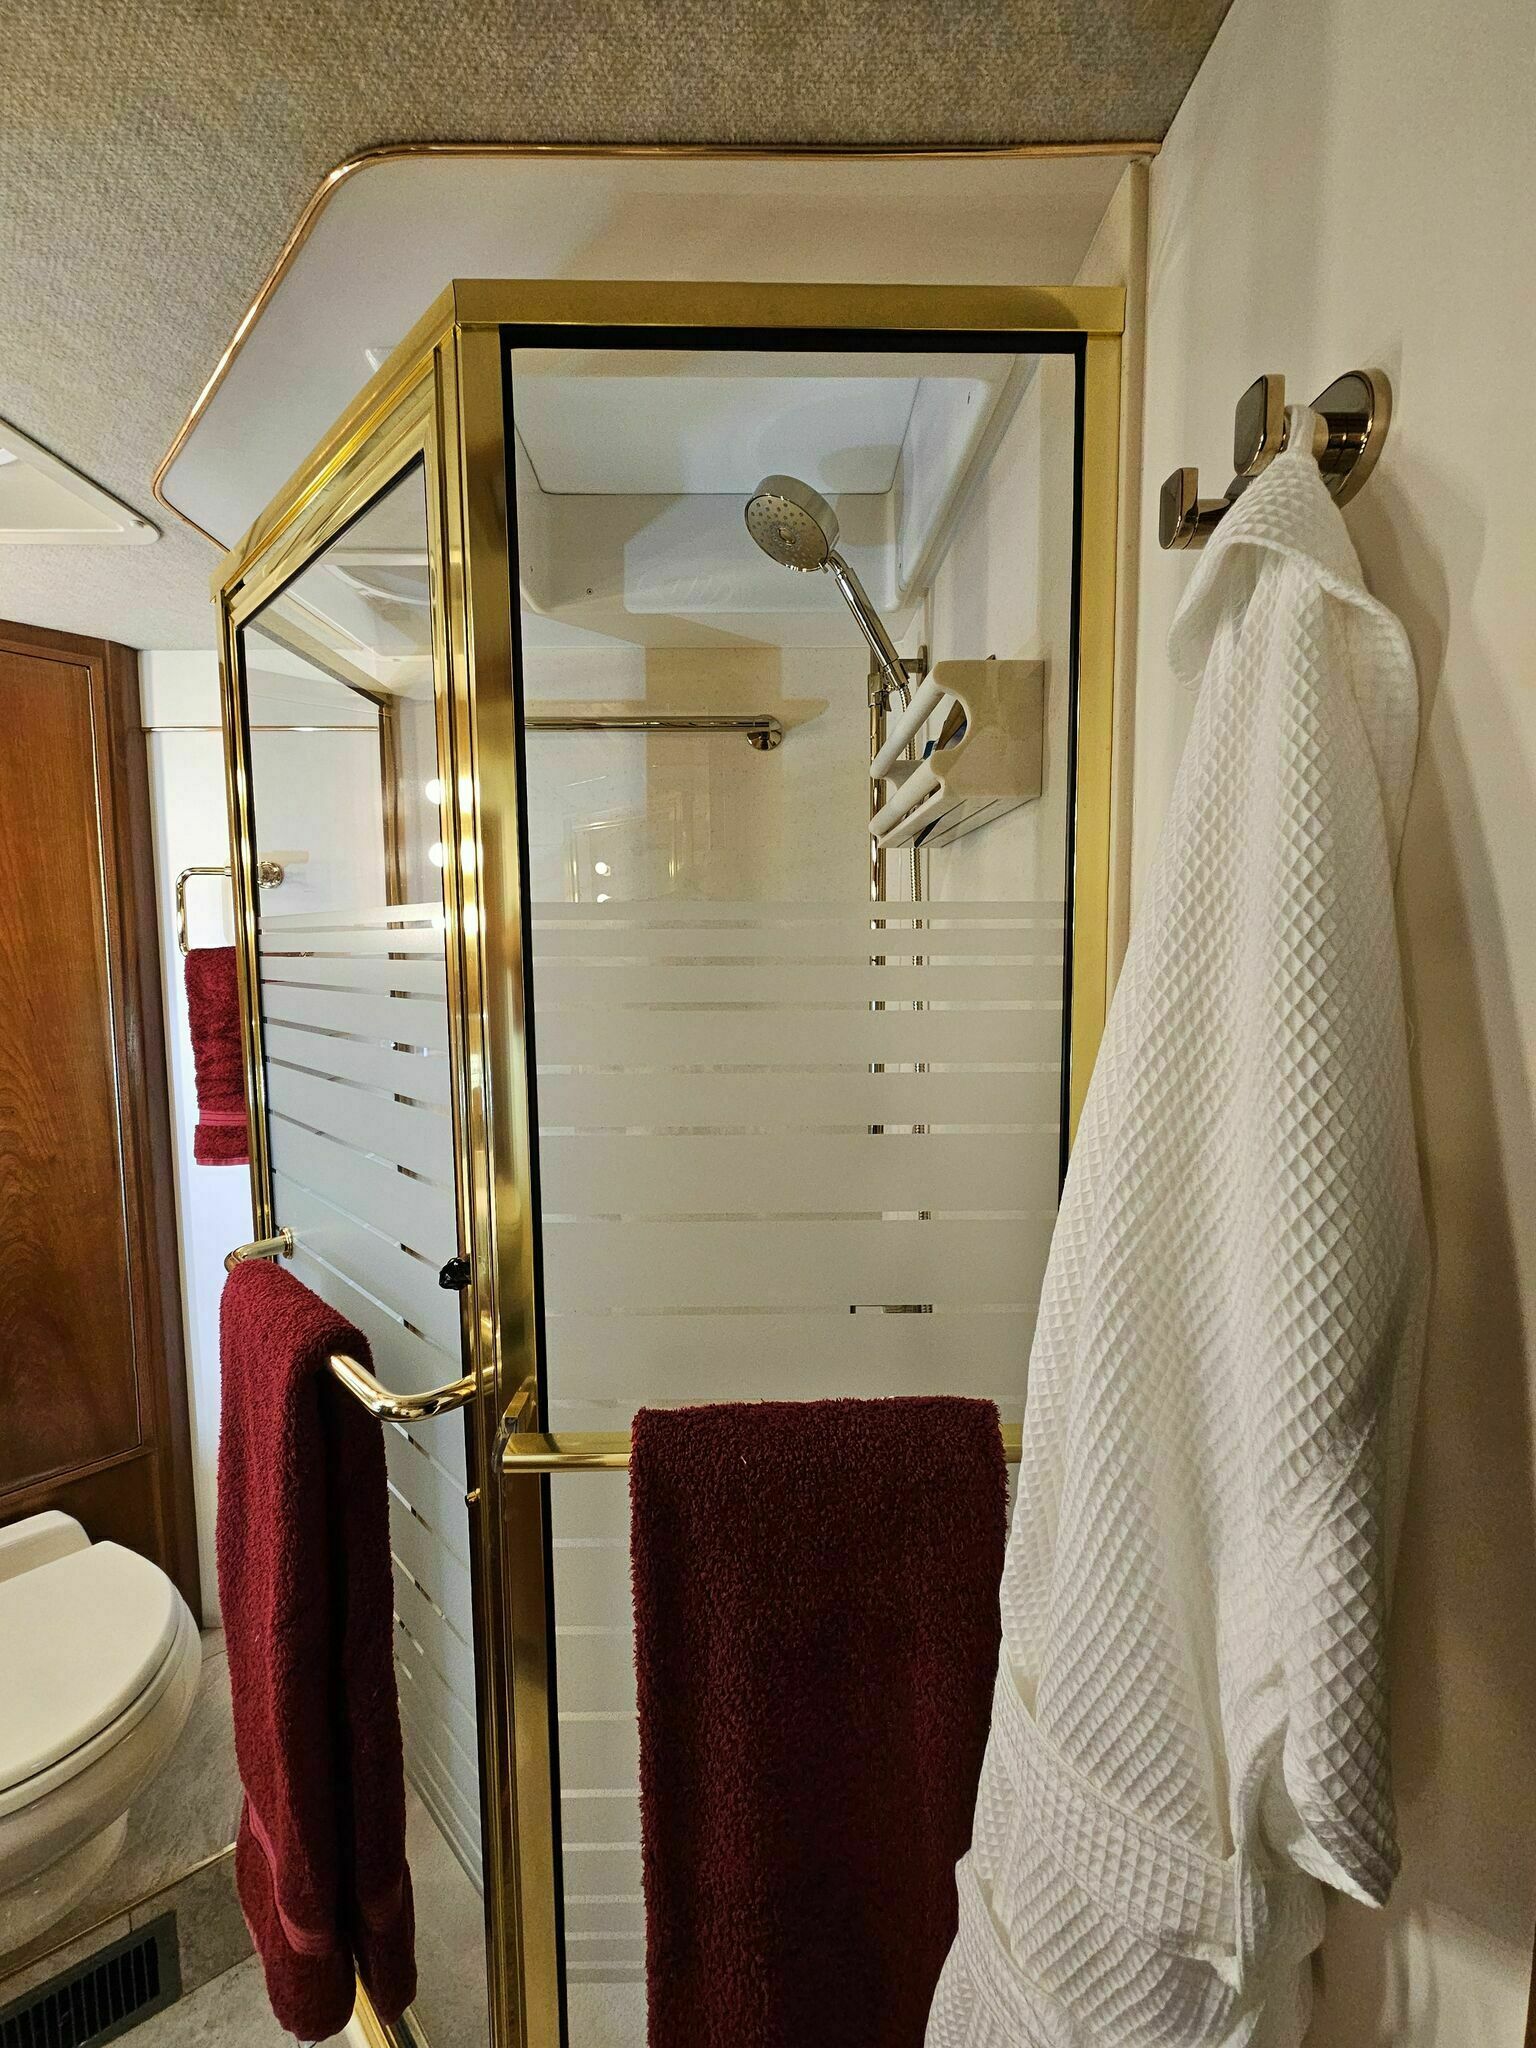
The towel ring, robe hook, and towel bar in the shower were straightforward replacements. The biggest decision was the spacing for the robe hook since it was wider than the original.
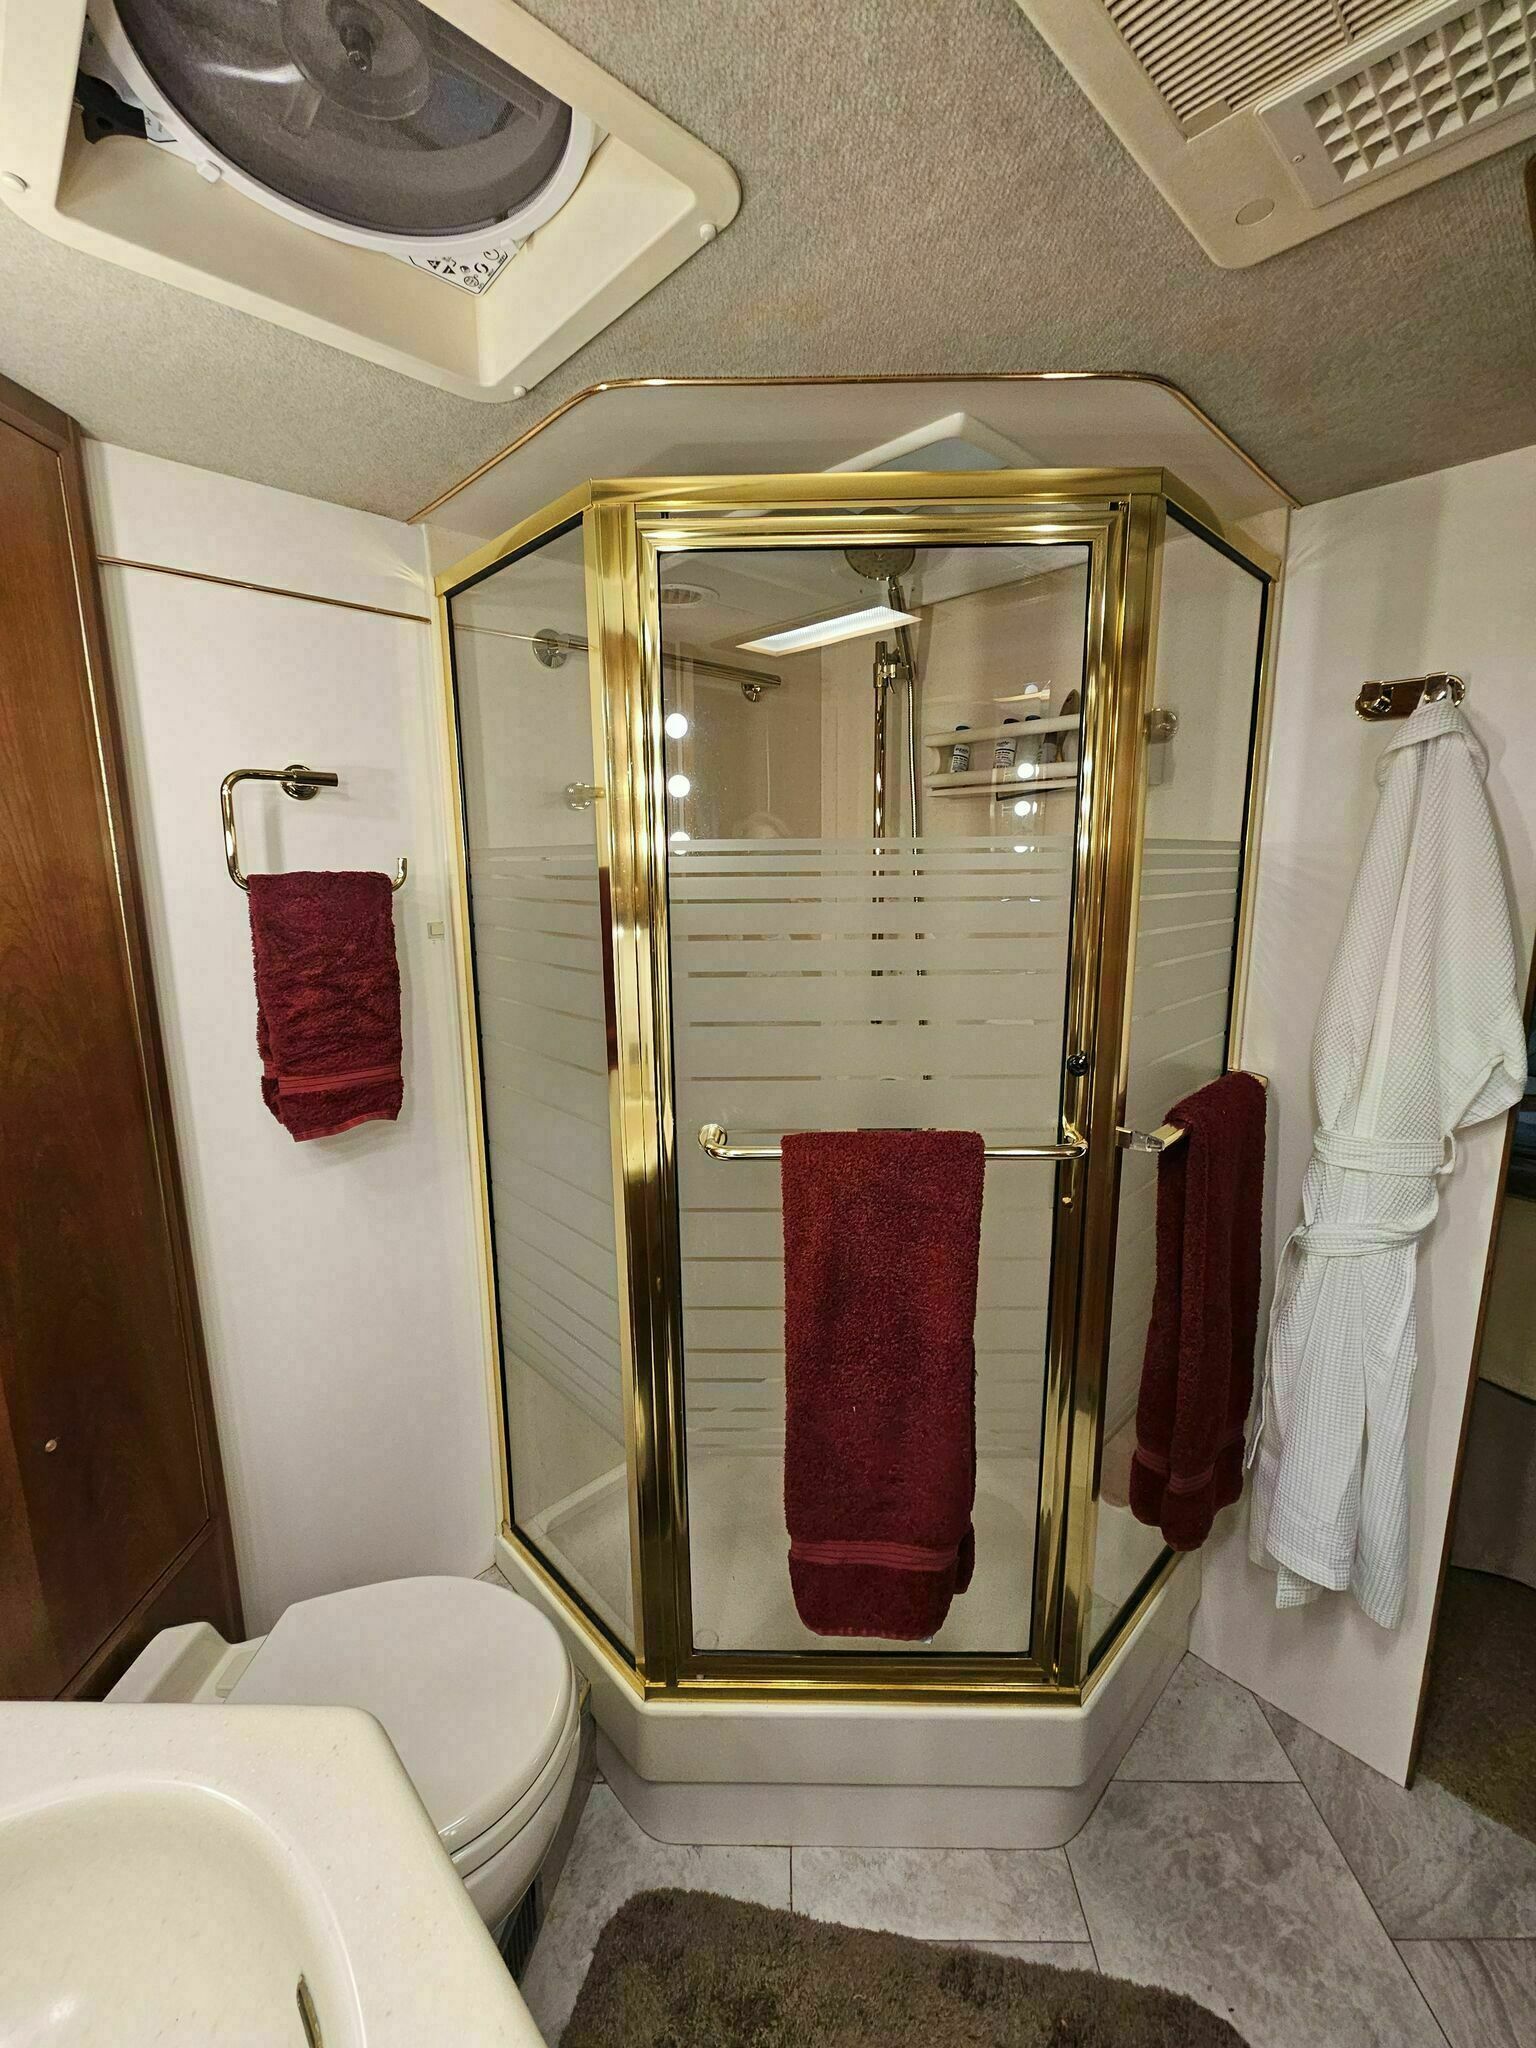
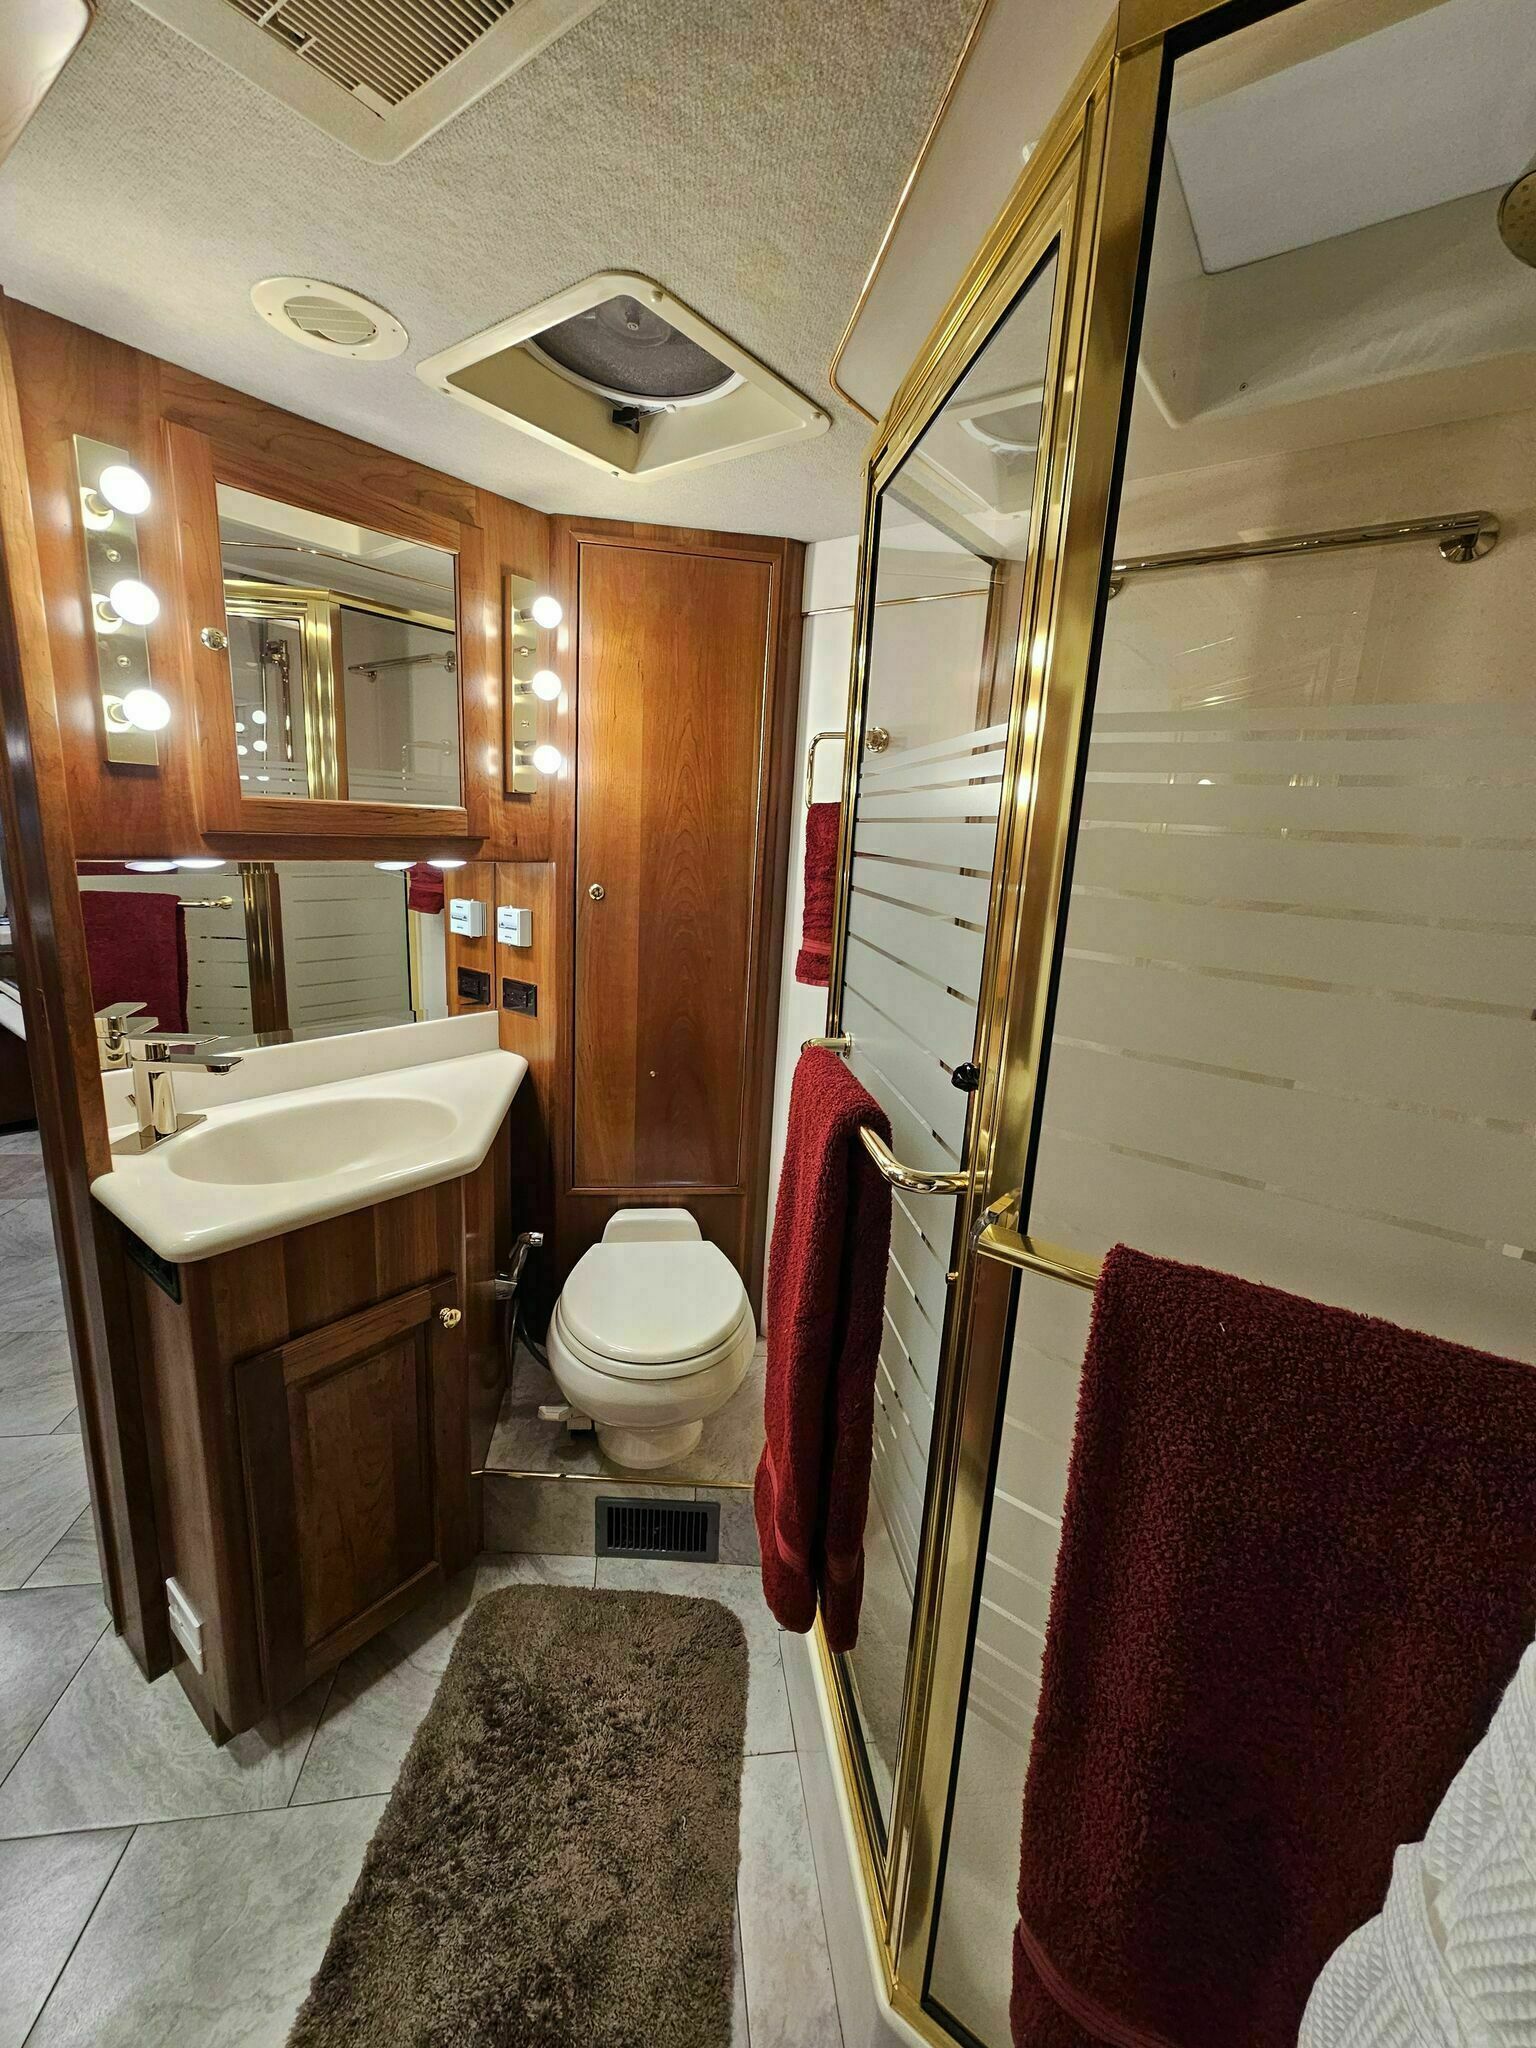
The Finished Spa
After months of planning, waiting, and a few creative fixes, the bathroom is finished. Polished gold meets cherry wood beautifully, and the new fixtures function flawlessly. Patience, careful measuring, and a little ingenuity go a long way in projects like this!