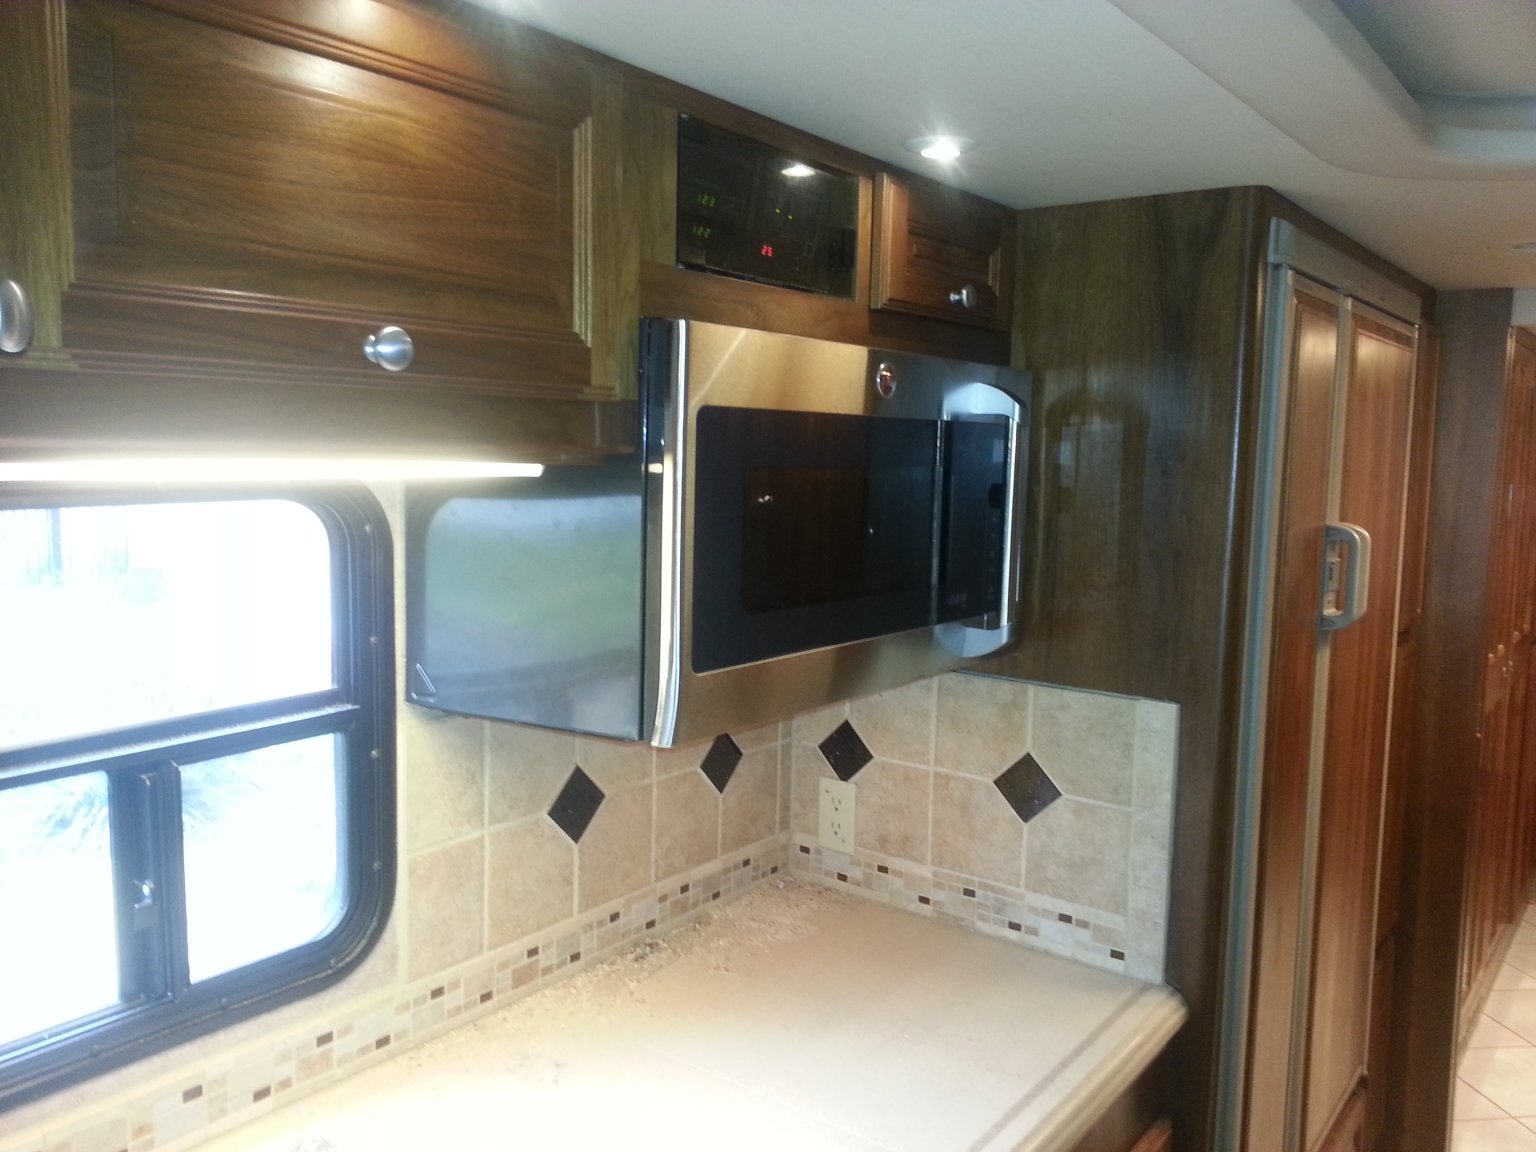
Advantium Oven
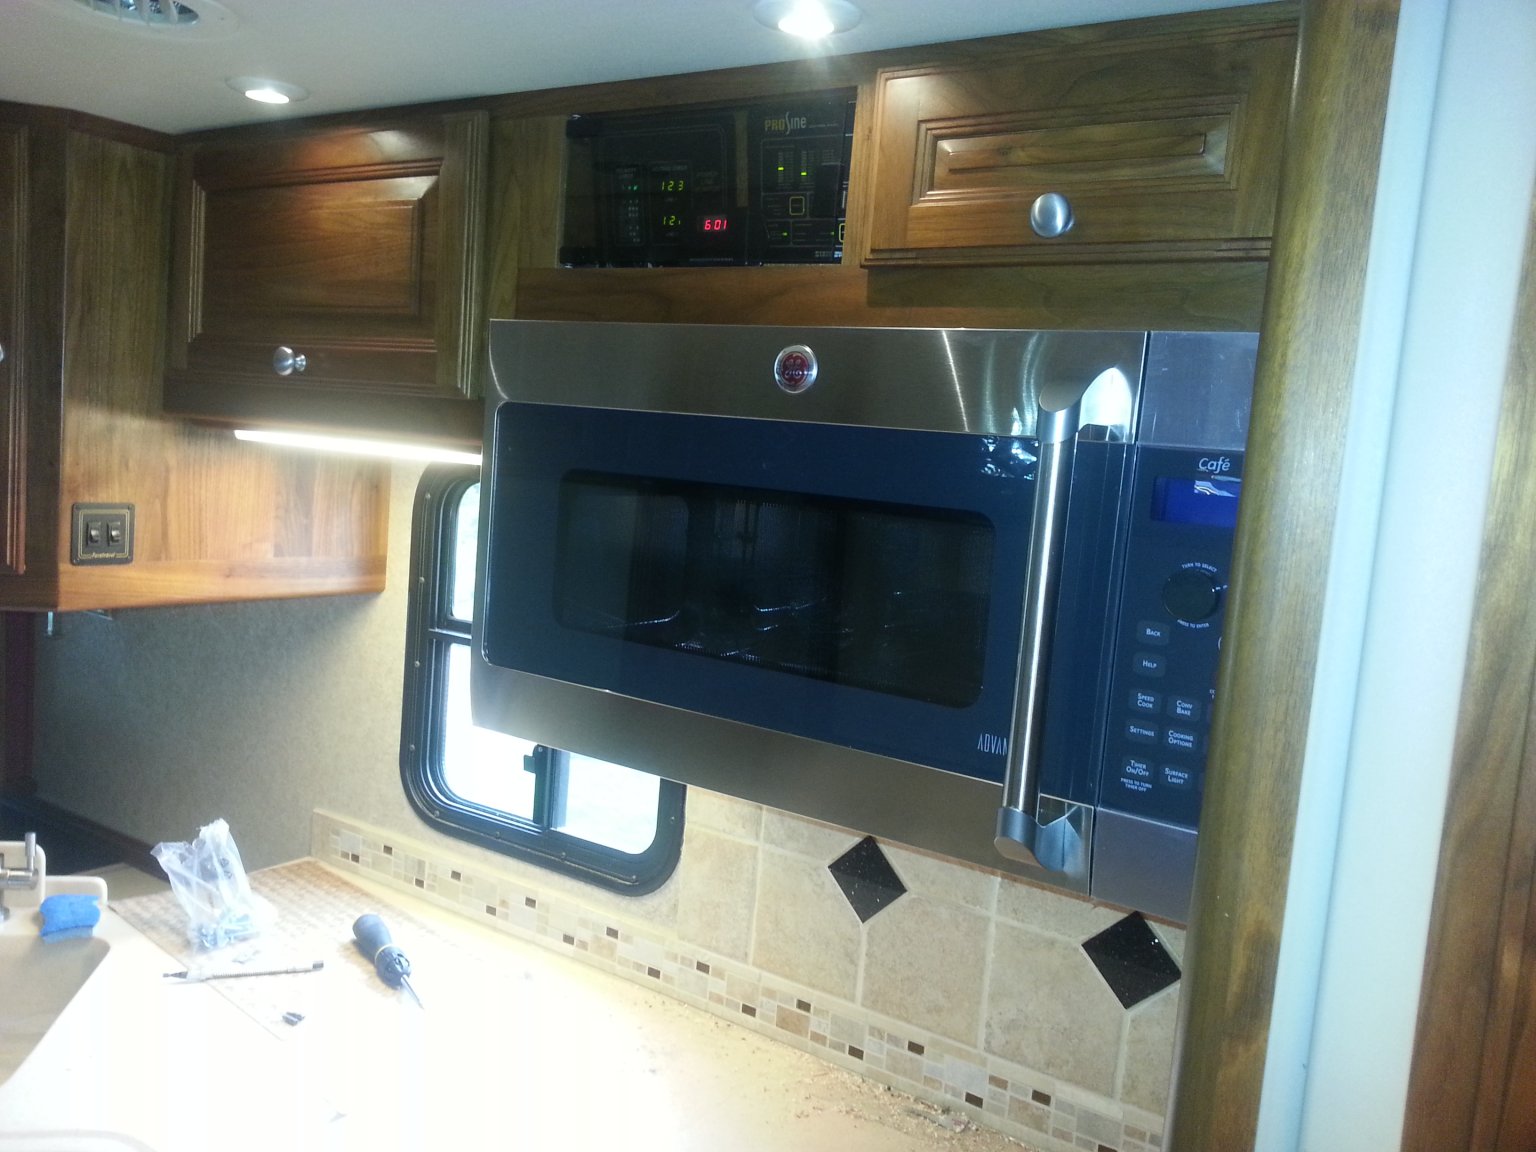
The new microwave / oven has been installed! Removing the old one is straightforward, especially since George and Pat figured out how to do it and showed us the proper use of the Ekornes foot rest as an aid.
Installation
Once removed there were two main problems to installing the new one.
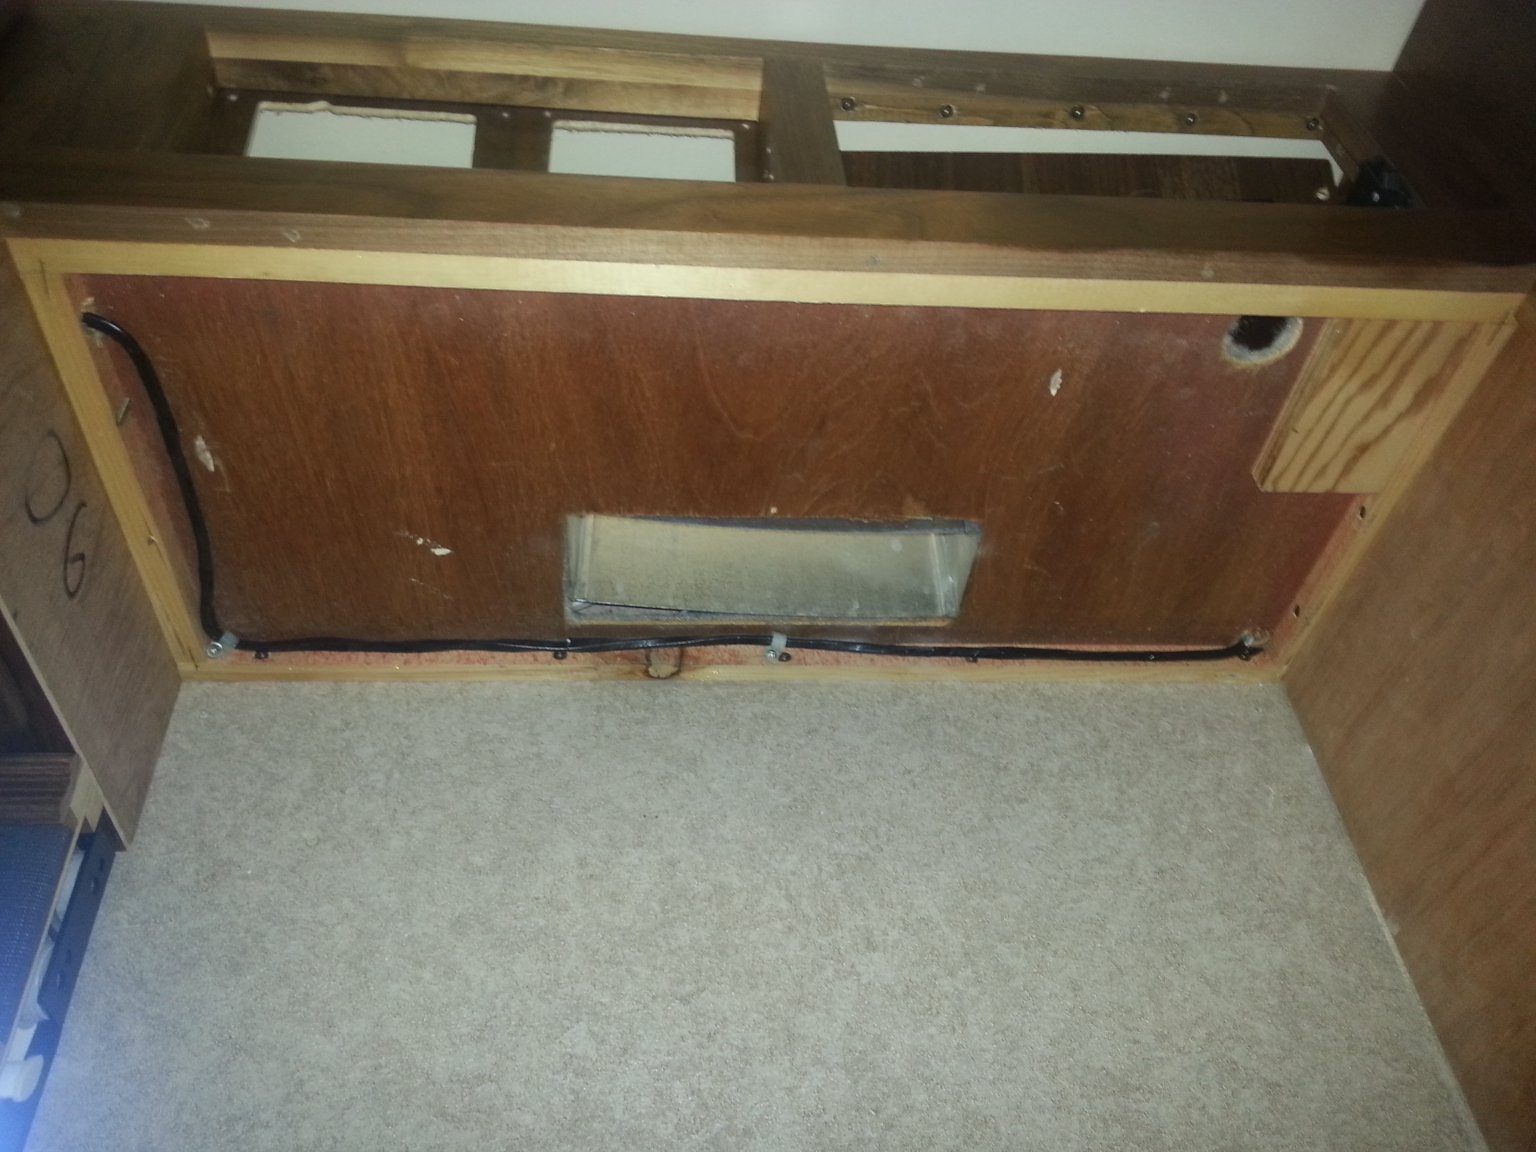
First was the Sharp’s exhaust fans were located ~2.5 inches off the back wall, whereas on the new unit, you have maybe 1” max. This means you have to adjust / adapt the existing exhaust venting so that its inlet lines up with the new oven’s fan outlet.
There were two ways that I saw to do this, one was to simply replace old vent and install a new one that lined up. That would involve removing the vent cover on the roof (and its associated 30+ screws & caulking), then remove the caulking around the existing vent and its attachment screws. Fabricate a new exhaust vent, and reverse the process.
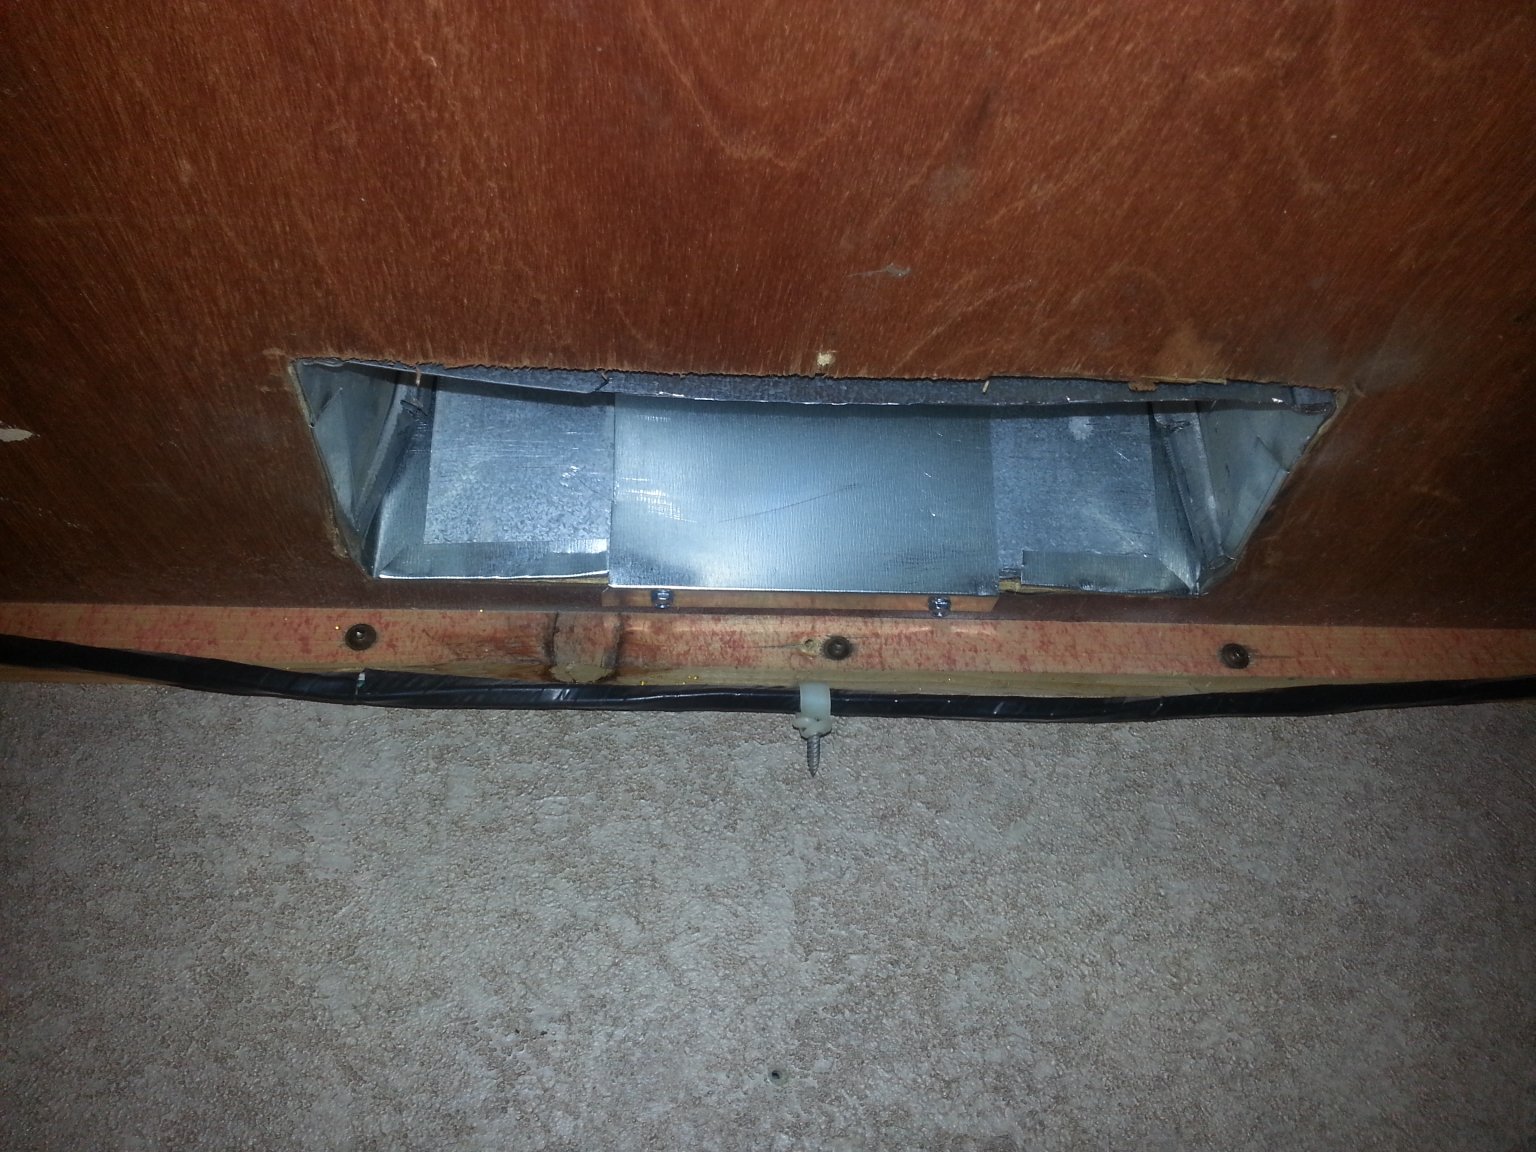
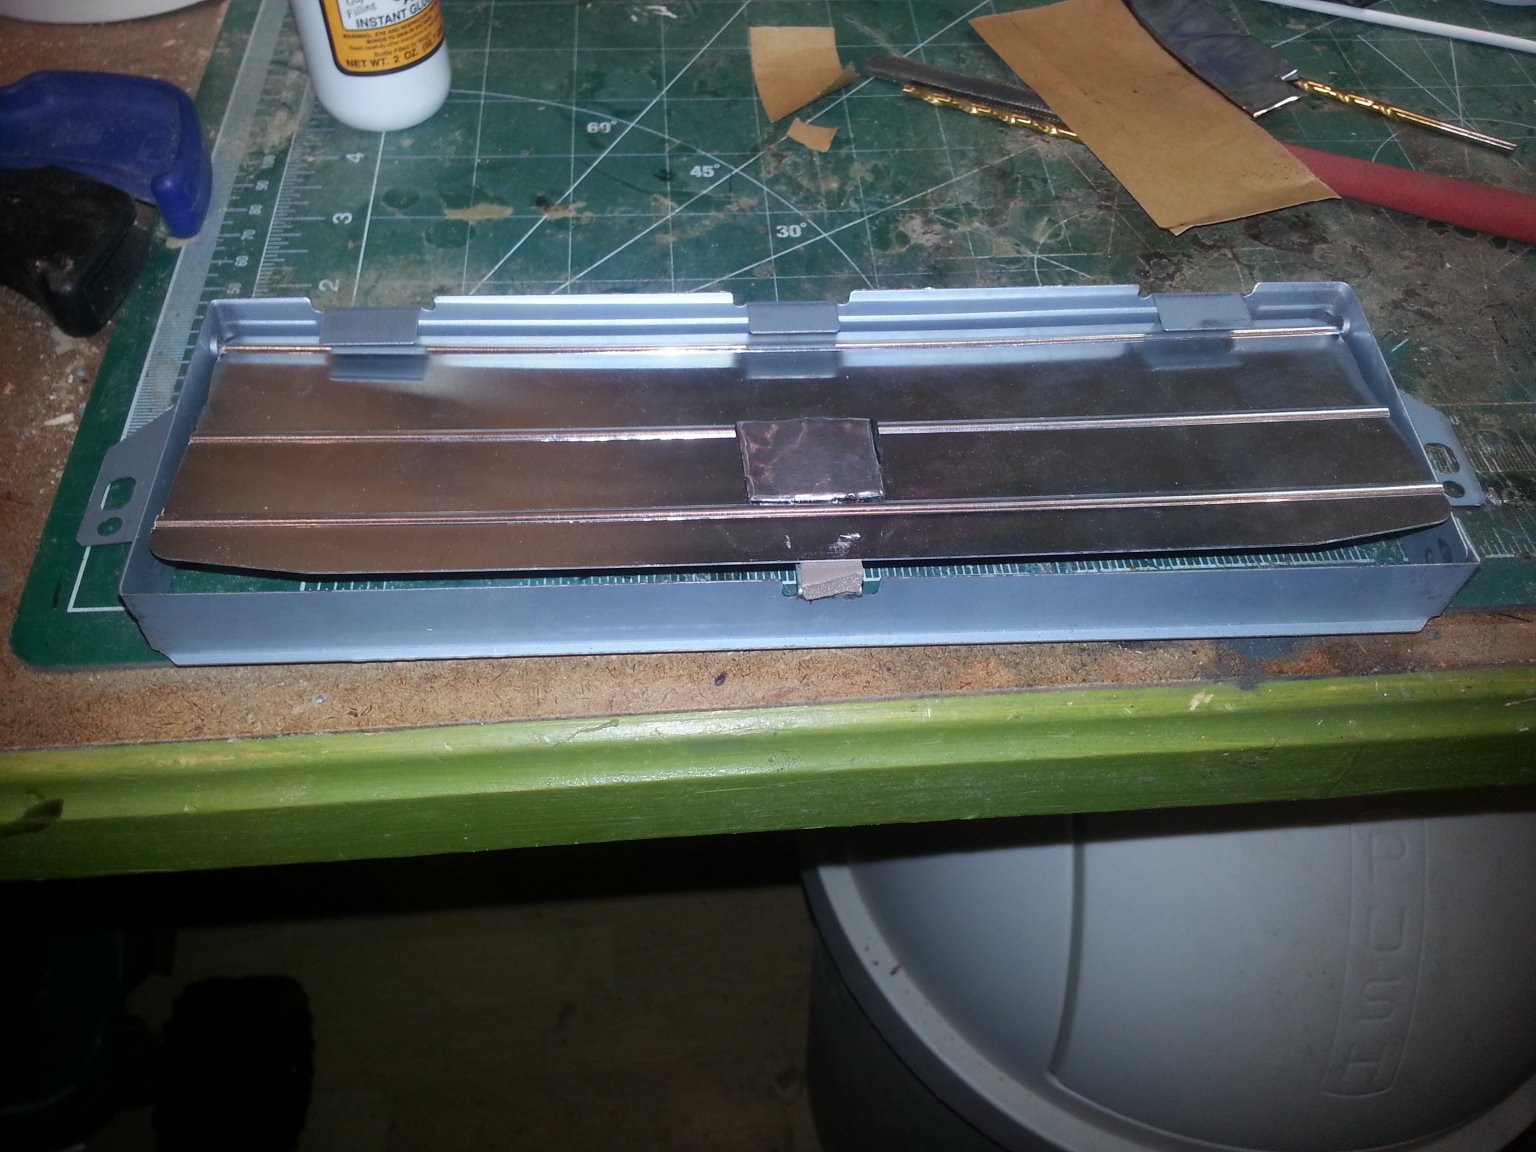
Instead of taking that route I chose to open up the existing inlet. To do that I made two 2” vertical cuts in the back wall of the existing exhaust venting and bent the resulting “flap” back and secured it in place with some additional vent material and screws. I then cut two corner gussets to close the small openings created and installed them in place. The outside of the venting was sealed with temperature-rated metal tape, and the inside was smoothed with the metal tape as well.
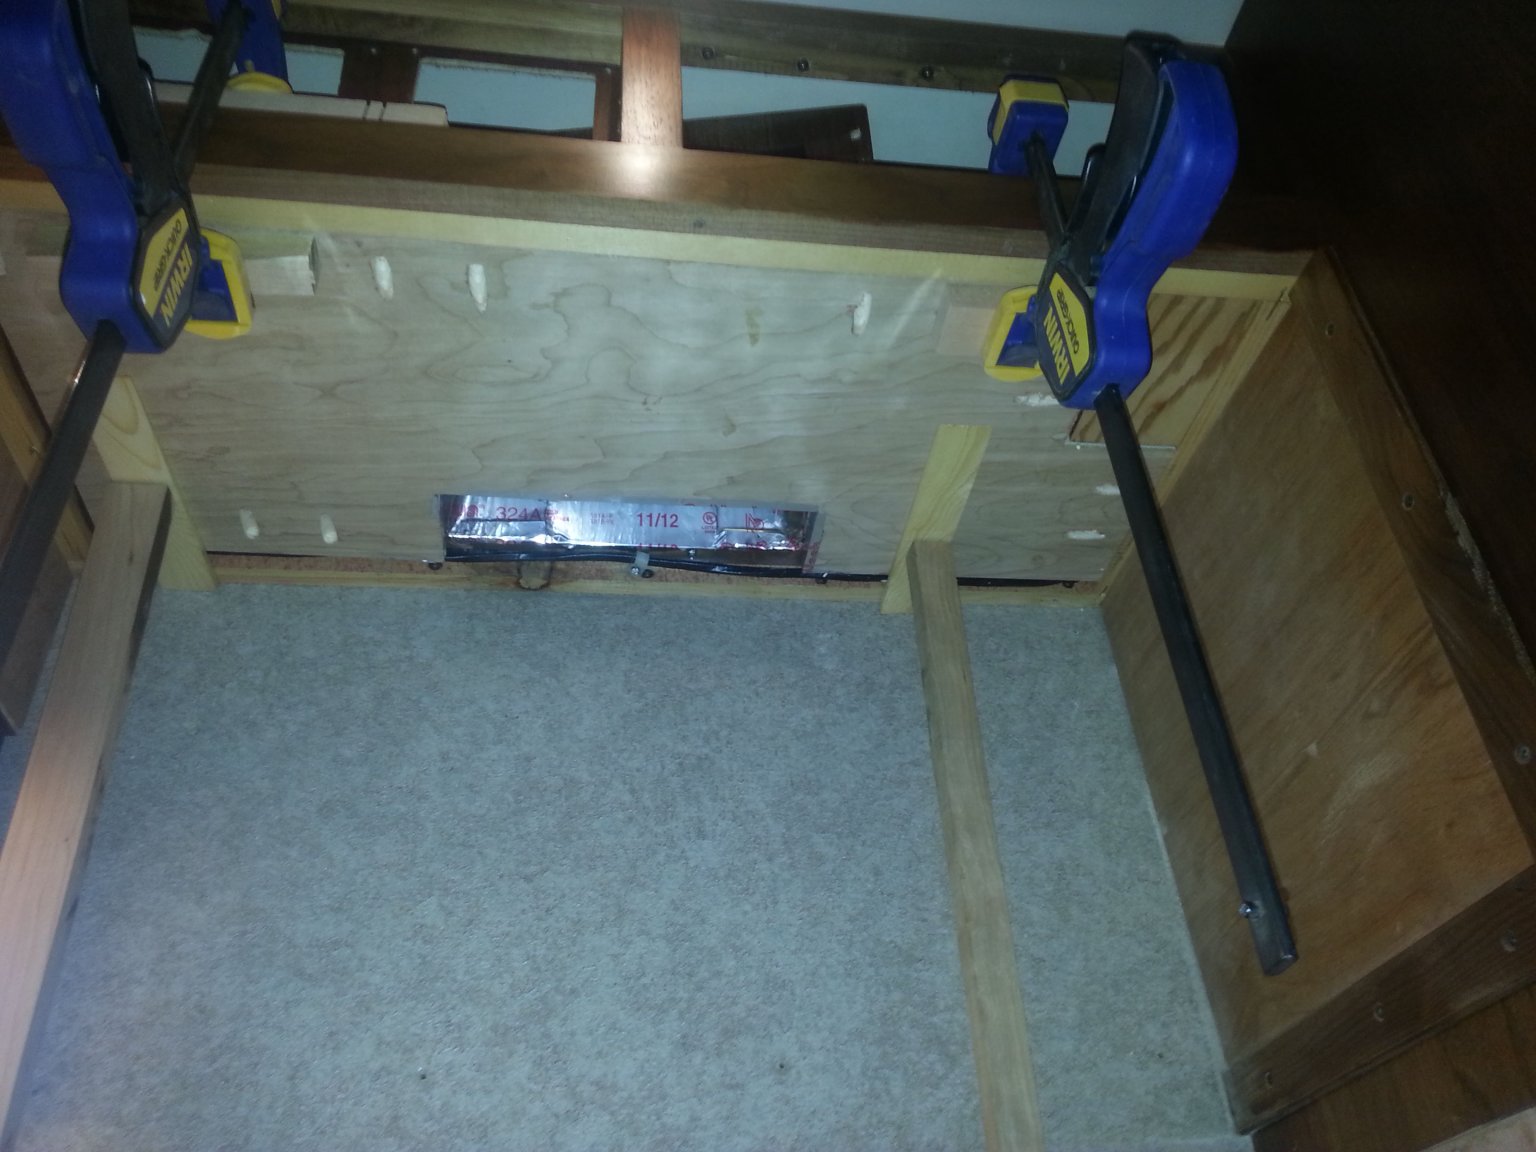
Next up was the mounting of the new oven was done with bolts down through the upper cabinet. The old one had two long bolts that secured the unit to the rear plate. The new one screws into the cabinet above. The instructions made note that if you had a recessed cabinet bottom (we do) that you should put in spacer blocks between the oven and the cabinet bottom so you do not crush the cabinet bottom when you tighten the bolts.
This would be fine for a home, but not one traveling down the interstate, something about having the microwave held up by 1/4 luan. I chose to fill in the entire cabinet base recess with 3/4” plywood. This was glued to the bottom of the existing cabinet and then screwed to the sides of the existing cabinet along its perimeter with kreg pocket screws. Although the through bolts provided with the new oven had large heads on them to help distribute the load, I also added some larger fender washers to spread the load.
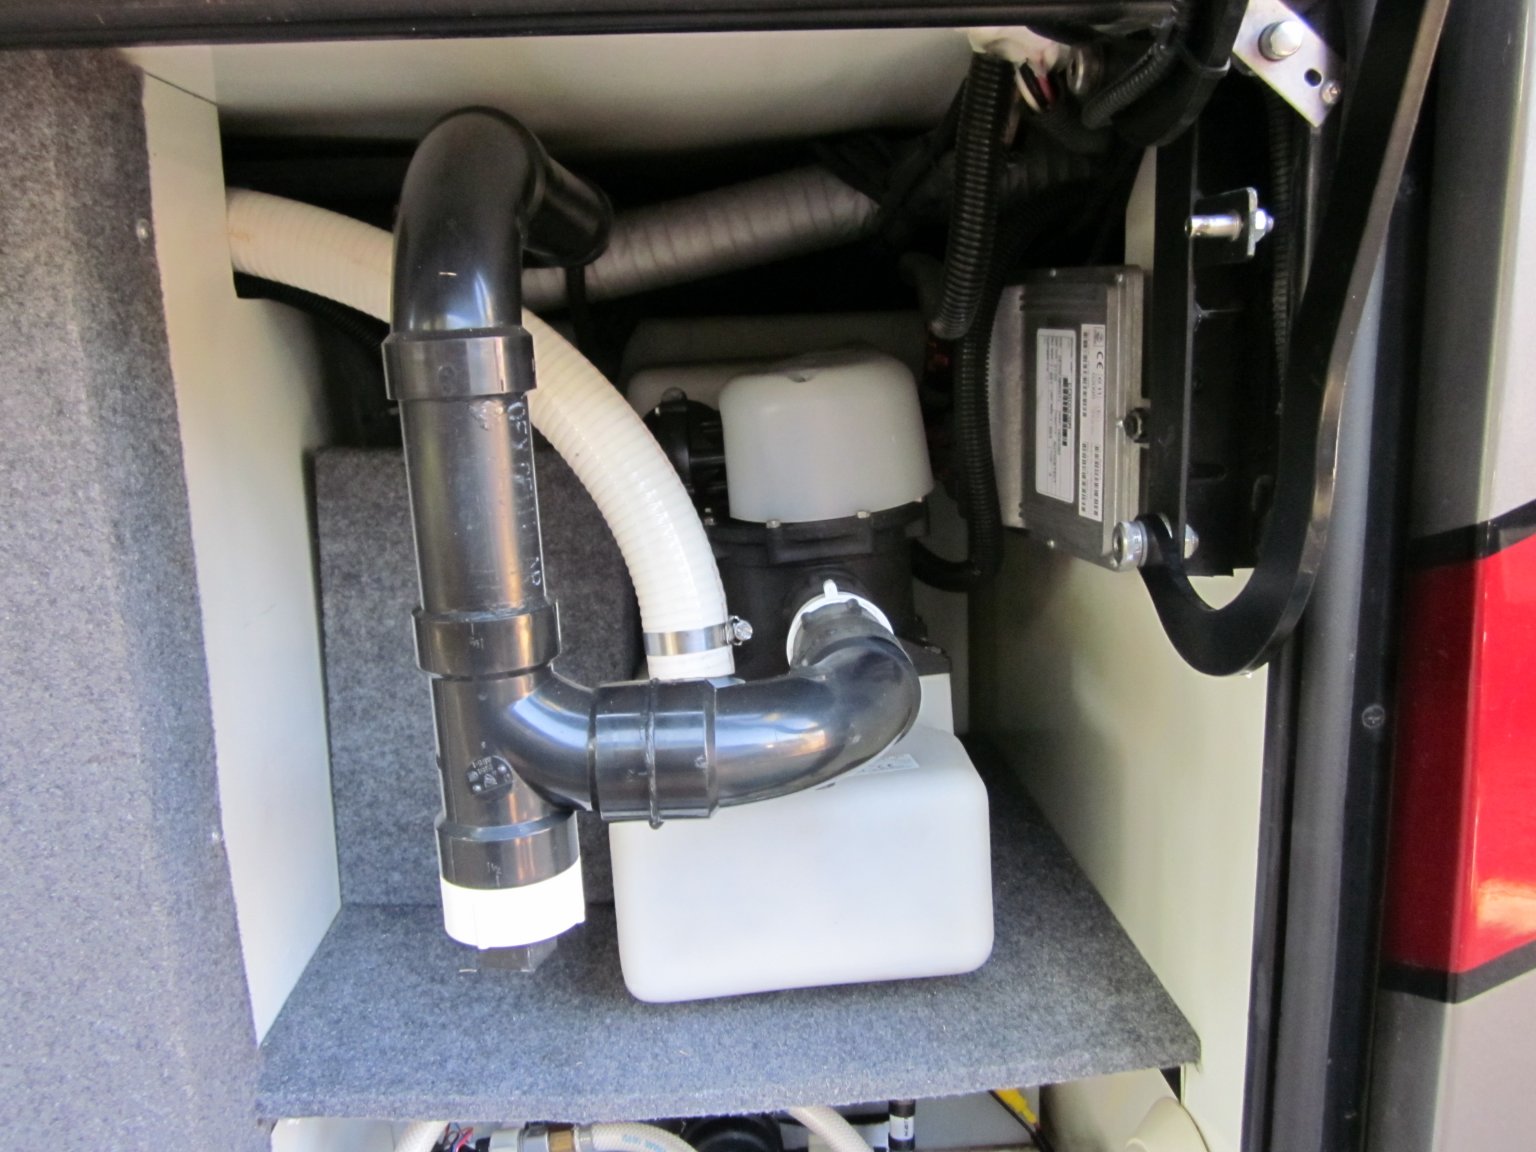
The last thing needed were some tweaks to the vent flapper. Foretravel had modified the one in our coach to cut down on any wind “clanking” while traveling down the road. Basically the hinge pins received some bushings, the flapper had some weight added so it would not bounce around, and a soft pad was added to the down stop. This was then attached to the cabinet base and sealed to the duct. (done this way so you could remove the microwave without getting in the the duct work again.
Next call the wife and say, honey help me lift this and hold it in place while I thread the bolts :D