MaxxAir vent covers
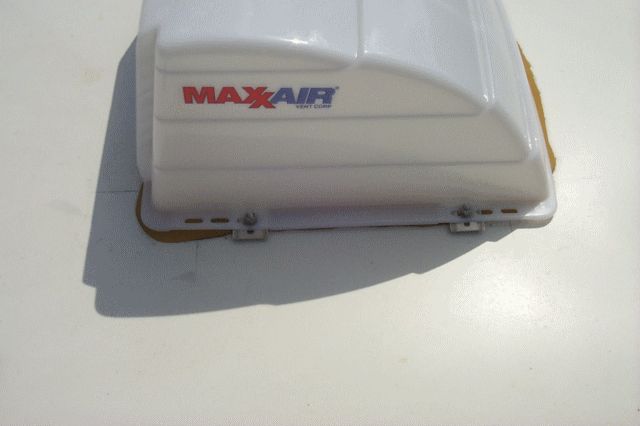
We installed MaxxAir vent covers which allow you drive with your vents open plus stay in bed when your vents are open and it begins to rain. Overall we went with the following covers:
- Three (3) Basic covers for the vents over the drivers area, bathroom and bed.
- Fan/Mate cover over our existing fantastic fan vent
- Turbo/Maxx economy cover (no thermostat control) for the hallway fan
Now it’s true the vents under these covers do not open all the way but we are satisfied that they open far enough (about 45 degrees as opposed to 90). The vent covers also let in a soft white light and will help reflect some of the strong summer heat away from the interior.
Pictures
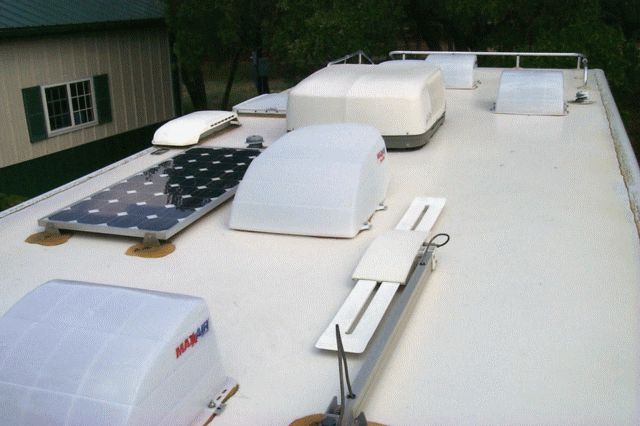
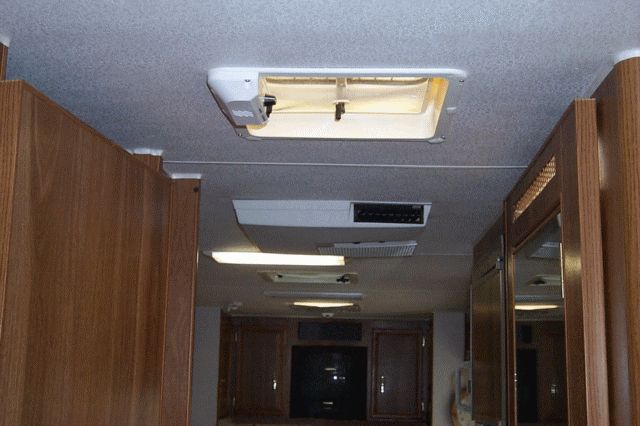
Overall Picture of the top of the RV. You can see the 3 standard vents and the Fan/Mate vent. The Turbo/Maxx is behind the AC unit.
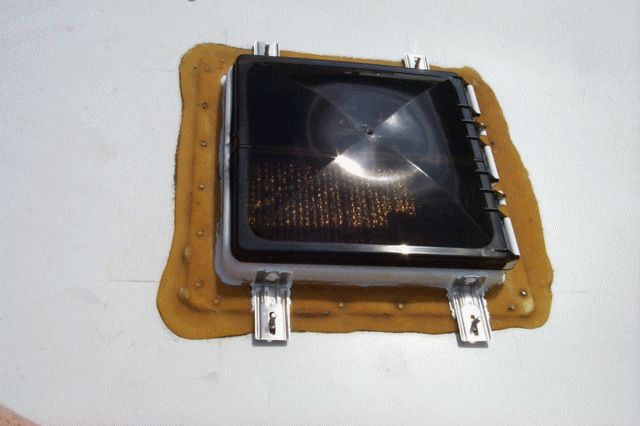
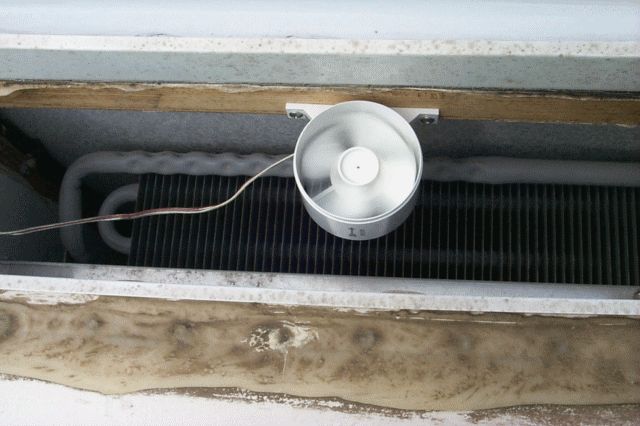
Installation is straightforward, you mount 4 aluminum brackets to your existing vent cover. This is done by drilling a hole through the side (not the roof!) and mounting them with bolts/nuts. After mounting I “caulked” the brackets and screws in place with Parlex material to prevent any rattle or loosening of the hardware. The instructions do not call this out but I did it anyway.
Once the brackets are in place you just mount the cover onto the brackets with the supplied hardware. I did replace the lock washer/nut combination that came with the kit with a locknut flat washer combination (in stainless) to prevent any chance of loosening hardware.
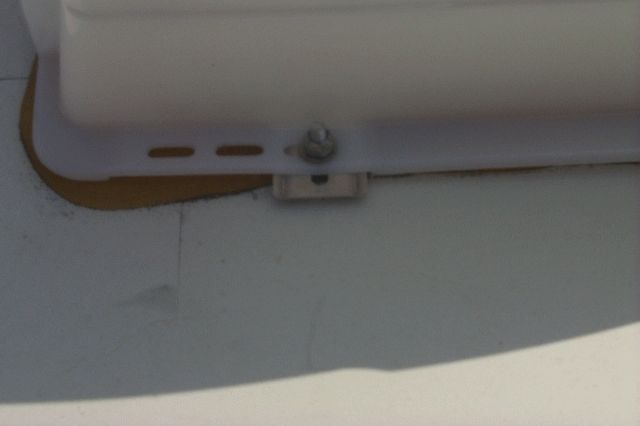
Close up of the locknut, it’s stainless to prevent rust.
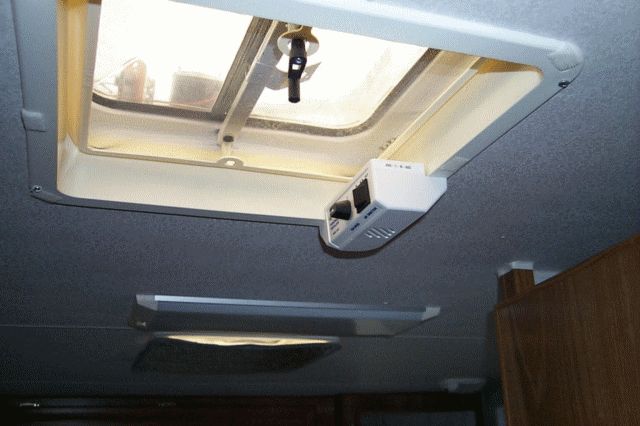
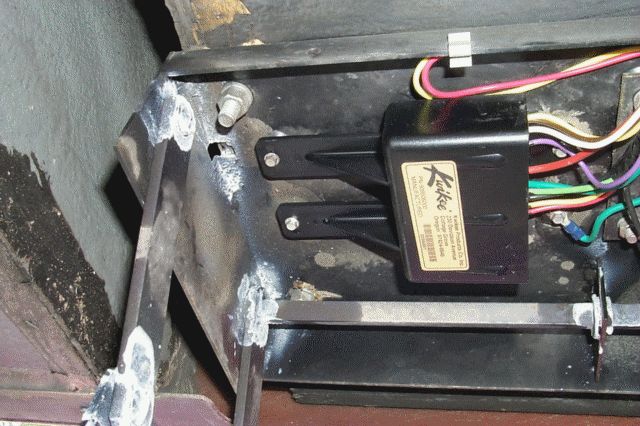
The powered Turbo/Maxx controls. The Turbo/Maxx cover mounts just like the other covers but you need to drill an additional hole (not in the roof) for the fan power wires. I removed the “stock” vent fan and motor that came with the RV and used those wires to provide the power to the new fan. This fan is much much quieter than that original noise maker.
Another shot of the new fan controls, check you door clearances to figure out where to mount the controls before you drill your holes!