Flat Panel TV
One of the first improvements we made was to change the 24” TV with a flat panel TV. The TV itself was a very nice 24” Sony, the issue we had is that is protruded out to far into the coach, making ingress and egress an dangerous situation. Our heads and shoulders could not take anymore impacts from not paying attention when entering the coach or getting into the drivers seat.
Pictures
Remove the old TV
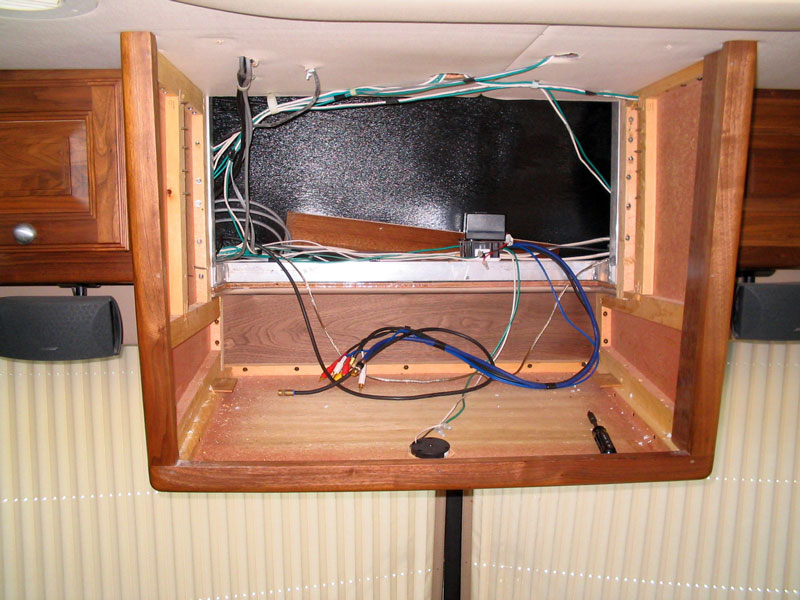 |
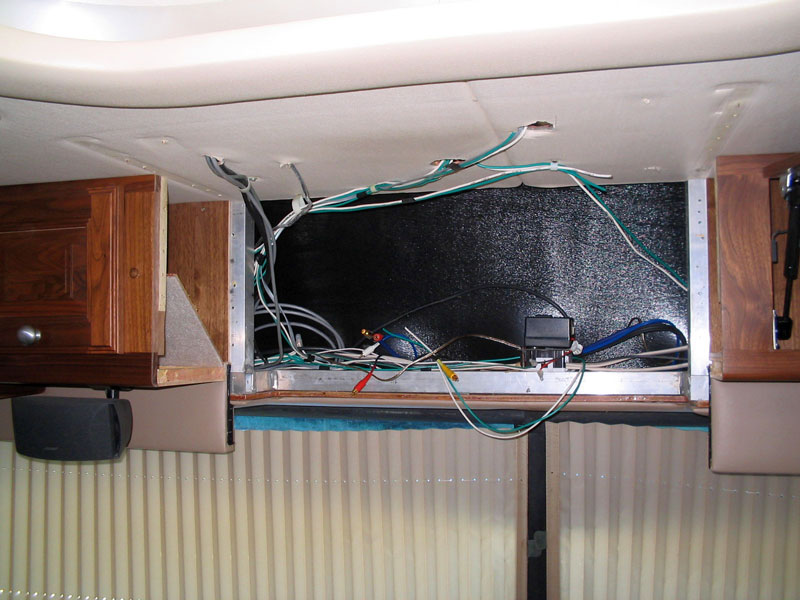
The original cabinet with the Sony TV removed, notice the wires coming down from the ceiling, this will require a cap to keep them hidden. |
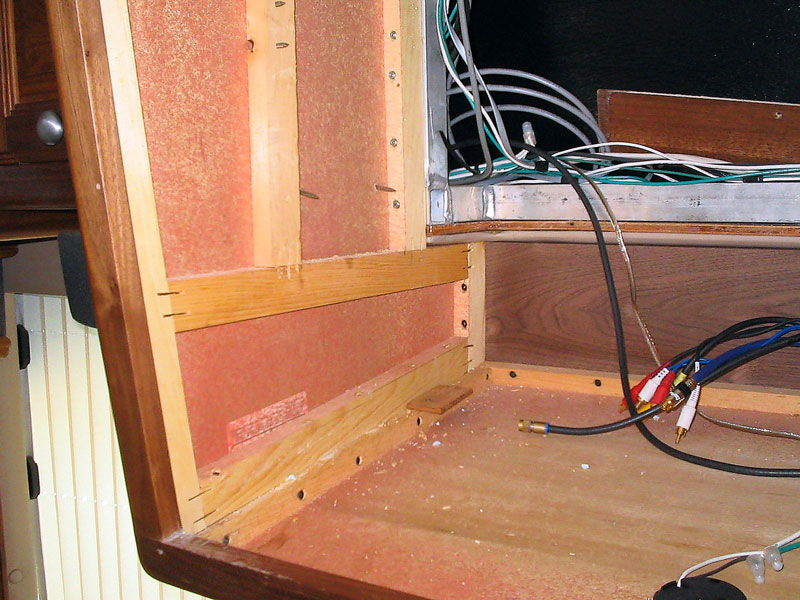 |
You can get a feel for all the screws in this picture. The cabinet is fastened to the ceiling, the back frame and to both side cabinets. |
 |
The last screw has been removed the cabinet can now be slid out so we can begin the more difficult surgery. |
 |
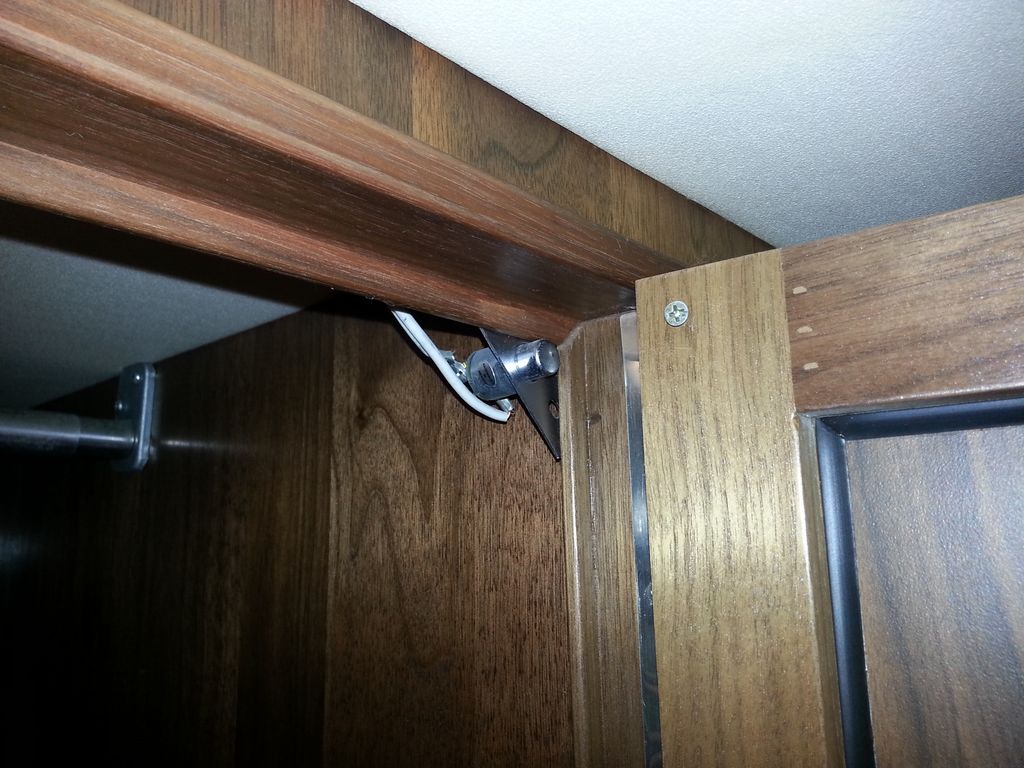
The empty slot, something thin and flat needs to go here now. |
Rebuild the TV Cabinet
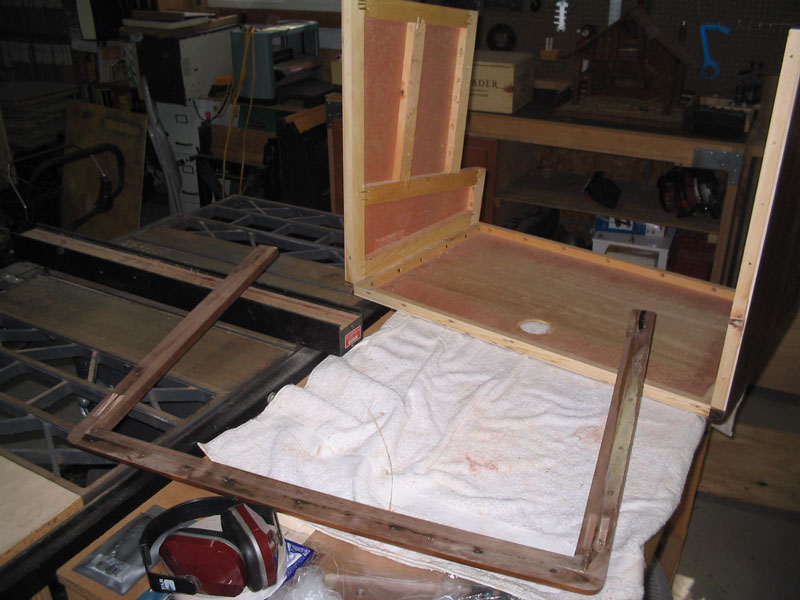 |
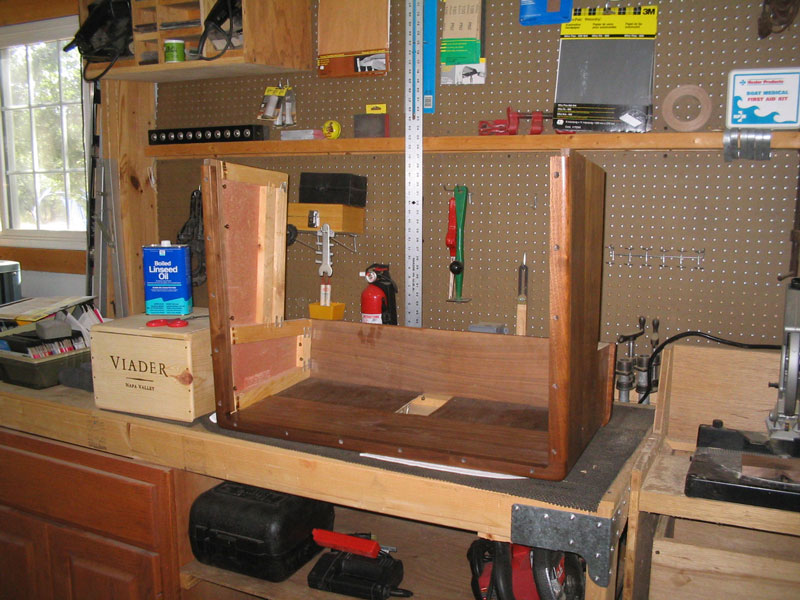
I removed the front walnut face frame from the cabinet on my table saw. This needed to be done with some high precision as I intend to reuse this. In the picture you can see the glue lines on the back of walnut, exactly what I wanted |
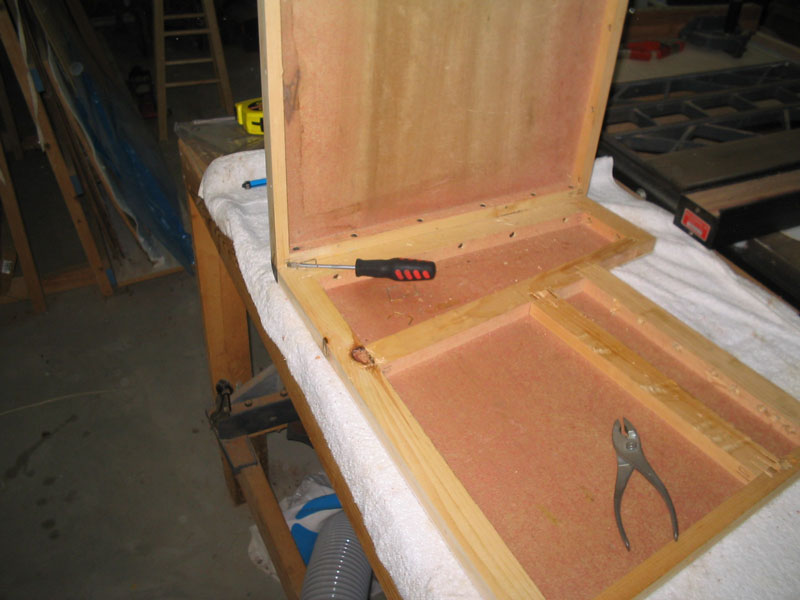 |
There are lots of stapes and brad nails to remove. You can find all the staples but the brads are very hard to find. I used some old and inexpensive blades in my table saw so when I “found” a nail I missed I did not feel so bad. |
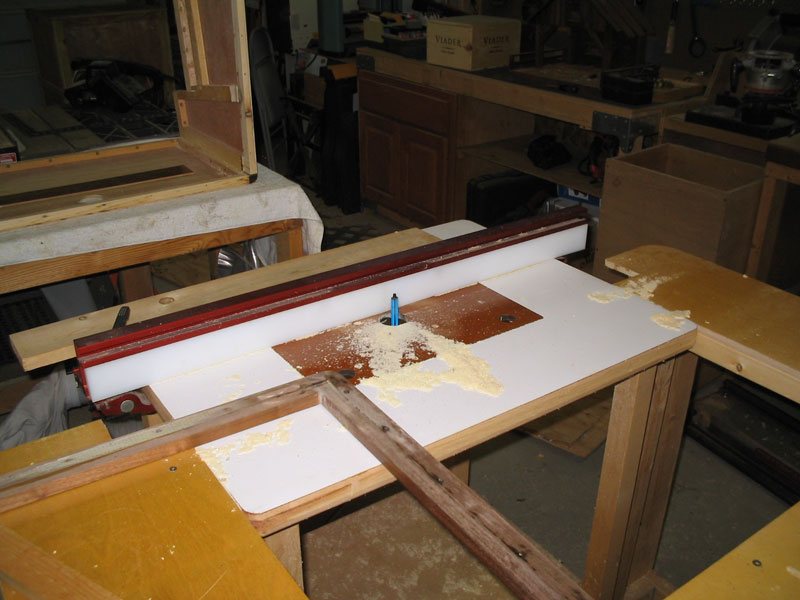 |
The TV was wider than the internal dimension of the cabinet, which prevented it from fitting correctly. I needed to increase the internal space so it would fit. To do this I used a 2” long straight bit on my router to cut back the cabinet. I this case I removed 1/4” on each side (to a depth of 1 1/2 inches) to fit the 30” Dell LCD. |
 |
Here you can see the wider part of the cabinet (the lighter colored wood) in this picture, it does not take much ‘depth’ in the widening to fit the flat panel. Basically I just thinned the front furring strips of the box so the TV would fit. |
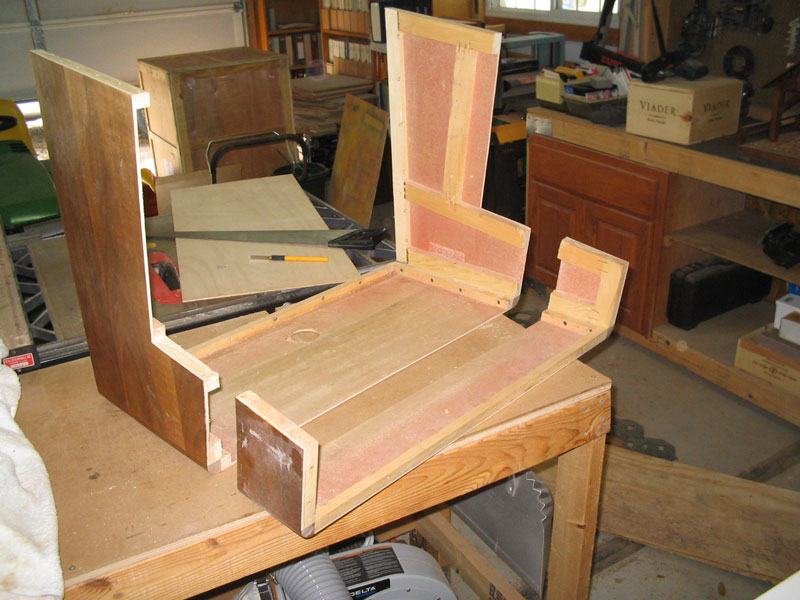 |
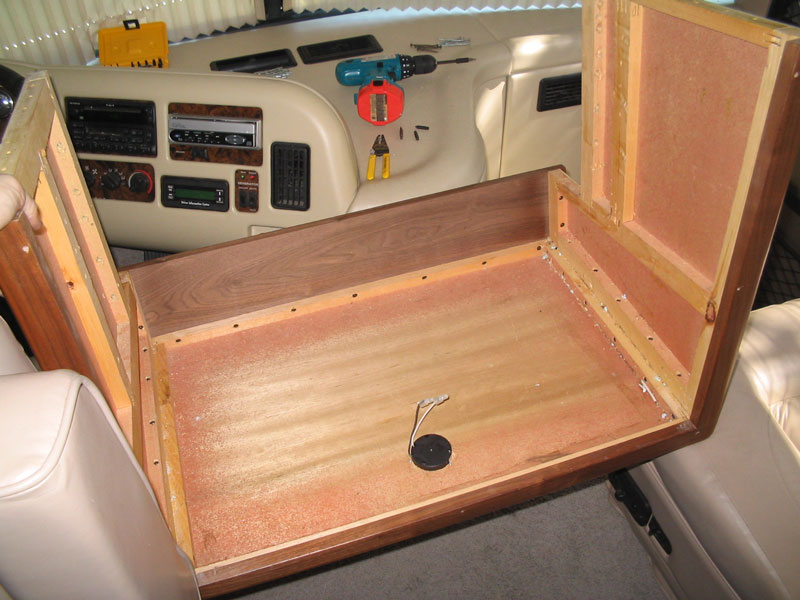
Next was the shortening of the cabinet, I cut off approximately 6” from the back of the cabinet. |
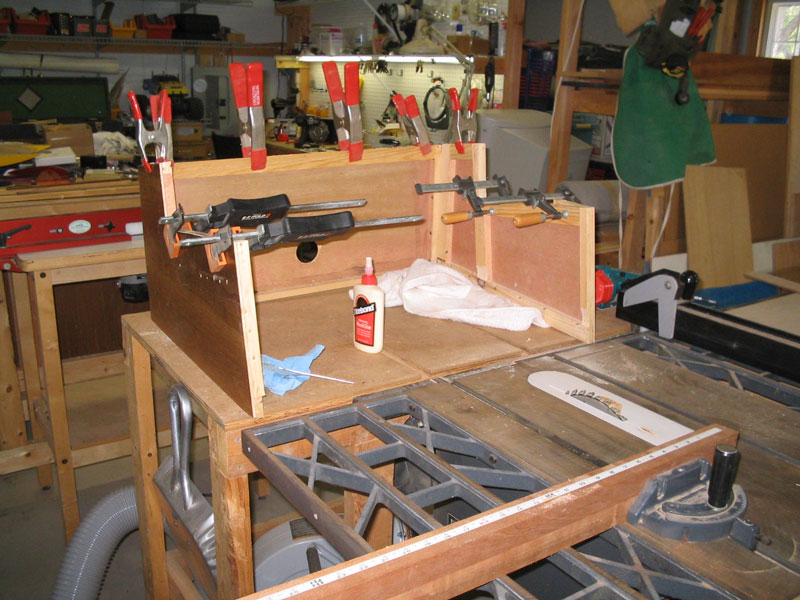 |
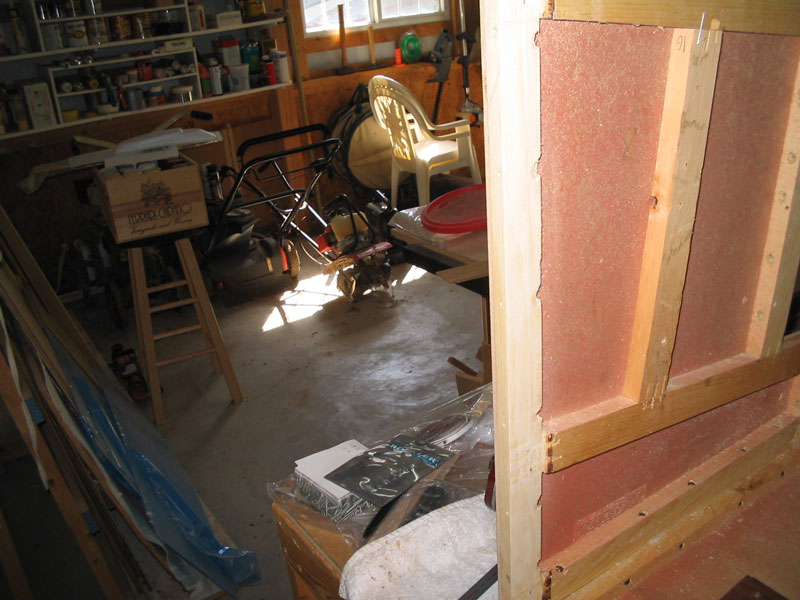
Here is a picture of all the internal structure being added back to the cabinet, the goal is to make it look the old cabinet in terms of the support structure. |
 |
I had to make a new back vanity section as the old one was now to short due to the shorting of the cabinet. Luckily I had a section of black walnut in the shop that was perfect for the job. |
New coach structure
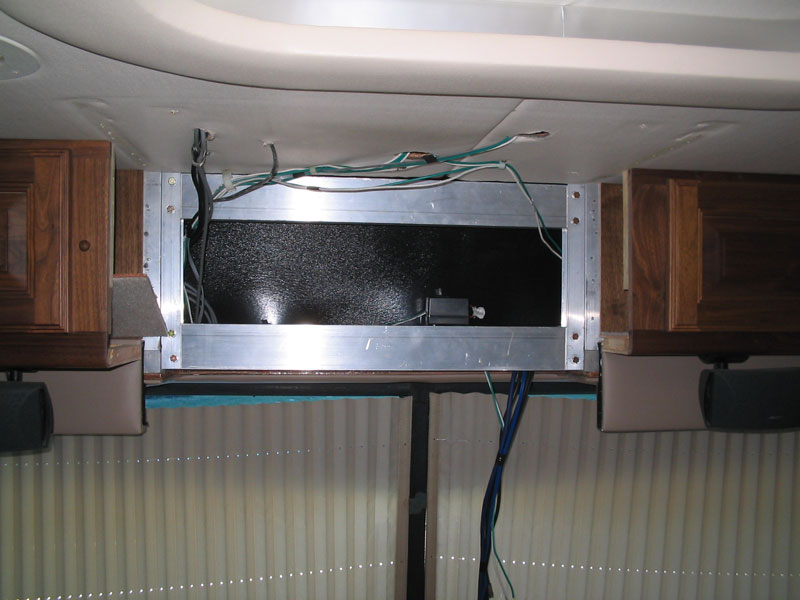 |
In order to mount the new TV, I used 1x3 aluminum tube and 1-1/4 X 1 aluminum U channel. The channel was screwed to the existing Foretravel structure and the tube mounted to the channel. I attached the tube to the channel with class 5 bolts for extra strength. |
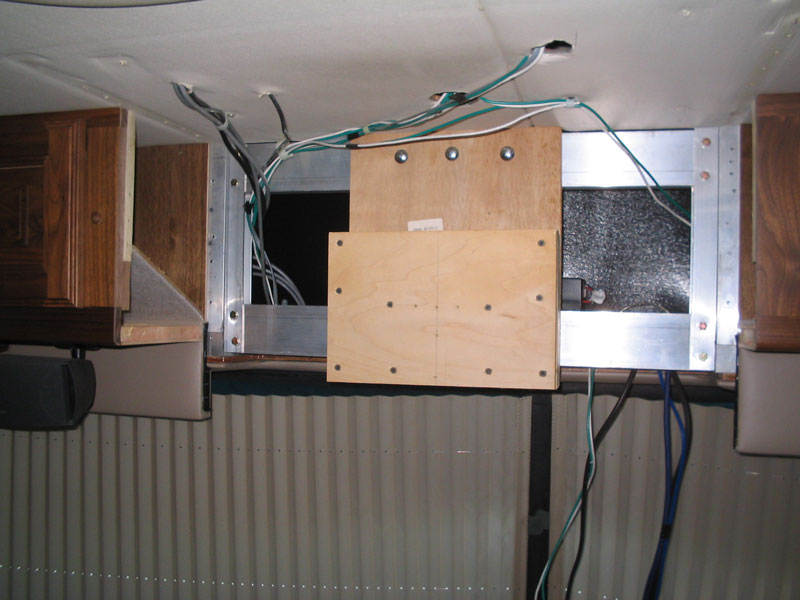 |
The mounting pad for the 30” LCD is mounted with lag bolts to the aluminum tube structure. The depth of the LCD mount was determined to align the face of the LCD with the face of the cabinet. |
 |
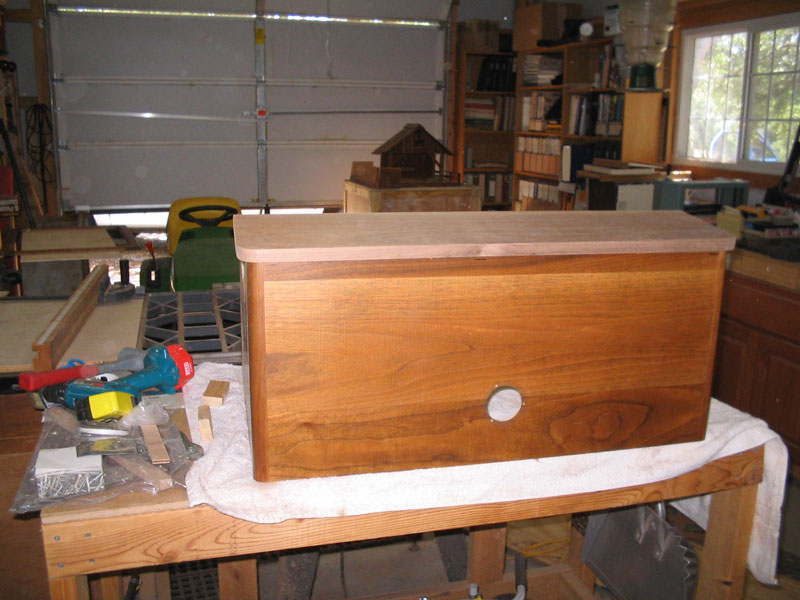
I lined the interior part of the cabinet (the part which might be visible with the TV installed) with a thin walnut veneer. This will give the cabinet a nice finished appearance. |
 |
First test fit of the cut down cabinet, the removal of ~6 inches from the back makes a big difference. Notice that it does not come much past the Bose speakers. Also notice I mounted a surge and line conditioner strip, the TV and antenna cables plug into this. |
Final Product
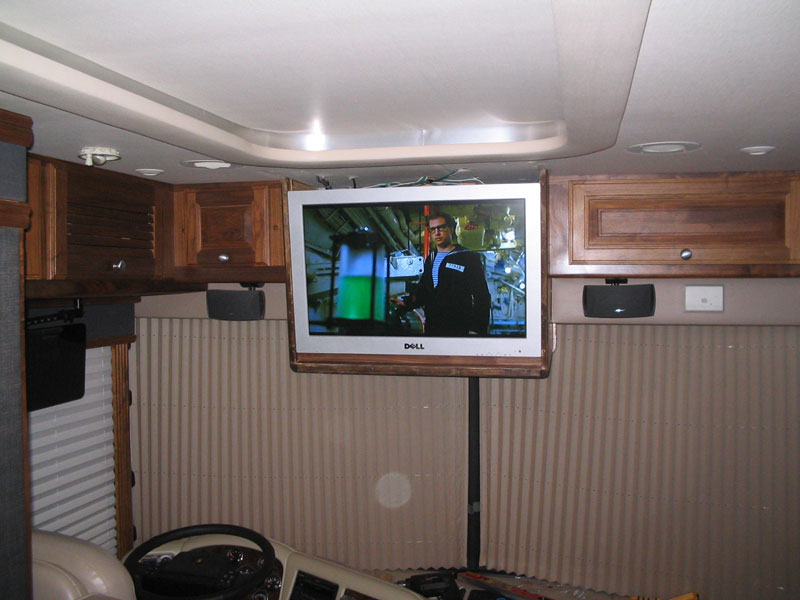 |
First test fit of the LCD into the cabinet |
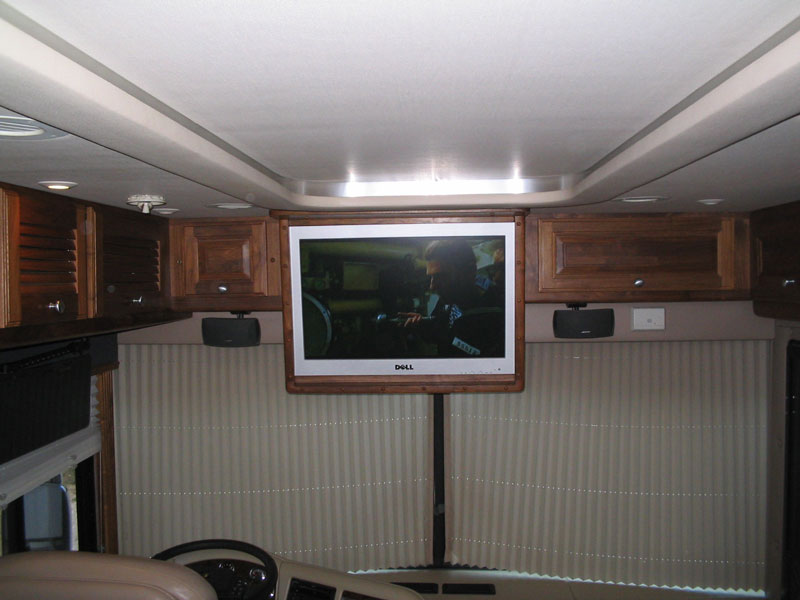 |
The TV, face frame and all trim work in place. I had to put a ‘hat brim’ on the top to cover the cables and holes in the ceiling that were covered by the original deeper cabinet. |
 |
A look from the steps, don’t think we will hit our heads into that anymore! |