VacuFlush Pump Rebuild
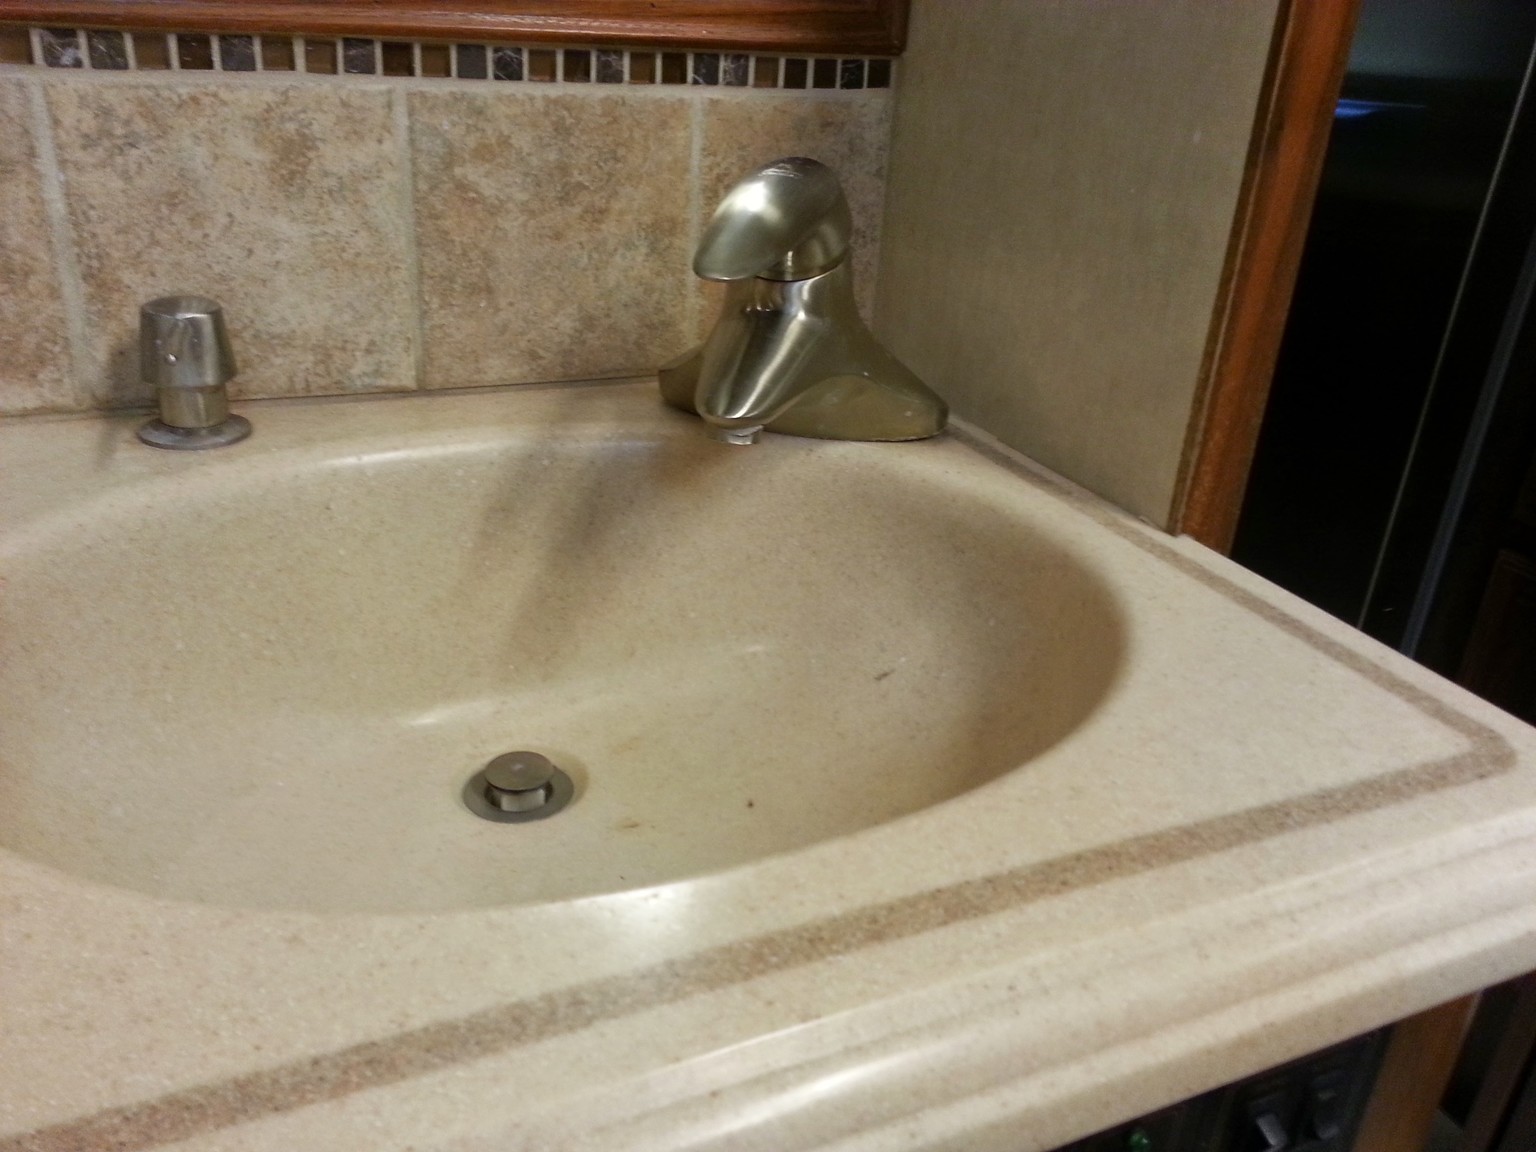
Our Magnum Opus VacuFlush toilet was taking longer than typical to pump down to the shutoff vacuum. Some of that was due to the higher elevations here in Santa Fe, but some of it was just age.
We had replaced the duck bill valves about 18 months ago, so we knew those were in good condition, but the pump times were longer now then when we have visited Santa Fe a few years ago. As such it was time to do a full pump rebuild, and at the same time update the motor to a whisper motor, the existing one made a noticeable ka-chunka ka-chunka noise.
Removing the pump
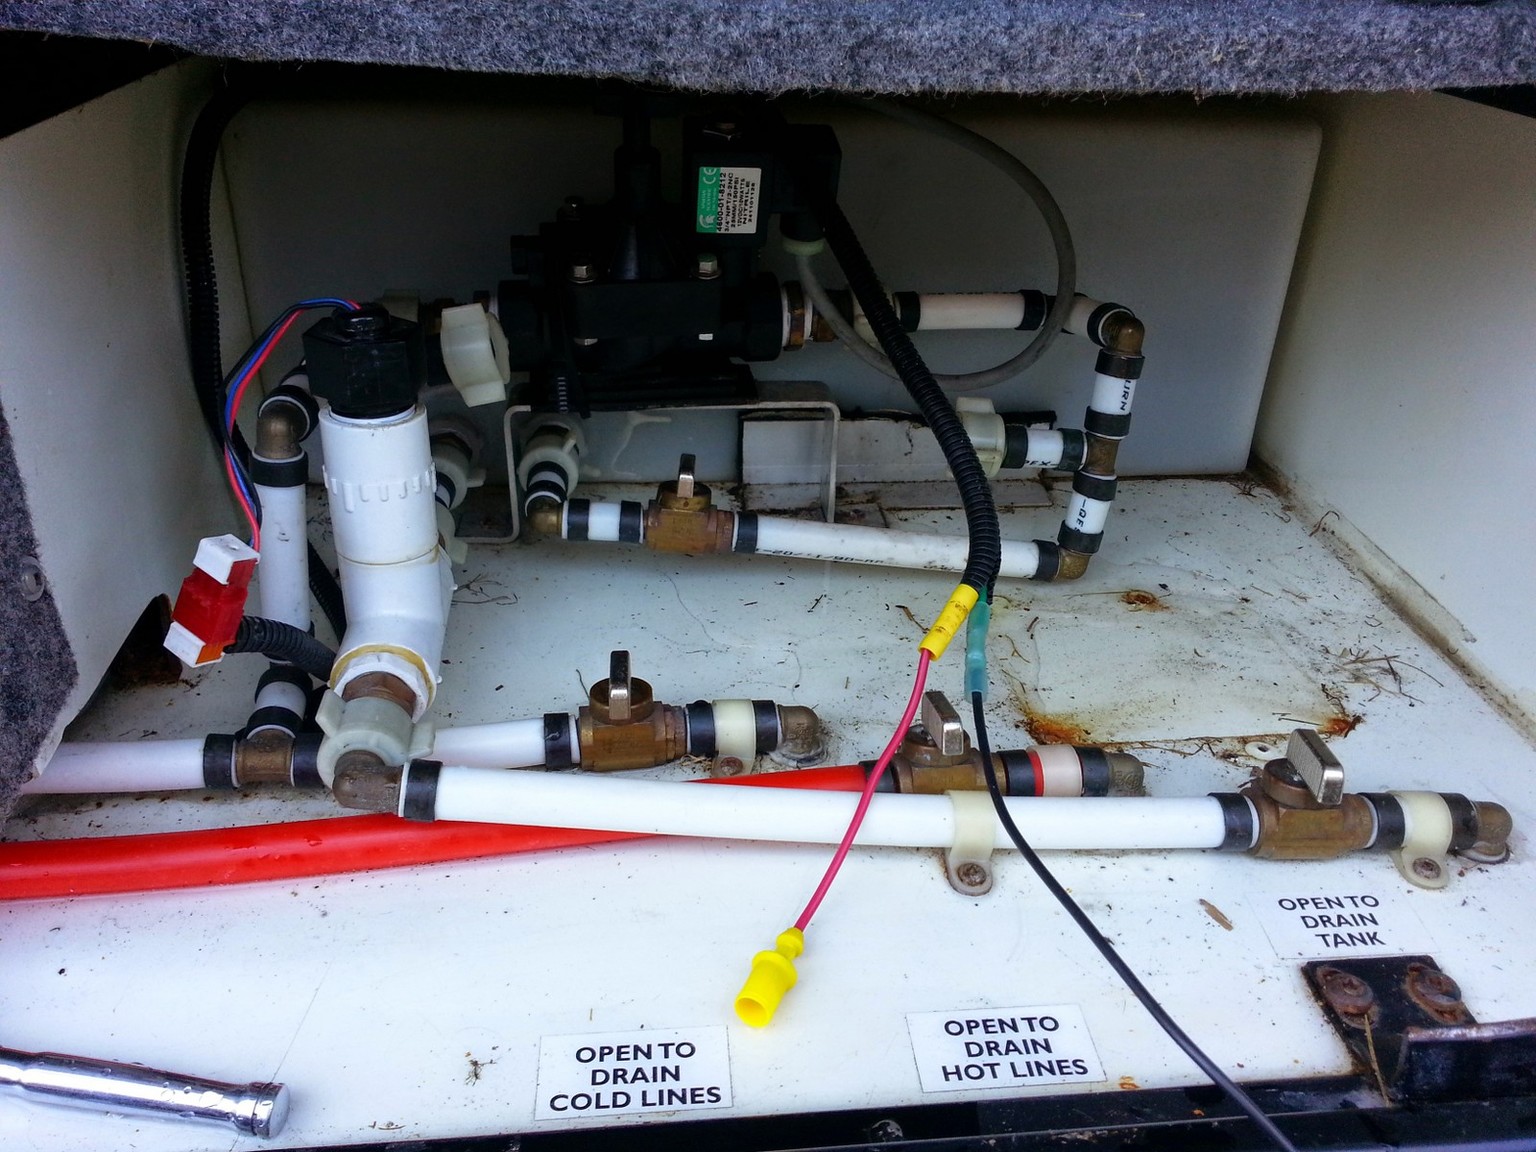
The existing vacuum generator and pump were installed in one of the passenger side bays. Before you begin to remove it, you will want to clean the lines as best as possible. To do this flush the toilet a few times with lots of water and some detergent in the bowl to help. Let the detergent sit in the lines for a couple of minutes between flushes. On the last flush turn off the pump so there is no vacuum in the system, I placed the system in service mode as well, ball open, switch off.
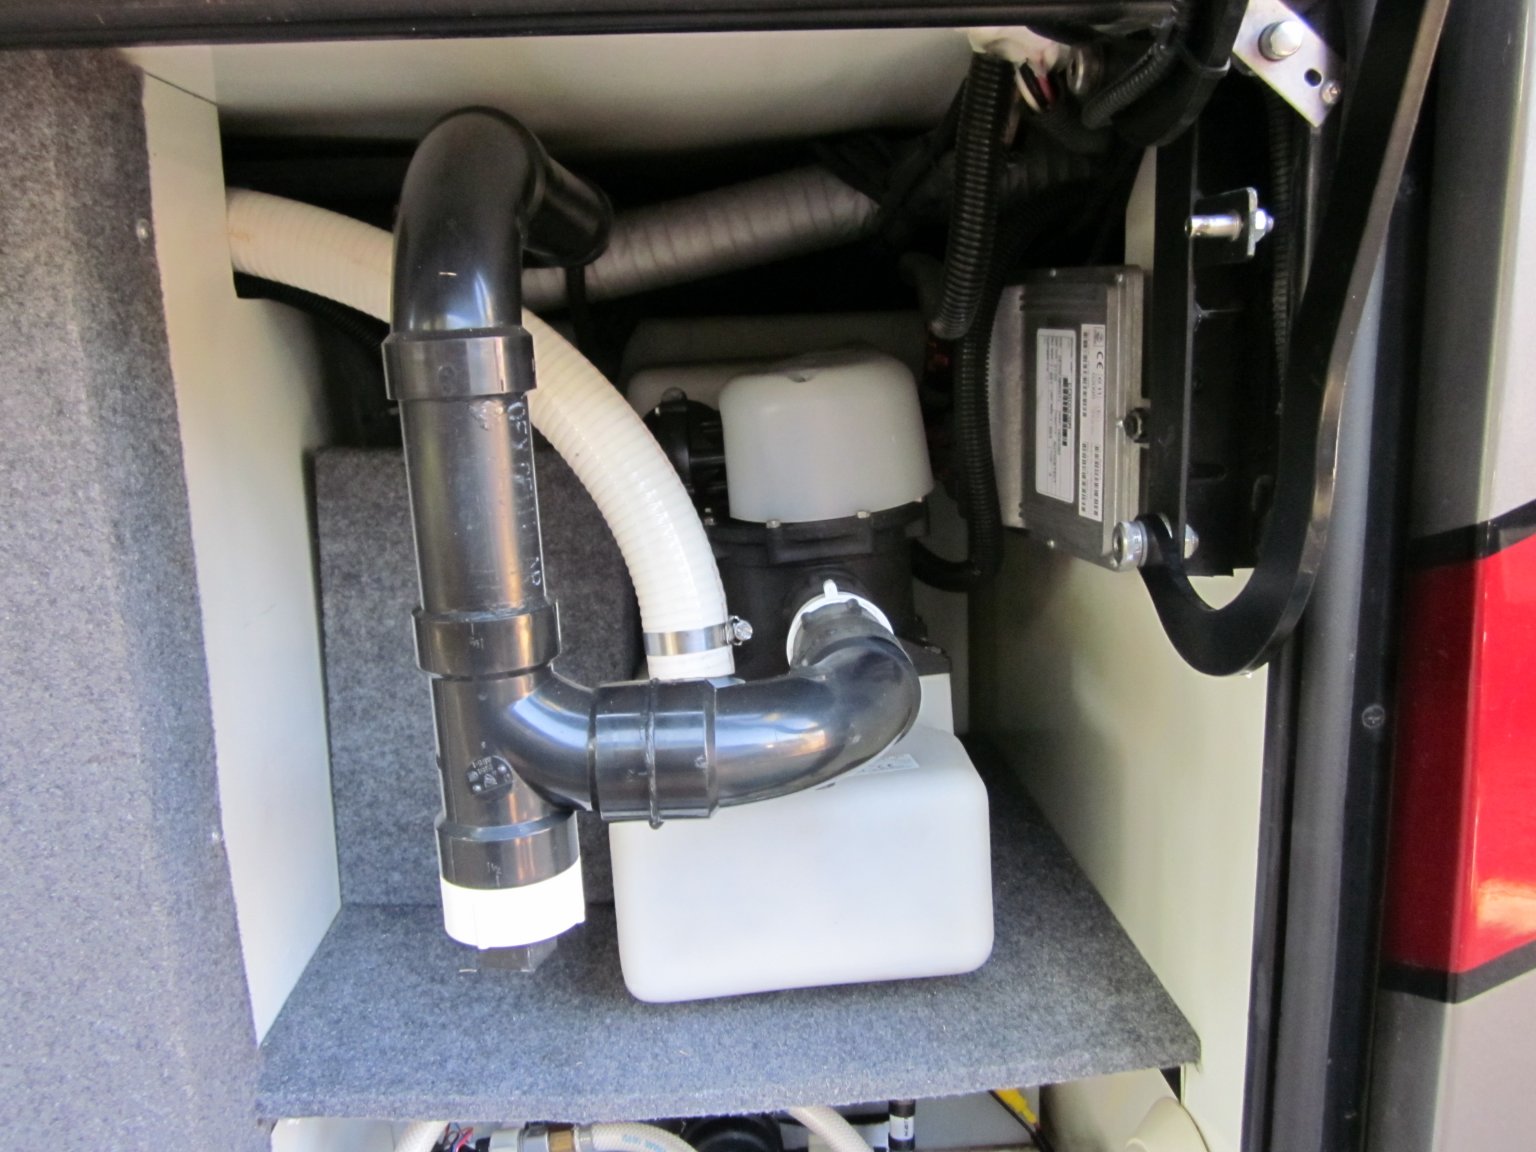
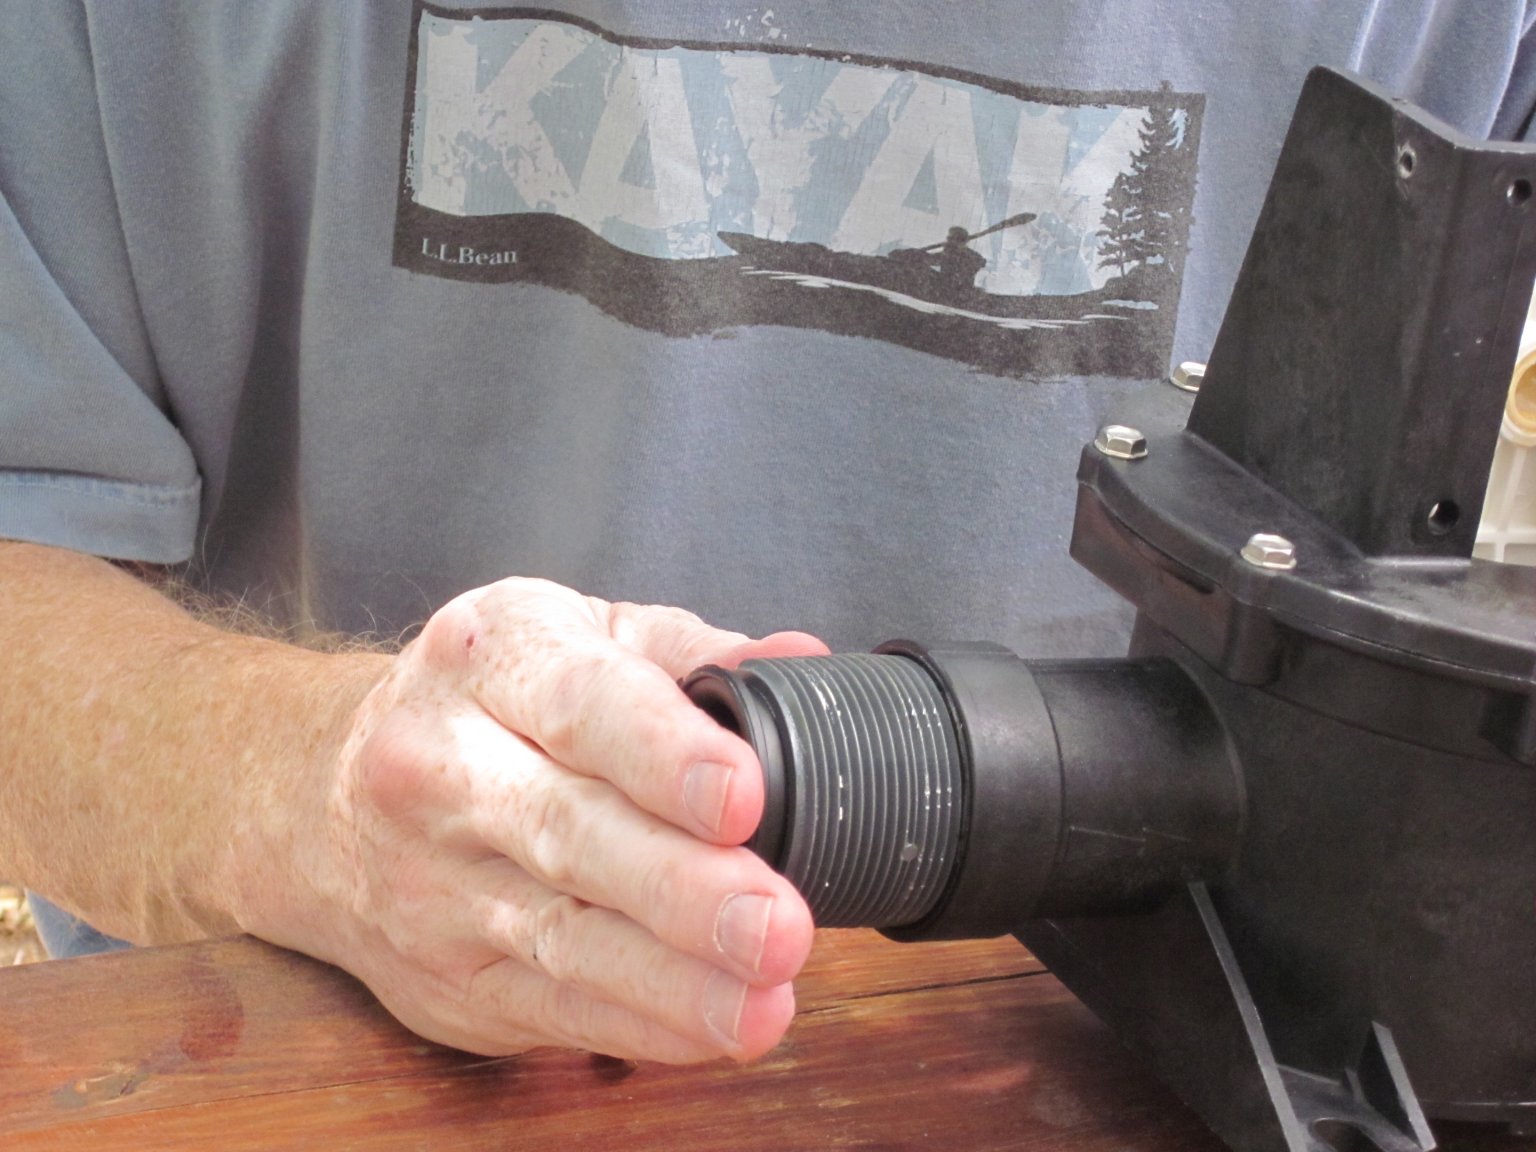
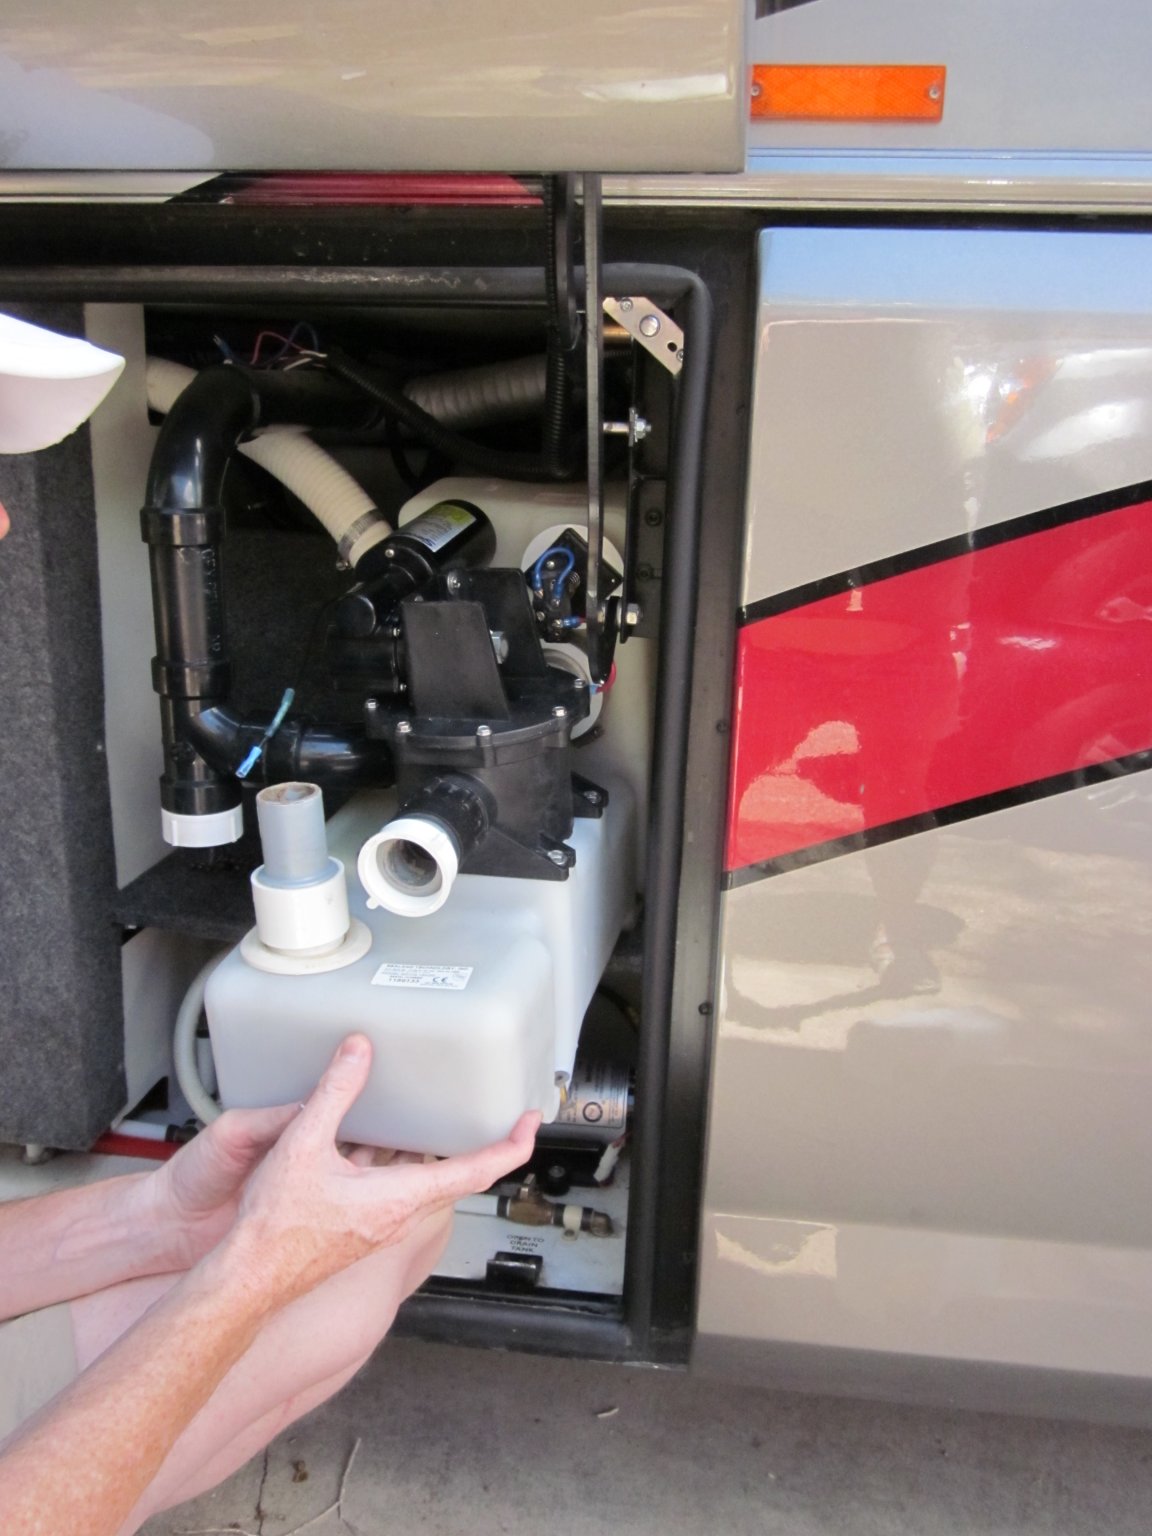
To upgrade the pump, you need to pull out the vacuum generator it’s mounted to. To remove the vacuum generator, you disconnect the In and Out lines, the Out to the black tank in this case was the black PVC and the In being the white reinforced (will not collapse under vacuum) hose.
The white line is a bit difficult to get free, but just turn it from side to side while lifting up on it and it will slowly walk off. Once that’s done you remove the mounting screws which attach the unit it to the shelf in the compartment (or however yours may be attached in your bay).
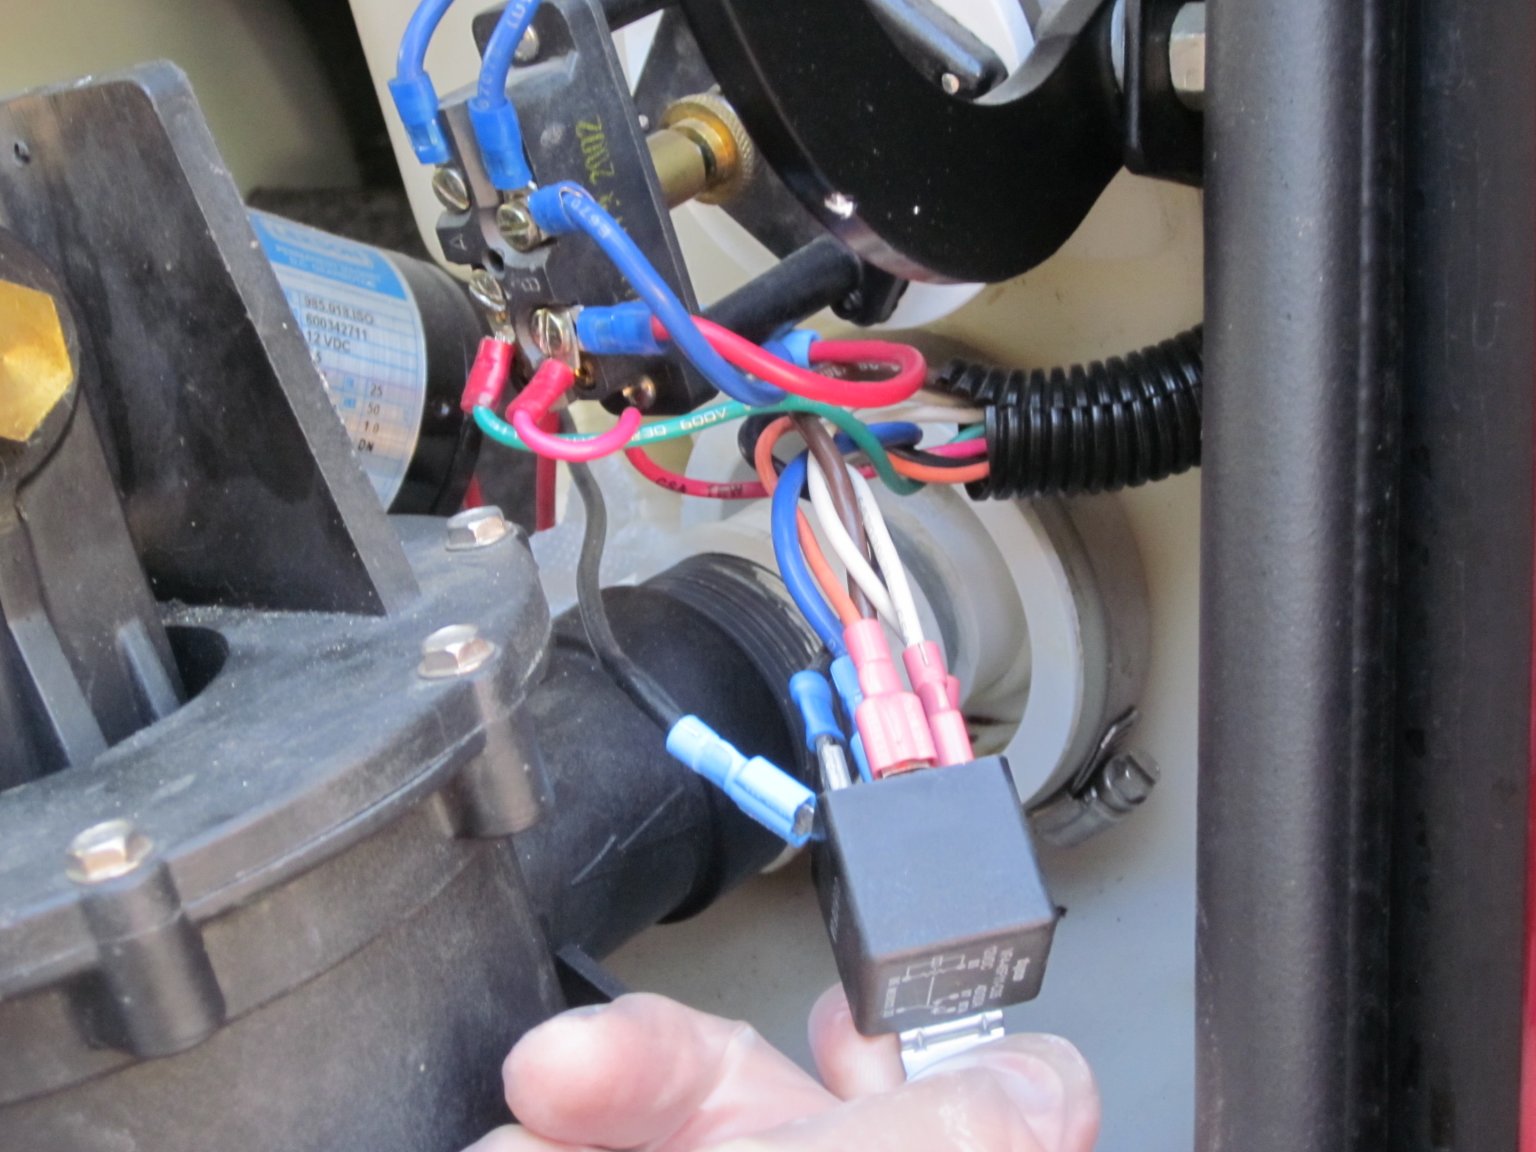
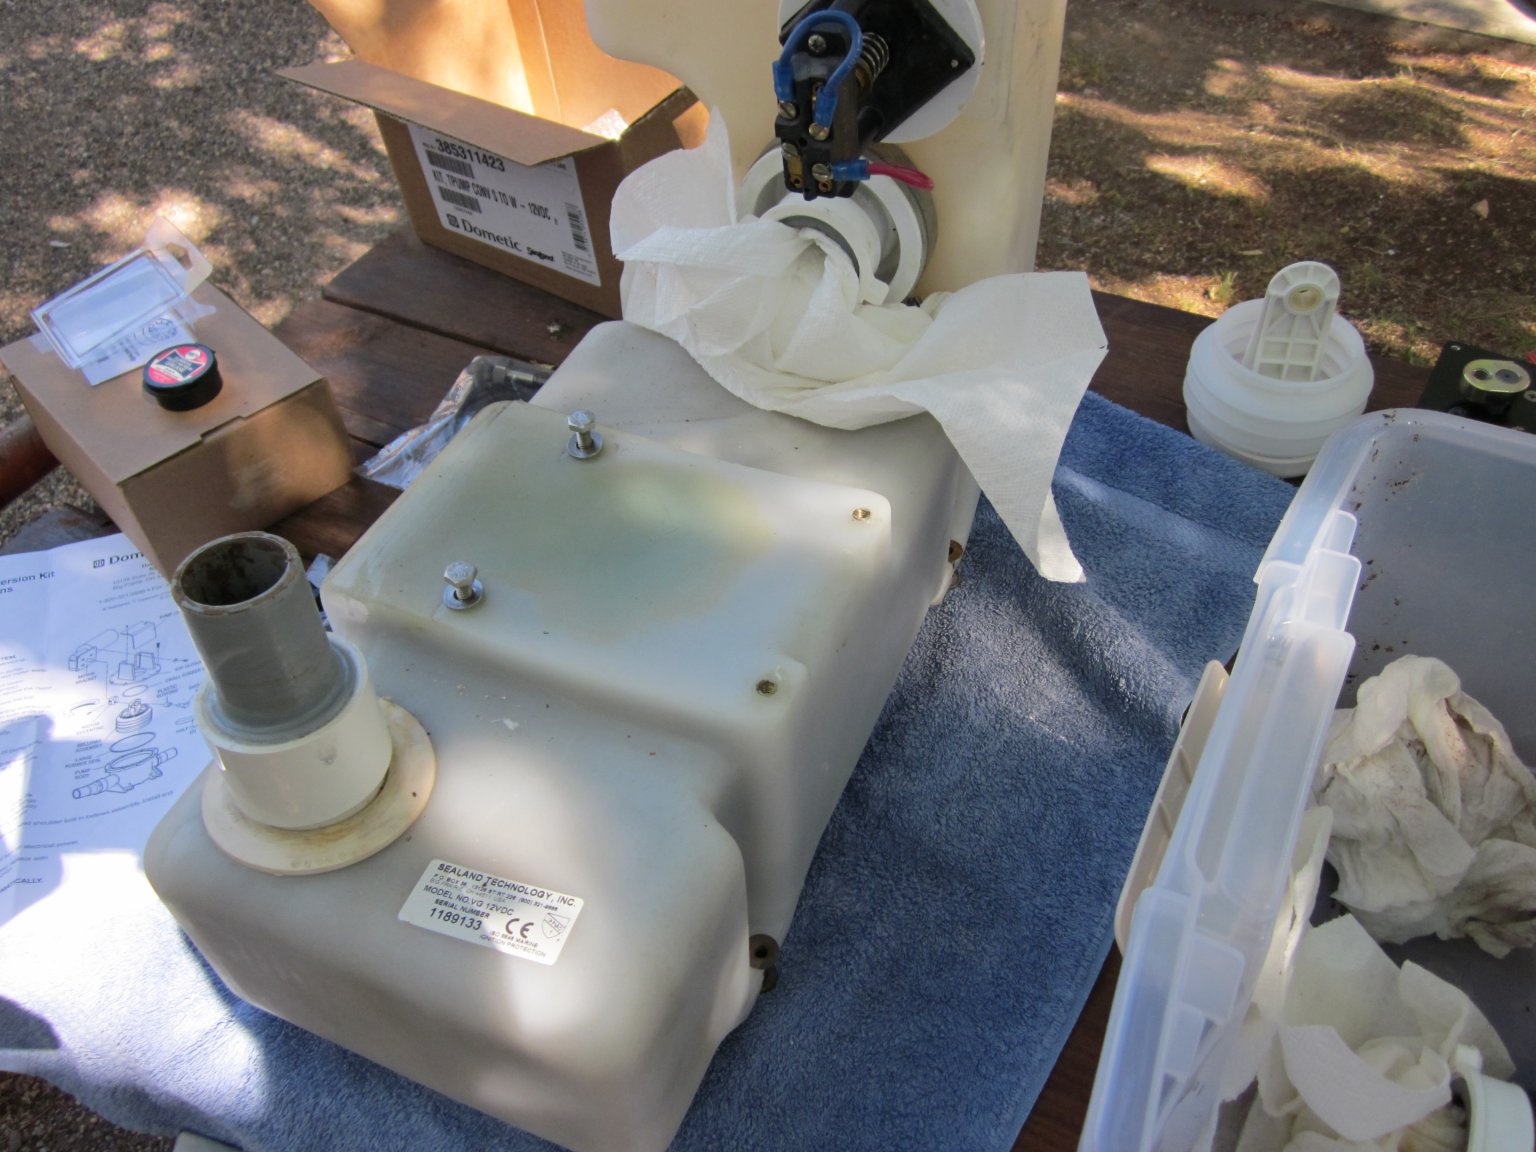
Now you can slide the unit forward, but you can’t remove it until you disconnect the lines from the relay (take a picture so you can remember which line go where). Once the unit was out I plugged the ends of the pipes with some paper towels to keep things as sanitary as possible. One thing to note, one of the 4 duck bills is located in the end of the black (outlet) pipe, you can pull it out now and then plug the pipe with the paper towels.
Disassembly
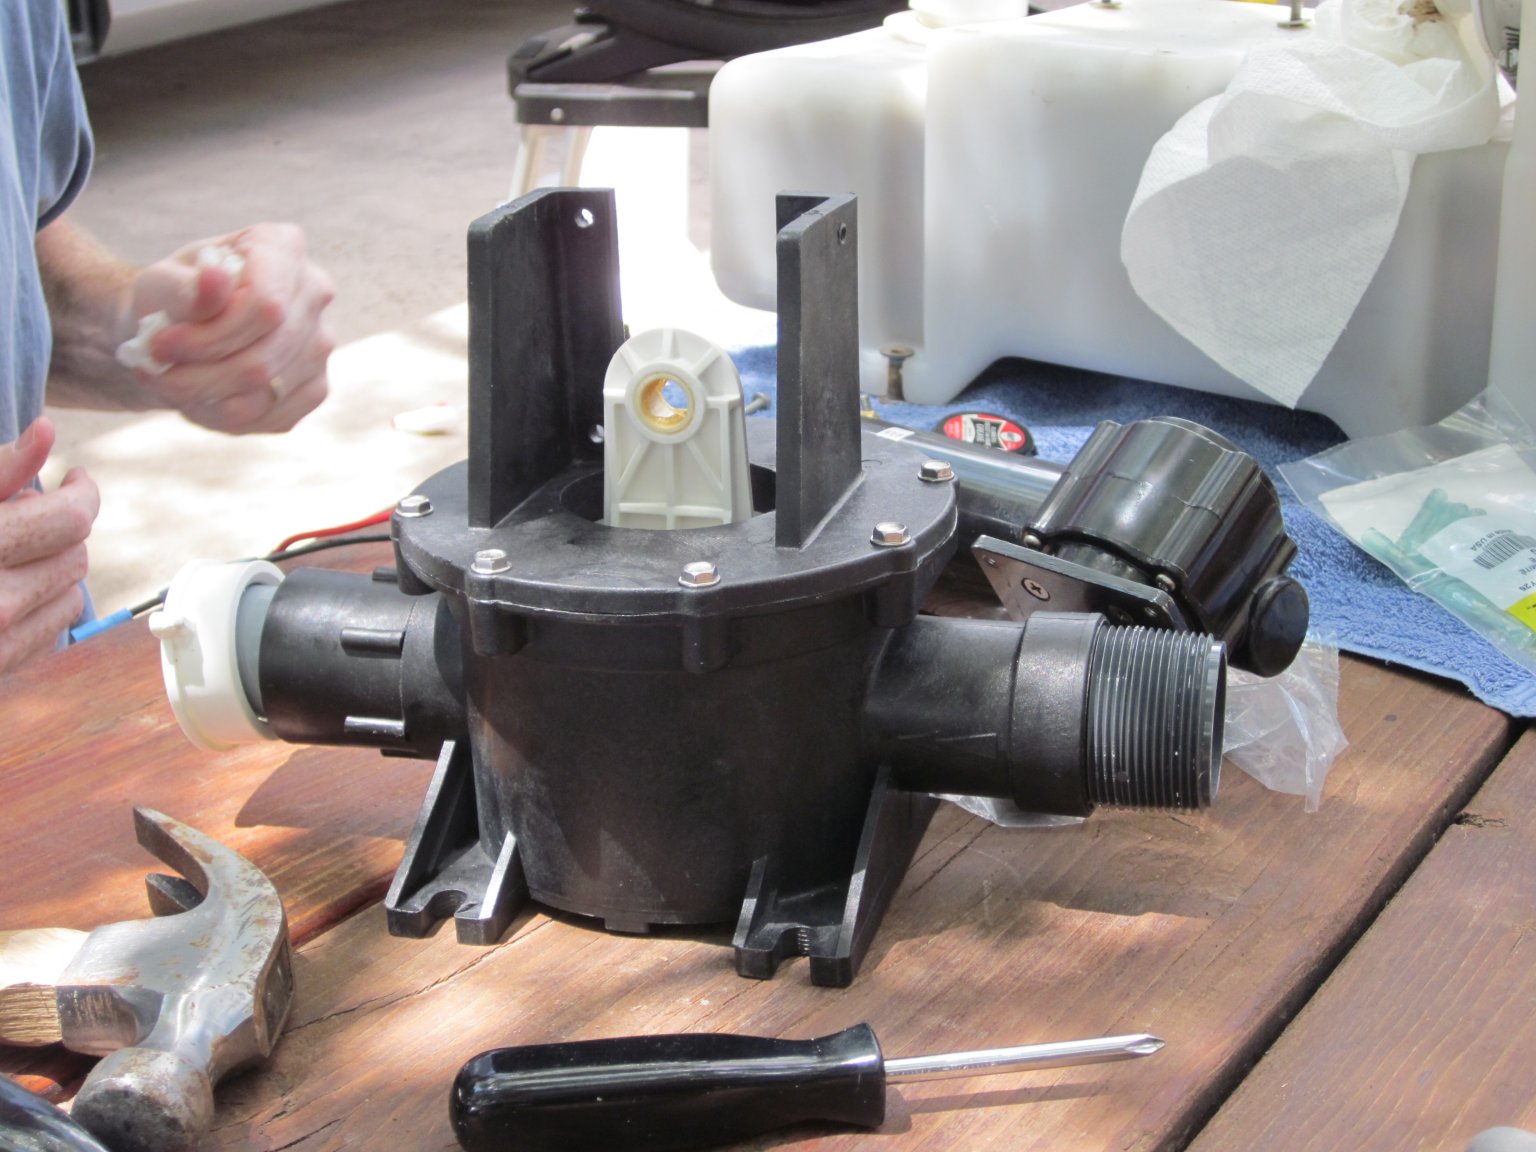
With the pump out and on the bench its time to begin the rebuild

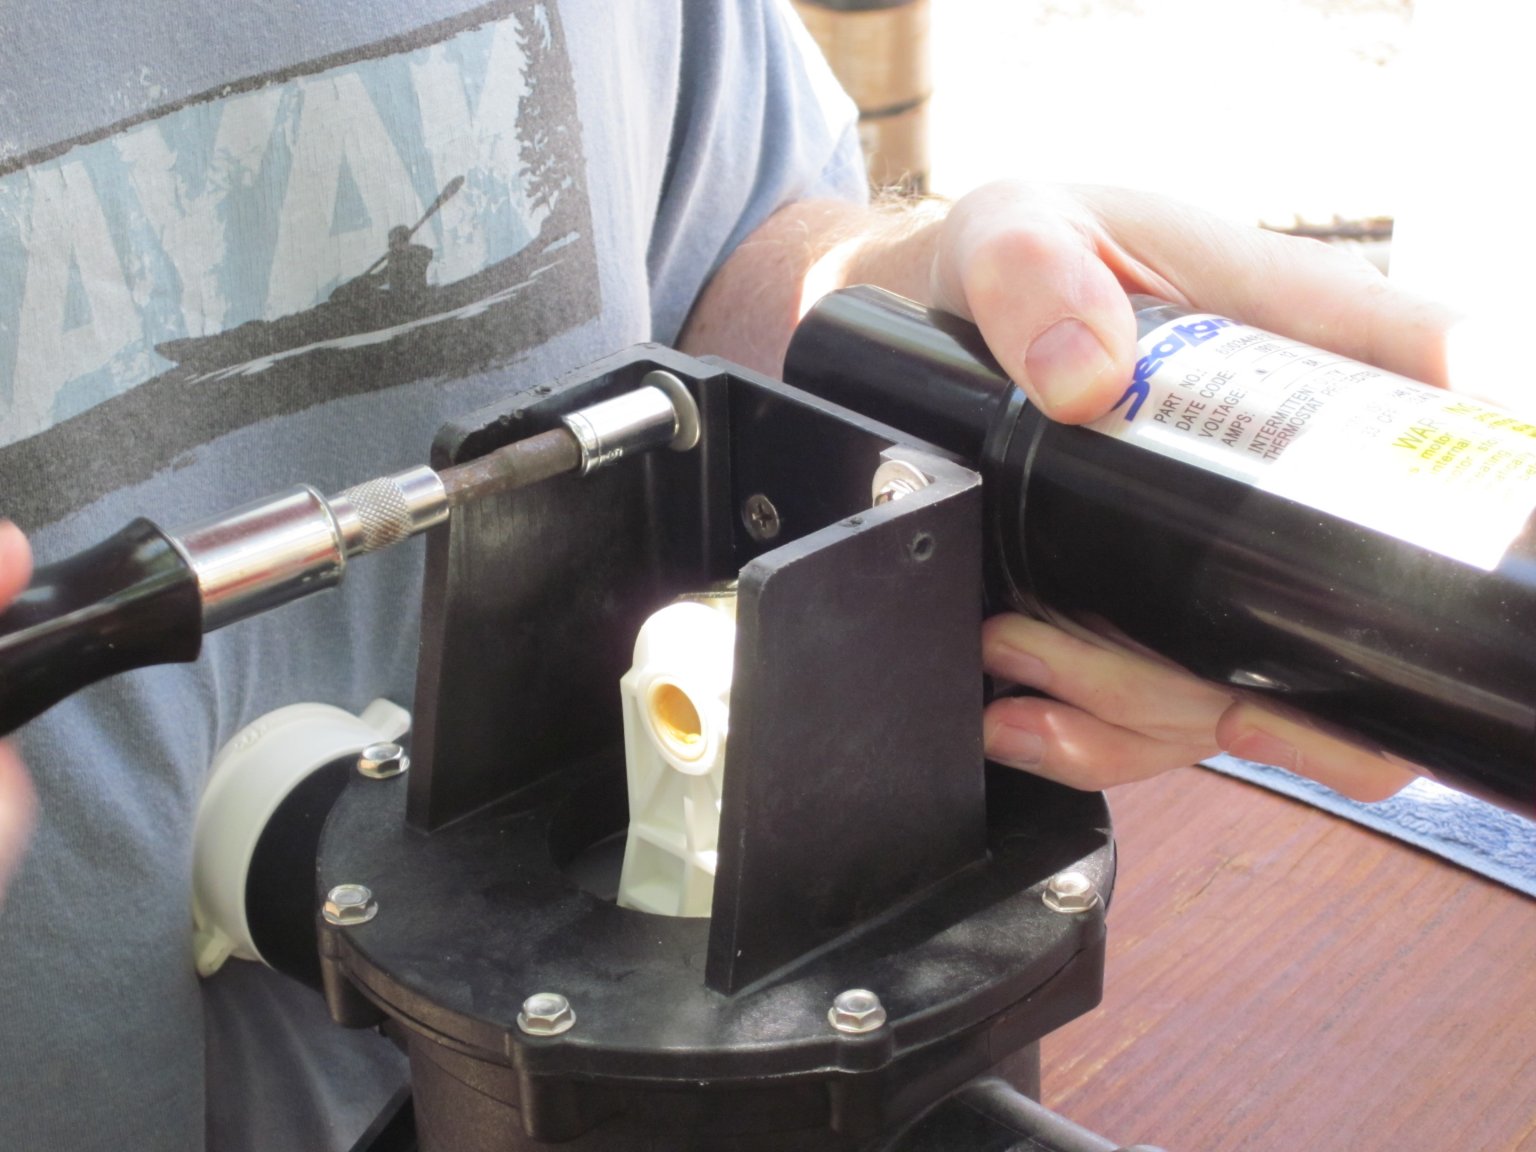
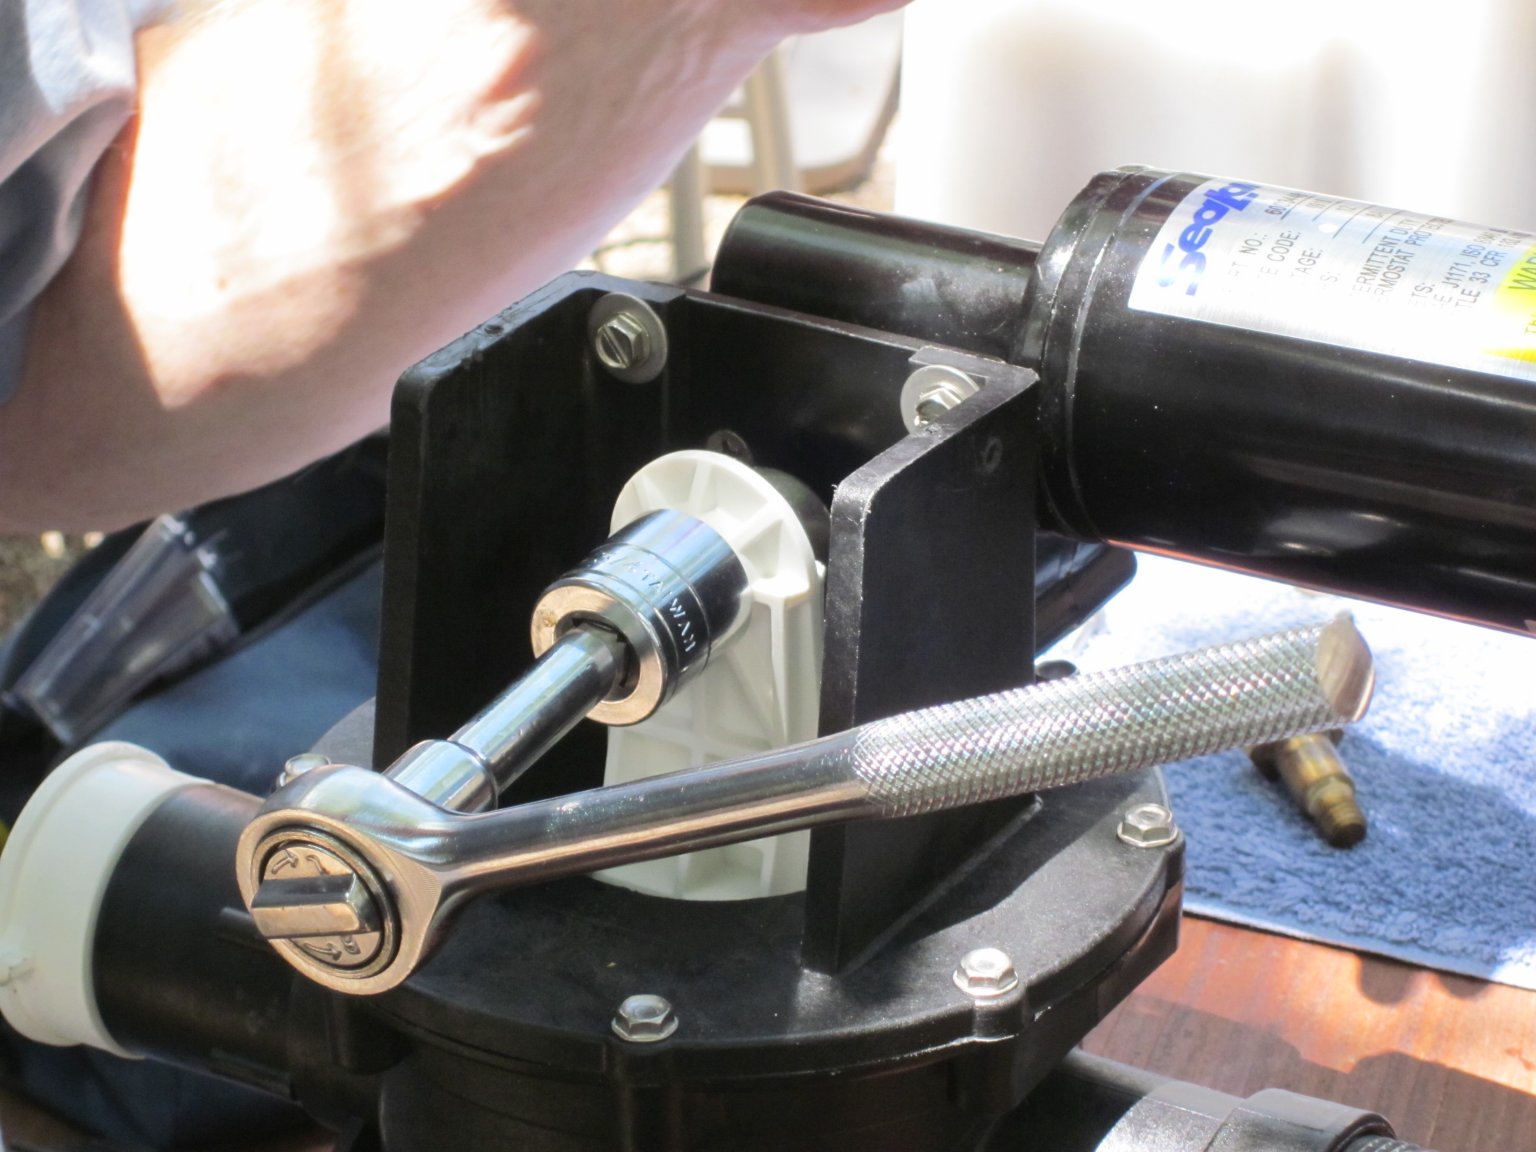
First you remove the bolt that holds the piston / bellows to the motor cam. A new bolt comes with the rebuild kit if you get the new whisper motor so please ignore the use of the channel lock pliers, if you did not get a new motor, use the appropriate wrench ;) Once you have that bolt off, you can remove the motor from the housing and detach the pump from the larger holding chamber.
Now that you have the pump off the holding chamber you remove the 8 perimeter screws that hold the two half’s of the pump together. You can then gently pry the bellows up and out, be careful that you don’t damage the surfaces where the O-rings sit. Sorry no pictures for these steps, let’s just say the detergent and pre flushes only do so much if you catch my drift, and if you were down wind from me you would have.
Up next is the cleaning process, we used rubber gloves, wash bucket, bleach, soap, and some CLR. The main thing to clean is the piston chamber where the piston / bellows sits. Ours had a lot of calcium and hard water deposits built up on the bottom the that CLR helped with, as did breaking it away by hitting it with the butt end of a screwdriver. Really the only thing to clean is that chamber, and the top, but everything went in to that wash bucket, screws, bolts, washers, piping …
Rebuild / Replacing parts
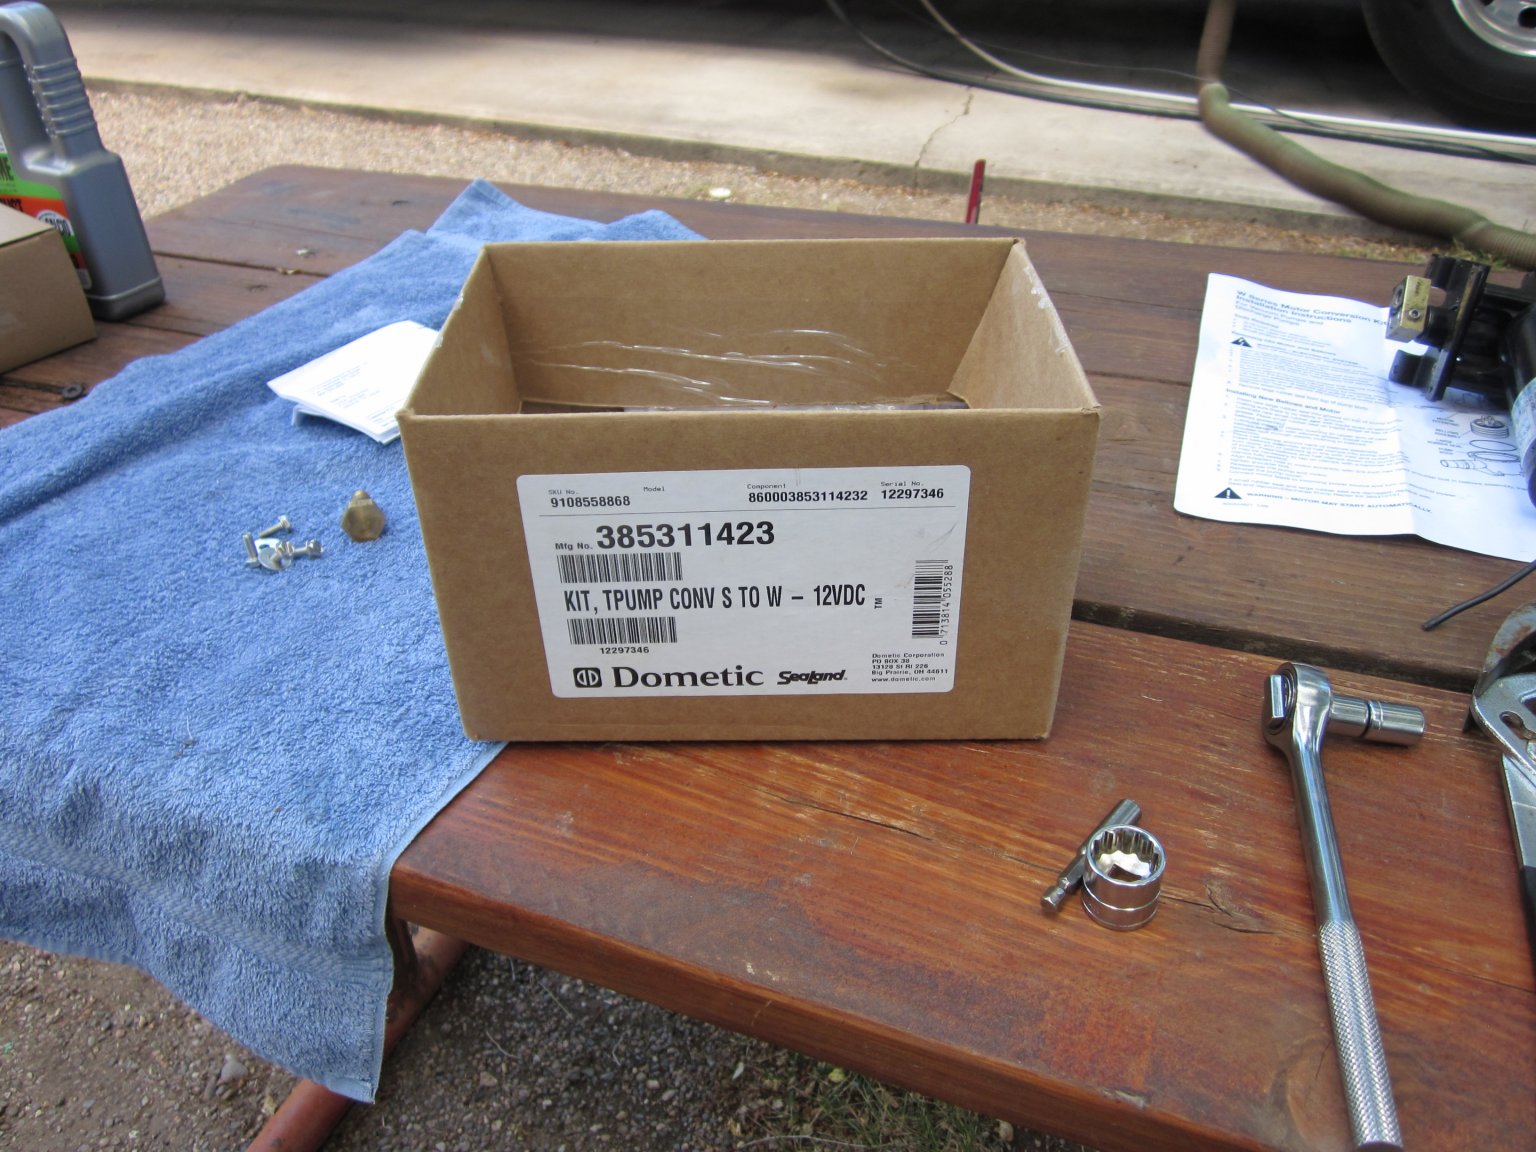
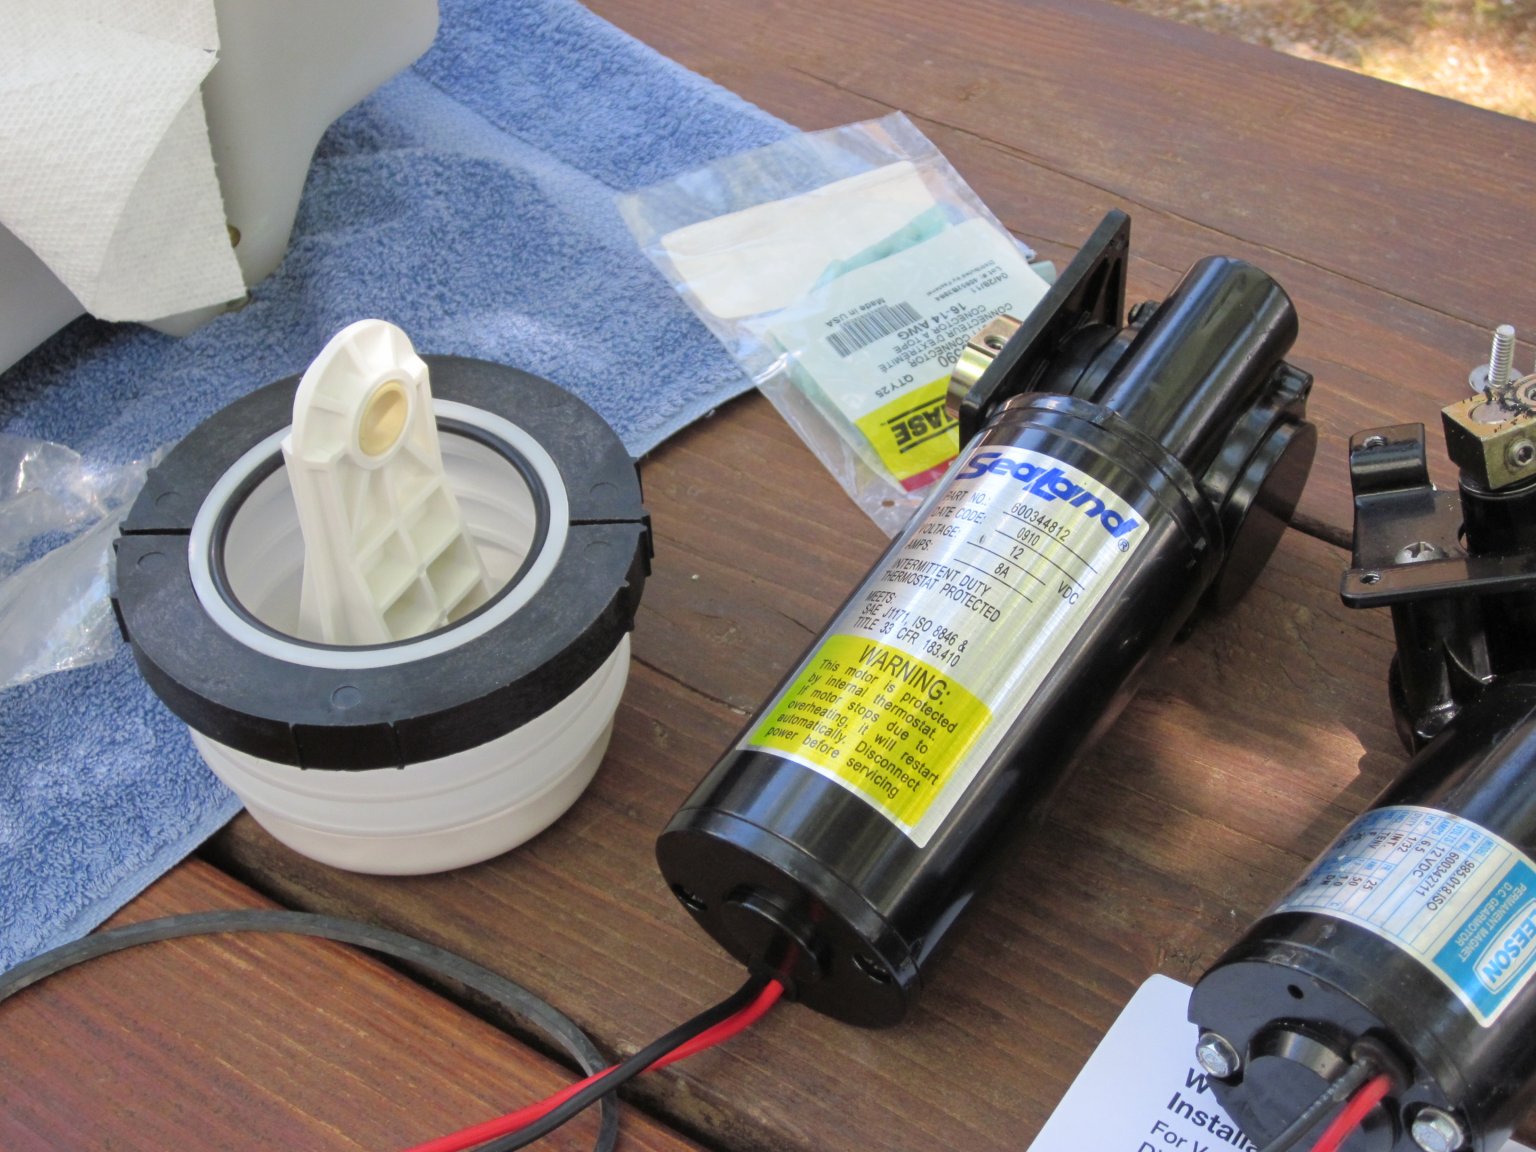
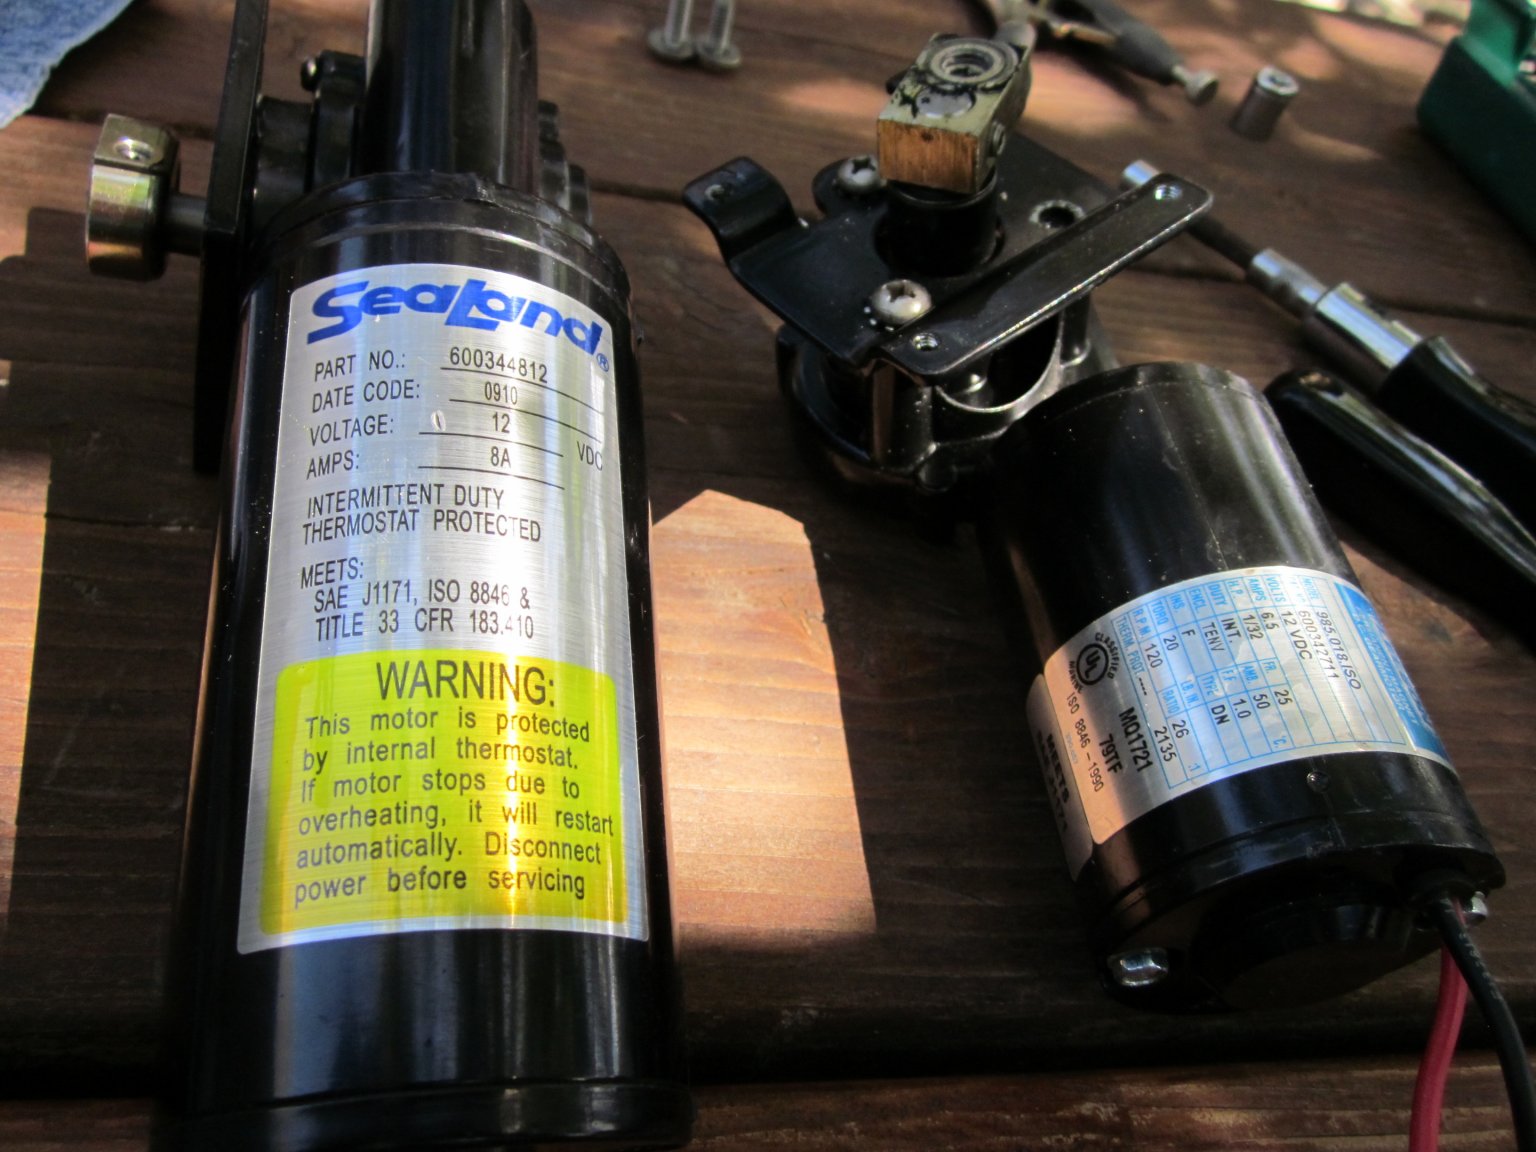
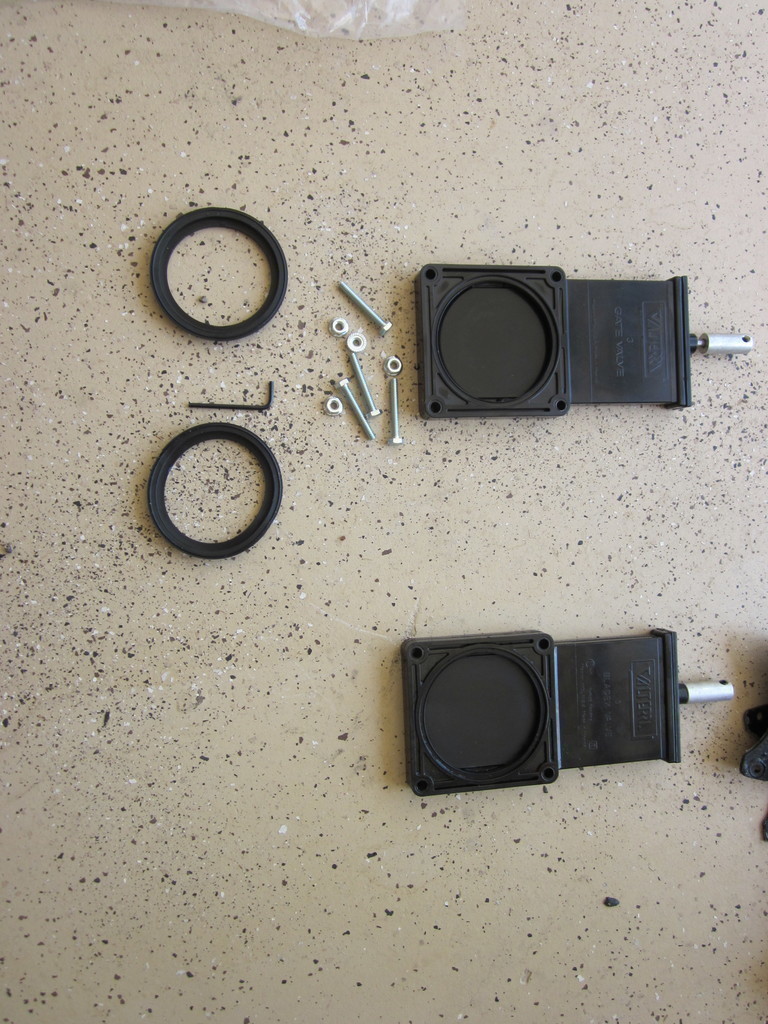
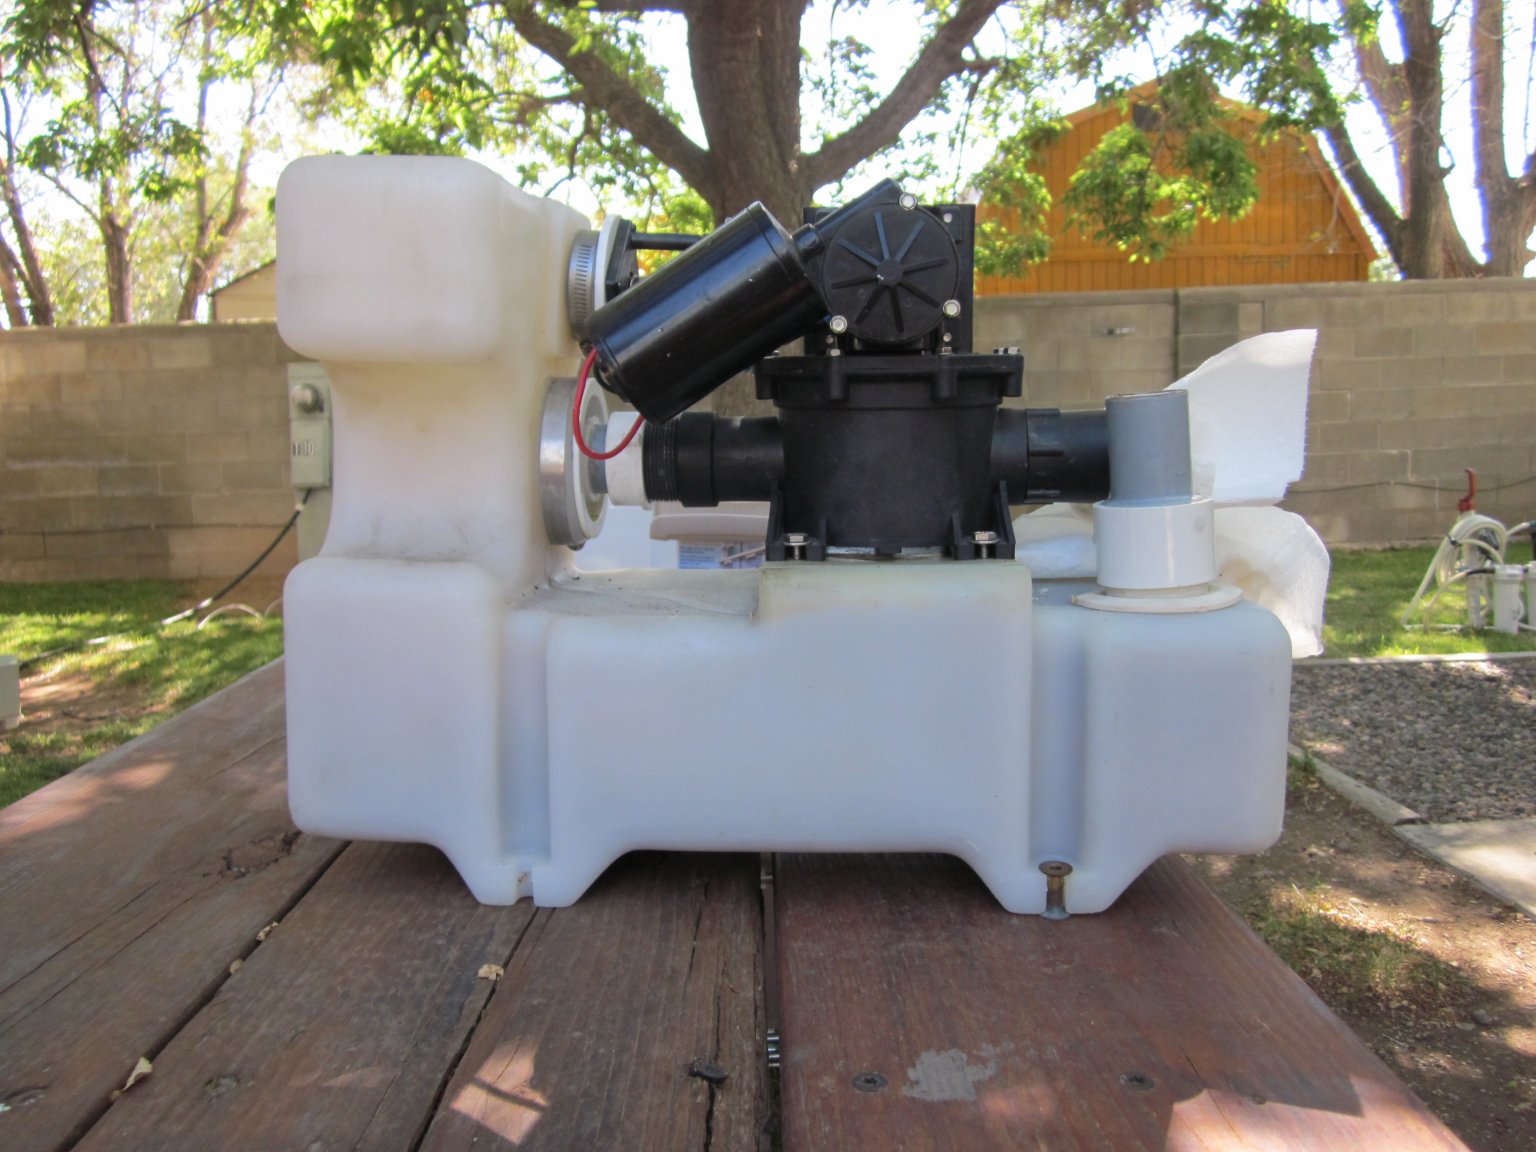
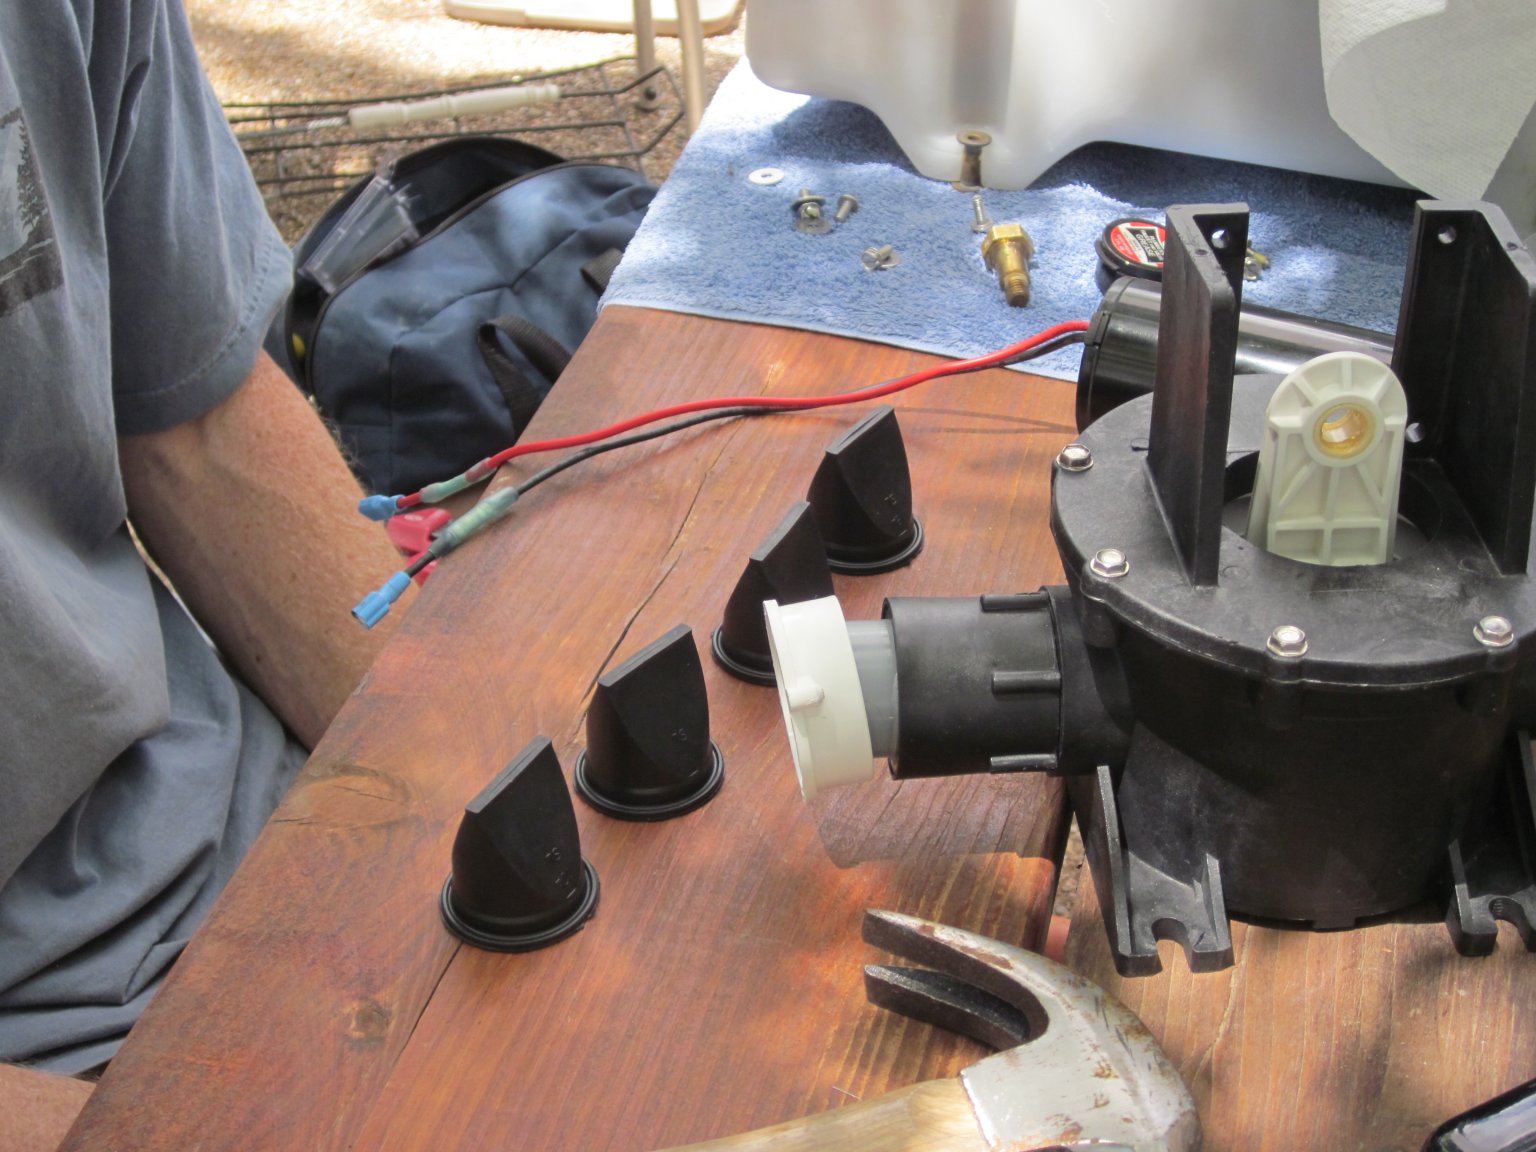
Now with the nasty business out of the way, its on to the rebuild. Here is the rebuild kit we used. In these pictures you can also see the new motor on the left and the old pump on the right, the new motor is quite a bit larger and mounts parallel to the pump chamber, where as the old one was mounted at a downward angle. The kit included the motor, bellows, new O-rings, bellows clamp and cam drive screw. The duck bills are a separate part to order, and even though ours were relative new, we replaced them at this time.
Rebuild / Piston / Bellows
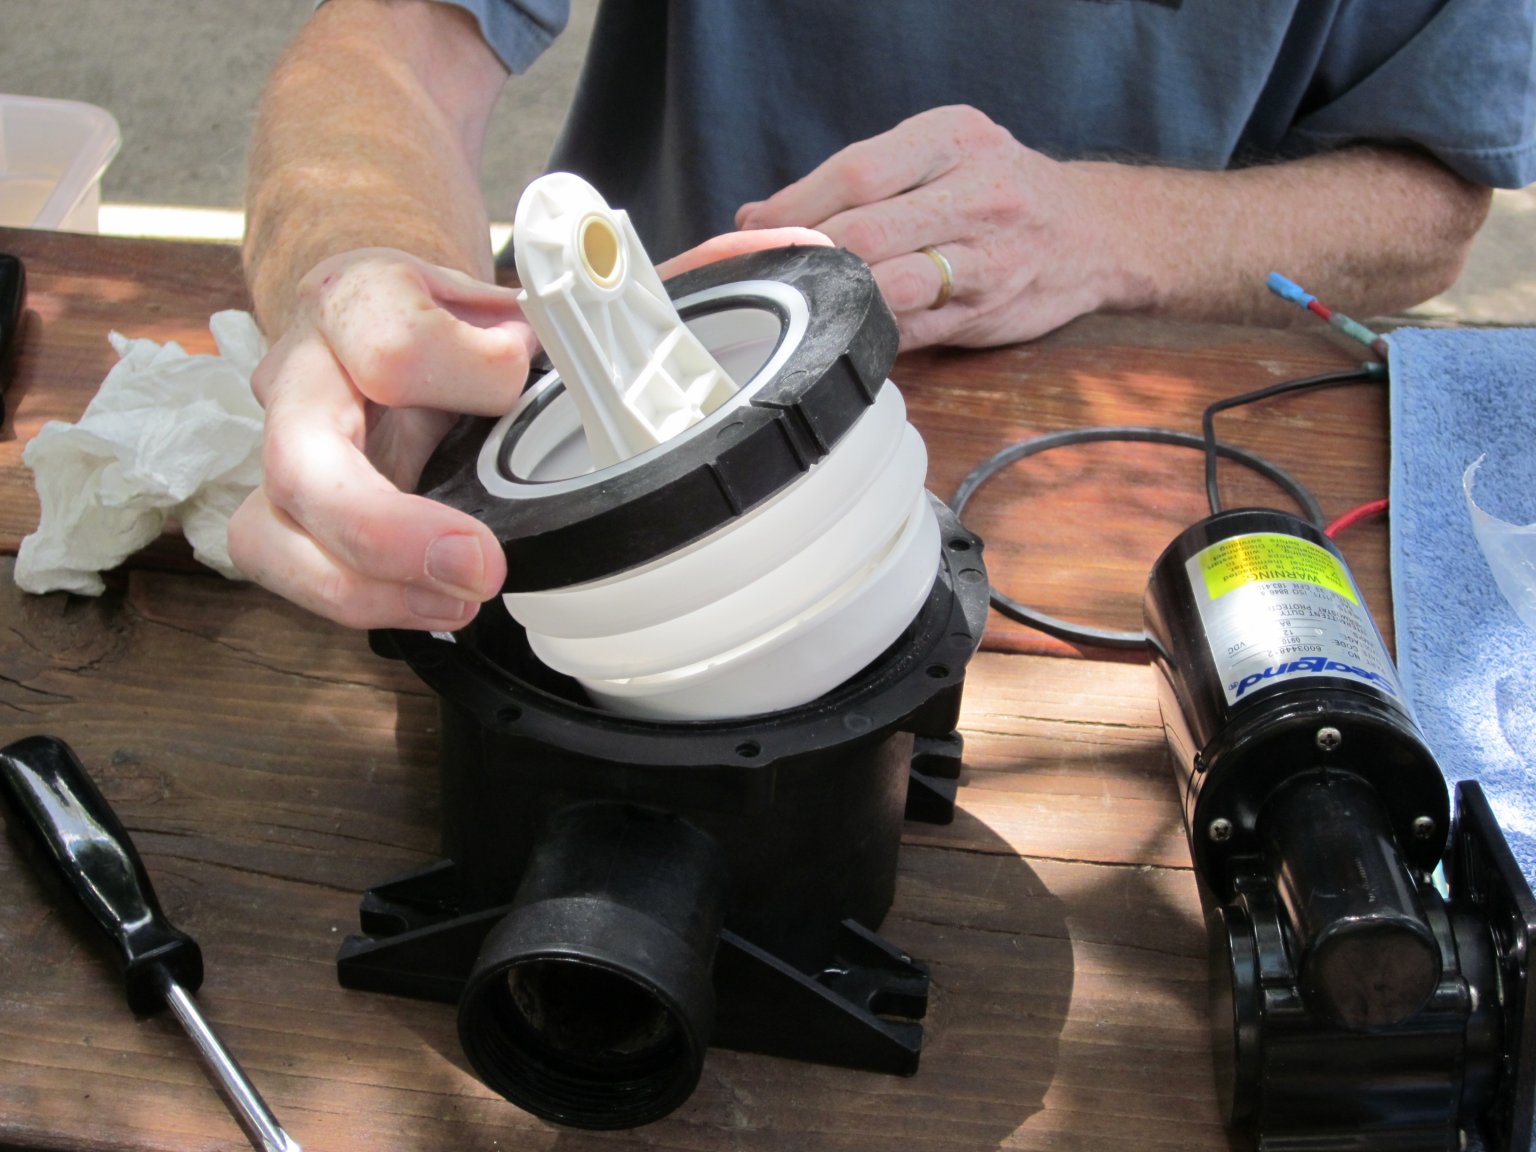
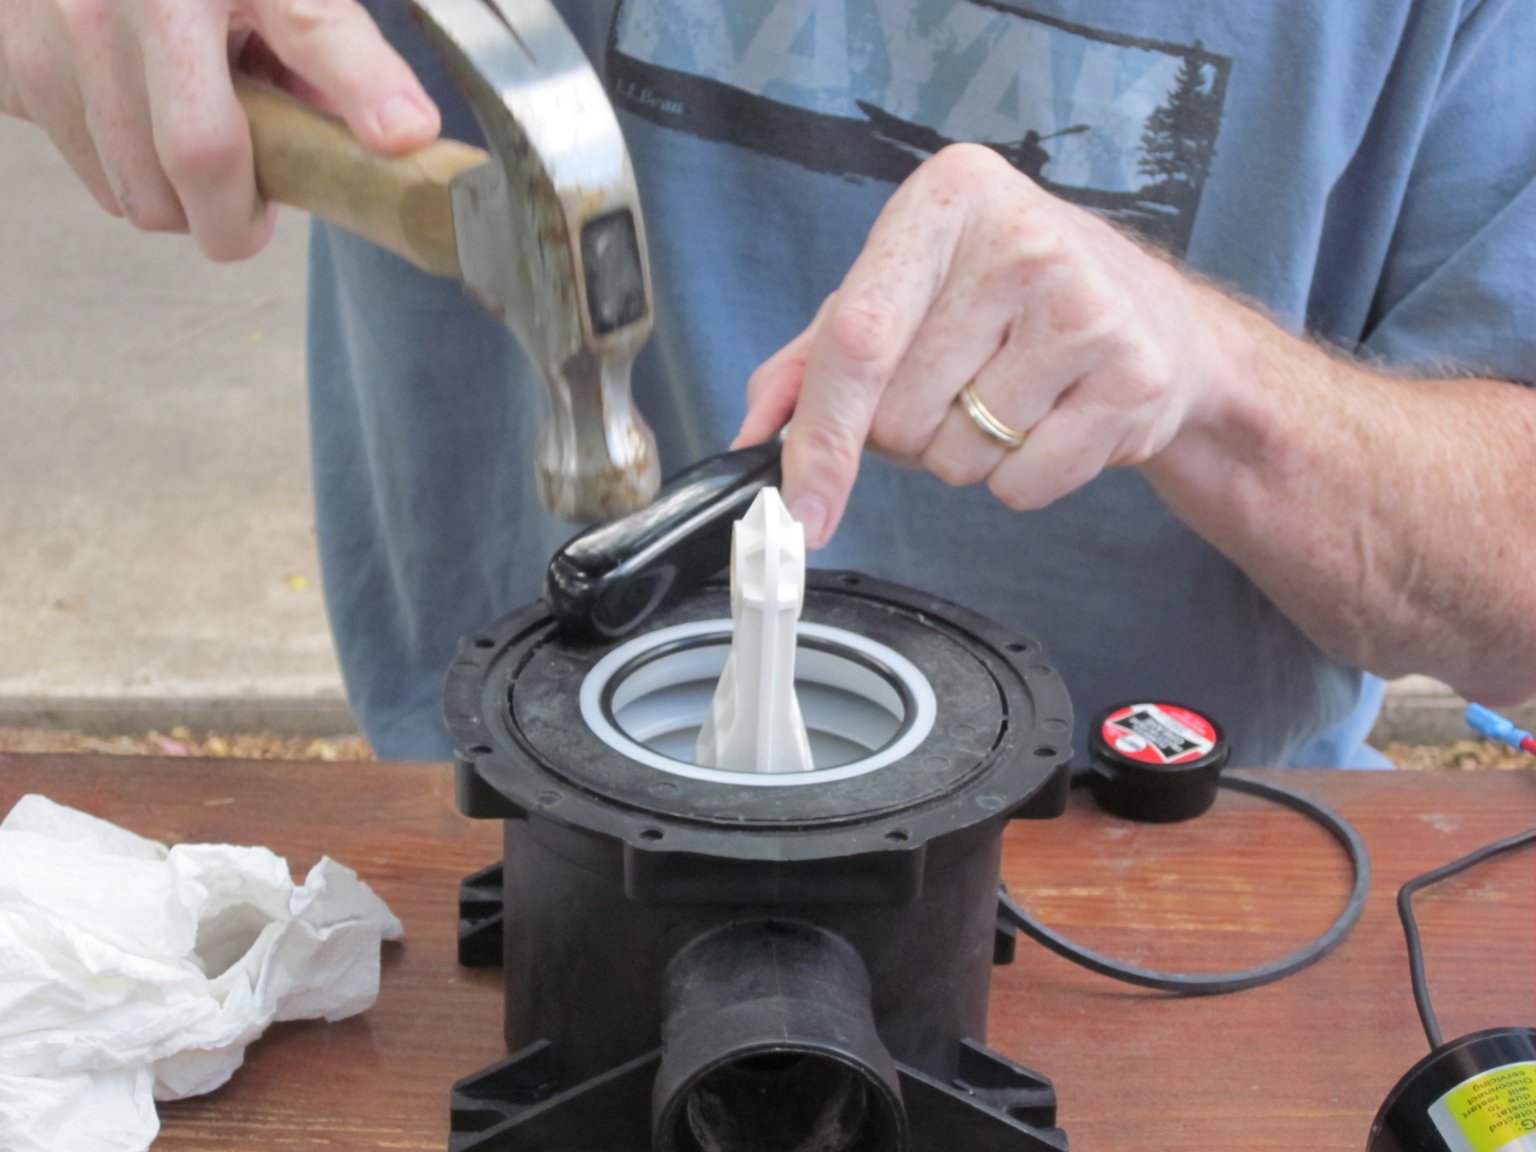

First up in the rebuild is installing the piston / bellows back in to the pump chamber. There is a plastic split ring that fits around the top of the bellows and that ring is pressed in to the top of the pump chamber. It’s a compression fit (there are small crush ribs around the perimeter), so you have to get it started and then tap in place until it is fully seated. When you do this be sure to have the piston aligned so its cam bolt hole is aligned properly to the top motor mount, once its tapped in to place you can’t easily turn it to align it up.
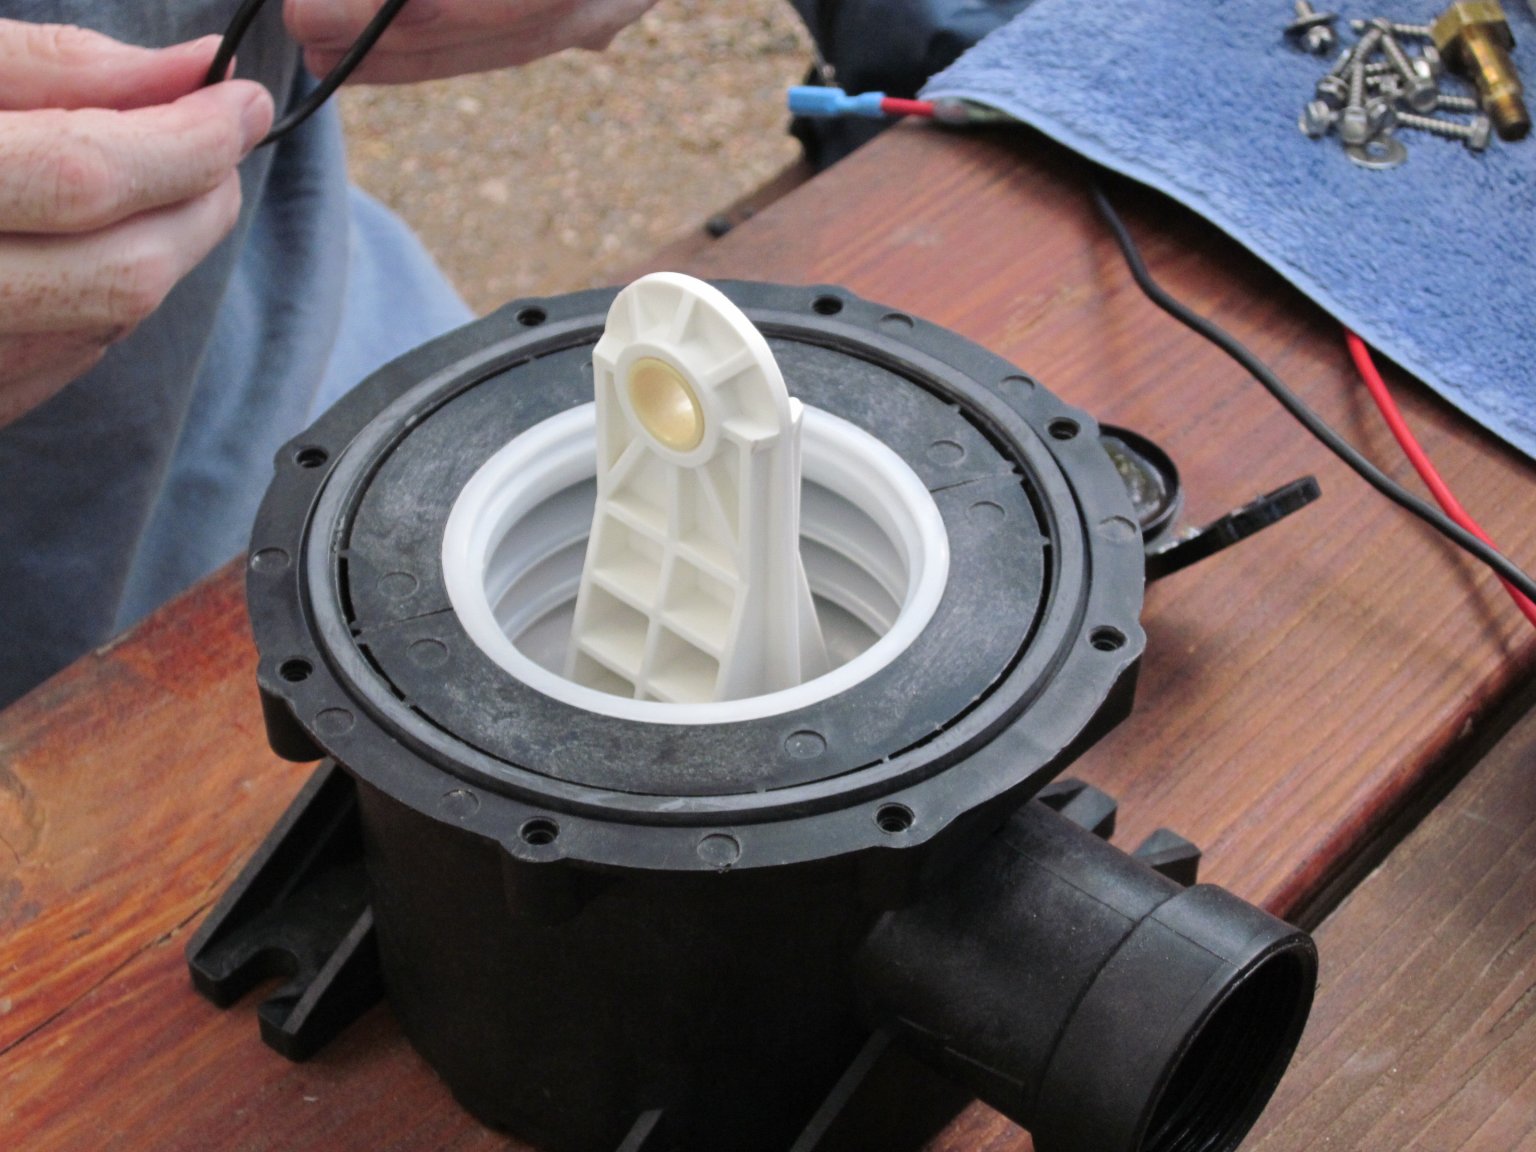
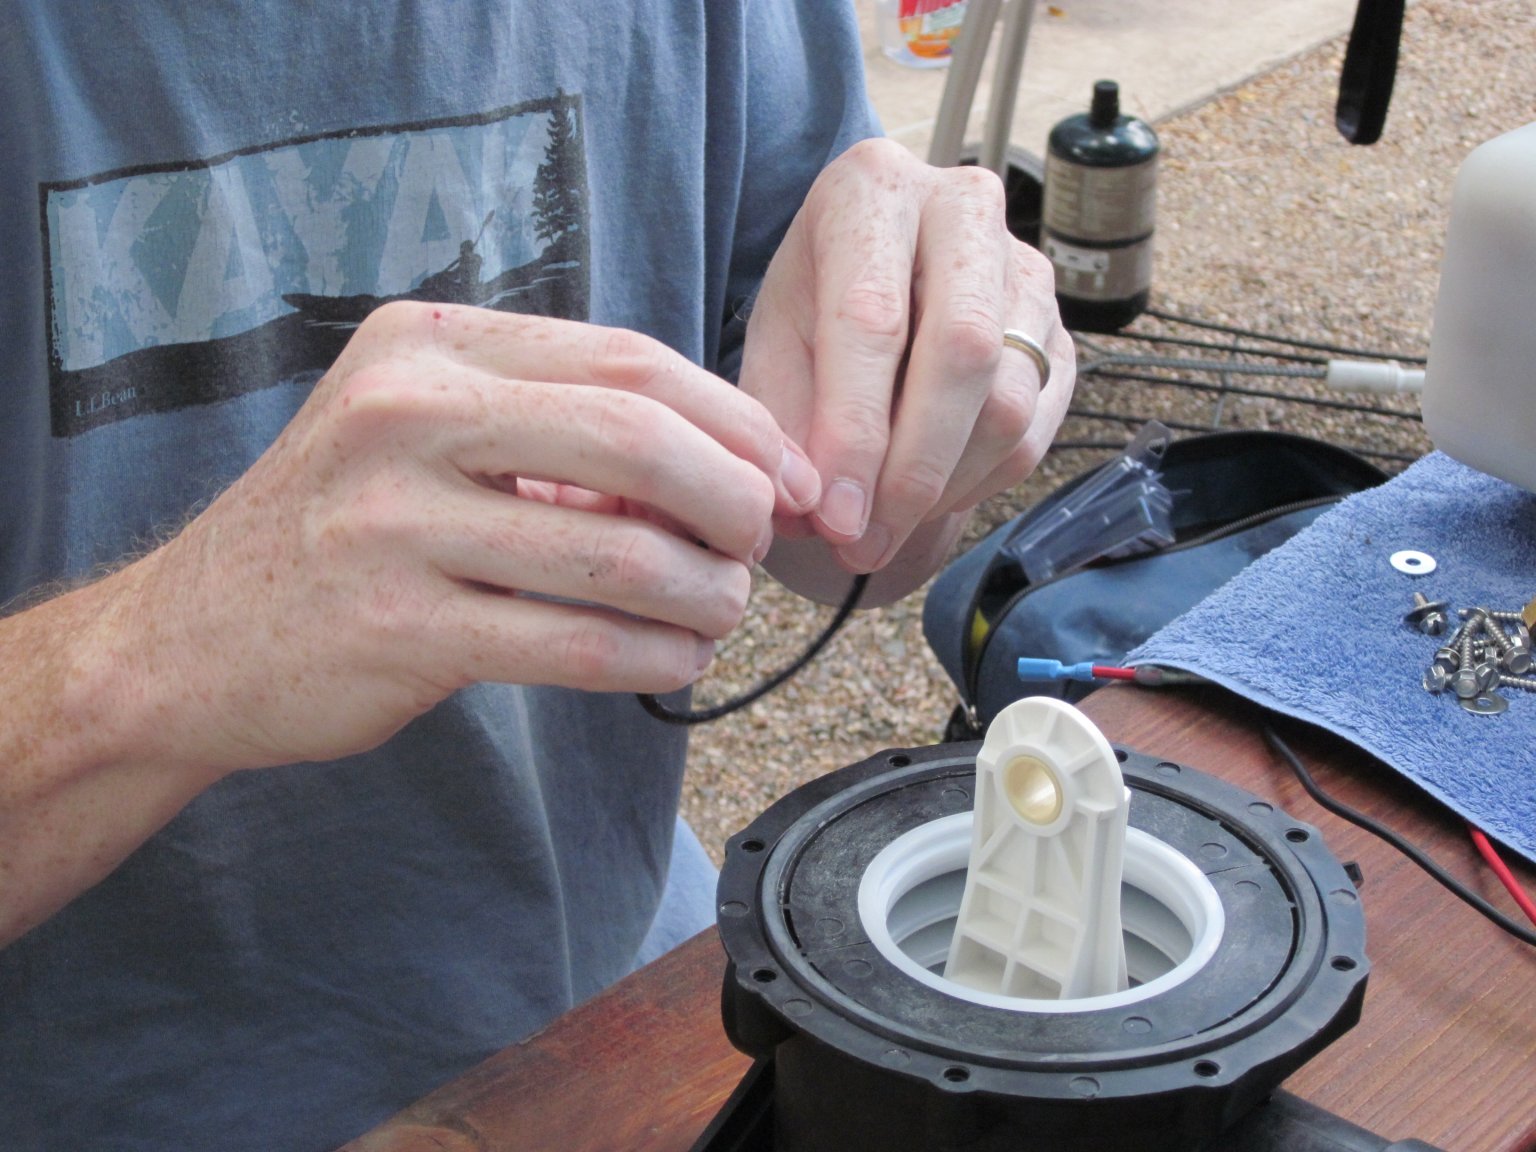
After the bellows is in place there are two o-rings to install to keep everything sealed. The larger one has a square cross section and fits in a channel on the pump housing. The inner one is a standard o-ring that sits on the top of the bellows and then the top cover has a flange which fits on the inside of the O-ring. Since you have to slide the flange past this O-ring you need to use some silicon grease on the O-ring so you can slide the two together and position the top. At this time I also put some silicon grease in the inside of the piston bushing (since it was still easy to get to).
Put the two pump halves together, a slight turning motion on the top will help get the flange past the O-ring. Once that’s done align it so the bolt hole patterns line up and reinstall the 8 screws.
Rebuild / Replacing duckbills
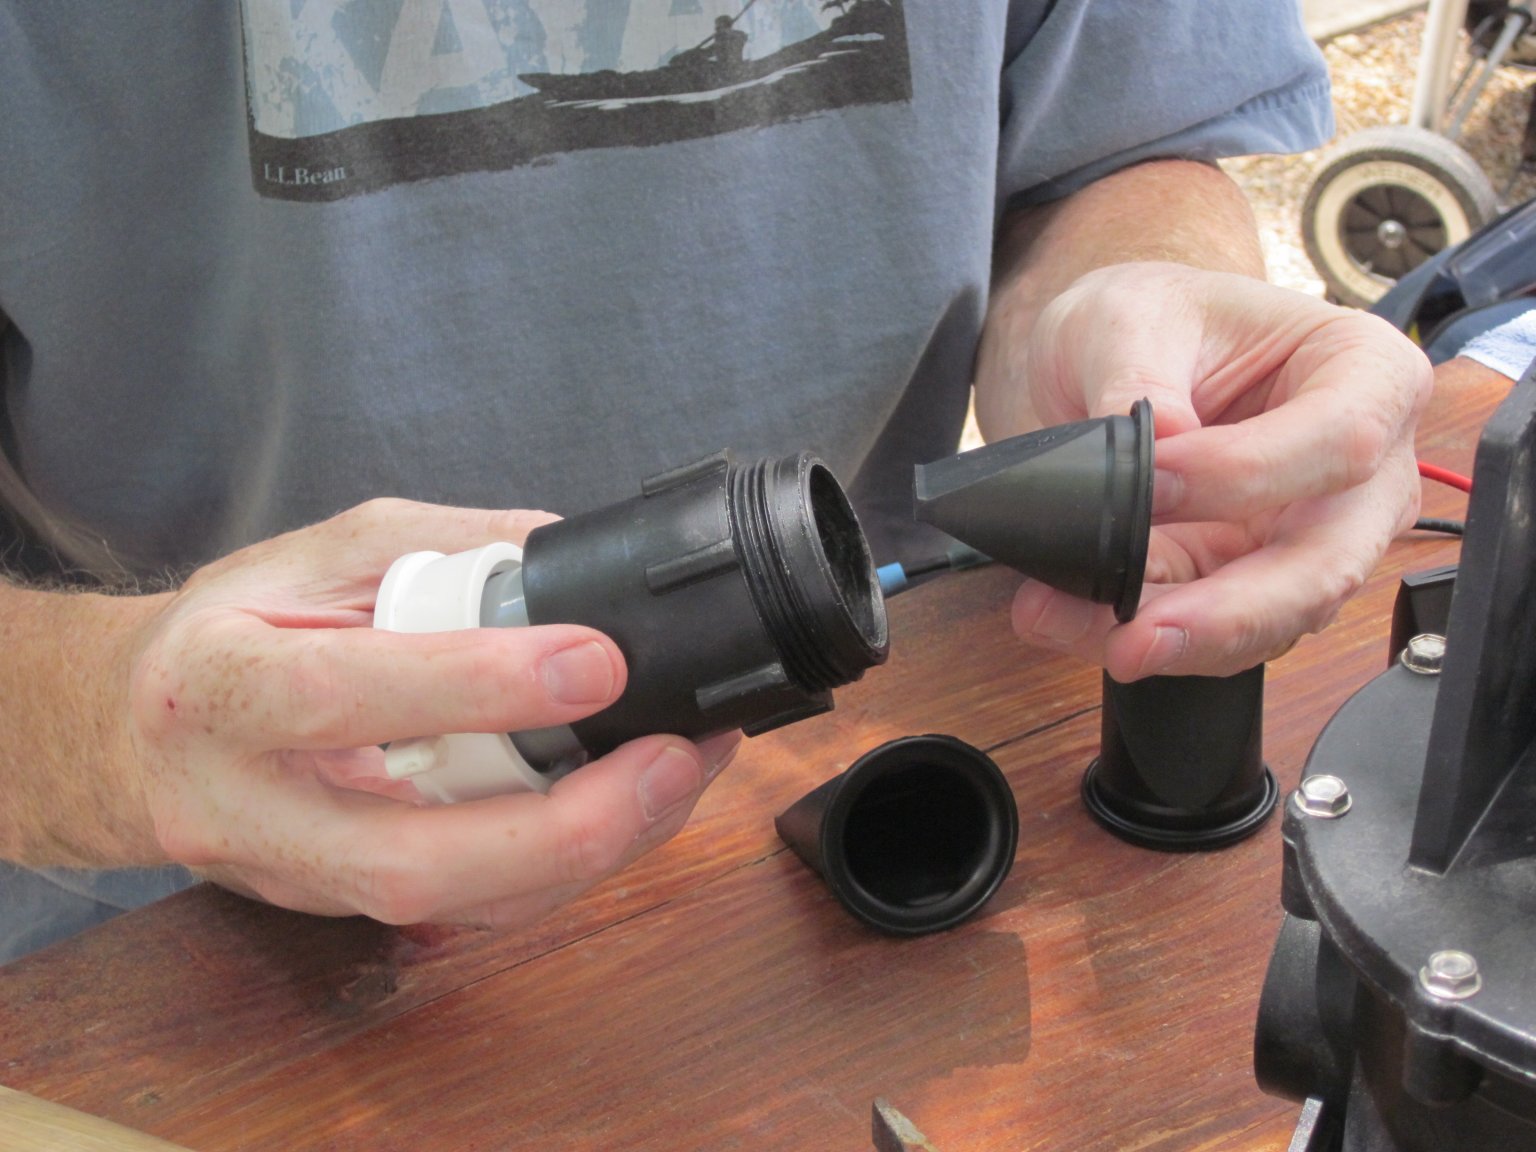
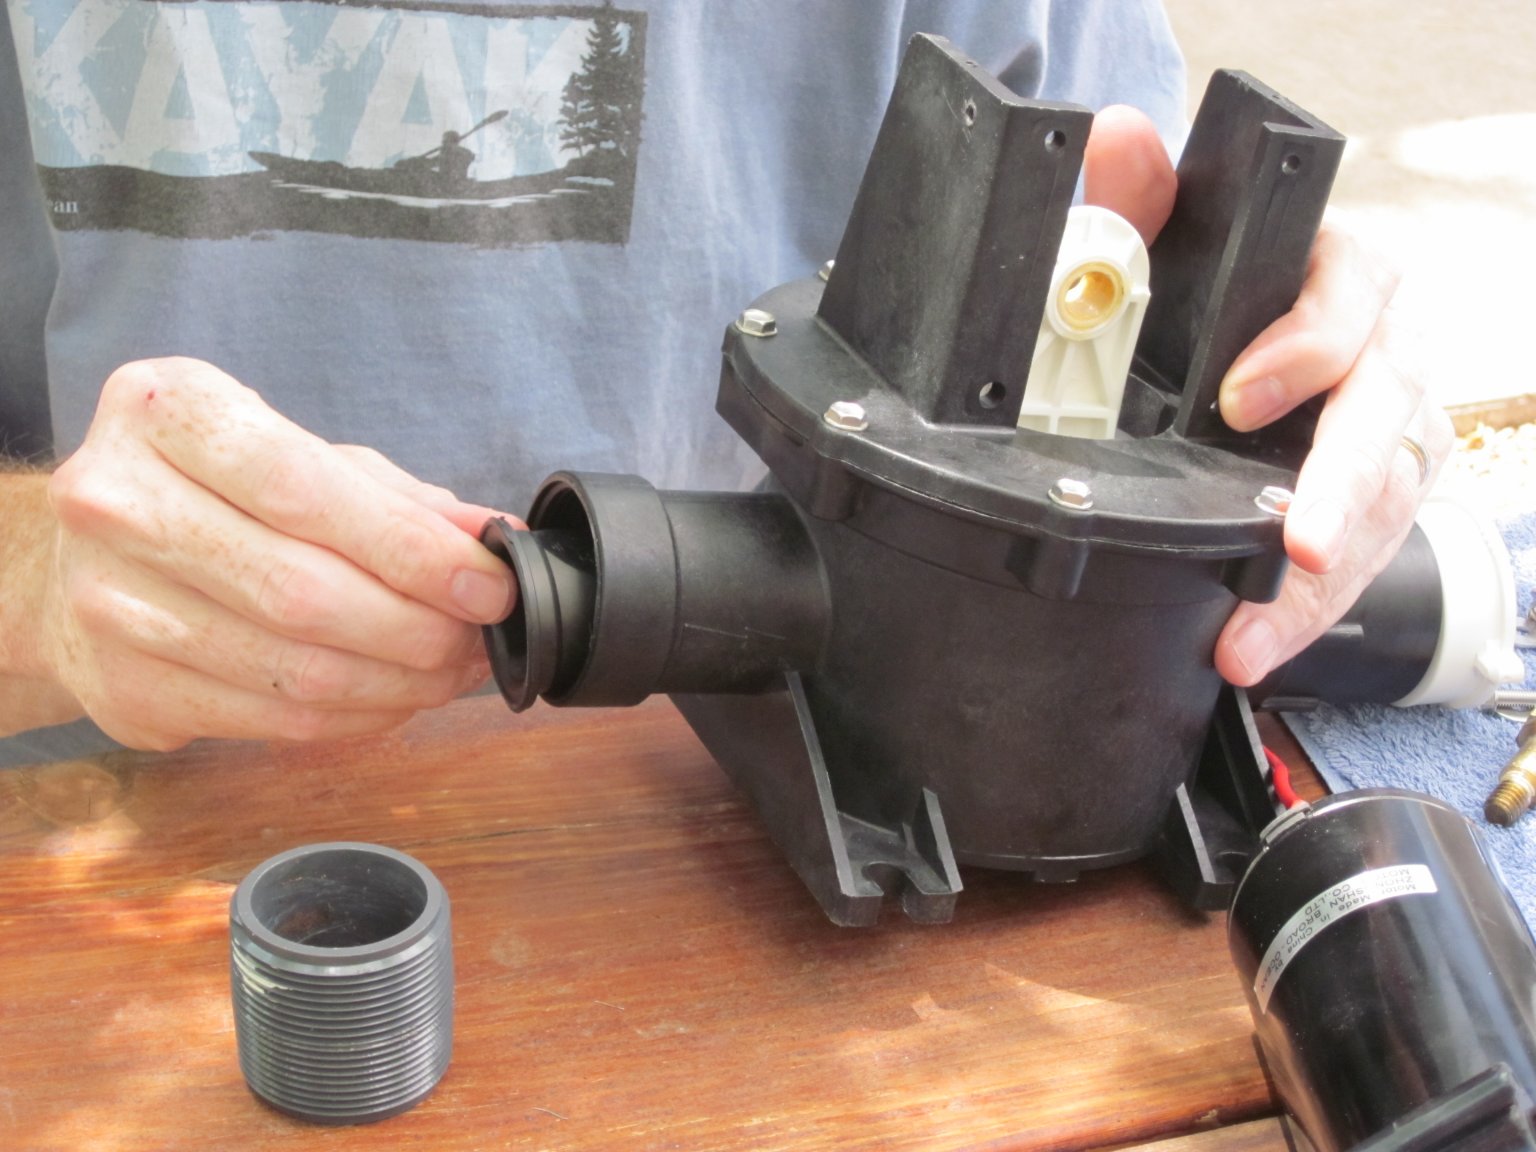
Time for the duckbills. These are basically rubber bellows on the inlet outlet sides of the pump which only allow water to flow in one direction. There are two duckbills on the inlet and two on the outlet. You simply place these in the lines like any gasket, they also serve to seal the pipe connections. Make sure they are all “pointing” in the same direction, so they open with the flow and would be closed against backflow. A couple of the pipes actually seal on the duckbills, in these cases I also used a little silicon grease on the pipe end to avoid any tearing of the duckbills while the pipe was tightened on to the duckbill.
Rebuild / installing the motor
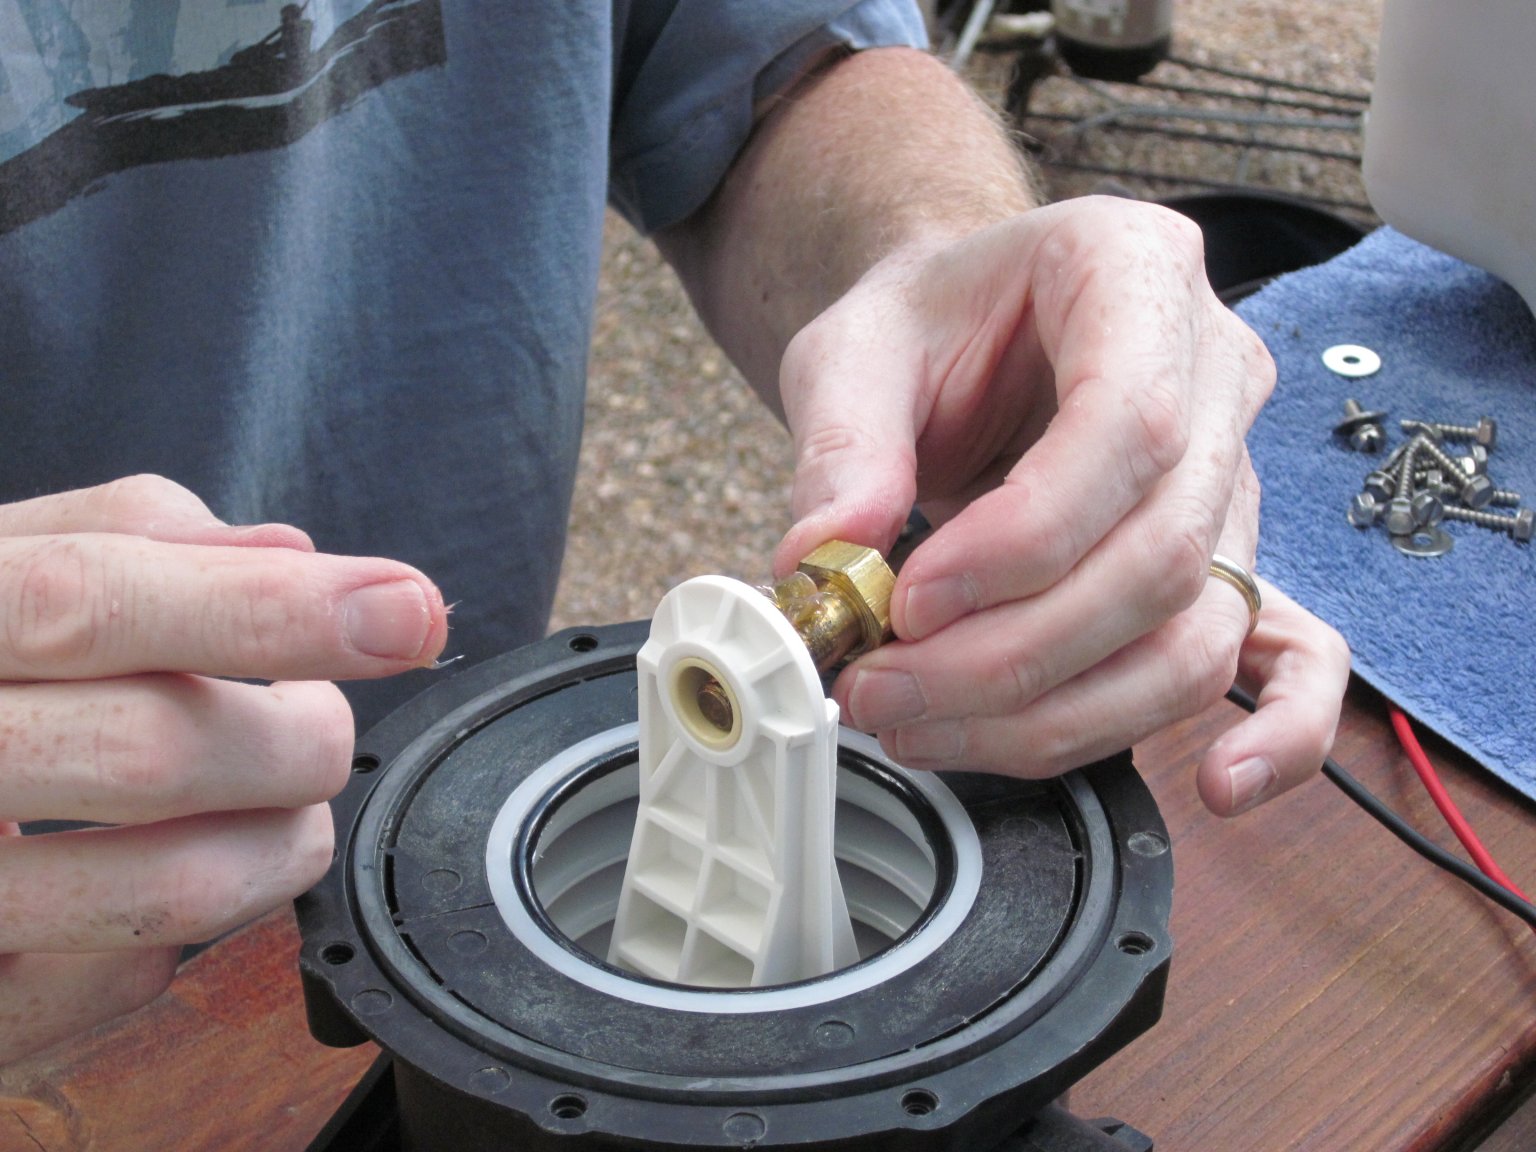
At this point you attach the motor back to the pump housing, the motor comes assembled to the mounting plate so you just line up the holes and screw the two together. Then you pass the cam following bolt through the bellows and tighter it to the motor cam. Be sure to add some additional grease on the cam bolt where it passes through the bellows.
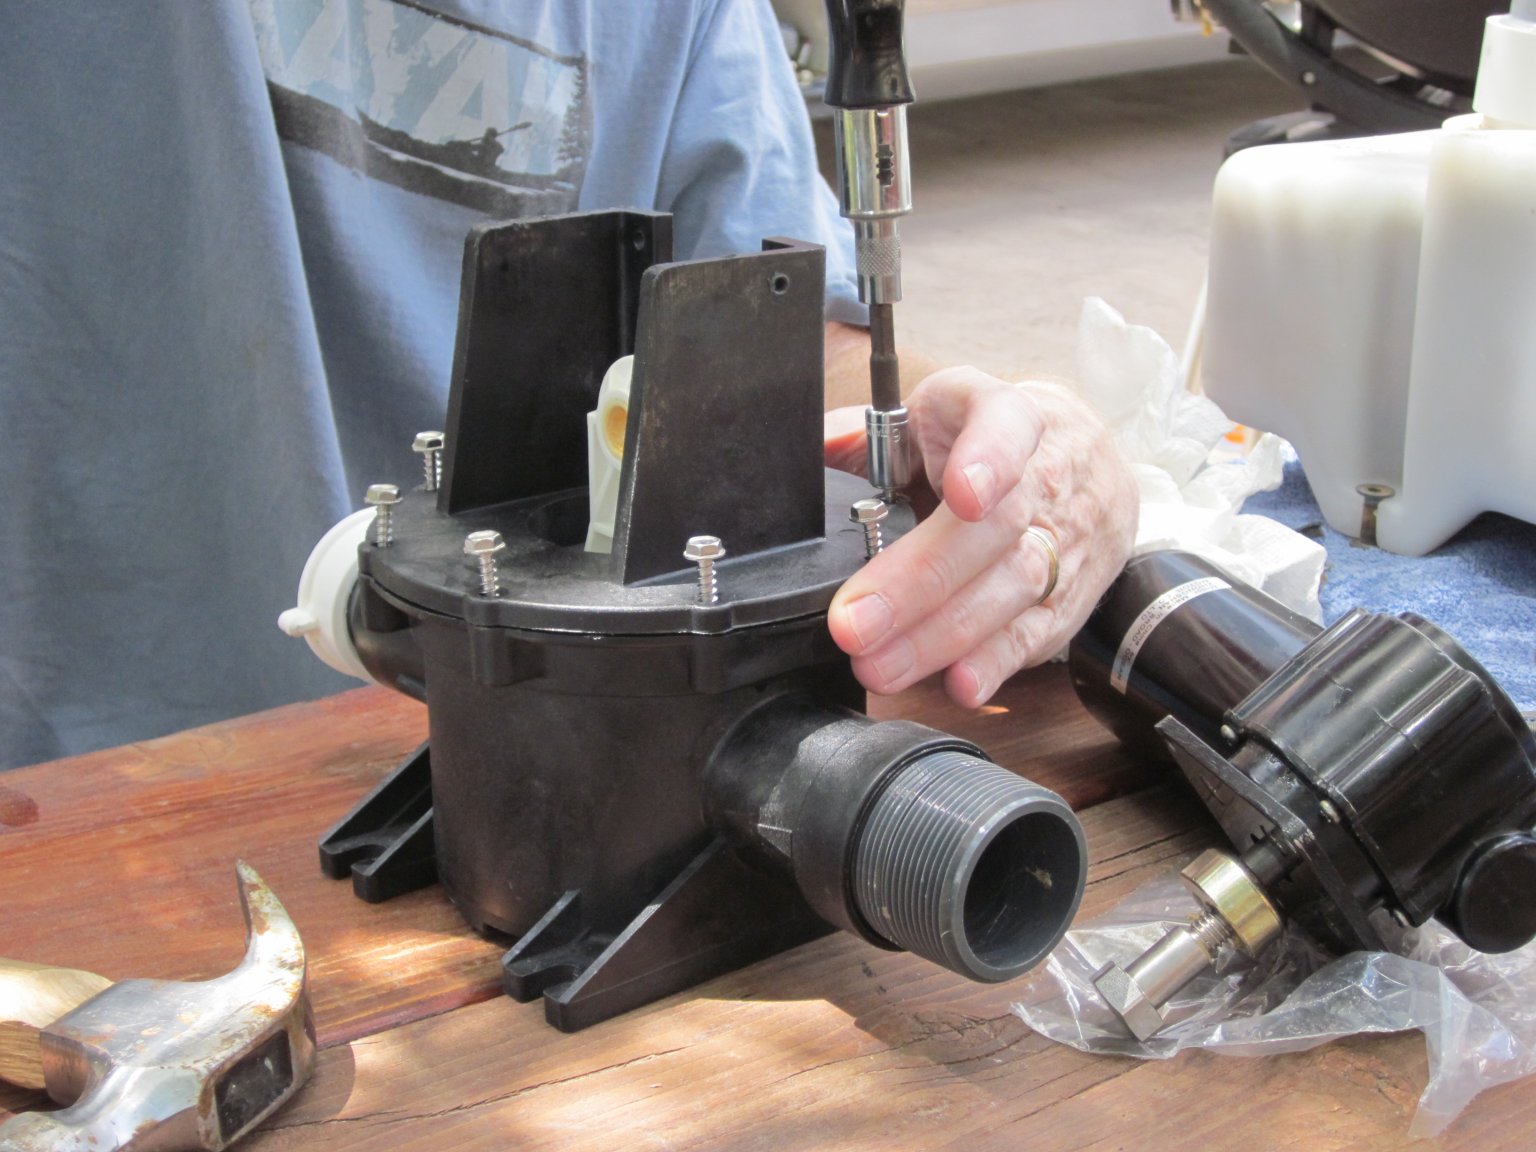
All that is left now is to attach the main pump back to the chamber, on ours this is done with 4 base screws and a pipe connection. Do not over tighten the 4 base screws, there are brass inserts in the polypropylene chamber, you could easily damage or pull them completely out if you over tighten them
Reinstall
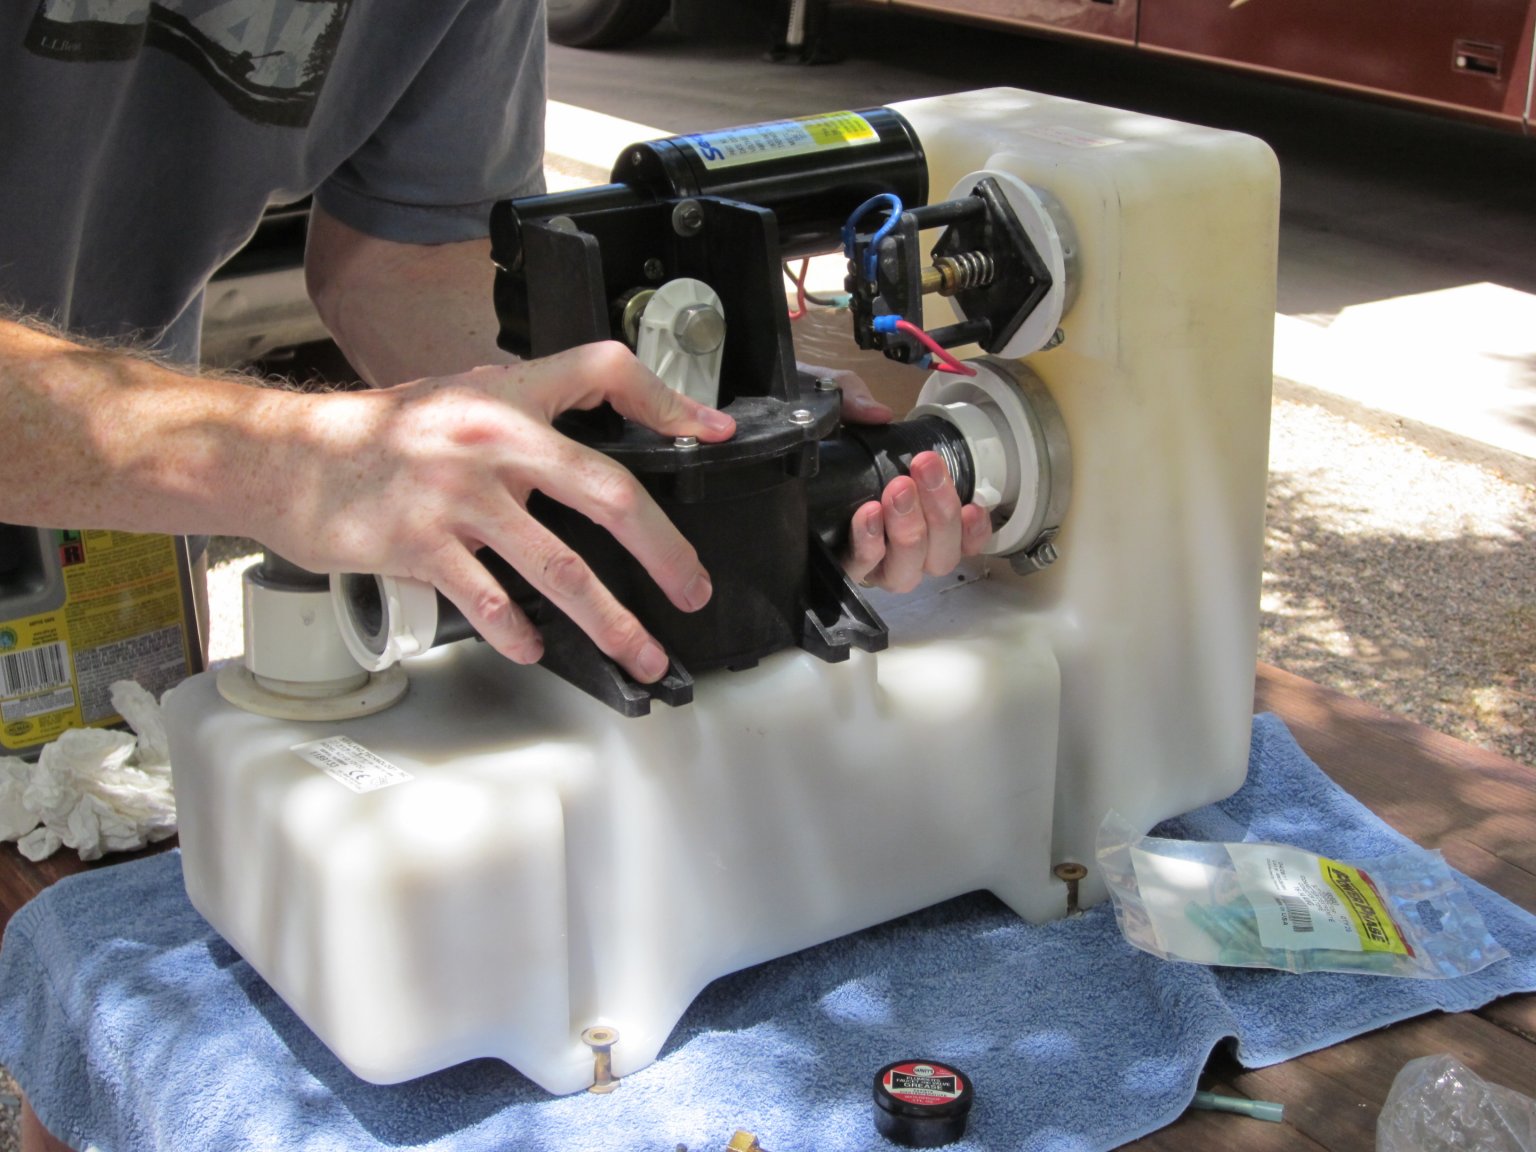
Back to the coach it goes. Slide the completed assembly back in to place, reattach the relay wires, and the pipe connections. Remember that one of the duckbills goes in now, on the outlet side. Note that we also had to trim the plastic top cover a bit to get it to fit due to the new motors size and position.
You will need to prime the pump to get it to work, pour some water down the toilet and take it out of service mode. It may not achieve full vacuum the first time and require you to place it back in service mode and add more water.
The result, this pump and bellows is significantly quieter than the old one, you have to listen closely to even hear it. In fact when I first installed it and was getting it primed I had to go outside to make sure it was running. Here at Santa Fe elevation, the pump time went from 1 min 20 seconds to around 55 seconds, a 20 percent improvement